- Home
- Photoshop ecosystem
- Discussions
- Need Assistance on a Path Operation (Path "Pathfin...
- Need Assistance on a Path Operation (Path "Pathfin...
Copy link to clipboard
Copied
I was watching an excellent tutorial on rendering when they used 2 overlapping paths to then do a vector mask, resulting in only a portion remaining visible.
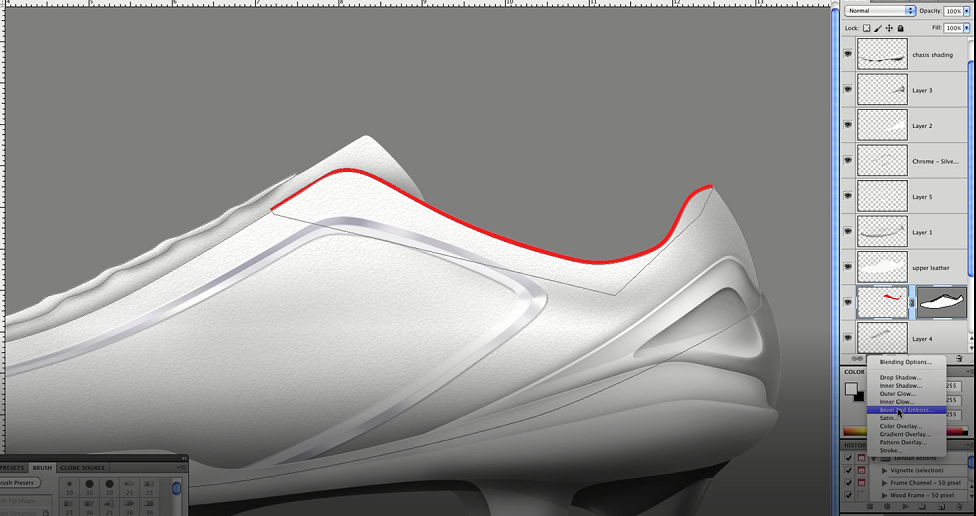
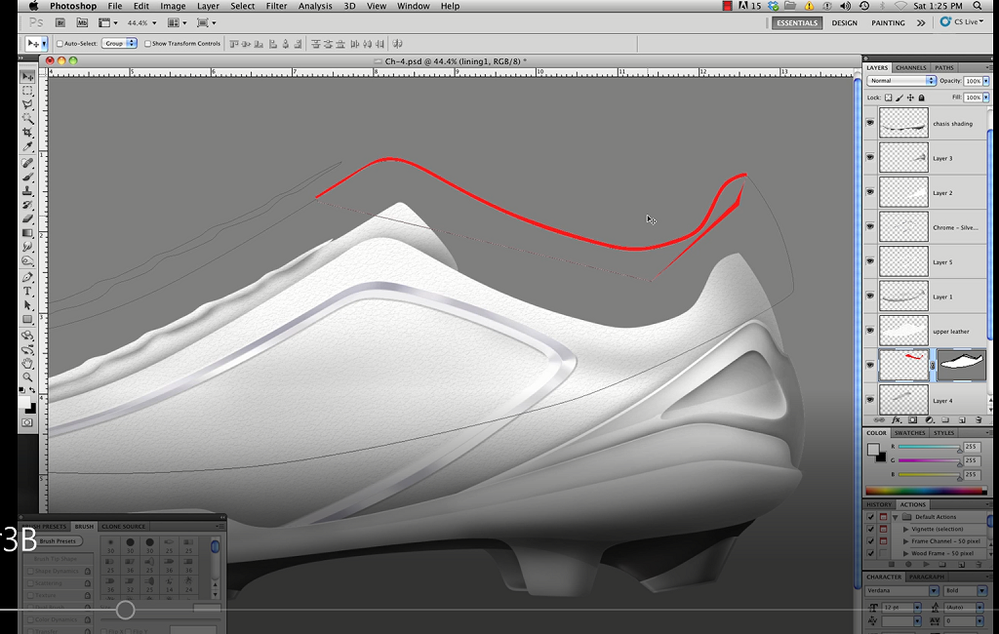
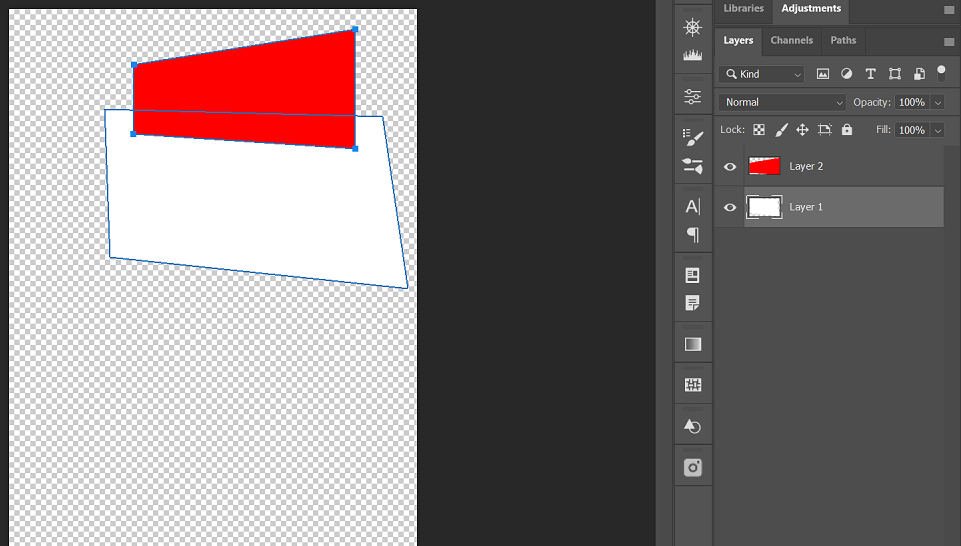
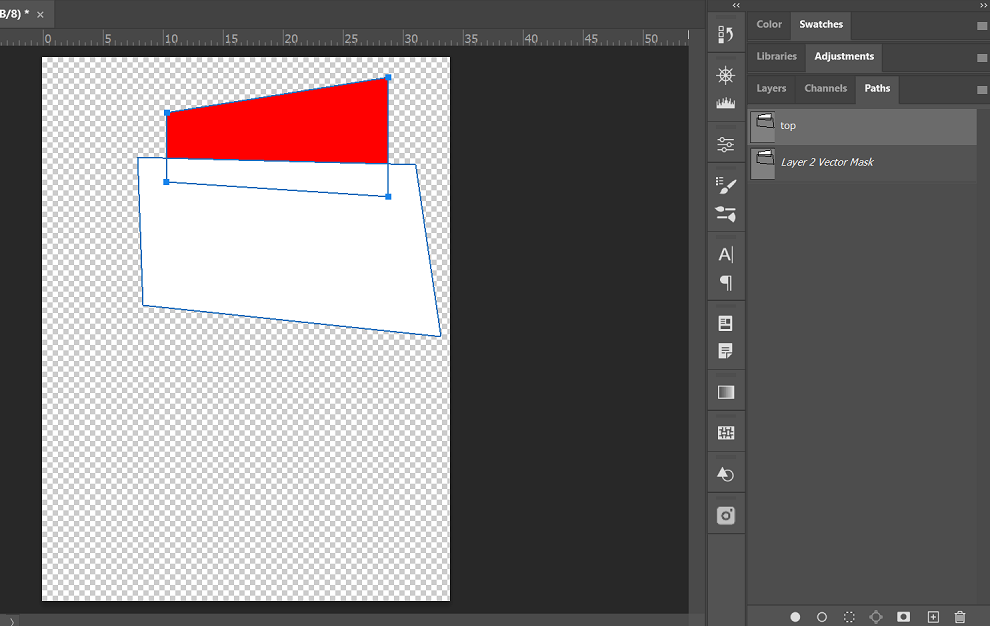
One path outlined the white "upper" of a sneaker. The other path outlined the interior red lining of the sneaker. These paths overlapped, as when they drew the paths of the lining, they purposely made them overlap, as the lining would be hidden on a layer below.
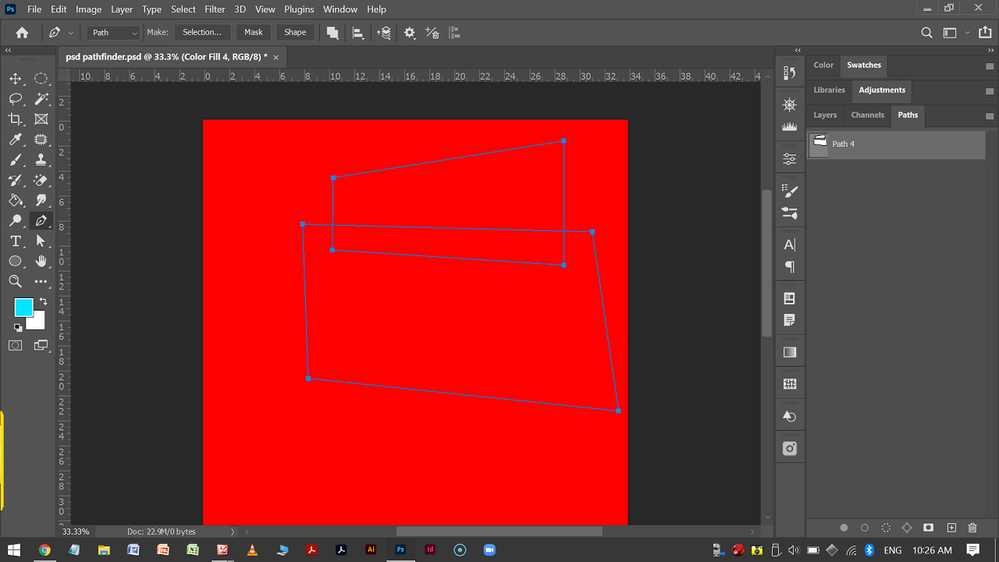
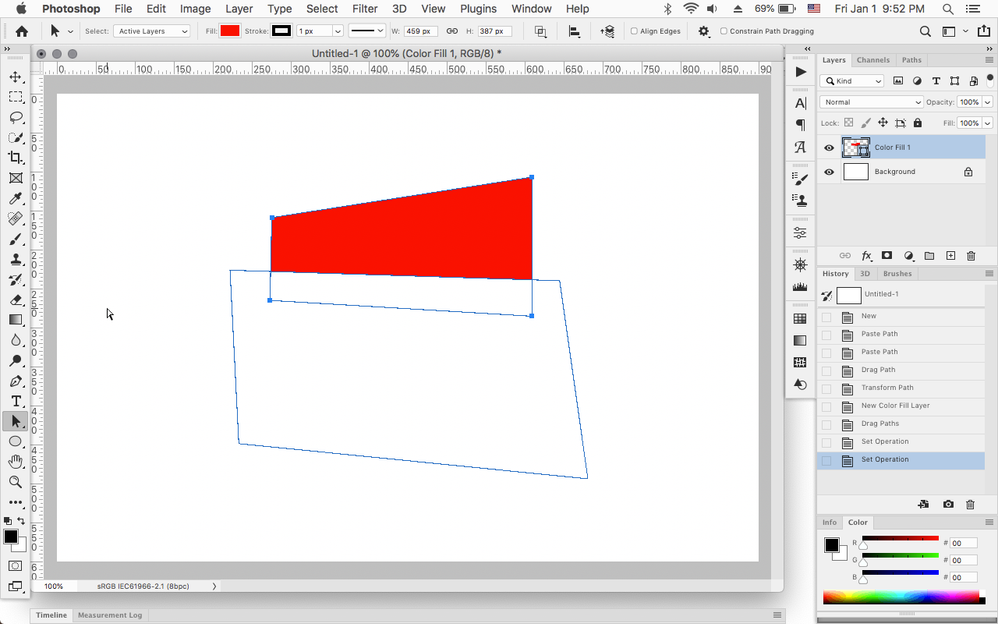
Using a test of two basic overlapping paths, I tried every path operation possible with a vector mask, and I still cannot get the desired result, that they did in the tutorial. It would be great if someone could help shed some light on this. (PDF attached) Thanks!
 2 Correct answers
Hi
Basically he already has the tongue shape and path at the beginning. This video starts where he is redrawing the top part of that path for the lining, which he fills with red after he converts the path to a selection. He doesn't worry about precision on the bottom part. Then he uses the tongue as a vector mask on the lining layer. It appears to already be white except at the top where it is black.
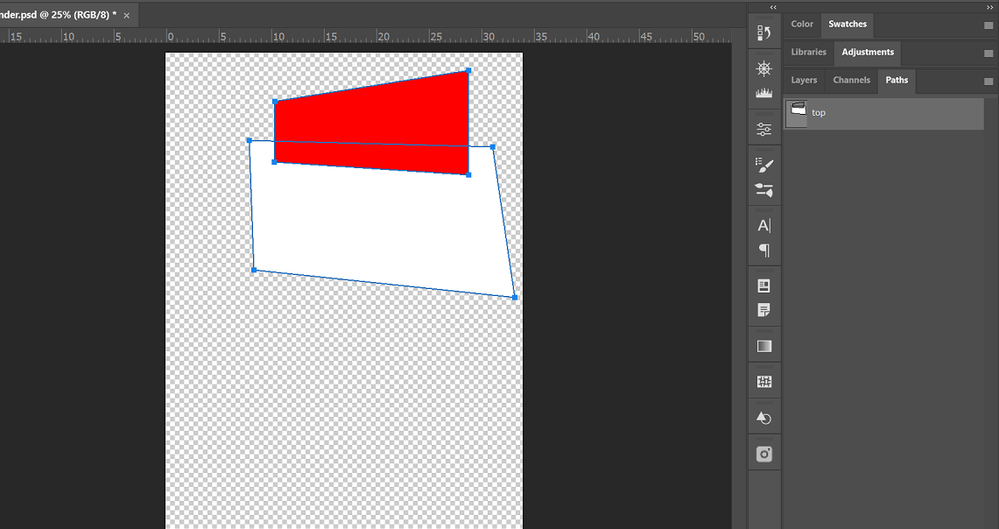
In your image, you only show the Paths panel. I don't see that you have converted a path t
...As for your shape:
1. Select both paths and set the Path Operations to Subtract Front Shape
2. Select the bottom path and set the path operations to Subtract Front Shape
3. Select the top path and set the path operations to Intersect Shape Areas
Explore related tutorials & articles
Copy link to clipboard
Copied
Don't you have a link to the tutorial? Im not entirely sure what the goal is 🤔 to see the inside of the shoe as a shape on its own is it? Where the foot goes? 🤔
Copy link to clipboard
Copied
Oh, sure, Sorry for the confusion. The path created for the red lining was the "wrong" shape to then be able to apply certain fx like bevel/emboss to make it look like the lining was rolling back into the shoe interior (because the path was just a rough over-sized shape). (This will make more sense in the video.)
I've posted a link to a short clip of the tutorial here. Unfortunately, it was a tutorial that I had to pay for and download, so I want to be careful only to post a bit. Sorry there is a bit of background noise Thanks!
Copy link to clipboard
Copied
Hi
Basically he already has the tongue shape and path at the beginning. This video starts where he is redrawing the top part of that path for the lining, which he fills with red after he converts the path to a selection. He doesn't worry about precision on the bottom part. Then he uses the tongue as a vector mask on the lining layer. It appears to already be white except at the top where it is black.
In your image, you only show the Paths panel. I don't see that you have converted a path to a selection and filled it or that you have a layer mask that is painter with black and white. Your entire layer has been filled. You don't have two paths as he did. You have one path with two subpaths.
I'm glad you think the tutorial is excellent. I think he leaves out a lot of steps and also starts in one direction and changes his mind. It would be difficult for a beginner to follow.
~ Jane
Copy link to clipboard
Copied
As for your shape:
1. Select both paths and set the Path Operations to Subtract Front Shape
2. Select the bottom path and set the path operations to Subtract Front Shape
3. Select the top path and set the path operations to Intersect Shape Areas
Copy link to clipboard
Copied
Jeff,
That works in this example, but it is not what the guy did in the tutorial @dsev1 is trying to follow. The tongue of the shoe should not disappear completely.
~ Jane
Copy link to clipboard
Copied
Thanks to both Jane and Jeff!
I wasn't able to exactly replicate the steps from the video tutorial, but I used a bit from both of your advice.
The following seemed to work:
1. As in the tutorial, I filled the upper shape with red and the lower shape with white.
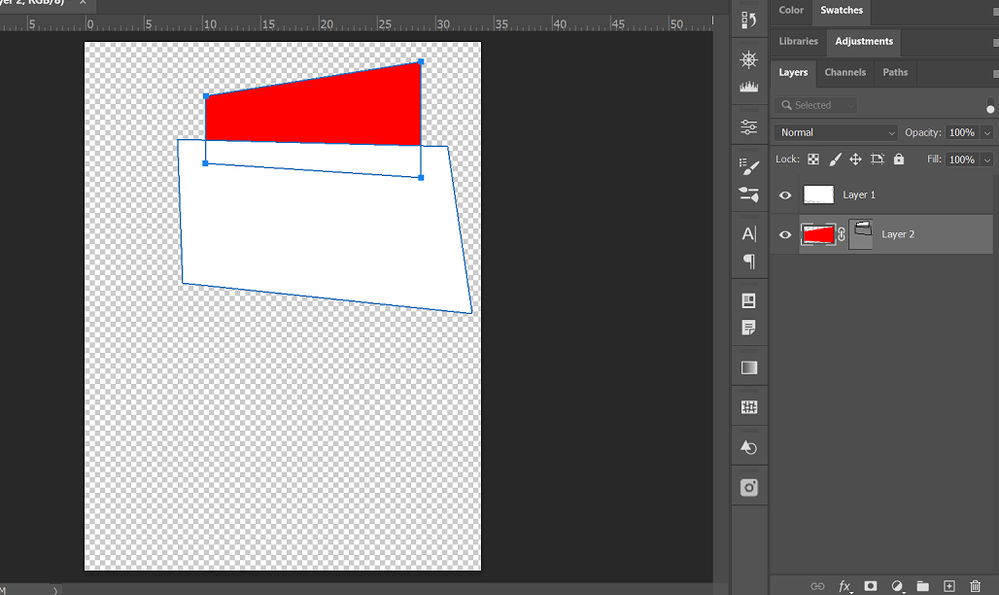
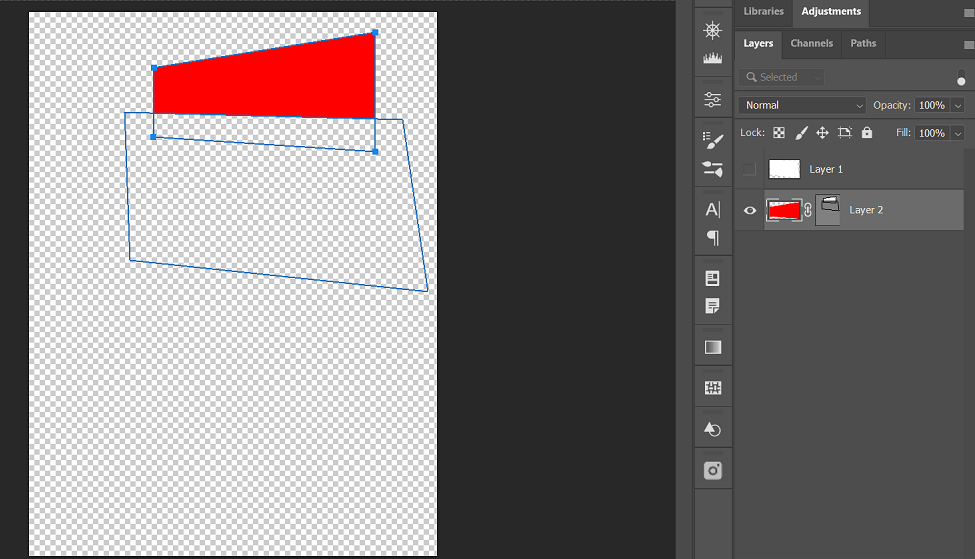
2. While on same "path layer," lower white shape was set to Subtract Front, while the upper red shape was set to Intersect Shape Area.
3. Vector Mask, while red upper shape's layer is selected.
4. View from Paths tab...
5. White lower shape's layer hidden to show that only the upper portion of the red top shape remains.
I'm not sure how the person who made the tutorial was able to get around this extra step of setting the paths to two different path operations.
Thanks so much!
Copy link to clipboard
Copied
Copy link to clipboard
Copied
Remove substracted paths from shape layers and combine into one shape layer
[link to spam website removed by moderator]
Find more inspiration, events, and resources on the new Adobe Community
Explore Now
