 Adobe Community
- Home
- Photoshop ecosystem
- Discussions
- Re: Something for the weekend - Part 30 - Keeping ...
- Re: Something for the weekend - Part 30 - Keeping ...
Something for the weekend - Part 30 - Keeping us on track.

Copy link to clipboard
Copied
Hi
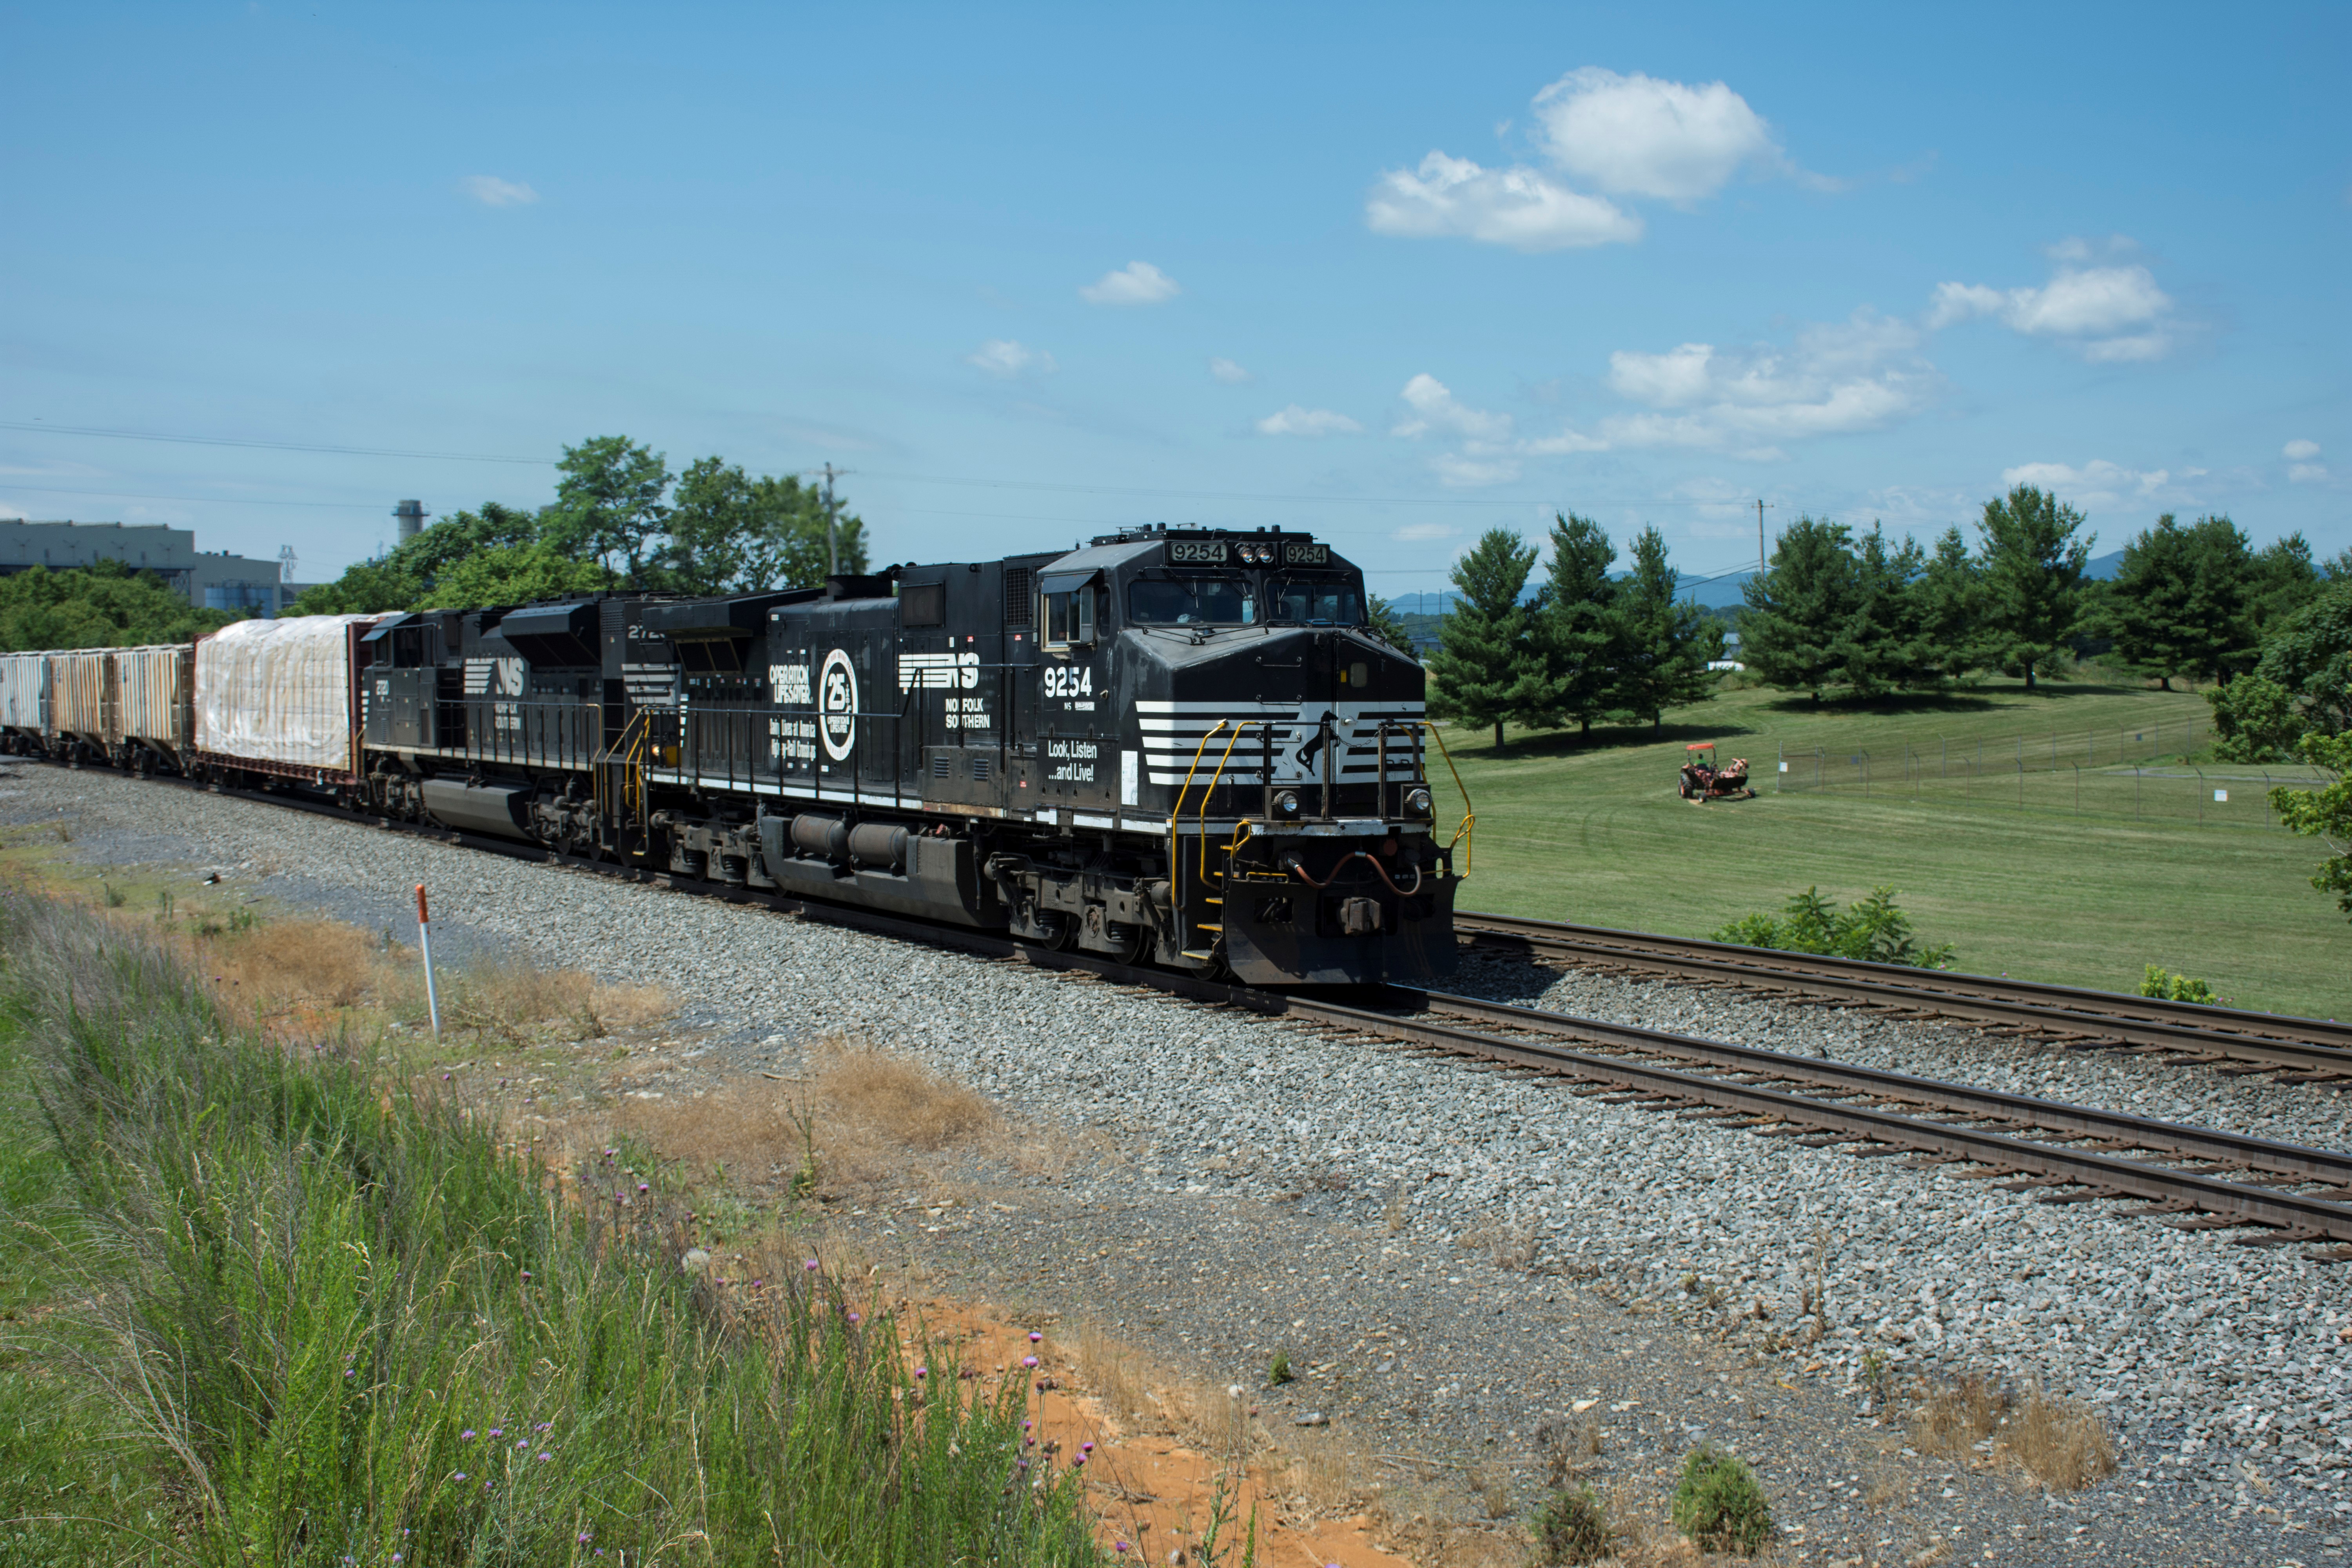
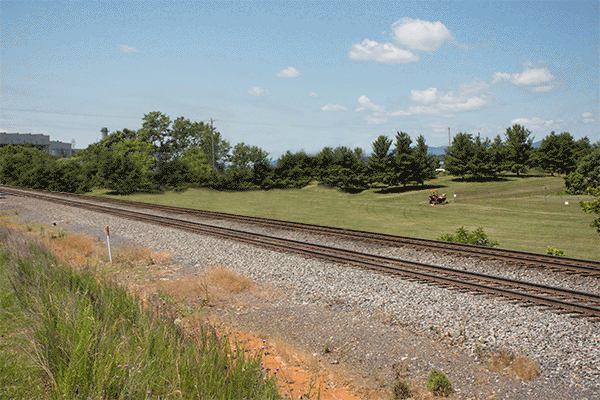
This weeks starting image is brought to us by ACP Jane-E and was photographed by Dirck Harris. It was taken in Hagerstown , Maryland.
We have a heavy train as the subject but also, wild nature in the foreground, trimmed grass in the background as well as a wire fenced "compound", some industrial buildings to the left and distant hills to the right. I wonder how you will use some, or all of these elements to tell us a story?
As always, anything goes as long as it meets the forum rules on decency, copyright etc.
Anyone is welcome to have a go - whether you are a complete beginner or a Photoshop expert.
There are no prizes - just the chance to practice, show off, or bring a bit of humour and fun.
When posting back your edited images please use jpeg and downsize to 1200px on the long side.
To download the image below in jpeg format with ICC color profile (sRGB) and without the forum scaling artefacts , right click and then use Save Image As /Save Target As (or similar depending on your browser).
Have fun
Dave


Explore related tutorials & articles
 43
Replies
43
43
Replies
43
Copy link to clipboard
Copied
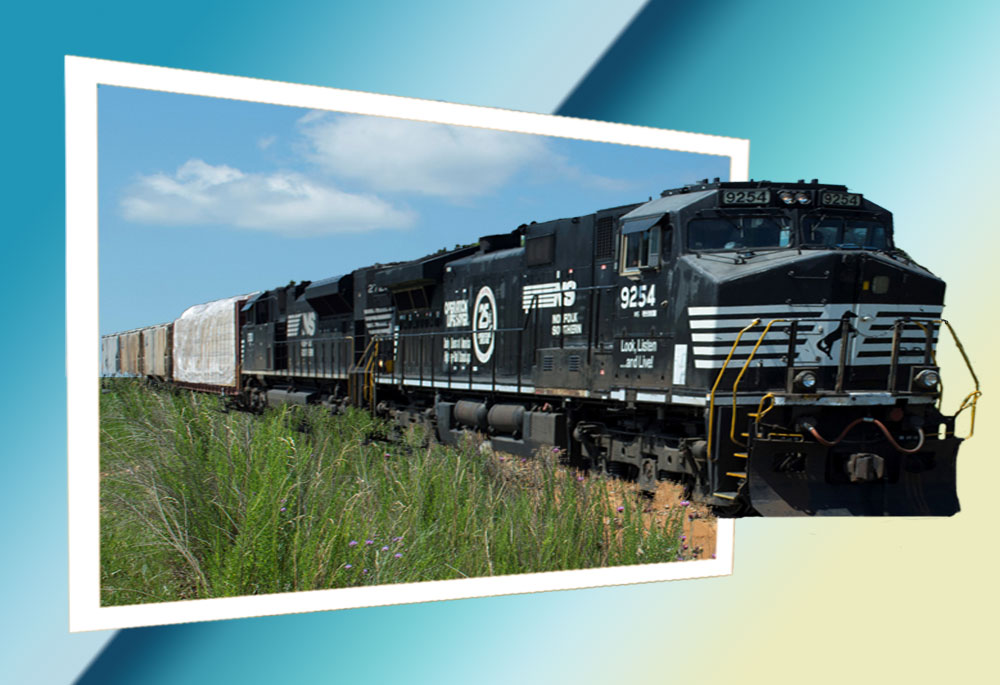
Before someone does this so much better

Copy link to clipboard
Copied

Copy link to clipboard
Copied

Copy link to clipboard
Copied
Good gracious. 6000 X 4000 pixels. We certainly can complain we don't have sufficient resolution this week.
Copy link to clipboard
Copied
Hi Trevor,
I didn't alter the image Jane sent aside from reserving the jpeg to make it fit the file size limit. It gives plenty options to use parts of it.
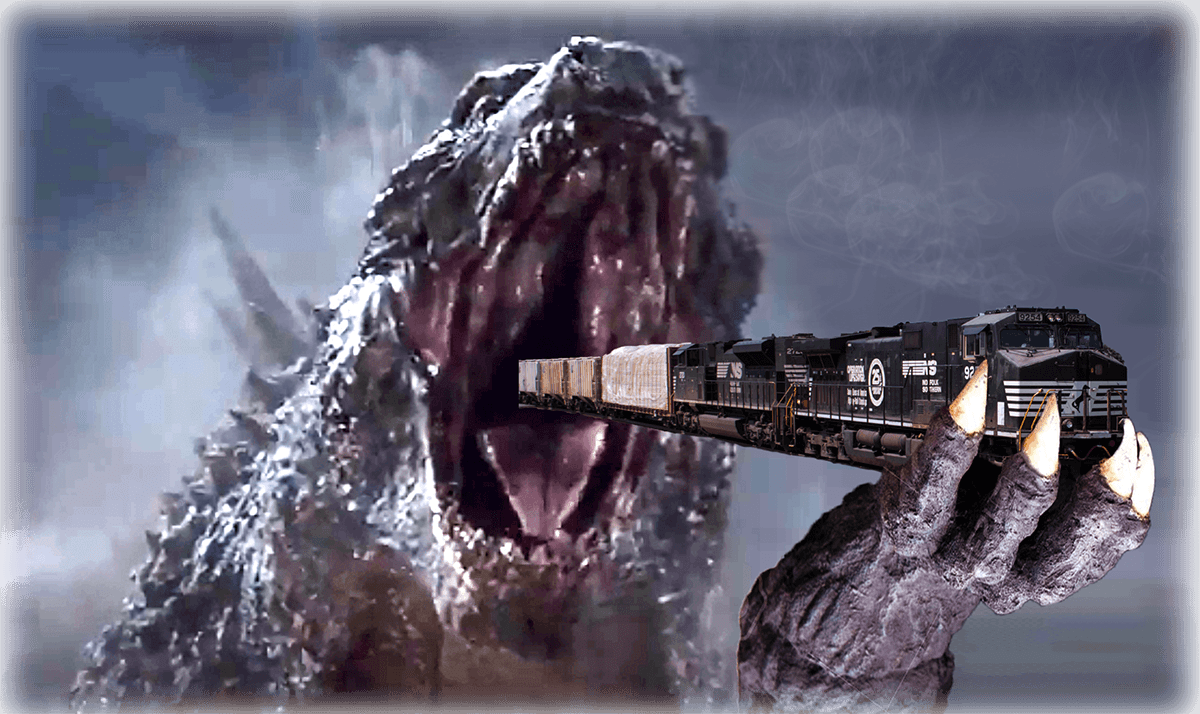
Rista - great start. Those colours work well.
Nancy - I love that one.
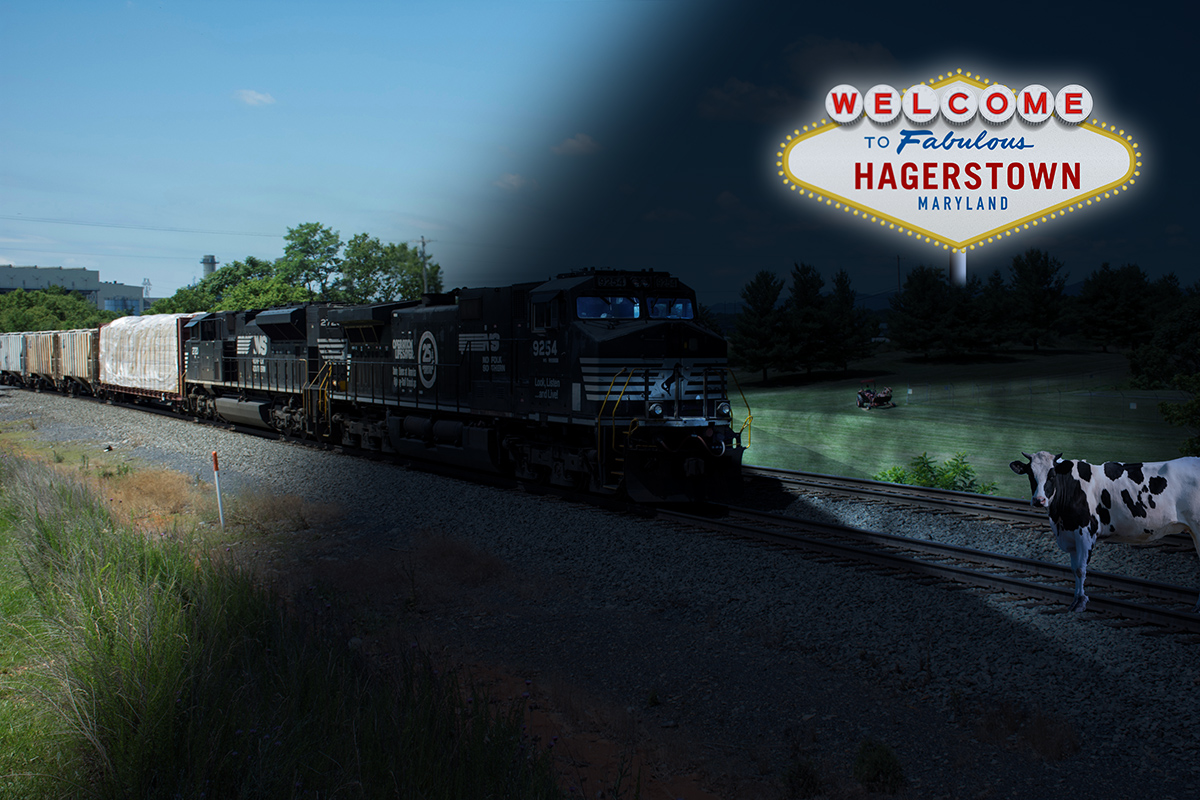
Mike - Day and night in one pic. Don't think there is much hope for that cow.
Dave

Copy link to clipboard
Copied
Hi Trevor,
I just converted Dirck's RAW file to jpeg and sent it to Dave. I wasn't sure how big the originals should be.
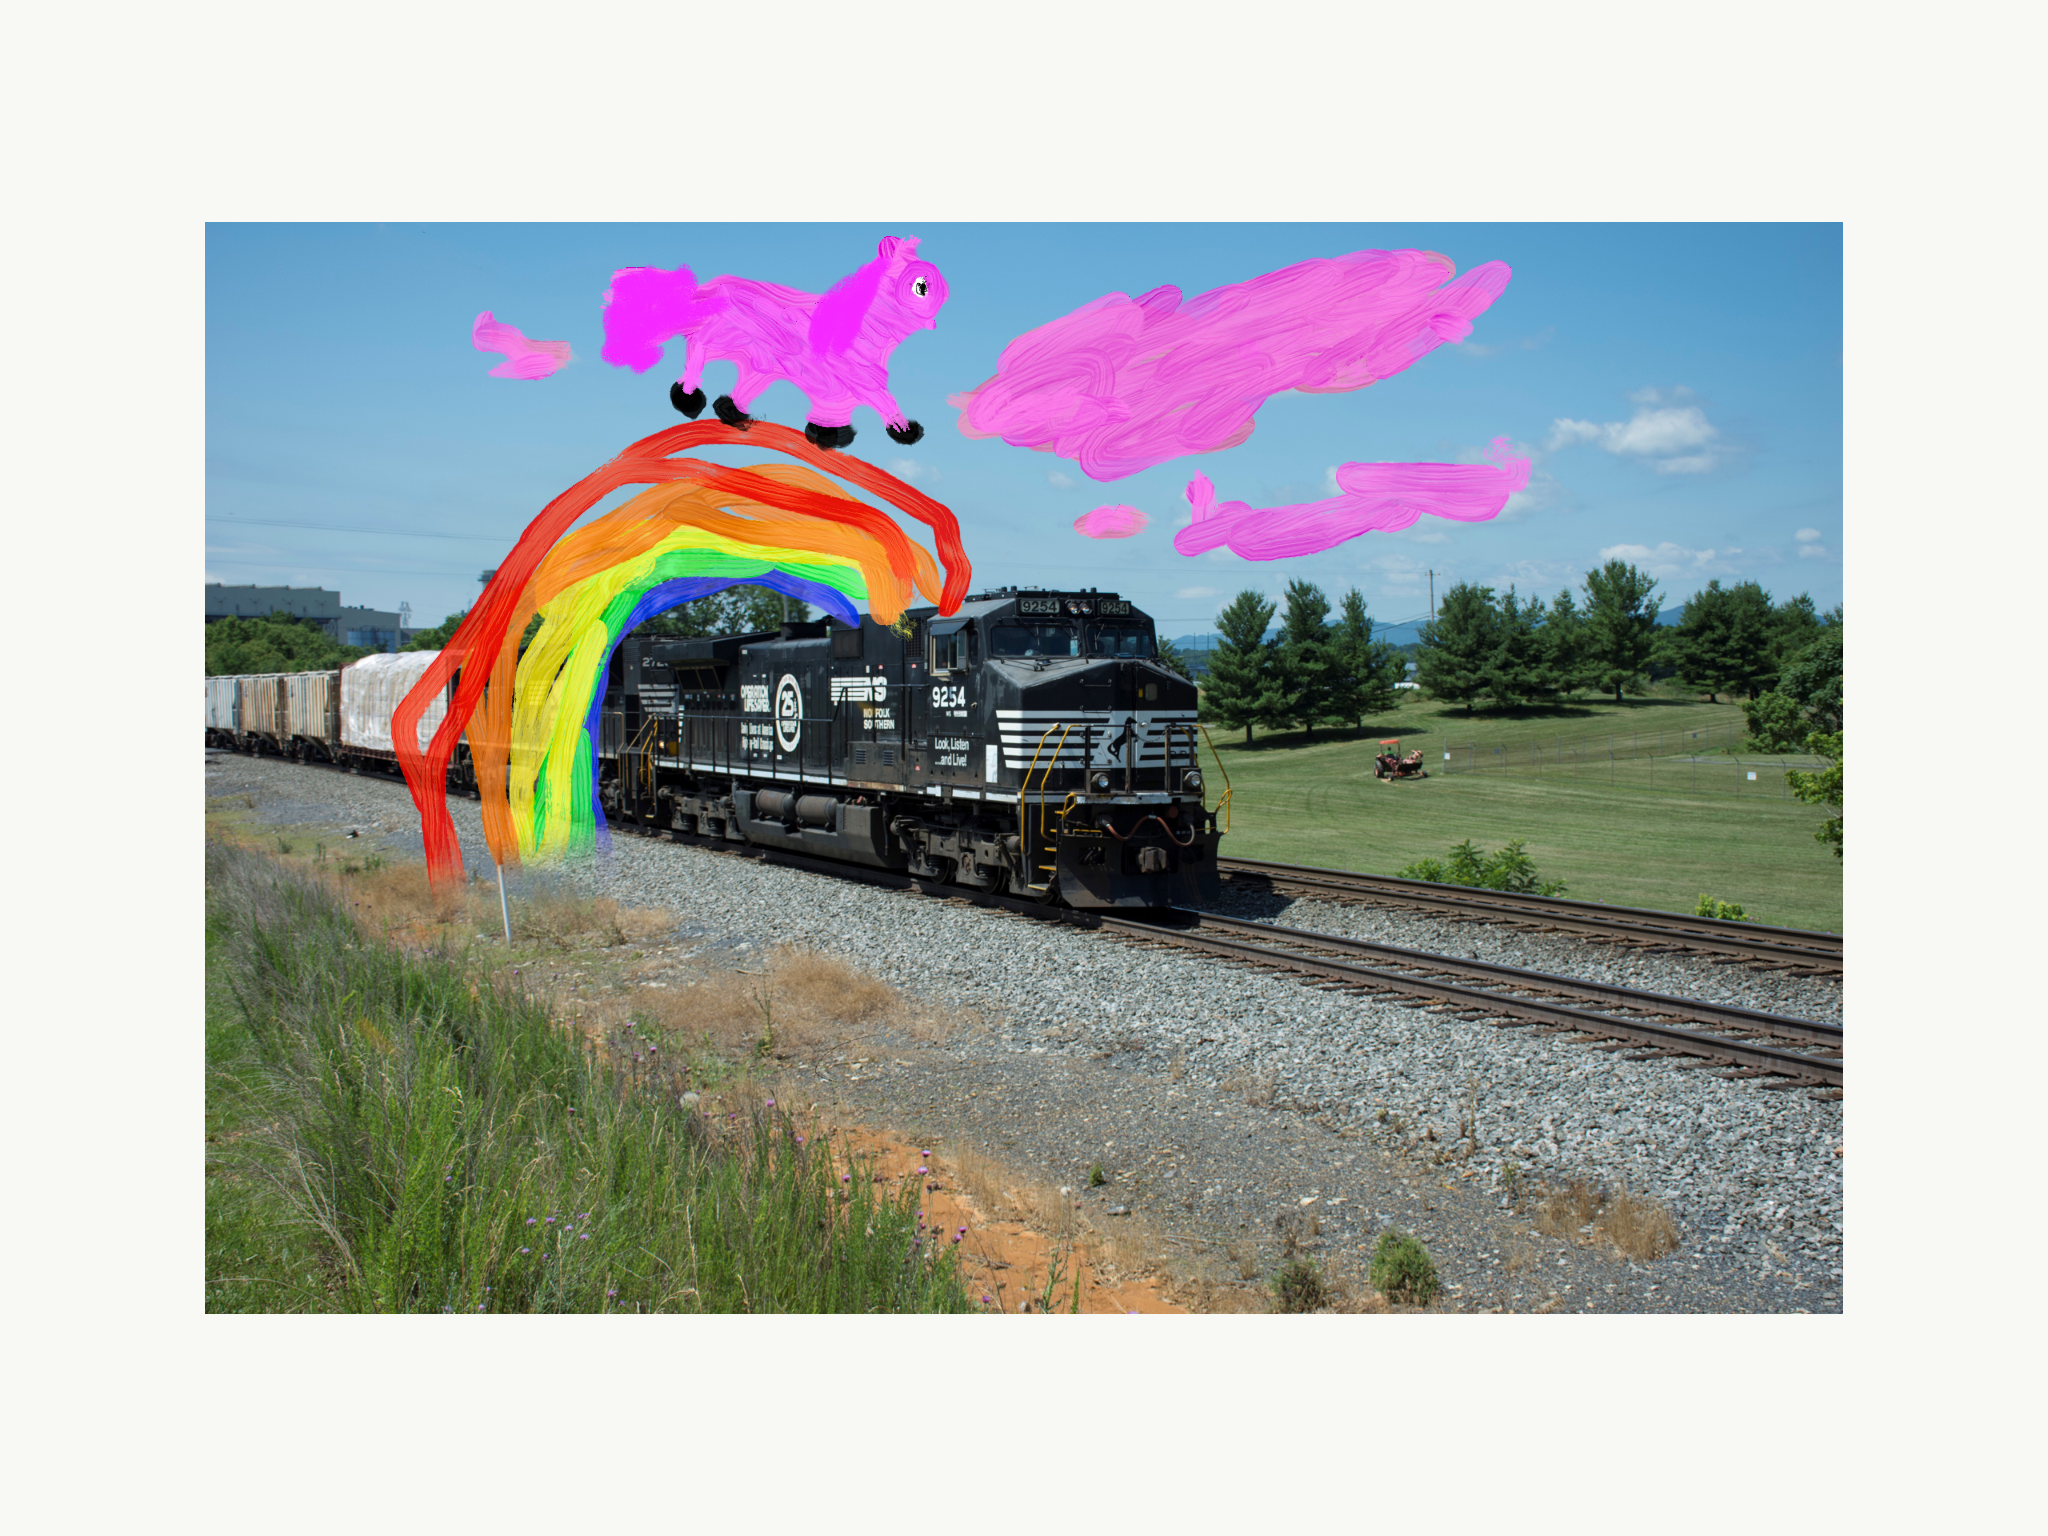
I have an eight-year-old visiting this weekend. When I showed her the original picture, she knew immediately what it needed. She has sketched it out, and we have been working on it. Our other project for the weekend is baking and decorating a cake—she started sketching the decorations for that a month ago.
Rista, Nancy, and Mike, these are wonderful, and I love what you have done!
And Mike, yes, I'm sure Hagerstown is at least as fabulous as Las Vegas and their iconic sign!
Copy link to clipboard
Copied
Hi
I've got no problem with the pixel size. The filesize is no bigger than some of the others we have used.
jane-e wrote
I have an eight-year-old visiting this weekend. When I showed her the original picture, she knew immediately what it needed. She has sketched it out, and we have been working on it.
Please post it 
Dave
Copy link to clipboard
Copied
davescm wrote
Please post it
Yes, but first a trip to the National Zoo.
Copy link to clipboard
Copied
Jane, I can't wait to see what your young visitor has come up with your help. I'm not even going to guess, as I know her mind set will orders of magnitude removed from what I could conceive.
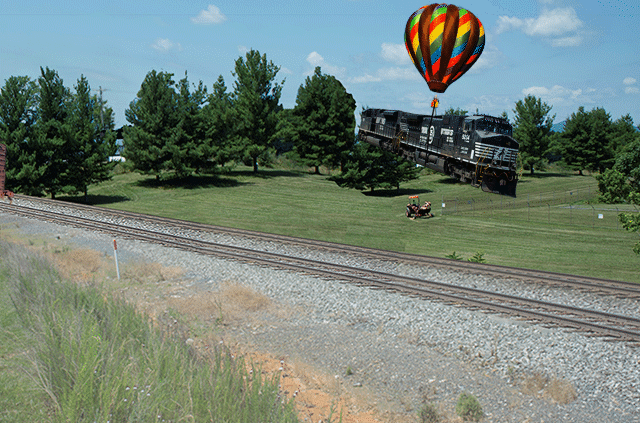
This one is as much an exercise in drawing perspective as anything else, as the bridge is a free hand illustration, with lots of help from Photoshop. There's a lot wrong with it, like the texture does not get smaller with distance, and I had to fudge the pillar depth perspective as Eye Candy made it the same depth right across. I get a lot of use out of Noel Carboni's Star Filter Pro. Nothing else comes close when it comes to making flares, stars, lights etc. Flaming Pear is OK for star fields and planets, but is pants at making suns. I'll tell you what was mega useful, and that's the Curvature Pen tool. I developed the bridge arches the same way I was shown a zillion years ago in drawing class, and after working out the depth of each arch, the CP tool made it a very quick job. I just had to align the handles to the perspective, and the arches were good to go. So thanks Dave for another chance to learn a few more tricks.

[Edit] I have pasted this in, see a small problem, fixed and pasted it in again four times now. Fingers crossed this is the one. Nope. Five times now. Six

Copy link to clipboard
Copied
What goes around comes around
Copy link to clipboard
Copied
Haha KJerryK
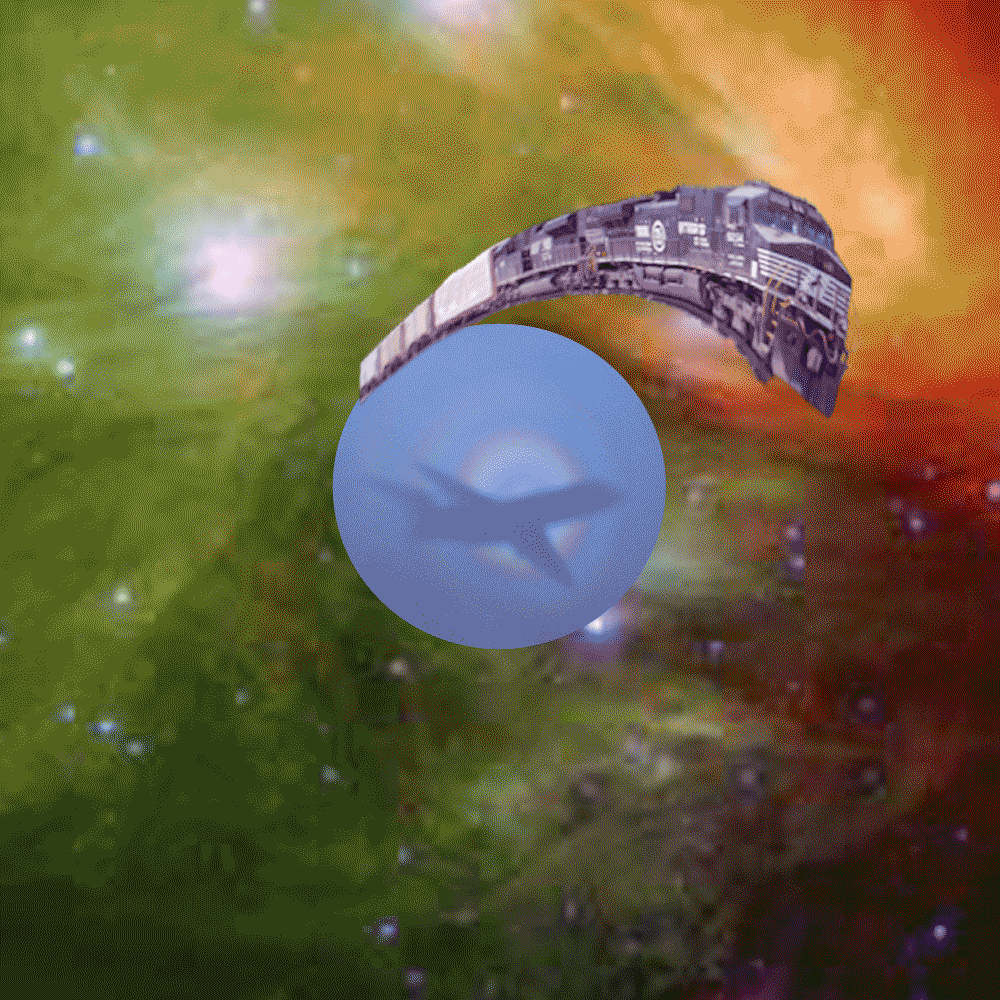
I was so engrossed in making my train move and then I came to post it and found yours. I'll post it anway though.
I had to use After Effects and edit the curves for movement and scaling keyframes) to get the movement of the train and its shadow to scale and move correctly in time. In Photoshop with linear keyframe interpolation frames it appeared to slow down as it got closer and adding extra keframes made it jerky.
Trevor - love that image - it would make a good book cover
Dave
Copy link to clipboard
Copied
The train is going through a rainbow bridge. Unicorns travel on rainbow bridges. There are cotton-candy clouds.
Copy link to clipboard
Copied
The imagination of an 8 year old makes that a winner  !
!
Dave
Copy link to clipboard
Copied
davescm wrote
I had to use After Effects
I also had to use After Effects. I did try Photoshop, but discovered the only way to animate rotation is frame-by-frame, which is just too slow.
Copy link to clipboard
Copied
KJerryK wrote
I did try Photoshop, but discovered the only way to animate rotation is frame-by-frame, which is just too slow.
You can animate rotation in the Photoshop video timeline but only if you put the layer you want to rotate in a smart object, at which point Transform keyframes appear.
Rista - You never fail to surprise us with a one off.
Dave
Copy link to clipboard
Copied
You can animate rotation, and perspective inside Photoshop by making the layers with Free Transform Step & Repeat, and then using Make Frames from Layers. Rotation can be tricky regards positioning on screen, but you can Group the layers and Free Transform the Group (before making the frame animation).
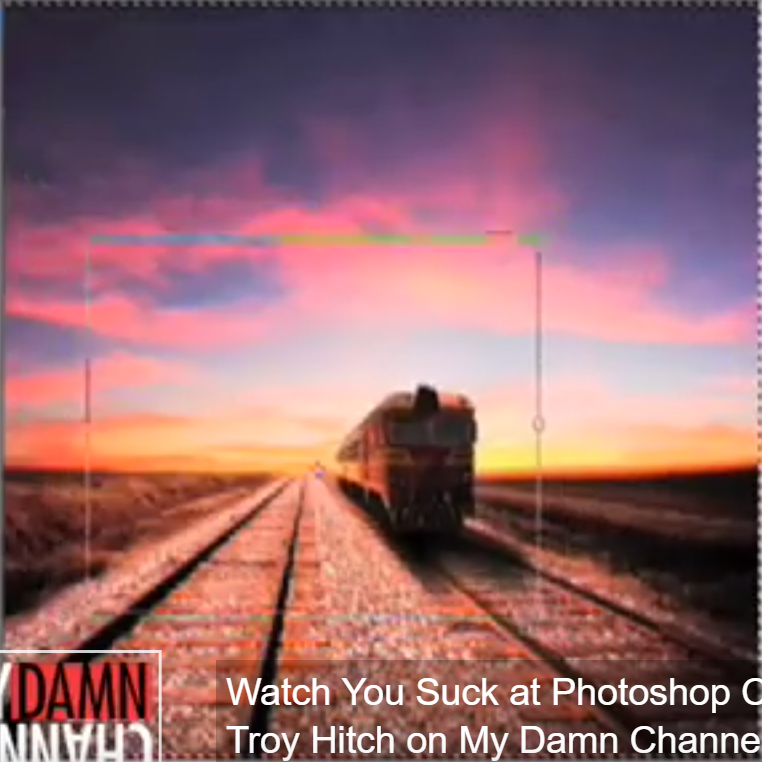
Donny did a neat trick animating a train with perspective in his 'You Suck at Photoshop' Vanishing Point tutorial. It's not really an animation, but you could use Step & repeat to make the layers for one.
Donny's trick only works because the horizon is level, and the foreground detail is constant. If there had been a tree in the area outside the tracks, it would have moved with the train and spoilt the trick.
[EDIT] Regarding using Photoshop for animations, I've been looking at Animate, although I have not actually output to GIF from it yet. But it is a cinch to move multiple elements. I was also wondering about uploading video to SFTW so it could have sound?
Copy link to clipboard
Copied
Hi Trevor
I tried embedding a link to a you tube video a few weeks ago. Unfortunately after playing the video it continued to step on to someone elses video rather than just stopping (that despite including the code for single play and stop and last frame).
So I went back to GIF.
In After Effects my train only took 2 keyframes (one with the train scaled down and moved off to the left and the other with the train scaled up and moved off to the right. I opened the speed curve associated with the keyframes, and increased the speed as the train got closer.
Dave
Copy link to clipboard
Copied
You can do the same ease in start and stop with Animate AFAICT. Unfortunately, I have gone from being almost completely retired, to having two jobs with stills and video at the moment. I spent much longer on the Sky Bridge than I should have, so Lynda.com and Animate are having to wait.
Interesting point about videos auto-playing to the next one. I suppose it has done that with embedded videos that I have watched, but I didn't think too much about it — just hit pause, or refreshed the thread or went back to the front page. I am not aware of anything other than YouTube that will let us embed video in Adobe forum threads.
I like that you have moved a shadow with the train in your frame animation. It looks so much better.
Copy link to clipboard
Copied
Trevor.Dennis wrote
Donny did a neat trick animating a train with perspective in his 'You Suck at Photoshop' Vanishing Point tutorial...
That "You Suck at Photoshop" tutorial is truly bizarre.
Copy link to clipboard
Copied
https://forums.adobe.com/people/Nancy+OShea wrote
Trevor.Dennis wrote
Donny did a neat trick animating a train with perspective in his 'You Suck at Photoshop' Vanishing Point tutorial...
That "You Suck at Photoshop" tutorial is truly bizarre.
The whole channel is like that. I think it started ten years ago with him pasting a copy of his marriage certificate in the windscreen of the van belong to his wife's lover. I've not watched them all, but the ones I have are very funny. The video below is close to five million views now, so people seem to like it. It even has a comprehensive Wikipedia entry. The first two comments (as I type this) sum it up.
"Distort, Warp, and Layer Effects. This is basic to intermediate... but for you its going to be stupid-hard. Advanced." I died laughing. lol
and
I'm not here for Photoshop. This guy is stupid funny.
Nowadays it makes me uncomfortable that he has the perspective of the certificate wrong, but I am not sure I would have noticed that ten years ago.
Semi, I had a couple of months with limited GPU acceleration a couple of years ago, and Perspective Warp was one of the things that wouldn't work for me, and I really missed it. The strange thing is that knowing PW existed, I was able to fudge a workaround by separating the front and side faces of the object I was try to fit to a scene, and FT they manually, which is what I think you must have been doing. I am not sure I'd have even thought to try this prior to PW being introduced. In my case it was the back of a truck which had a complex rear because the lights were on peninsular arms, and I don't think I did a great job.
Puppet Warp is another tool I have trouble with, as it seems too easy to end up with Rubber Man with bendy limbs. This would be fine, except that the bends are not always in the right places. I'd welcome a heads up from anyone whole feels they have mastered this tool. But as Jane says, SFTW gives us a reason to practice and learn, and I love to see people share the workarounds and tips they come up with in these threads.
In my bridge, for instance, I initially had to think for a moment about getting the perspective spacing, before having my own 'Duh' moment and using FT > Perspective. I had another realisation after I finished it, in that I developed each arch separately, whereas I could have place guide lines through to the vanishing point and saved all that development work. In fact I could probably have created a single arch and copied it prior to FT > Perspective. I need to go try that right now!
...and of course it was _way_ easier than my first attempt, with the perspective arches taking five minutes, compared to an hour.
What did still take me another ten minutes, was the perspective depth of the arches. I used Eye Candy 7 > Extrude, but had to do it to separate layers decreasing the depth each time, and masking in. I can't think of a better way of doing this short of using 3D, and I prefer to Illustrate manually.

[EDIT] And I have just realised that I did not give the height perspective, but I have to go out now, so will think about that later. Dave will be alseep, so I might just get it done before he wakes up and does it in two minutes with 3D.
Copy link to clipboard
Copied
Trevor.Dennis wrote
Puppet Warp is another tool I have trouble with, as it seems too easy to end up with Rubber Man with bendy limbs. This would be fine, except that the bends are not always in the right places. I'd welcome a heads up from anyone whole feels they have mastered this tool.
When Puppet Warp first came out, I thought it was mostly for play. Then I was working at the National Archives where they were having some trouble with an image. They had scanned the original hand-drawn artwork in four sections, each about 8 ft x 3 ft and had to combine the four large pieces into one. Photoshop did a great job with the body of the ship, but failed with the fine lines at the top—they didn't connect. We tried several things that failed, then we tried Puppet Warp, which worked splendidly. We put a lot of pins to anchor the parts that shouldn't move, then we could nudge the lines in the mast to make them continuous so that it looked like the original photo.
You didn't mention making a Smart Object before applying Puppet Warp, but that is essential to make it editable. Maybe you already know that.
Donny is hysterical! I love the images he just happens to scroll by between the van and the certificate and that his wife comes in at just the right moment to harass him.
Copy link to clipboard
Copied
jane-e wrote
Donny is hysterical! I love the images he just happens to scroll by between the van and the certificate and that his wife comes in at just the right moment to harass him.
Yes, I was going to mention that as well. The guns that he doesn't even mention, but we are planted with the idea that Donny has dark thoughts about the man with the van. Until I saw the Wikipedia page, I hadn't realised how much work went into YSAP, but there appears to be quite a team behind it.
When it comes to fine lines like power cables and power lines, I just delete the originals, and paint them back in with a hard brush using the Shift key. When you need to give the lines perspective, then Fade takes care of that. When you need to make nice curved lines, then stroke a path, and use Simulate Pressure when you need tapered lines.
I found a gem of a tutorial today with Steve Caplin and Retouch Pro. How often do this forums regular posters watch a tutorial and pick more than one or two new things? Well I have got several bits and bobs out of this. The audio keeps going bad, and it is an hour long, but there is some great stuff in it. There's also quite a lot of 'the bleeding obvious', so I might summarise the good bits later on.
[EDIT] The link might help 😞
Copy link to clipboard
Copied
Trevor.Dennis wrote
When it comes to fine lines like power cables and power lines, I just delete the originals, and paint them back in with a hard brush using the Shift key. When you need to give the lines perspective, then Fade takes care of that. When you need to make nice curved lines, then stroke a path, and use Simulate Pressure when you need tapered lines.
But this was National Archives — their job is to preserve and document government and historical records. Redrawing would not be allowed. The four stitched panels have to look exactly like the original.
Copy link to clipboard
Copied
-
- 1
- 2

 AdChoices