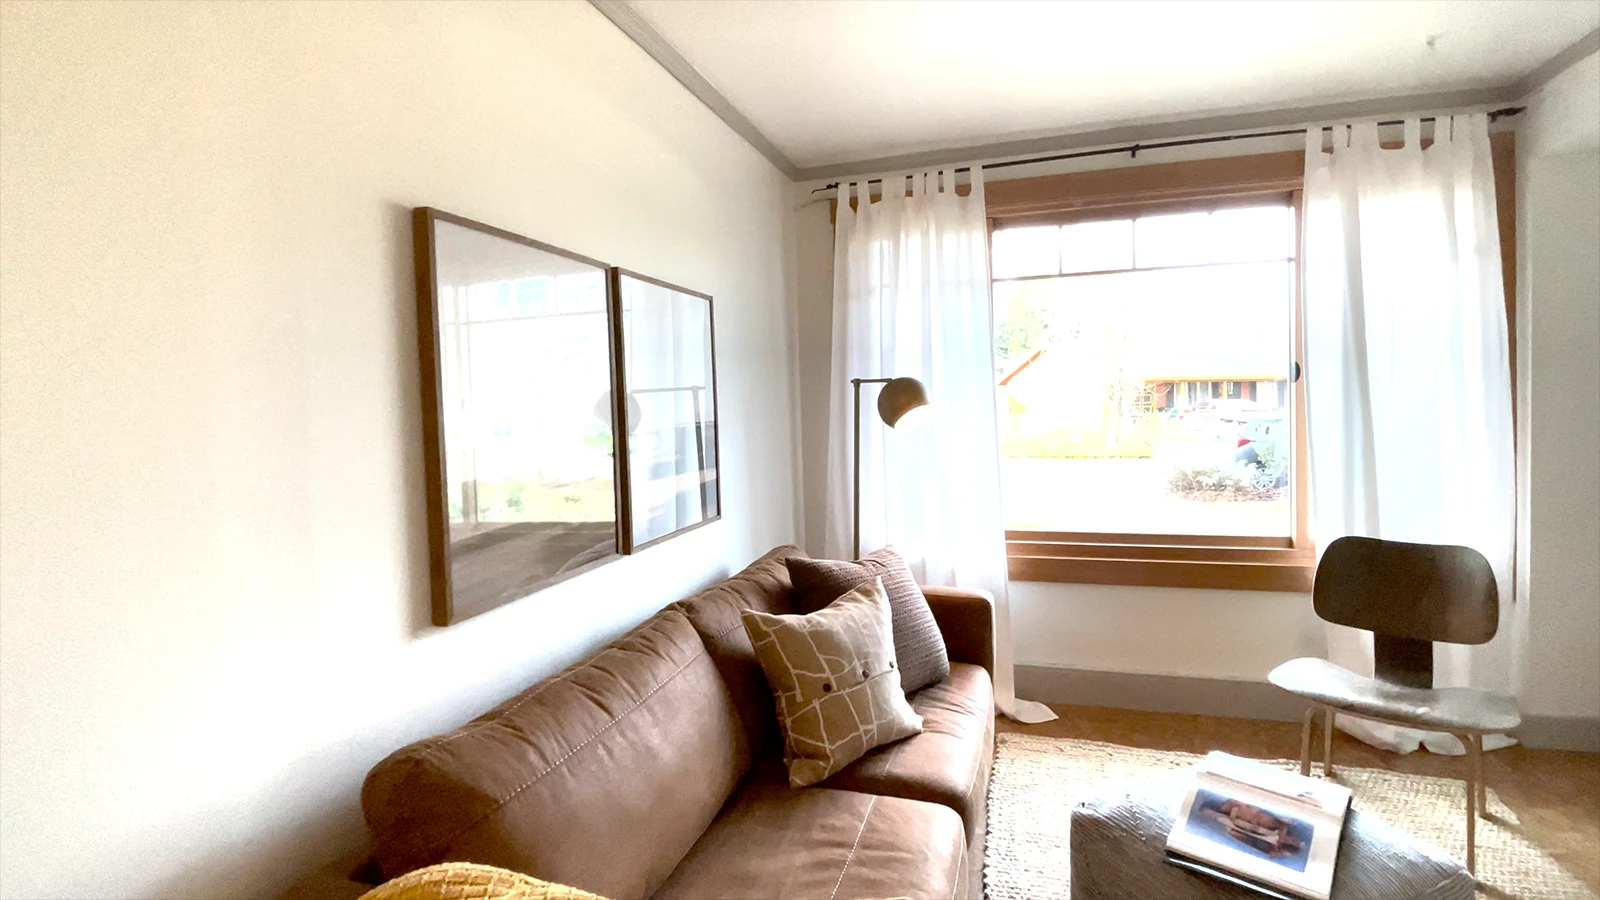
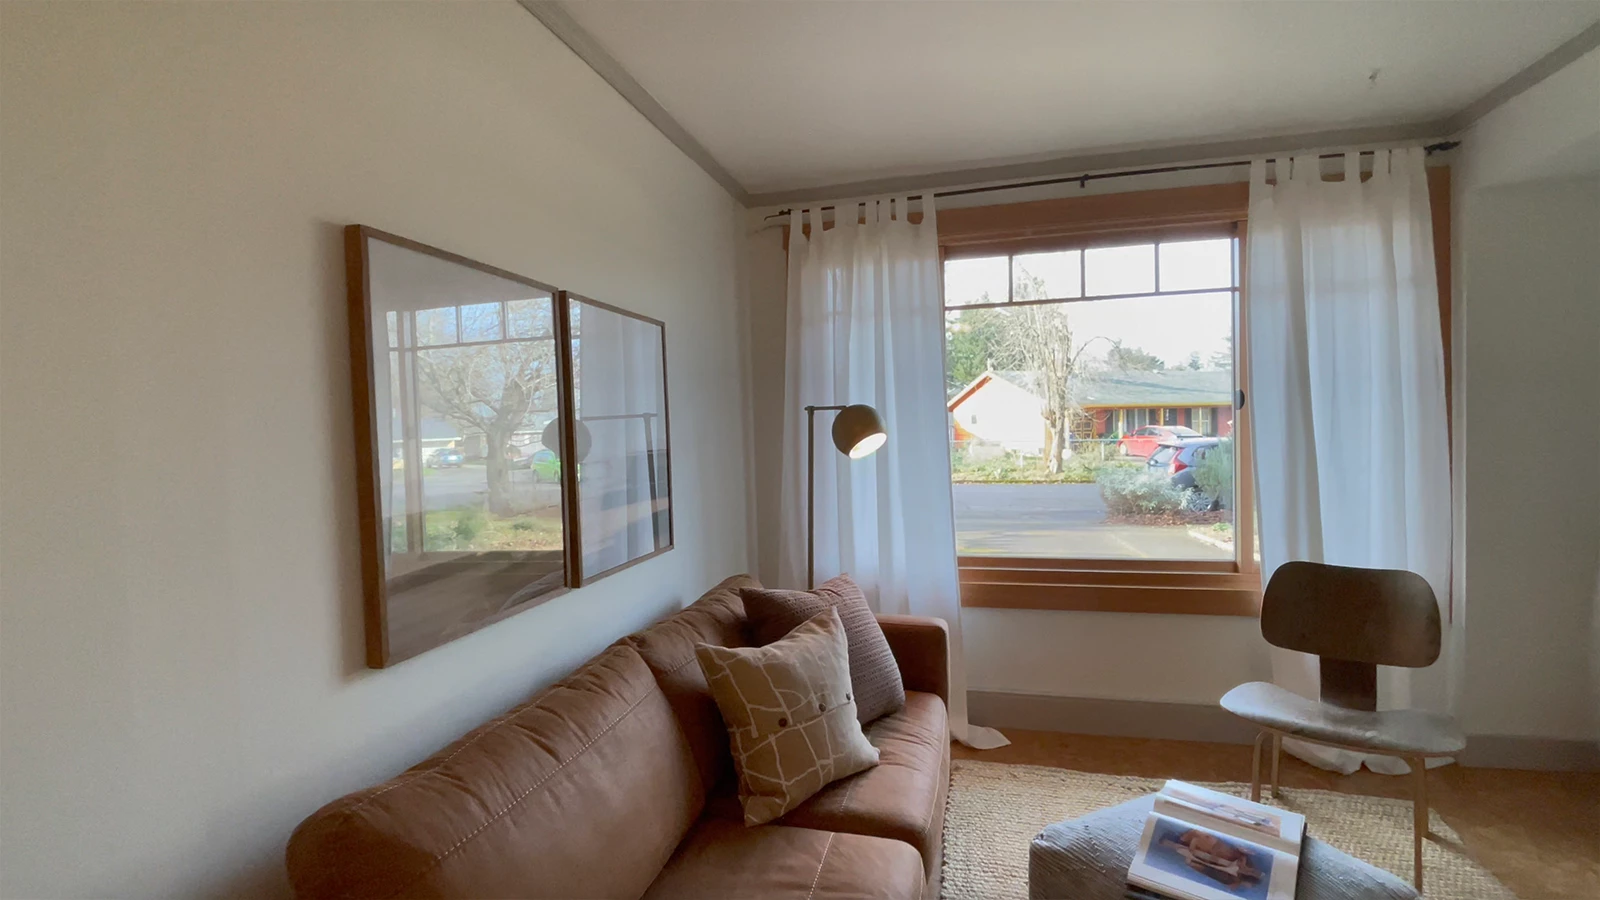
One thing that is tripping up so many people here is that the iPhone is shooting in HDR by default, and it has an HDR screen, so videos look phenomenal on it. High Dynamic Range video contains more light and color level than Standard Dynamic Range video (Rec709). Unless you have an HDR display on your computer (and have everything is set up properly), you will never see it the same way as on the phone. The vast majority of people have an SDR display. When you send the video to your computer, QuickTime player will do tonemapping while sending it to your SDR display so it looks decent. Premiere Pro does not have this capability yet.
Here's what's happening. PPro reads the metadata in the file, sees that it's HDR (HLG to be specific) and treats it that way. If you create a sequence from the file the sequence will be set up as HLG automatically. But your monitor is physically not capable of displaying the light levels in the file so that's why things look blown out. If you look at the scopes, you will see that nothing is actually lost. You could use Lumetri to grade the file down to SDR levels.
Here are a few options that I recomend. Choose the one that works for you:
Don't capture in HDR on your iPhone.
- On your phone- Go to Settings > Camera > Record Video > turn off HDR video
- This will create Rec709 SDR clips
- Edit in PPro like you are used to
OR . . .
Override the colorspace of the files to Rec709
- Select all your clips in the project panel
- Right-click > Modify > Interpret Footage > Color Management > Set the color space to Rec709
- Now your clips will be treated as if they are Rec709 - this is not a conversion, it just tricks PPro into thinking it's Rec709
- The clips will likeley look a little flat
- Make sure your sequence is in Rec709 - Sequence settings > Working color space > Rec709
- Color grade to taste with Lumetri. You will never get it to look as good as on your phone because your phone has an HDR screen and your computer (probably) does not.
OR . . .
Actually work in HDR and create an HDR video
- You need an HDR monitor hooked up through proper cabling https://support.apple.com/en-us/HT210980
- Turn on Display color management and Extended dynamic range montioring in PPro Preferences
- Import HDR footage from iPhone (iPhone shoots HLG)
- Add the footage to an HDR sequence (HLG)
- Export using an HDR encoding preset (HLG). Either H264 or HEVC are good options.
Hope this helps. HDR is legitimately confusing!