

Lumetri Limitations

Copy link to clipboard
Copied
I'm very confused after watching this video.
I don't have any of the problems described in this video. Anyone else having the same issues as this person in the video?
Perhaps maybe it's the codec he's using?
He's saying the scopes don't accurately represent what he does in Lumetri even though my AVCHD does.


 42
Replies
42
42
Replies
42

Copy link to clipboard
Copied
I'm not sure what you're expecting to see ... you applied the LUT in the Creative tab, but then went to the Curves tab and expected to see the same control settings you had when you created the LUT? That isn't how it works ... it doesn't re-read the control settings in the same panel, it applied a matrix of corrective data points to the signal in the Creative Tab.
So of course the control in the Curves tab is still straight ... you haven't done anything to it.
That curve doesn't show the media ... it shows the changes you make to the media in that tab at this point.
You're also not showing your scopes here. ALWAYS view your media with the scopes open when doing corrections ... see what it's done there. If you go to the Creative tab and turn off the tab for the moment your scopes should show the media popping back to it's native state. After the LUT is applied, then it will show the media as how it is with that LUT applied.
And for a corrective LUT to bring media into the 1-99 section of the scopes, I would strongly suggest applying that via the Basic Tab's Input LUT slot. Then you can use all of the tabs, including Basic, with your media.
The High Dynamic Range option is ... perhaps not completely ready for Prime Time. It can work fine for some things, but try this control like this and that one moved to ... what the hay? ... you can get some interesting things with that option. I worked with it for quite a bit, then after finding it's several limitations and quirks, settled on this as a workflow that simply ... works. As expected.
Neil
Copy link to clipboard
Copied
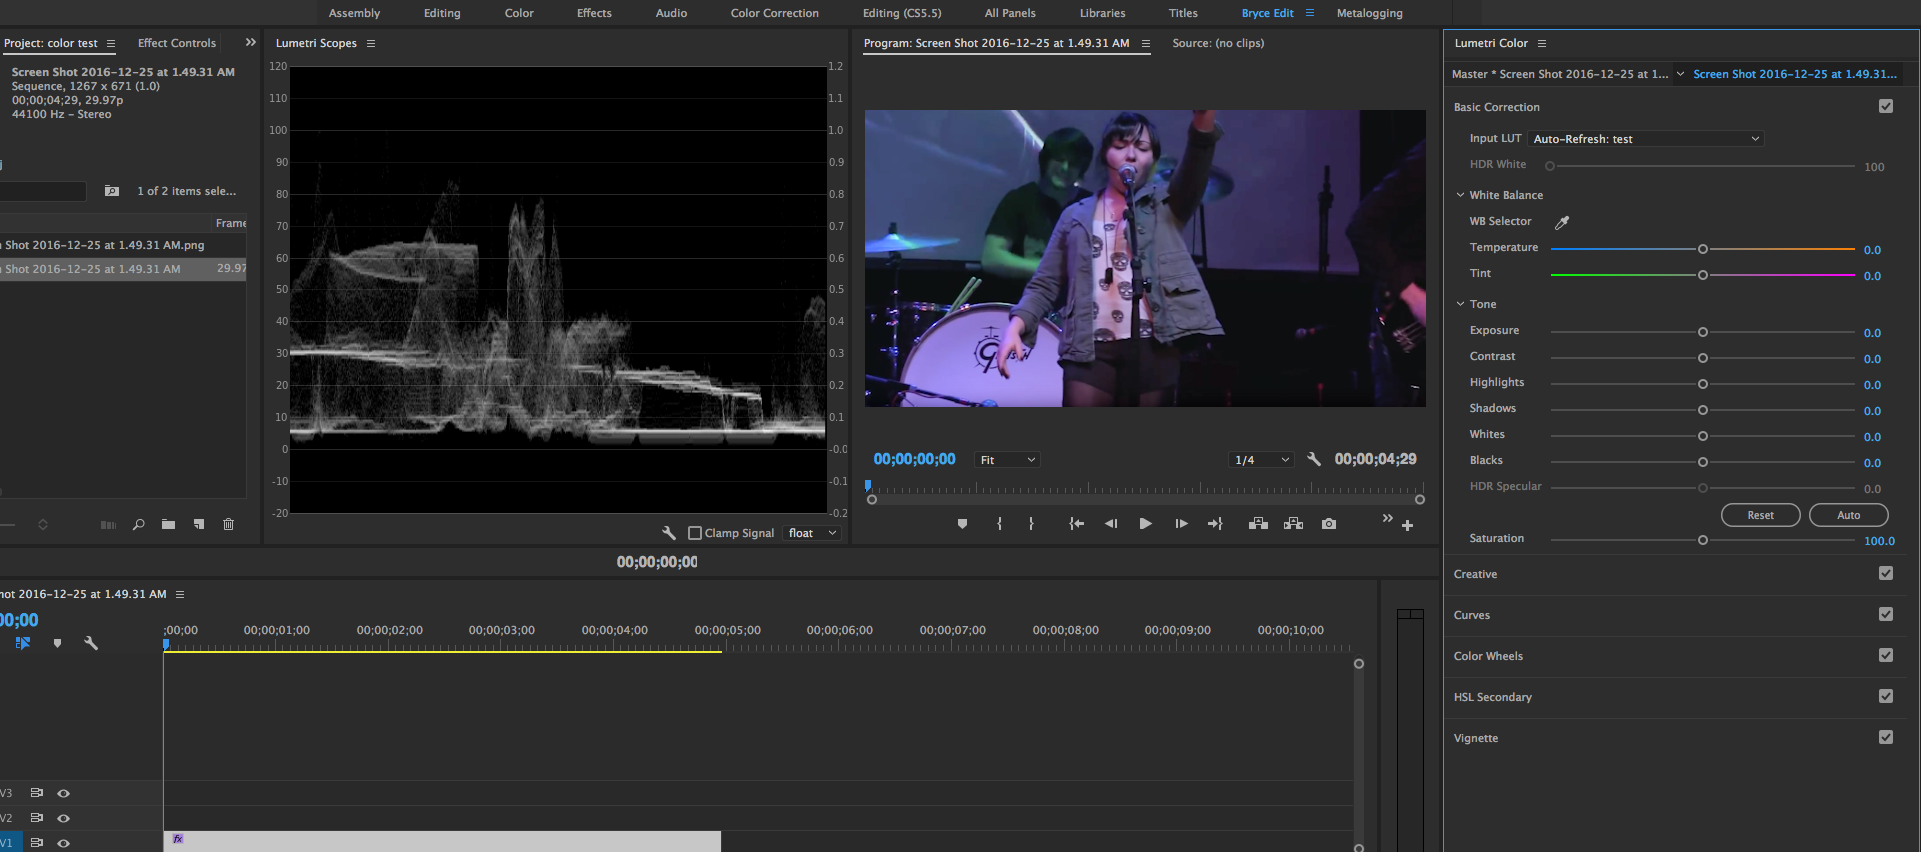
no the lut was applied in the basic section. I do have scope I just didn't show that in the screenshot.
Here is what I have with each screenshot. I labeled the Exported Lut as test.cube
As you can see the creative section has no preset assigned but the basic section has my test.cube loaded as a lut yet the curves aren't affected as they were when I saved it. This time it's different than before. It's no longer green which it was in my previous screenshot with the test lut loaded.


Copy link to clipboard
Copied
"This was designed to keep the users from breaking their media."
That is a frustrating design choice for professional software.
Copy link to clipboard
Copied
The HSL mask and contols should work on the basic media signal data, but they don't. They are processed in order, after everything you've done above.
It is weird that they'd put a Secondary control in the signal chain like that. Both the Primary and the Secondary should work on the original signal by default, with a user option to change that.
Copy link to clipboard
Copied
To both this and your just-prior comment, yes ... totally agree with you.
And yes, I've talked this over in person at NAB and MAX with some of the design staff. We have a ... professional disagreement? ... on the wisdom of those choices. Among others.
Now ... in general, I'm thrilled with the HSL panel, it's a pretty nice keyer they've got built there. And I've also made sure that it's clear that much of the work they've done with Lumetri is really quite good. Just makes the clunker bits more ... odd.
Neil

Copy link to clipboard
Copied
"And this is the exact phrase that's been used by several of the engineers/design leaders to me in explaining this design choice: "This was designed to keep the users from breaking their media."
This confuses me. How does one break their media with a completely non-destructive workflow?
Copy link to clipboard
Copied
Editing within the program is non-destructive, so yea, it seems silly ... but they don't want you to do something, export, and find that ... oh my gosh, I crushed my blacks and pushed highlights out there and now when I work with that export I can't get them back!
Weird ... but true.
By "breaking" the media, they're referring to pushing data outside the 'standard' 1-99 scale range of Rec709 media signal. Which is what one does in say deciding to crush the blacks some, or push the highlights up quite a bit. The limitation they imposed means that you cannot push something clear to 0, or clear to 100. But the way it's implemented also means you can't work with signal below 1 or above 99, even if it's got plenty of detail data there.
It's not explained in any of the documentation I've been through (and I've been through most of it), it's inconsistently applied in the Lumetri as the Basic and Creative tab's are locked out of data outside of 1-99 but the Curves, Color Wheels, and HSL aren't ... but if you touch the outside data in the panels that can, and then go back to the Basic & Creative and do anything, you screw the image up royally.
If you're working in SpeedGrade, you use the Offset control's Luma slider to pull your signal down, the whole shebang goes down together ... in the Three-Way or Fast Color Correctors or the RGB Curves effects in PrPro, drop the Exposure-equivalent control, it all goes down ... none of the other controls they've ever built in PrPro behave this way.
But suddenly, they felt the need to protect us from ourselves.
Neil
Copy link to clipboard
Copied
since I posted more screen shots why isn't the curves section what it was when I exported the LUT. It's imported in the basic section.
Copy link to clipboard
Copied
It doesn't look like there's anything "in" that LUT this time. In looking pretty close at the scopes, I can't see any changes in the one with it appearing in the slot or the one without it. So either there's some reason Lumetri is disabled at the moment or that LUT isn't working.
Creating a LUT isn't anything like creating a Preset ... you create a preset of a Lumetri panel, you drop that on a clip, it re-creates the Lumetri panel just as you saved it as a Preset. Save as a Preset after doing something with any control, the control will be exactly like it was when you saved the Preset.
LUTS ... aren't Presets. They don't have anything whatever to do with the controls of the Lumetri panel. They are built from the changes to the signal data in place at the time you create them but not from the settings of the controls.
A LUT is a Look-up Table. It's a matrix of data points about changes to the signal ... that's all. "At Red Chanel level 1, lift signal to level 3; Blue channel level 1, drop to -3; Green Channel level 1=1; ... rinse & repeat.
So ... neither PrPro nor any other NLE/grading app will have any clue which controls were used to create the matrix settings the LUT recorded ... let alone what the controls used were set for.
You can create a LUT with the LUT buddy effect, for example.
1) Do some changes in a Lumetri panel.
2) Drag/drop a LUT Buddy effect on the clip.
3) In the Effects Control Panel (ECP), drag that LUT Buddy up above the Lumetri panel, and set it to "Draw Pattern".
4) Drag/drop another LUT Buddy effect onto the clip.
5) In the ECP, make sure it's below the Lumetri effect, and set this one to "Read Pattern"
6) In the ECP for that second LUT Buddy, now use it's controls to "Export LUT". Name/save it, and move it into a folder you can access easily.
Now ... go to another clip.
1) Drag/drop a LUT Buddy effect on it.
2) In the ECP, use the controls to navigate to and apply the LUT created in the above steps.
Now ... you've got all the changes made in the Lumetri panel as above ... without even using the Lumetri panel.
Sadly, Lumetri created LUTs are not usable with LUT Buddy, although LUT Buddy created LUTs normally are usable within Lumetri.
Neil
Copy link to clipboard
Copied
LUT buddy from Magic Bullet?
Copy link to clipboard
Copied
It ships as part of the Effects within PrPro. Just type "LUT" in the Effects search bar and it pops to the top.
I'm curious though ... are you beginning to understand what a LUT actually is, as compared to a Preset?
Neil
Copy link to clipboard
Copied
it's called "Lut Buddy" if so I'm not seeing it. Also why is it that I can say make the scopes go over 100 IRE with the brightness contrast effect but in Lumetri if I move the exposure slider all the way up the luma scope doesn't go above 100 IRE it just crushes it?
also, Is it supposed to be 100IRE I aim for now or is HD 110?
Copy link to clipboard
Copied
How am I supposed to see if a piece of video is above 100 IRE if it wont' show me?
Copy link to clipboard
Copied
As I've said ... Lumetri is intentionally limited outside of 1-99. Earlier in this thread I stated you can't push signal above 99, exactly as you commented.
The Curves and Color Wheel tabs can deal with material outside of 1-99 but then you CANNOT use the Basic and Creative tabs.
The scopes will show the data wherever it is . The problem is what the controls are designed to do.
Neil
Copy link to clipboard
Copied
but the scopes themselves aren't even showing the correct data. Let me give you an example.
I have Lumetri color disabled in the effect controls. This is a piece of video I was given to edit. The face is blown out. This was just a clip that I pulled in as the camera operator was dialing in the correct exposure. So it wont' be part of a video but clearly the scopes are wrong. That face has to be over 100 IRE right?


Copy link to clipboard
Copied
That is a jpeg you are showing us. Not the same a video.
Copy link to clipboard
Copied
oh my bad, figured images and videos were the same thing.
Copy link to clipboard
Copied
And I'm very curious about the nature of the clip itself ... that little text box in the jpeg says "F55 RAW debayered to Rec709 as exposed" ... so were you given the original F55 produced RAW clip, or an already de-bayered export of it, and in that case, to ... what?
RAW gets a very different handling within PrPro than "standard" codecs, as it goes first into the RAW processor of PrPro. You can access that step of the process via the Effects Control panel and the Master Clip controls ... here's a page I finally found on using this ...
Apply Master Clip effects in Premiere Pro
Here's a quote of one section of that page:
" Adjust Source Settings using the Effect Controls panel.
For RED, ARRI, CinemaDNG, DPX, and Sony F65 media files, you can adjust Source Settings by using the Master tab in the Effect Controls panel.
Load a master clip in the Source monitor, and adjust Source Setting parameters, like while balance, saturation, and exposure. You can save the adjusted Source Settings as an Effect Preset to easily apply the same settings to other clips.
You can also copy Source Settings from one clip to another, or to multiple clips. For example, you can adjust Source Settings on one clip, and apply the same settings by copy-pasting the settings to a multiple selection of other project items."
And also, for RAW footage (and I think Log also) you can right-click on a clip in the Project Panel, choose 'Source settings', and you get the RAW control panel so you can modify how PrPro's de-bayering/WB/tonal-setting that clip.
Neil
-
- 1
- 2

Find more inspiration, events, and resources on the new Adobe Community
Explore Now
 AdChoices