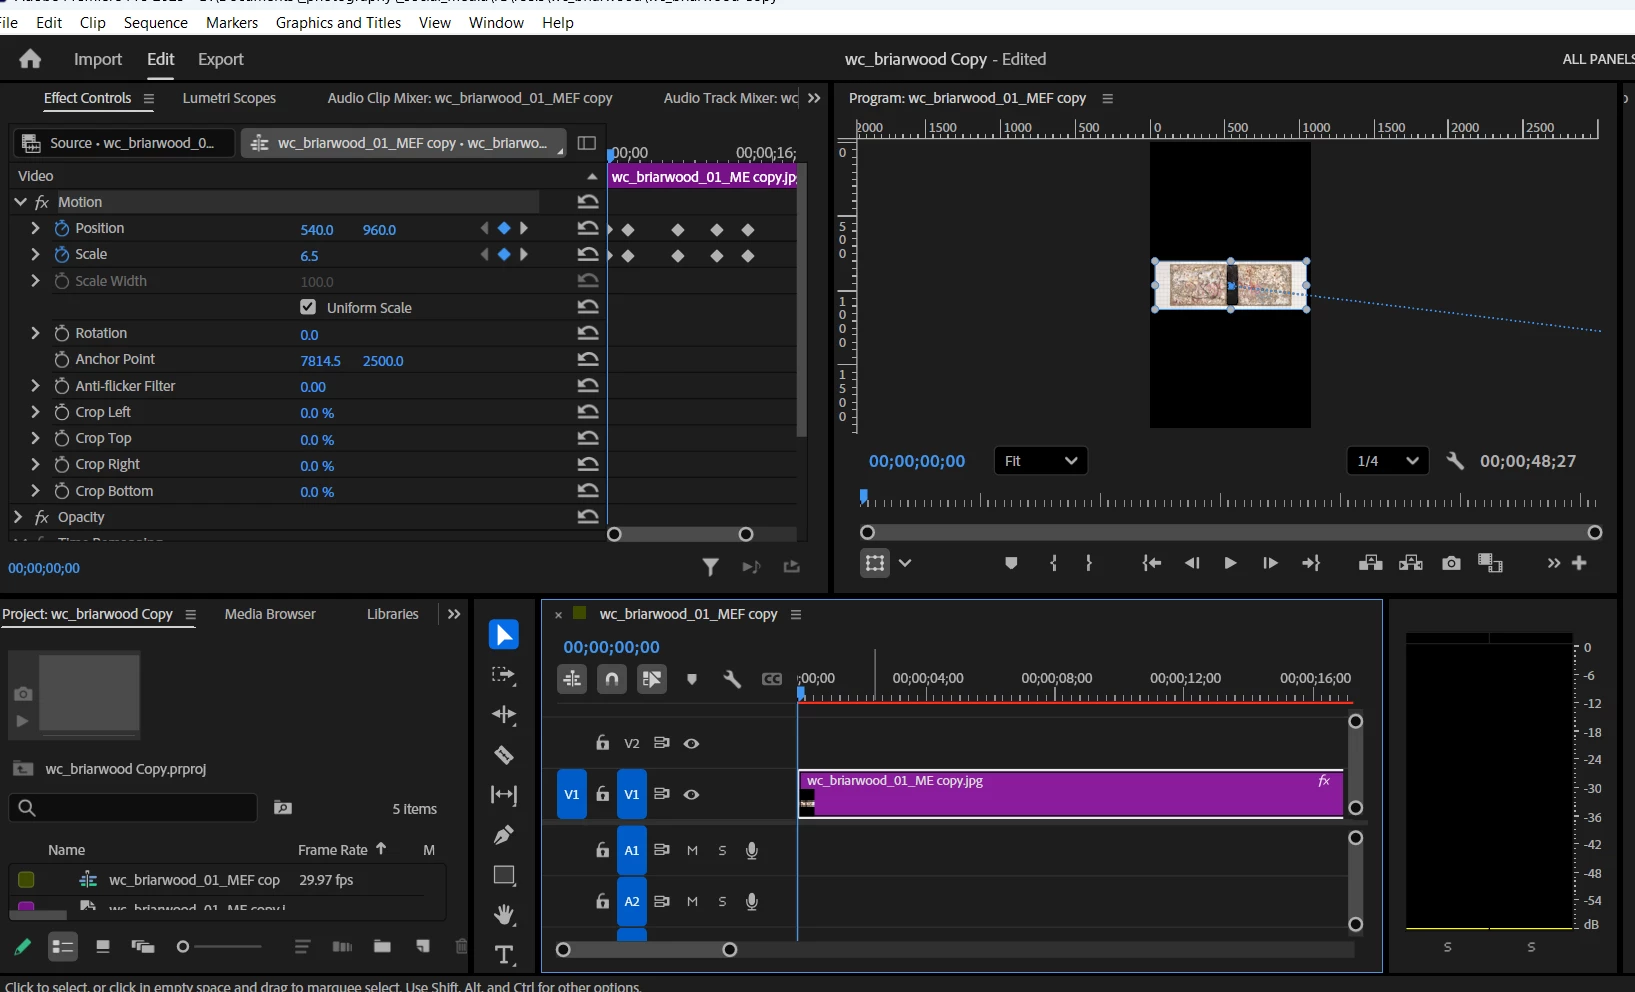
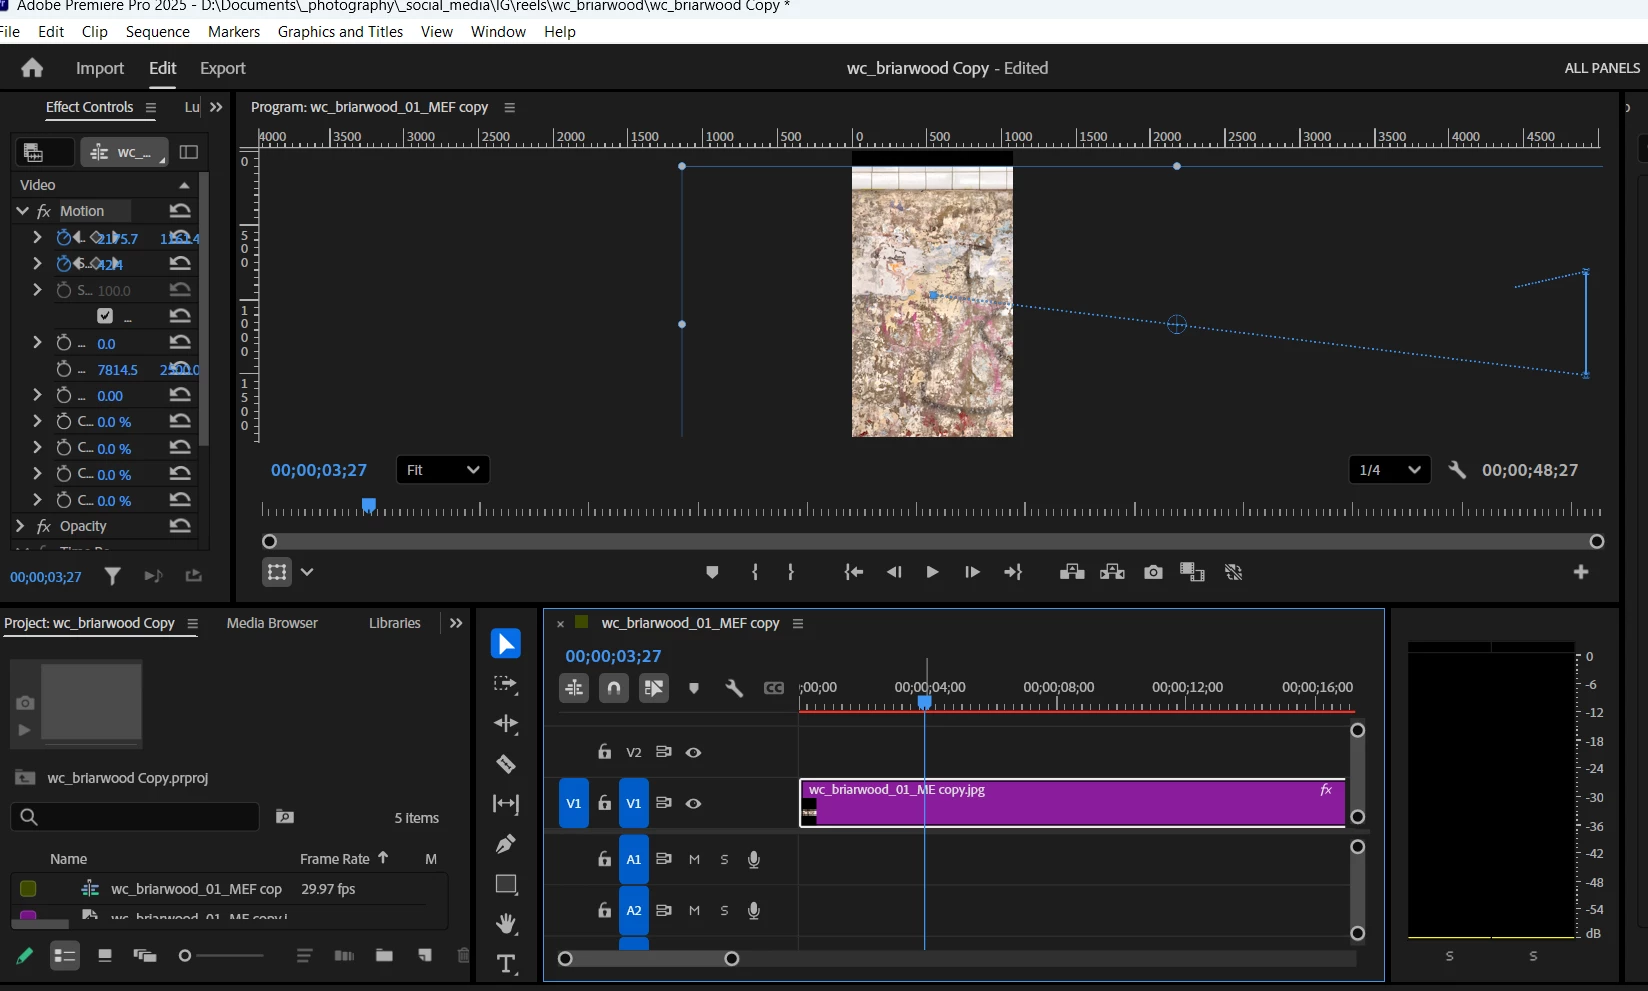
A general tip: It’s a lot easier to troubleshoot with screen shots if they include both the Effect Controls panel and the Timeline panel visible with their keyframes and values. In most of the screen shots that were attached, the Effect Controls panel on the left is over-squeezed and unreadable, so we can’t see what the keyframes and Position/Scale values are doing. In the demos below you see that I have kept both panels readable for easier troubleshooting.
1. What does the endpoint of the downward path at the right represent in the 2d screenshot? This endpoint is where the image reaches the 3rd set of keyframes, and stops panning up, left and zooming in. It obviously has a specific relationship to the image, I just don't know what it is.
By @Barton5C39
I think it’s probably indicating a keyframe at that time point, because a keyframe should appear slightly larger than the tiny dots that represent the frames between keyframes.
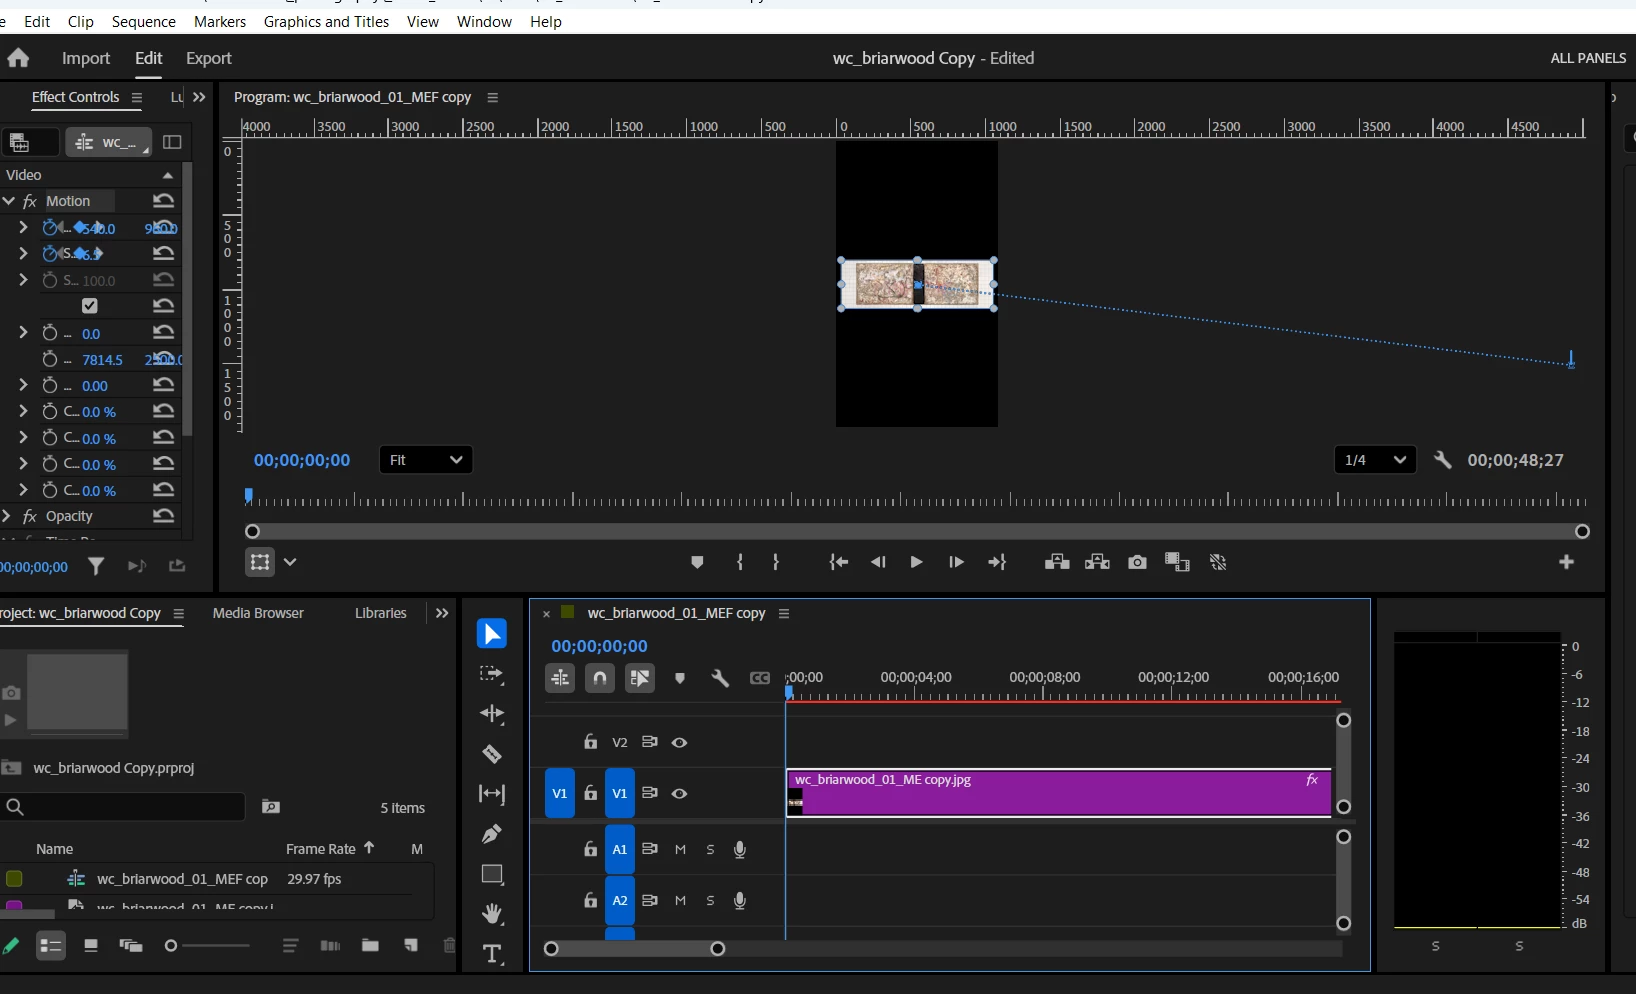
2. In the 3d screenshot, the vertical path is just reflecting the upwards movement of the pan, right? But why is it a solid, not dotted blue line?
By @Barton5C39
It’s a dotted blue line, but there are so many frames between along that Position change segment that the frame dots merge together to appear to be a solid line, even though it isn’t. The demo below shows how it can happen: Notice that as I drag the second keyframe earlier in time, the dots betwen the second and third keyframes start merging and appear to become a solid line as I change the time of the second keyframe, because my keyframe time change puts more and more frames between the second and third keyframes. In other words, the ratio of the number of frames to the Position distance change goes up until there isn’t enough space for all those dots to appear dotted. This illusion of a solid line is more likely to happen when a sequence has a higher frame rate, or the more you zoom out.
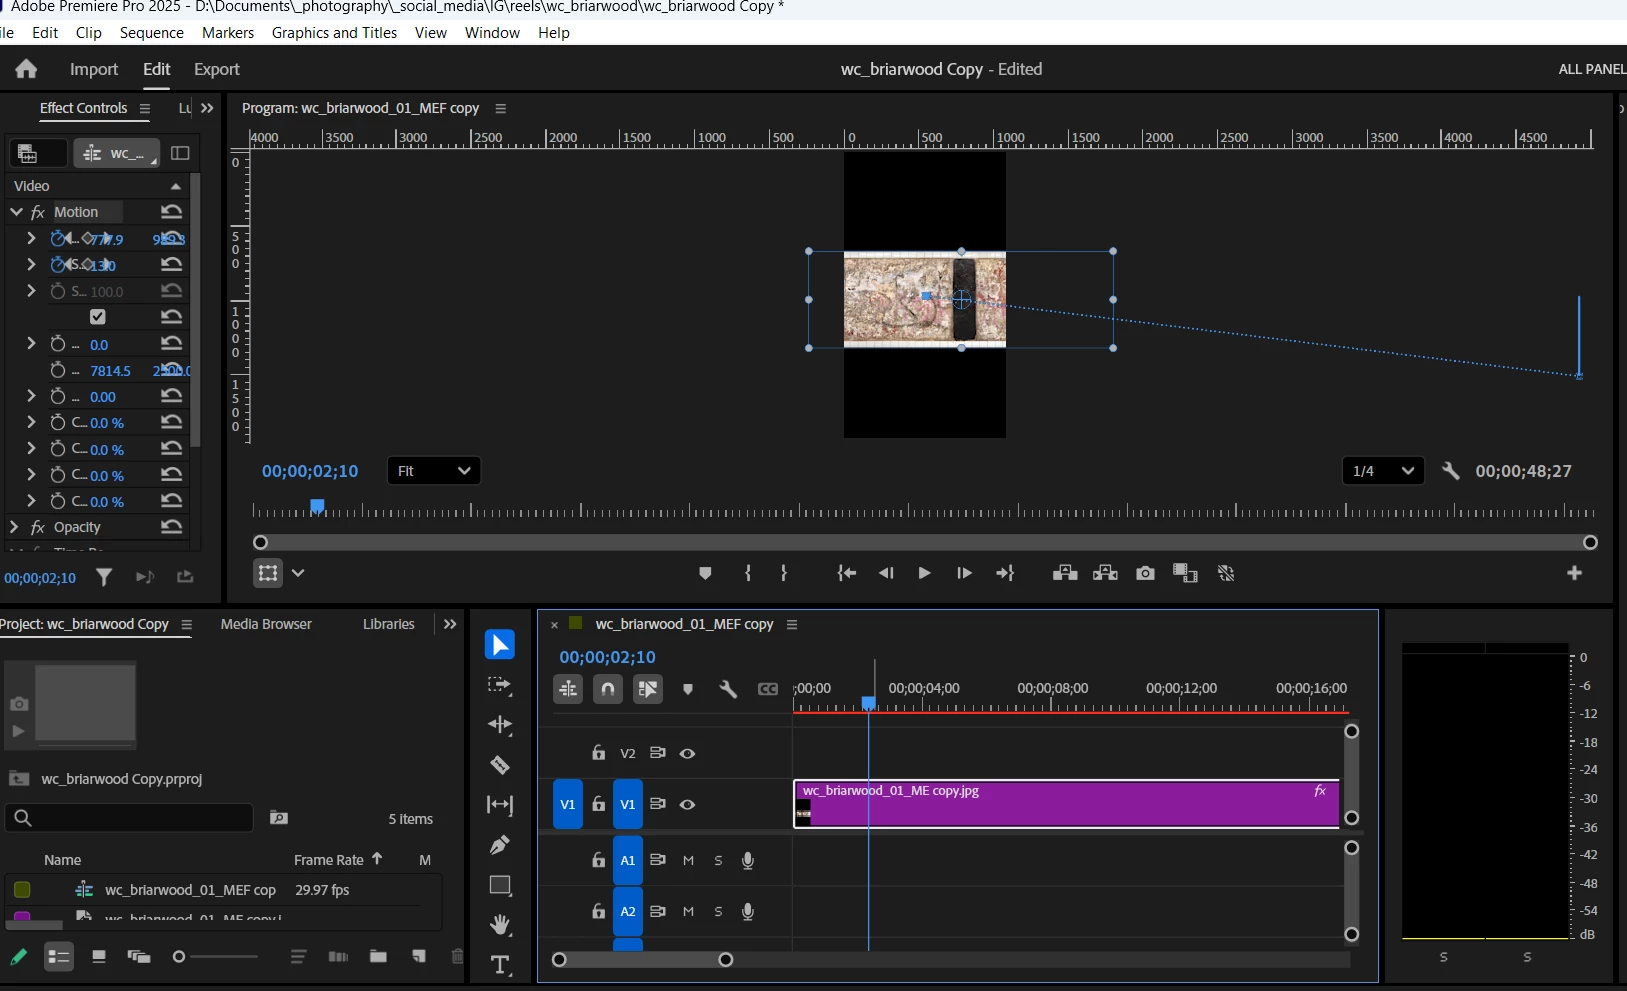
3. In the 4th screenshot, a dotted line appears moving leftwards and down. This comes during the 2 sets of keyframes where the image is panning left and zooming in, as the image has already started moving both left and up. Its appearance seems random to me. Why does it start where it does, and what is it showing - that the image is panning left?
By @Barton5C39
If it’s part of the motion path, the media was told to go there at some point. Again…this is much clearer and easier to figure out if you watch the Effect Controls and Program panels at the same time as shown in the demo below:
1. First I drag the current time marker along the timeline in the Effect Controls window while watching how the media’s Position keyframes correspond to its visual Position in the Program panel. That shows me where in the timeline the media passes over all segments of the motion path, and what the Position values are at any frame or keyframe.
2. I leave the current time marker at a time later than the last keyframe, and then using the Selection tool in the Program panel, I drag the media to the left. That adds a new, fourth Position keyframe at that frame to record the Position change I made there. You can see that this extends the motion path in exactly the same way that’s shown in the 4th screen shot.
3. Near the end, when you see the current time marker snapping to the keyframes, I'm dragging it while holding down the Shift key because I want the snapping to show me exactly where the media is at each keyframe. This is one of the ways to figure out whatever the heck I have just been doing, or verify that what I did was what I wanted.
Sometimes there’s an extra unexpected part of the motion path like that, and inspecting both panels tells me it’s a keyframe I never intended to add, it was created by mistake. If so, I know I need to delete that keyframe.
So again, you can use the Effect Controls panel and Program panel to figure out what is happening when and where, and what everything means (how the keyframes in Effect Controls correspond to the visual results in the Program panel). It’s often not enough to watch just one panel or the other, it works a lot better to use them in parallel, simultaneously. Because they are two perspectives on the same data.