For a quick answer, you can use the Lumetri color workspace with the Effects Control Panel, and look under the Lumetri effect in the ECP ... see the mask options? All the options below "Mask (1)" appear after you select a mask type, then place it in the program monitor.
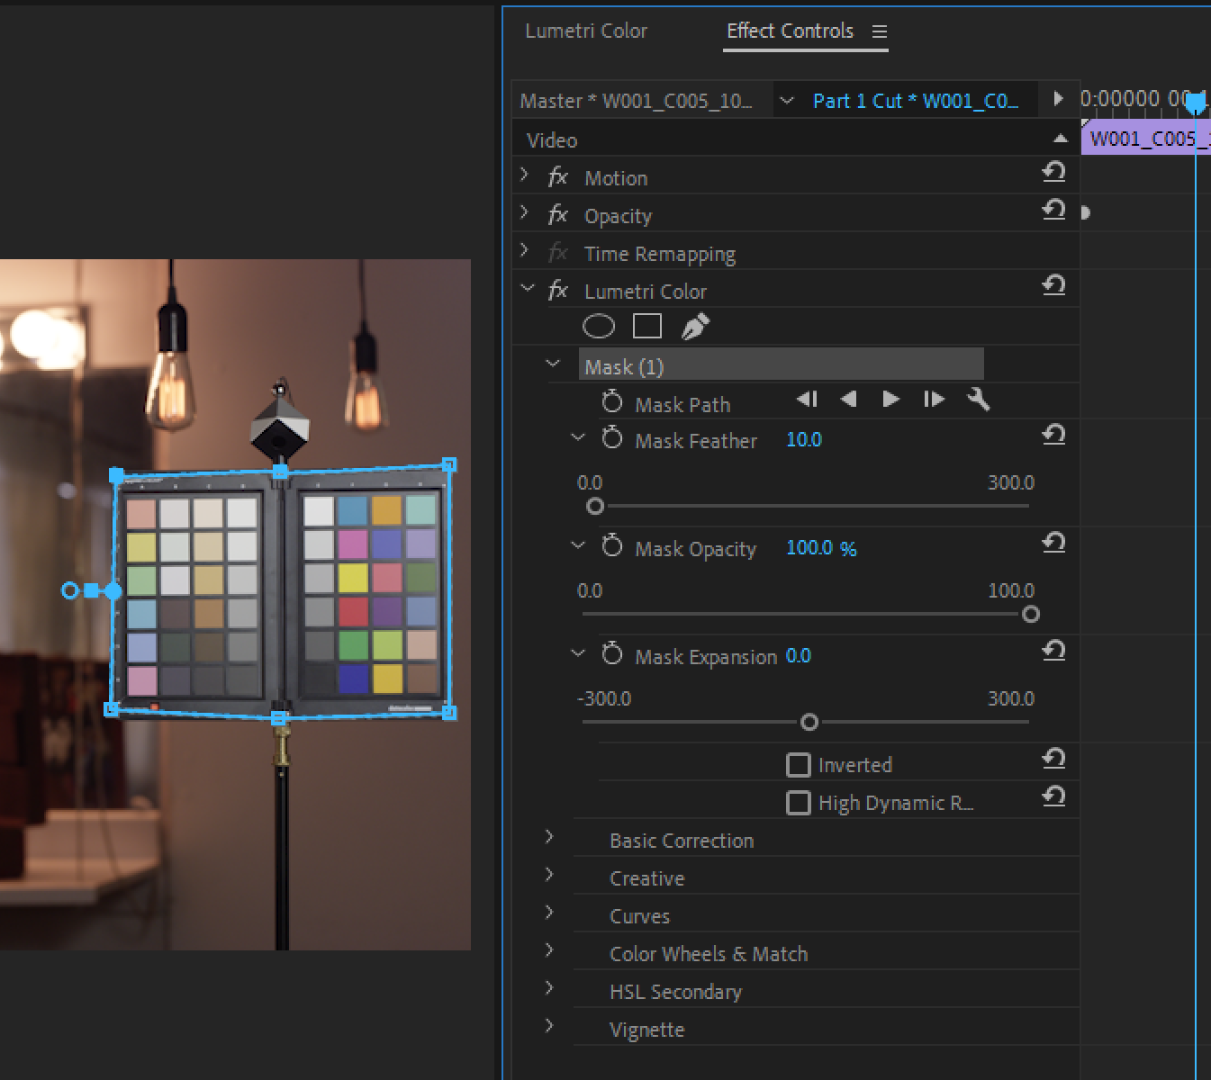
When applied to added instances of Lumetri, the work within that instance will only apply within the masked area, or ... outside it ... depending on whether you have the mask 'inverted' ... and of course, masks can be tracked to stay on things that move.
For the right answer, learn first to master controlling the two types of contrast ... luma and chroma.
The first skill to master in color control/correction is learning to really control and use luma contrast ... try going to say Creative tab, setting Saturation to 0 to get a black/white image, then work with the tonal controls of the Basic tab to get the "cleanest" view of the image, with the area you want people to see showing up most prominently. Then as you get a bit of feel, use every tool in the play-box ... with a totally de-saturated image.
Use the Waveform YC No Chroma, the RGB Parade, and/or Histogram scopes. Learn how to use scopes to aid your eyes, and at times ... replace them.
Once you start getting a feel for really utilizing luma contrast, then ... start working with chroma contrast ... saturation/color-intensity ... starting with an image very "neutral" in luma contrast. Work in general, using things like the array of curve types in the Curves tab, and the HSL Secondary tab. Do the same thing with color ... influence what seems to attract interest, and what sort of fades from interest.
For chroma work, use the Vectorscope YUV for hue/saturation information, plus either/both RGB Parade and a color-included Waveform. Again ... learn what the scopes tell you that aids ... or replaces ... what you think you see. Very often, what looks to be a green problem is actually a spike in the yellow area, for example.
Then you move on to using luma and chroma with ... and against each other ... maybe a high-contrast luma combined with a low-saturation chroma, or the reverse, a low-contrast luma with high chroma contrast.
Once you can work the whole image with both contrast types, then it's time to really learn the other toys of the trade.
Ooops, TOOLS of the trade ... dang, that inner voice just pops out at times ... sheesh ... 
All the masking things, doing a bit of skin retouching, matching arms/face skin ... all the fun intricate stuff.
Neil


 1
Reply
1
Reply


 AdChoices