Participant
October 1, 2021
Question

Creating and importing Displacement maps into Substance

  • October 1, 2021
  • 2 replies
  • 7974 views

Can anyone list the steps for making a Displacement Map in PShop and import it into Substance? So far I made one in PShop at 2K and imported it into Substance via a Fill Layer and set it to Height, but the result was low res and not a true Disp Map when viewed along the edges. Either my PShop image is wrong or I'm using it wrong in Substance

This topic has been closed for replies.

2 replies

TedGeeAuthor
Participant
October 2, 2021

Thanks Dave,


Not sure how to make 16 bit PShop doc, and to eliminate edges will a blur work or do I need to make it 4k instead of 2k?

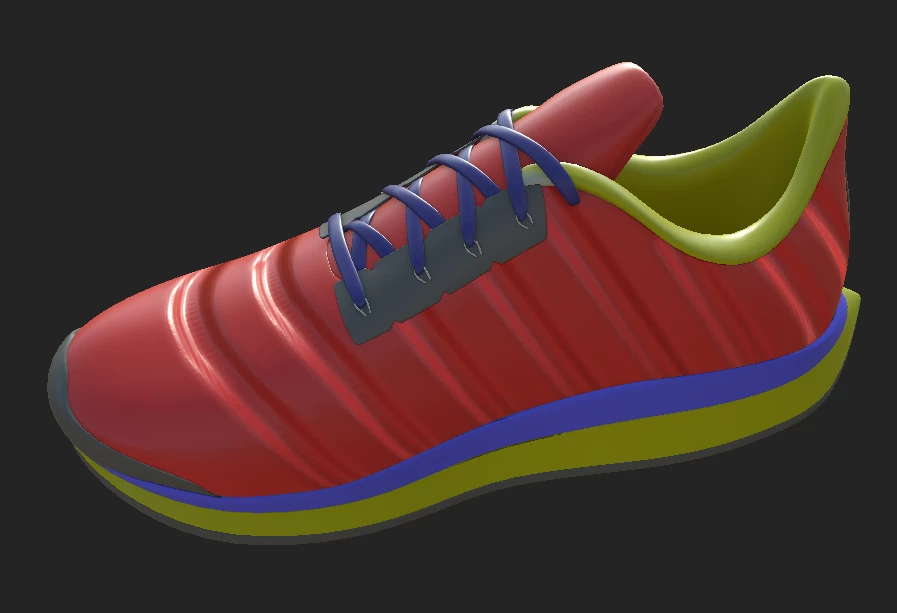
I did enable Disp and Tess but when I increased scale to .001 the redpart of shoe got bloated over the sole and toe. Trying to acheive this attachment but haven't found much info online on making Disp maps for Substance


TedGeeAuthor
Participant
October 3, 2021

I've made the alpha/texture 16 bit at 4K, but when I load it into Height, the depression is not smooth w/ noisey artifacts as shown in my first post. When I increase scale to make it appear better, the red portion becomes bloated. So how can I improve resolution of the alpha and prevent the bloating, thanks

Participating Frequently
February 18, 2023

Hi

A couple more things 🙂

You are using black to white which will be the reason you are seeing both up and down movement on your model. A height map is normally centered at 50% grey (with gamma 1.0 i.e. linear). Any lighter is taken as upward displacement and any darker as downward.

For the fine bumps you are seeing, make sure that your model has sufficient tesselation and the brush strokes are smooth - yes a little blur can help.


Is there any reason you are creating the height map in Photoshop? I would normally
a. Add a fill layer in Substance Painter.

b. Turn off all channels except height for that layer.

c. Adjust the height down (or up) from the 0 point (You will see almost no effect at this stage)

d. Add a black mask

e. Add a paint effect to the mask

f. Paint on the mask paint effect (either brushing over the model or the UV map whichever suits best.) You can turn on symmetry to get even strokes on both sides.


Dave


mid level of displacement texture in painter is 0.5

so the gray color is 0.

but how I can change the mid level to 0 value, with is black is 0?

davescm
Community Manager
Community Manager
October 2, 2021

Hi

A couple of comments.

1. Always use 16 bit for heightmaps

2. Watch the brush spacing in Photoshop - Photoshop brushes lay down a series of brush stamps so a stroke with a soft round brush is actually a series of overlapping circles.

3. In Substance painter to see real displacement, instead of just "bump"  in the shader settings panel, enable Displacement & Tessalation and then adjust the height scale and tessalation settings. You will need to do similar in the 3D app to which you export.


Dave