"I see it as well, but if you build 1:1 Previews for that file AFTER applying -50 Highlights the Library and Develop previewslook the same. Let me know if that's not the case with your Newberry_131107_4264.dng file."
Not the case; if I build 1:1 previews after applying highlights, the nadir still appears darker in develop mode.
"One important detail I forgot to mention is that Export files match the Develop module preview, which is correct. So you should be able to process the panorama sets with no issues."
No, it's a significant issue because my exports show darker nadir, so I can't get seamless stitching. Even after resetting prefs, resetting develop settings, re-building 1:1 previews after adjusting highlights, etc. I am not able to export TIFs with matching nadir.
I don't have any .cr2 pano sets anymore, I've converted them all to .dng.
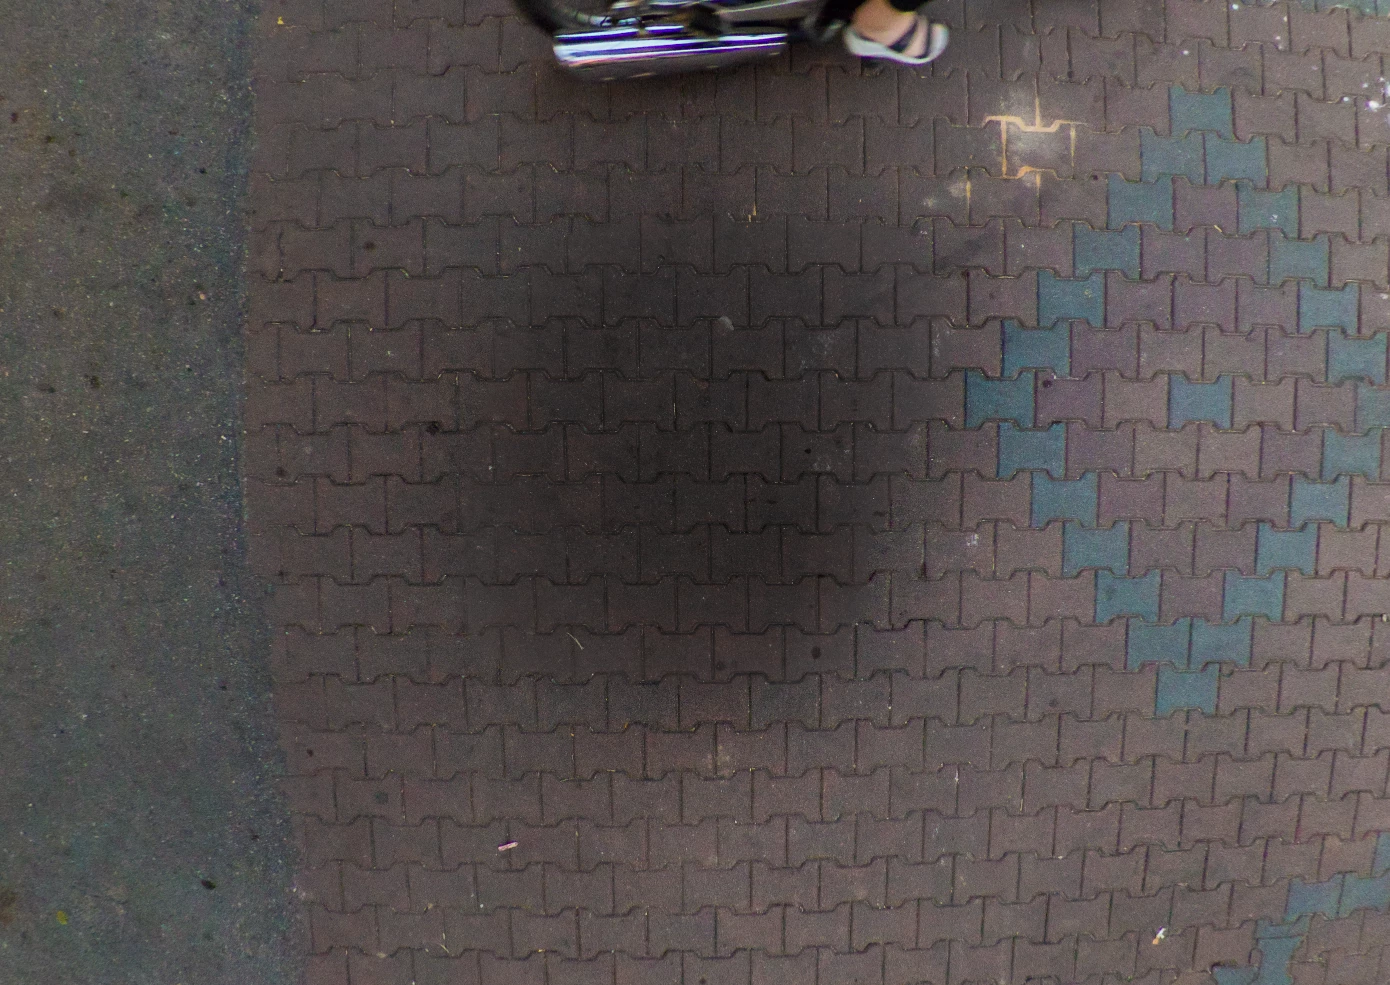
This is how my nadir looks since I can't match the develop settings:
jimtron wrote No, it's a significant issue because my exports show darker nadir, so I can't get seamless stitching. Even after resetting prefs, resetting develop settings, re-building 1:1 previews after adjusting highlights, etc. I am not able to export TIFs with matching nadir. |
Without a reference (white balance card) in both the nadir and surround image with the same measured scene referred lighting it's difficult to determine the relative brightness difference. However, PTGui easily reveals this difference when trying to stitch the images. Following what you're seeing with the export files in PTGui I gave this some more thought and we do have two issues:
1) The nadir image file Develop preview and Library previews do not match unless 1:1 Previews are built after applying the Develop settings. This is what has been reported in the Photoshop Family forum and demonstrated with my Canon 5D MKII CR2 files shot using the same EF 8-15mm F4L Fisheye lens. This is clearly a bug since 1:1 Previews should not have to be built for reviewing image files at Fit view in the Loupe. Why this only happens with the fisheye lens when shooting nadir image files still remains a mystery.
2) Even with 1:1 Previews built so the Library and Develop module previews match the exposure level in the nadir image file is lower (darker) than the surround image file. This one I can explain as follows.
You are shooting theses panorama images with the Canon EF 8-15mm F4L Fisheye lens set to 12mm. This reveals the image circle in the four corners as full black level image data, which remains the same regardless of subject or light levels. Starting with Process Version 3 (2012) all of the Tone controls are "image adaptive" with Recovery and Fill replaced by Highlight and Shadow controls. These controls act differently on the image data based on the exposure level and dynamic range of the image data. The surround image files have a wide dynamic range extending well into highlight clipping (+100% level). Conversely the nadir images have a much lower dynamic range with most of the image data falling below the 50% Histogram level. ERGO: Nadir images render differently (i.e. darker) to the Highlights control than surround images.
One solution is to use Process Version 2, which only has two image adaptive controls (Recovery and Fill). I tested this below and it appears to provide better exposure matching than Process Version 3-5. The downside is that Process Versions 5 is much better at recovering highlights and shadows as well as better noise reduction. A better solution is to set the Canon EF 8-15mm F4L Fisheye lens to 15mm, which will create 180° diagonal full-frame images without dark corners. Panorama image file sets shot with the full-frame 15mm setting should not exhibit any of these issues. Is there a specific reason why you are using the 12mm focal length?
.jpg)
