Participant
October 11, 2023
Question

Background Eraser Tool Leaving "Wisps of Grey"

  • October 11, 2023
  • 1 reply
  • 288 views

I'm brand new to photoshop so I am probably doing something wrong, but I can't figure out what.


I am trying to remove the background from an image. This is the image I am starting with: 


I then select the background and use the eraser tool to erase out the background. I have run the brush over the entire background multiple times so I would think the background would be completely gone. On the photoshop side, it appears to be: 


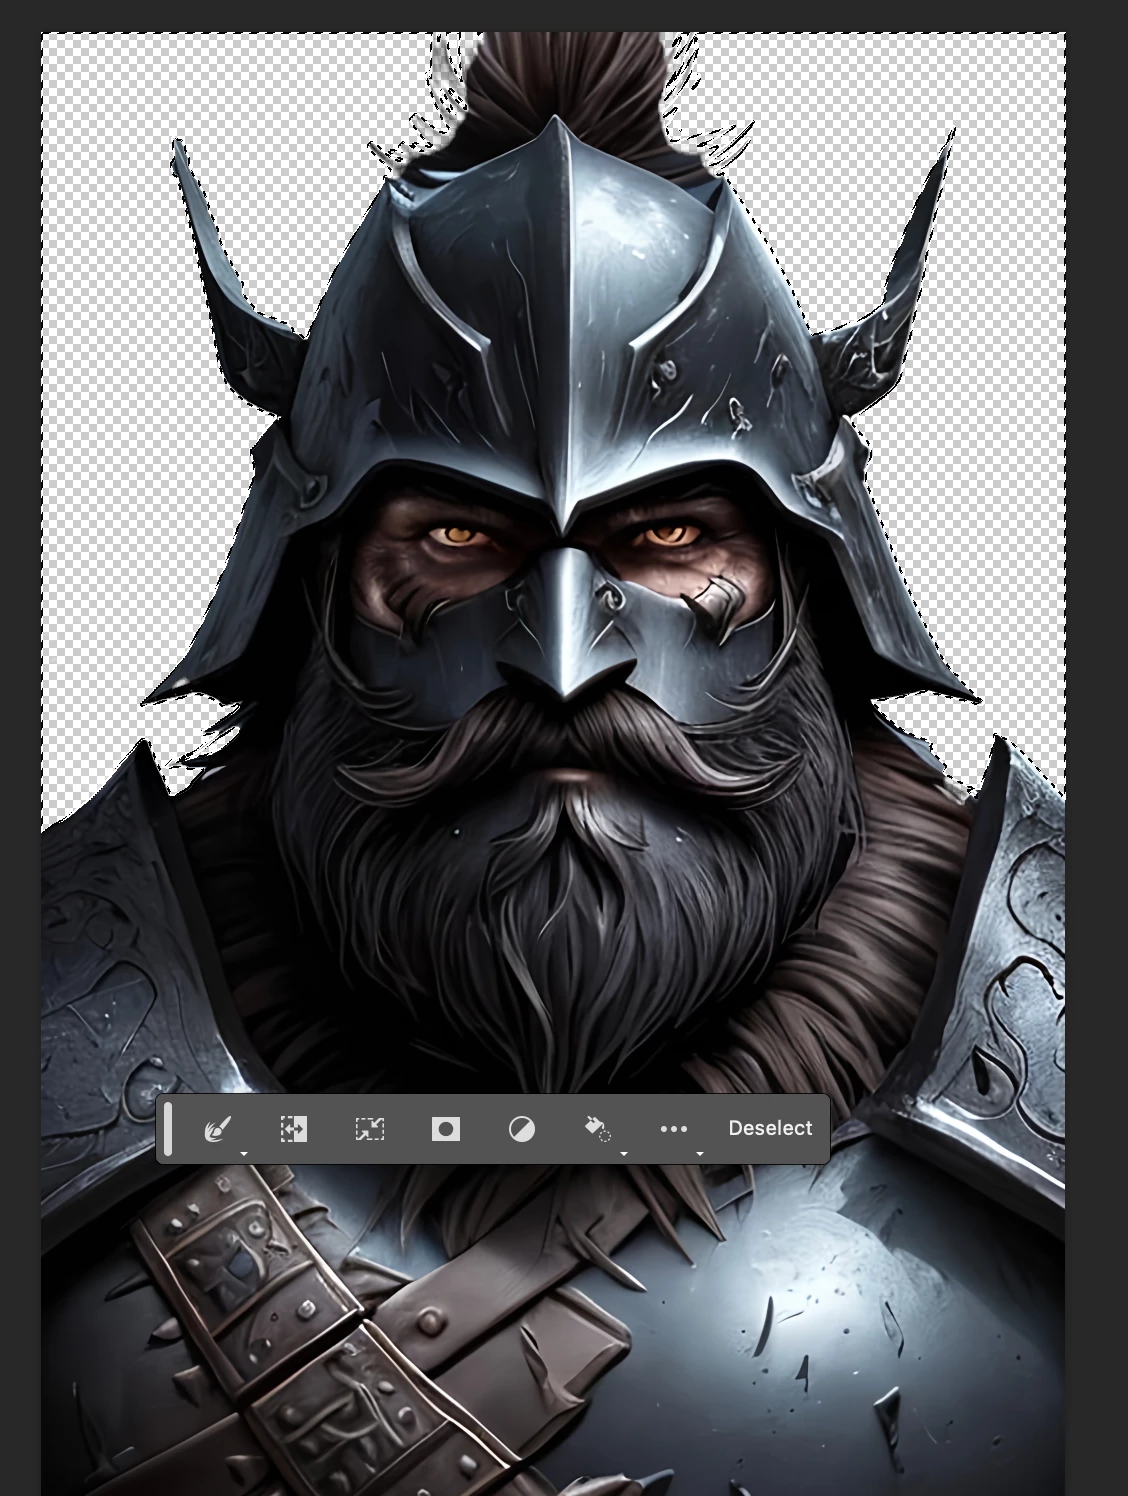
But when I export the image and then upload it against a different color background, there's all these little white whisps all around the face. I can't figure out how to get rid of them.


I even tried deselecting everything and just running the background eraser tool over all of the background just in case there might have been seomething that had previously been selected. But that didnt' work either. 


Any ideas on what I am doing wrong here? 

This topic has been closed for replies.

1 reply

Greg_S.
Community Expert
Community Expert
October 12, 2023

Hi Zachary.  I'm not exactly sure what you mean by the whisps of grey and white whisps all around the face.  Can you be more specific.


The Subject selection tool is not perfect, particularly with the variations of similar tone around an image such as your original and difficult areas like the strands of hair.  So, when I take your image and apply the Subject selection tool, there are clearly areas that are under and over selected. 


But it seems to me that you must have used another selection tool to remove, for example, parts of the armor that have been selected.  If you click on the Refine Edge tool, there are variou viewing options that show your selection more clearly.  Here I have used the red Overlay option:


I further assume that you inverted the selection so that you would only remove the background.  So, can you please explain exactly what you did to clean up the selection before using the eraser tool. 


And rather than use the Eraser tool to remove the background, if you have the subject selected, you can press Ctrl+J

 to copy the subject to its own layer.  You can then add your new background under that layer.


Note that you should always duplicate the original image (also by using Ctrl+J without any selection) before editing any image.  You can then hide the original (by clicking on the eyeball icon).  That way you can always go back to the original if something goes wrong with the edit.

So, bottom line, I don't think you are doing anything wrong.  You just need to pay more attention to what is actually selected.  The Refine Edge options will help you see that more clearly.  Here is a link to the Help articles about selections that you may find helpful.

Participant
October 13, 2023

Hi Greg,


Thank you for the info! Using the Control + J to copy the selected object as it's own layer, and then turning off the original layer with the eye icon worked! 


Thank you for your help!