You've done a good job. Here is something else you can do that I believe will improve the end result and hide the difference in skin tones on the forehead.
Open the image
Press Ctrl+J. This will copy the image to a new layer.
Change the Blend Mode of the new layer to Screen
Here is the result:
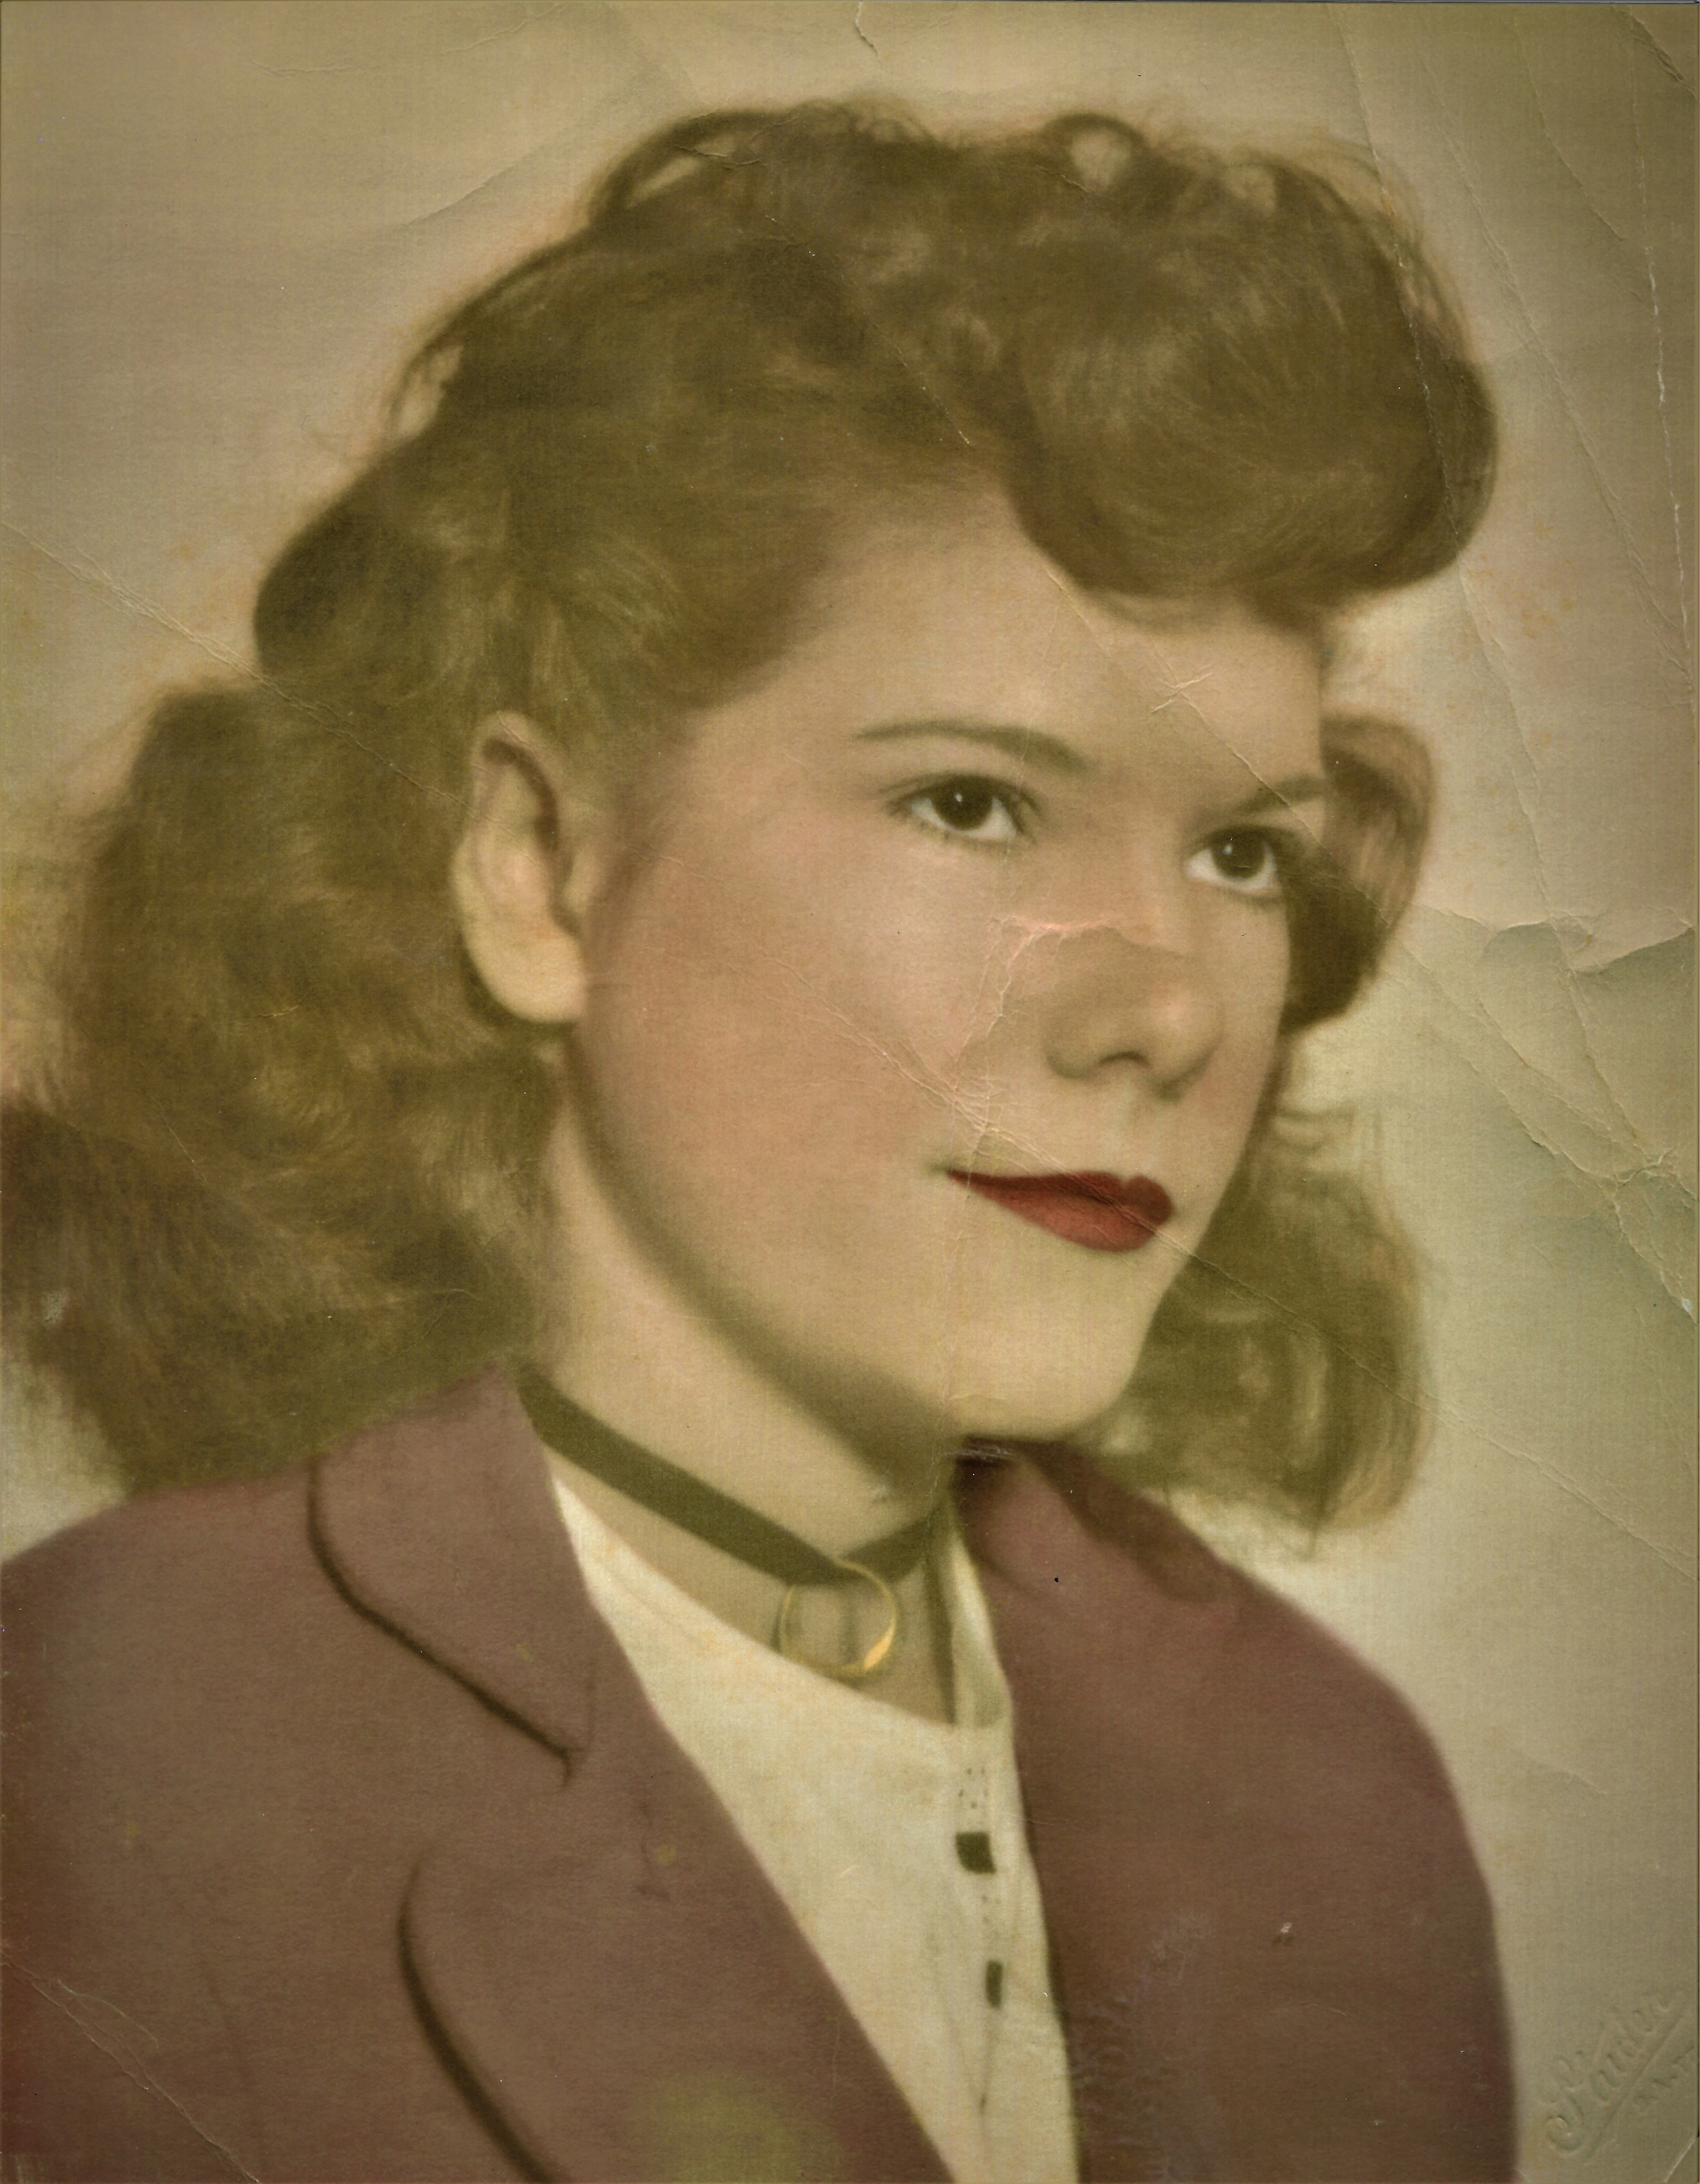
And if you want some, hopefully constructive, criticism. There is still a scratch on the forehead that can be fixed with the Spot Healing Brush. You might also try the Healing Brush to clone the skin to even it out. That's a little tedious. But it's your photo and your mother. So the end result has to satisy you.
I don't think the jacket is very blue. The hair color and skin tones seem fairly natural. So any shift in the color from blue would have affected those areas more. But that is a pure guess on my part.
If youi don't want Mom in a new AI dress, try selecting, copying and mirroring the left side of the jacket and place it over the right side. With a little cloning and spot healing, and a better tailor than me, you can get something like this:
Glenn has done a great job with the restoration. Solely as a matter of personal preference, I would add some texture back into the image to remove the airbrush look. But perhaps we all want to remember our mothers as perfect, so you may prefer that look. 😇
That's a great image- nice and big: I would turn it into a black and white photo first, then recolor it. There are guided edits for both- I find it a bit easier to manually recolor.
I'll play with it in Photoshop (PSE's big brother) and see what I can do.
I suggest starting off with the Restore Old Photo Guided Edit which has most of the tools needed for this image. Also take a look at my suggestions in a similar discussion. The difficulty with this image is that there are large areas of different skin tones. You may need to use the Clone Stamp Tool with a small brush and many clicks to even this out.