
RoboHelp 2019 and SharePoint Online Settings
Hi, we are in the process of upgrading from RoboHelp 2017 to RoboHelp 2019 and I am having trouble getting the SharePoint connection to work for version control. When we upgraded our current project, it removed the SharePoint settings we had set up (it would have been nice to know that those wouldn't transfer over...it makes me worry that there are other settings that didn't transfer as well). I then figured out that although we used the SharePoint Connector in the 2017 version to connect to the version of SharePoint hosted on our company website, that is no longer an option with RoboHelp 2019.
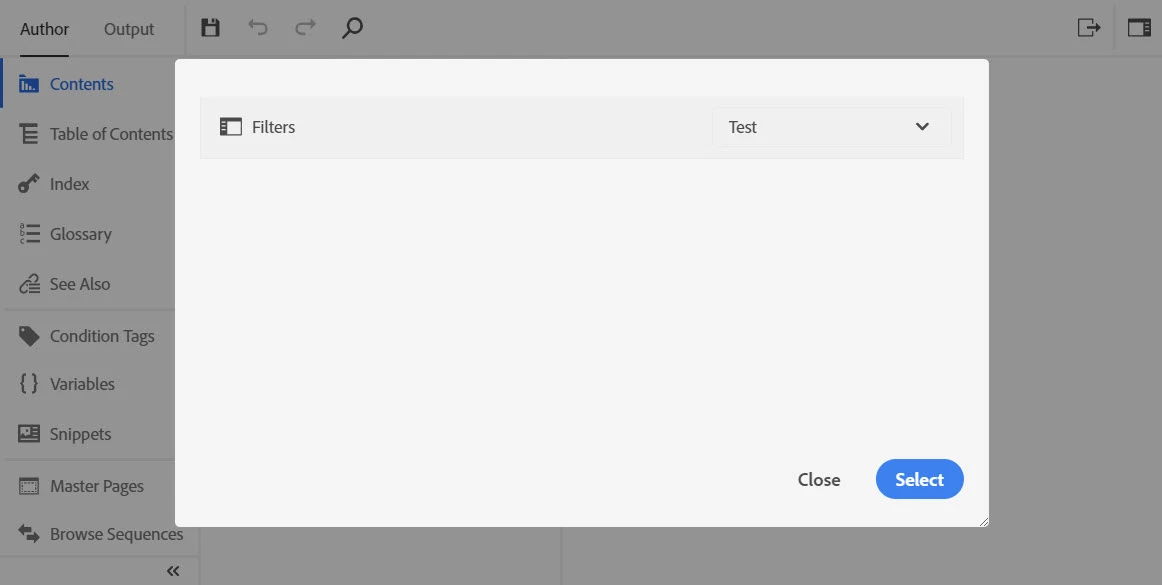
We have Sharepoint Online accounts, so it's possible to switch over to SharePoint Online, but when I add a connection profile nothing happens. I'm signed in and connected, but no folders show up in the selection window (see below) even though there are folders on the Sharepoint site:
The RoboHelp instructions were so vague that they aren't any help. When I was on the phone with Adobe support, the woman I talked to said they had more detailed instructions but didn't send them over after repeated requests. The Adobe support staff I spoke to on the phone were unable to help me and didn't seem to have much experience with connecting RoboHelp to Sharepoint Online.
Are there certain settings I need to enable on the Sharepoint site in order for this to work? Does anyone have a more detailed step by step documentation of this process?
If anyone could help, I'd really appreciate it. Setting up Sharepoint version control for the 2017 version was pretty easy so I had no idea this would be such a problem.
