Hi Jnnnn,
My day got shifted so I have time to respond to this. Let me add that the images I received were much smaller than your original images and as such the quality of my PDF will be dramatically lower than what you'll be getting from the originals. (You show 3024 x 4043 pixels while I received 749 by 999). But no matter.
Let me add that there are several things that make OCR a challenge with these documents: one is that the angle of your photographs are tipped so that there is distortion in the image. The 2nd is that the light is not uniform across the image so while you can remove some of the image shadowing, there's only so far as you can go. But we can do as best as we can.
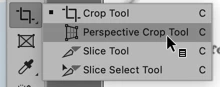
#1) open the image in Photoshop. Because the images are distorted you can both crop and get better alignment with the same tool. Go to the Tools and mouse down on the Crop tool and hold on it. It will turn into a dropdown menu and select the Perspective Crop Tool.
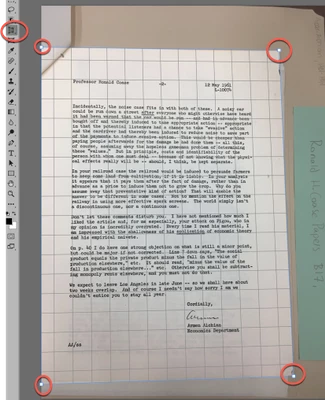
Now drag out a marquee on your image and place the corners of the crop tool on each of the corners of the page:
Now, go to the image menu and select "Grayscale," this will remove any color in the image.
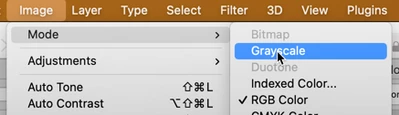
Now go back to the Image menu shift to -> Adjustments and select Levels. This will bring up a histogram.
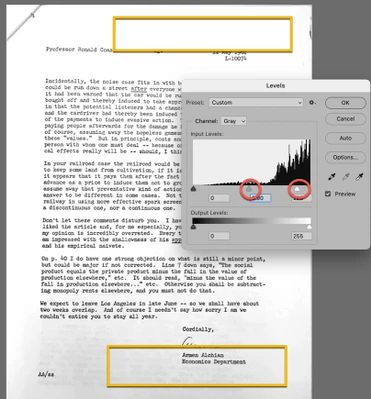
When an image has uniform shading, this works great, this image isn't great so the results will be mixed. The circle on the right side controls what's considered "white." Anything on the far right side is WHITE. Anything to the left of this is gradually getting darker and darker until you reach the far left and that is BLACK! What you can do by sliding the right slider to the left is reinterpreting what's considered what. What you want is to tell Photoshop to treat light gray as white. However, because the bottom is darker than the top, if you get the bottom white, than the top is over exposed. The best you can do here (without going into gradient overlays and if you're not strong on PS I will not go into that) is to find a compromise. You can also work with the middle slider, left and right and try to find a compromise.
Once you're done with the adjustments, Save this image as a TIF document. Do not worry about any of the secondary options, you'll be tossing this image in a moment.
Once done, with the save, drag this image onto the Acrobat Icon on your Dock. It will self open, convert to PDF AND process the OCR. (If you had saved it as a JPG, you'd have to do the OCR as an extra step, TIF documents do this automatically.)
For the most part, that's it. Let me know how it goes and how successful you are. If you still have some question, email me at <gary@thecoynes.com>. I'm more likely to see that message than wait for a message in the Adobe world.
Unfortunately because you had hand done the photos, there's not much you can automate. So put on some nice music, pour a glass of wine, and enjoy your process.

