Hello all. I have an EPS file and I'm trying to animate the elements in the file.
The problem is that this file is about 200 vectors of people (shown in AI as an individual group for each person), but within each group (person) there are about a dozen layers (left leg, right leg, head, hair, left shoe, right shoe, etc.).
I want to import this file and have the PEOPLE as shape layers, but when I "Convert to shape layer" it seperates ALL individual 1642 shapes within the file.
How do I import this where is just has the 200 GROUPS (individual people) as shape layers instead of all 1642 shapes as individual shape layers (left shoe, right shoe, head, etc. of person 143)?
I have done quite a bit of searching and because I have very little knowledge of AI (I'm a photoshop / AE guy) I don't know how to search for what I need.
Thanks!
This topic has been closed for replies.
Correct answer Rick Gerard
Open the image in Illustrator. Create a layer. Move everything into the layer. Save the file. Import the file into AE -- NOT as a composition.. There's your single image.
When you release to layers you have to drag those layers above the original layer. Maybe this will help. It's on morphing with AI but it shows you how to release to layers and create an AI file that will import as a comp:
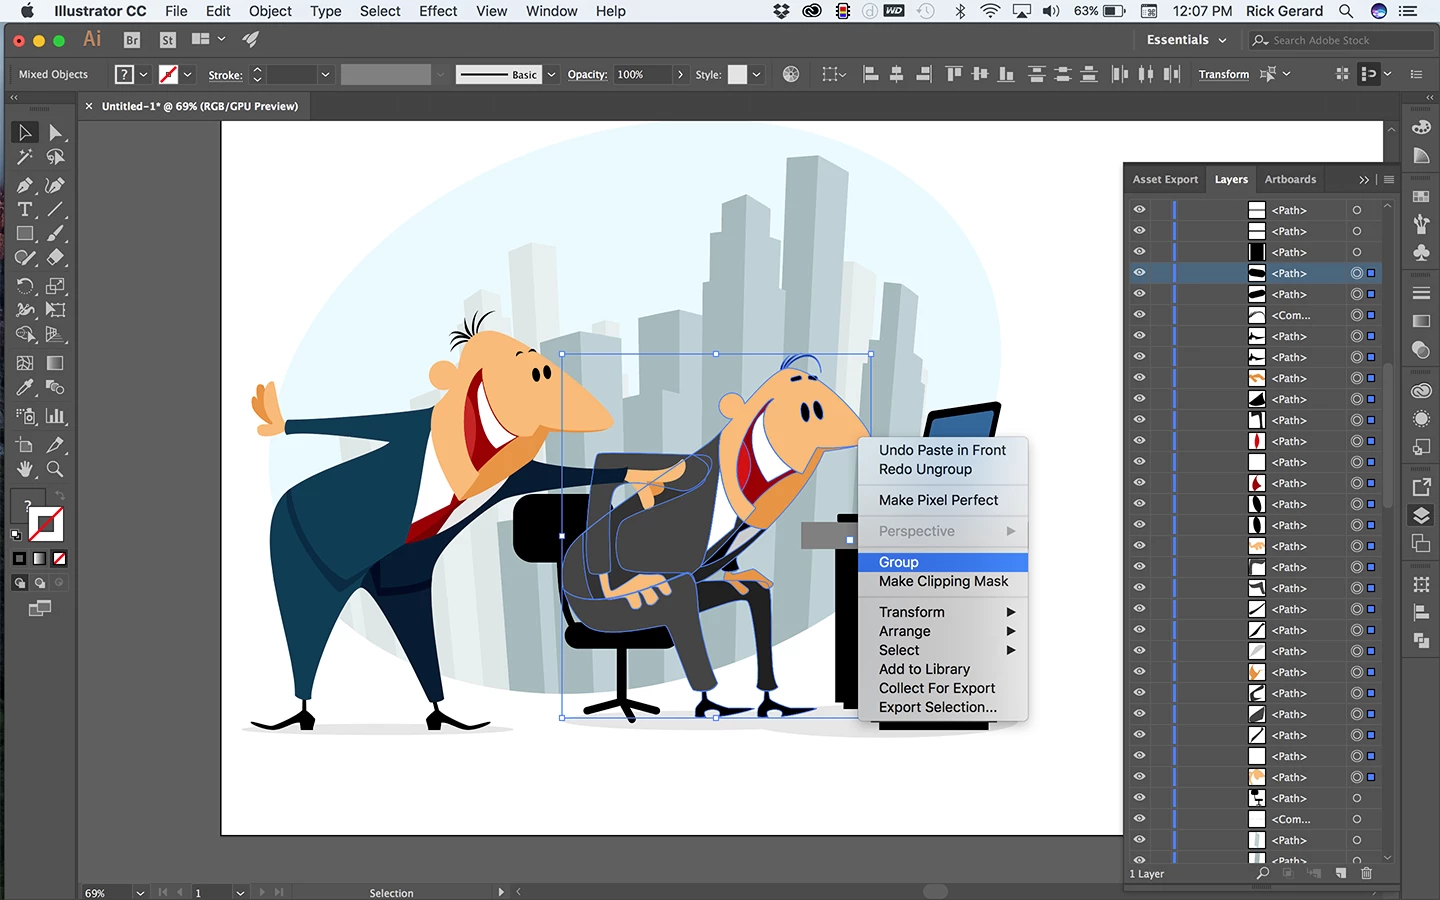
You may have to do some grouping. It's a bit tedious on files with a lot of layers. For your particular file you might be able to use the direct selection tool (keyboard shortcut in AI - a) and drag a selection around a whole person, then note the selected paths in the layer panel and either group them (Ctrl/Cmnd + g) or create a new layer as Dave suggested and click on the little colored icon to the far right in the layer panel and drag the selection to the new layer.
Judging from the screenshot, if you want each person on a separate layer and they are not already grouped the work of separating them and grouping them may take close to an hour.
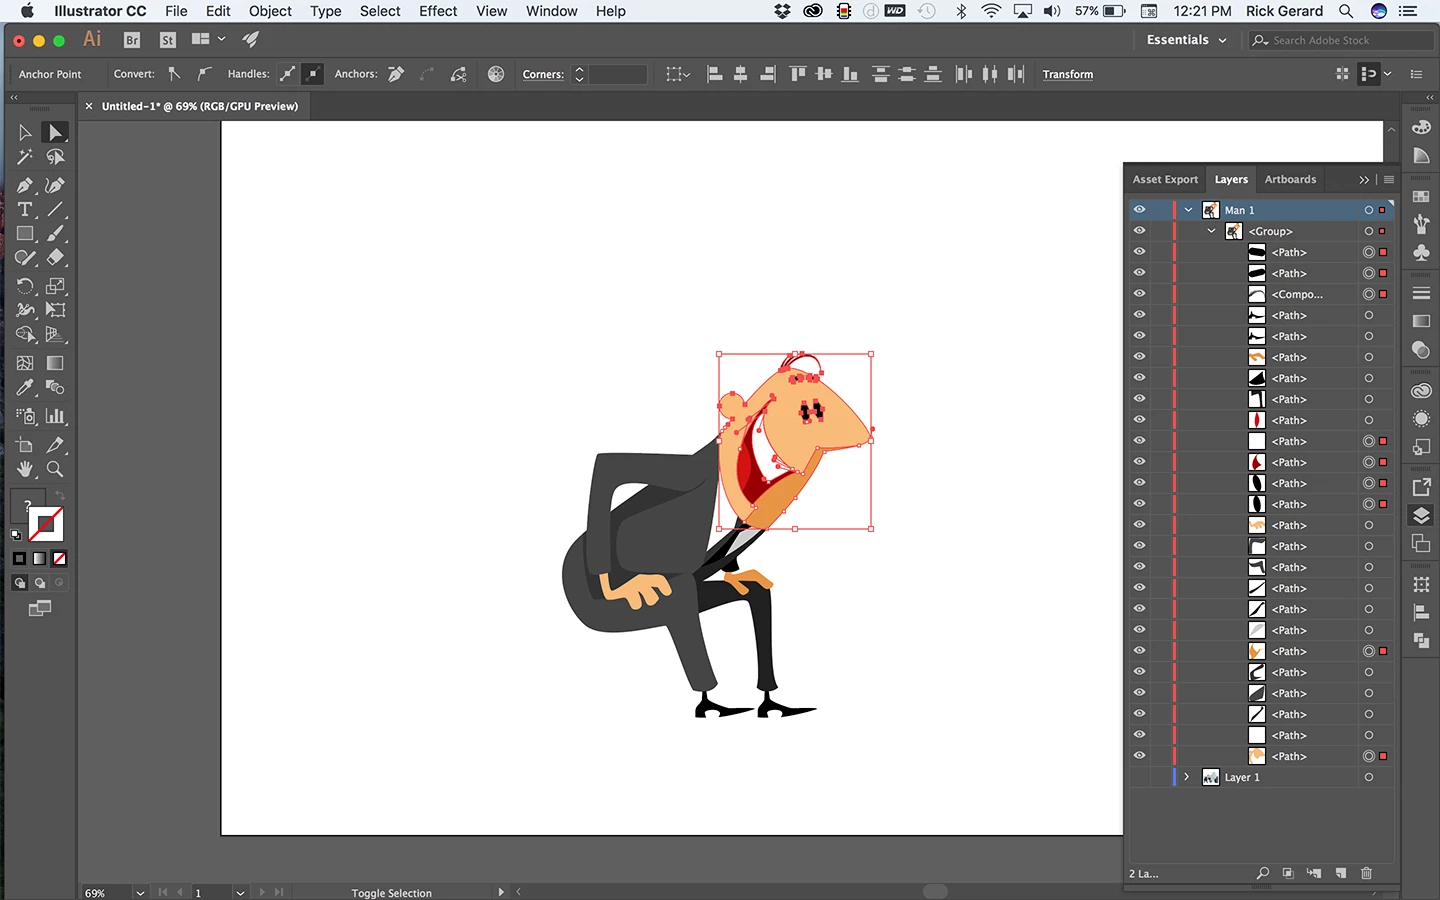
BTW, cropped screenshots are not as helpful as a full screenshot. Here's an image from Adobe Stock I recently separated into layers during the selection process of grouping the character so I could move him to a new layer. The first step in selecting Man 1 was to expand the layer panel, click on one of the paths associated with Man 1, then start selecting everything I thought was associated with Man 1 in the layer panel. I think I've got everything here so it's time to group the selection.
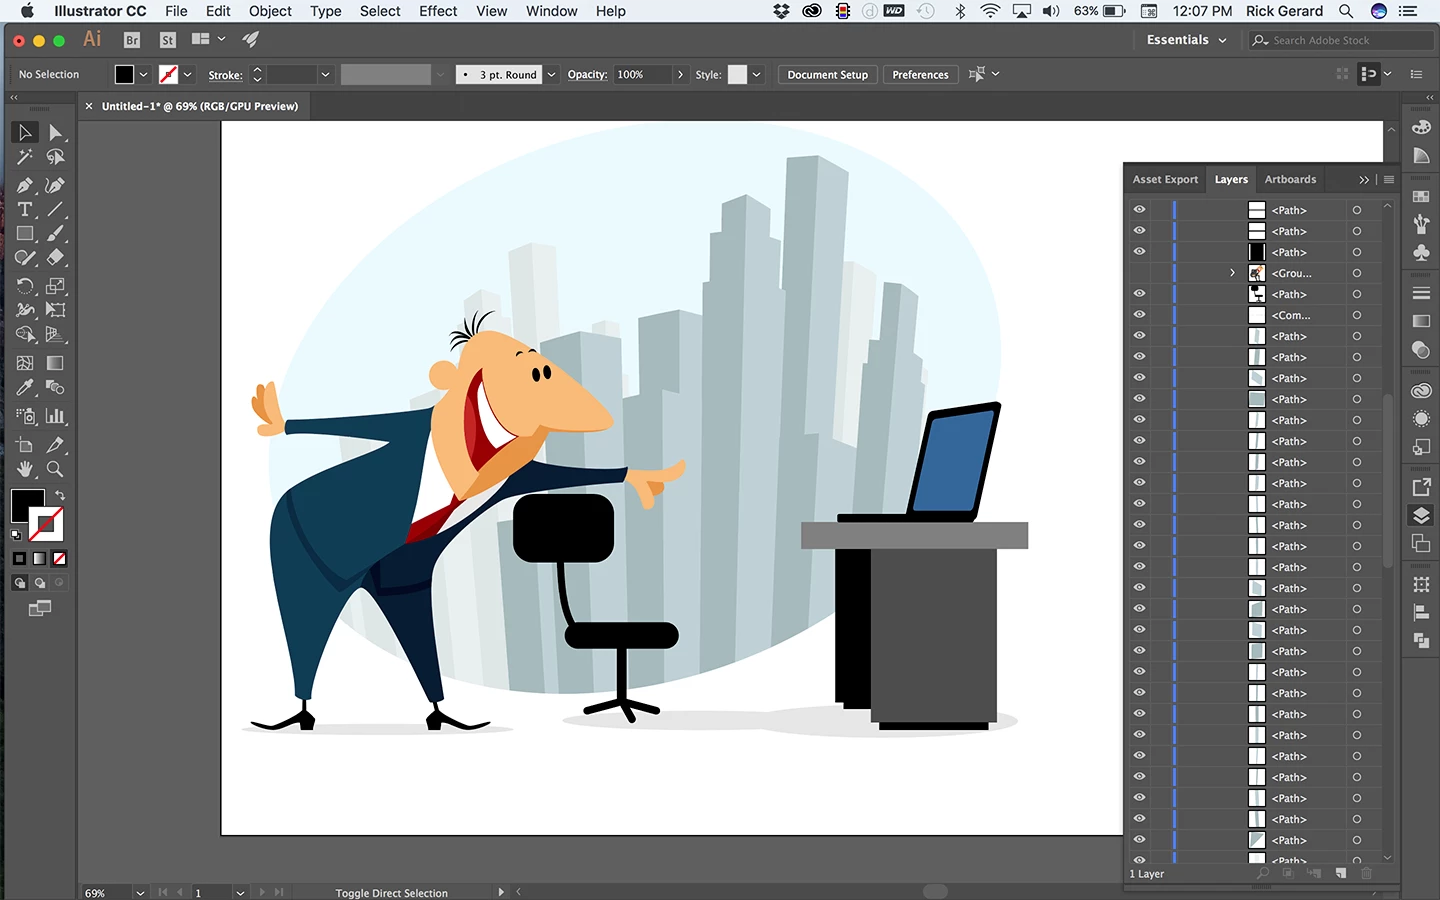
To make sure I got everything the visibility for the group was turned off:
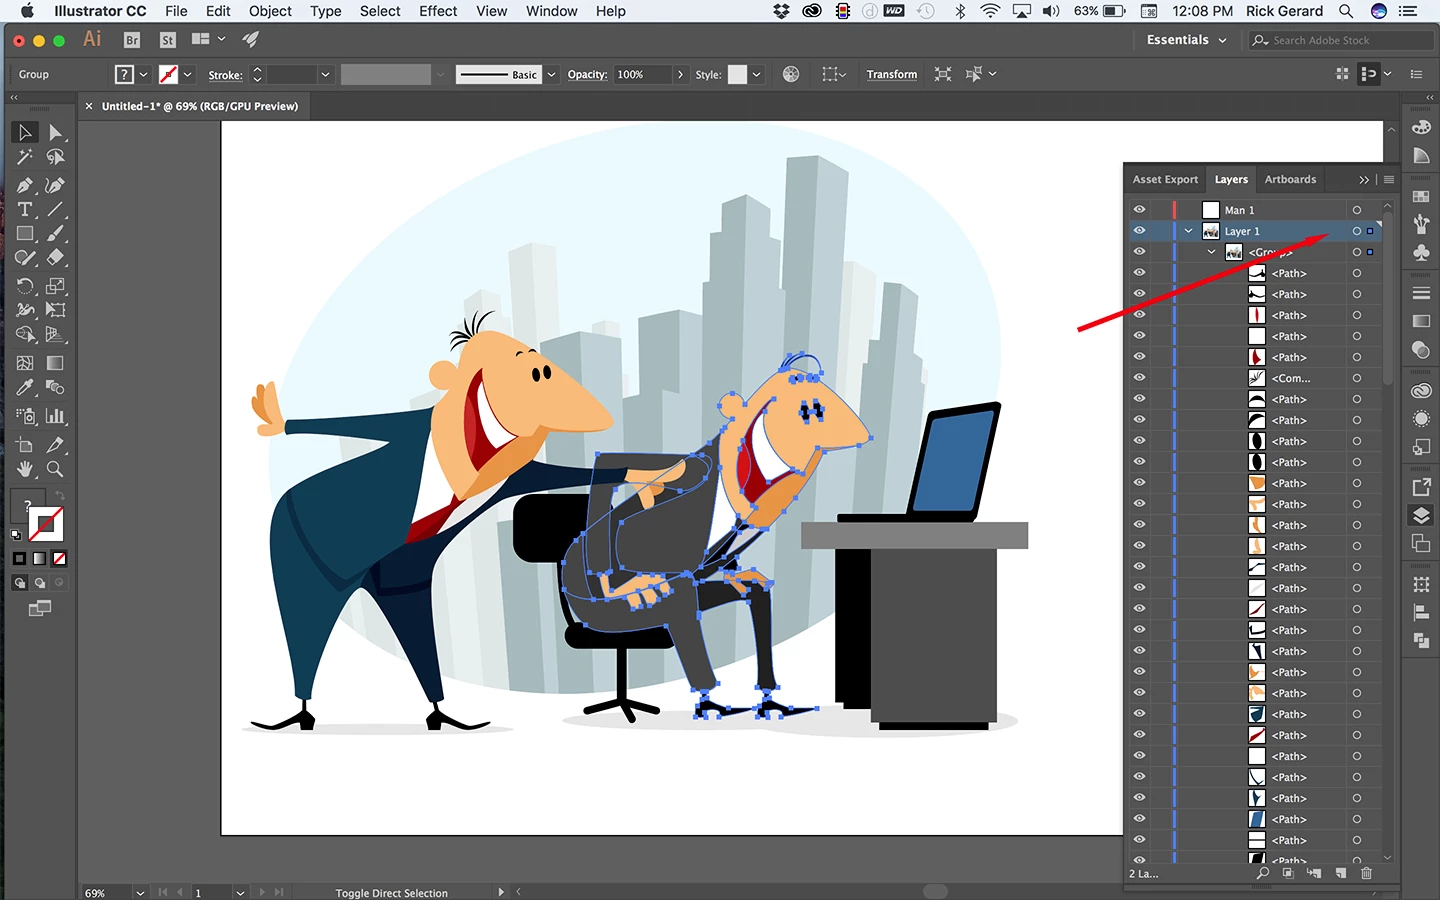
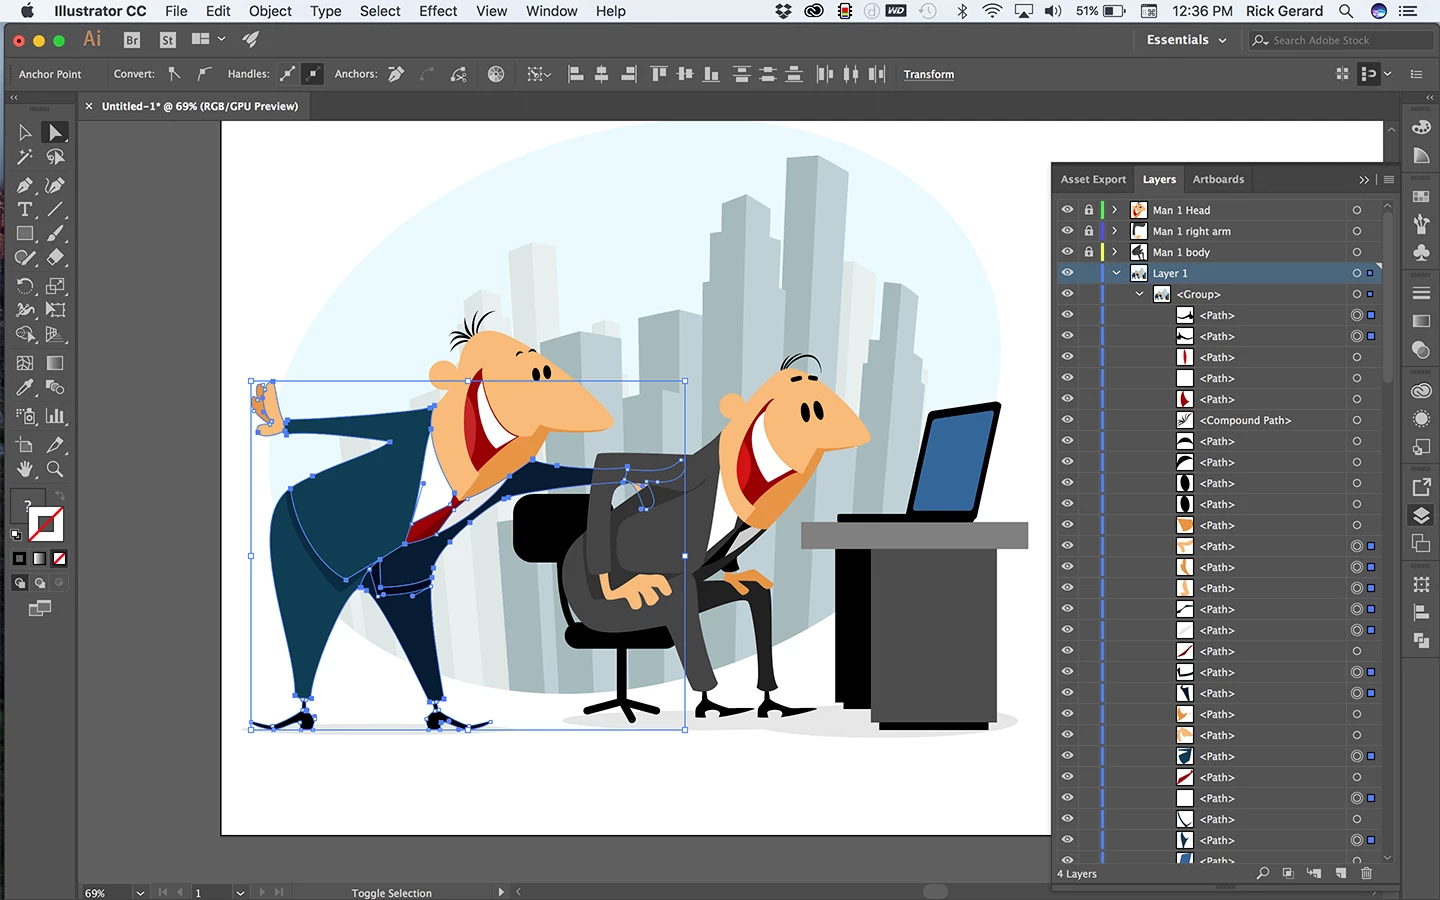
Success, now I turn the group back on and make sure it is selected, create a new layer called Man 1 and select little blue dot at the top right corner of Layer 1.
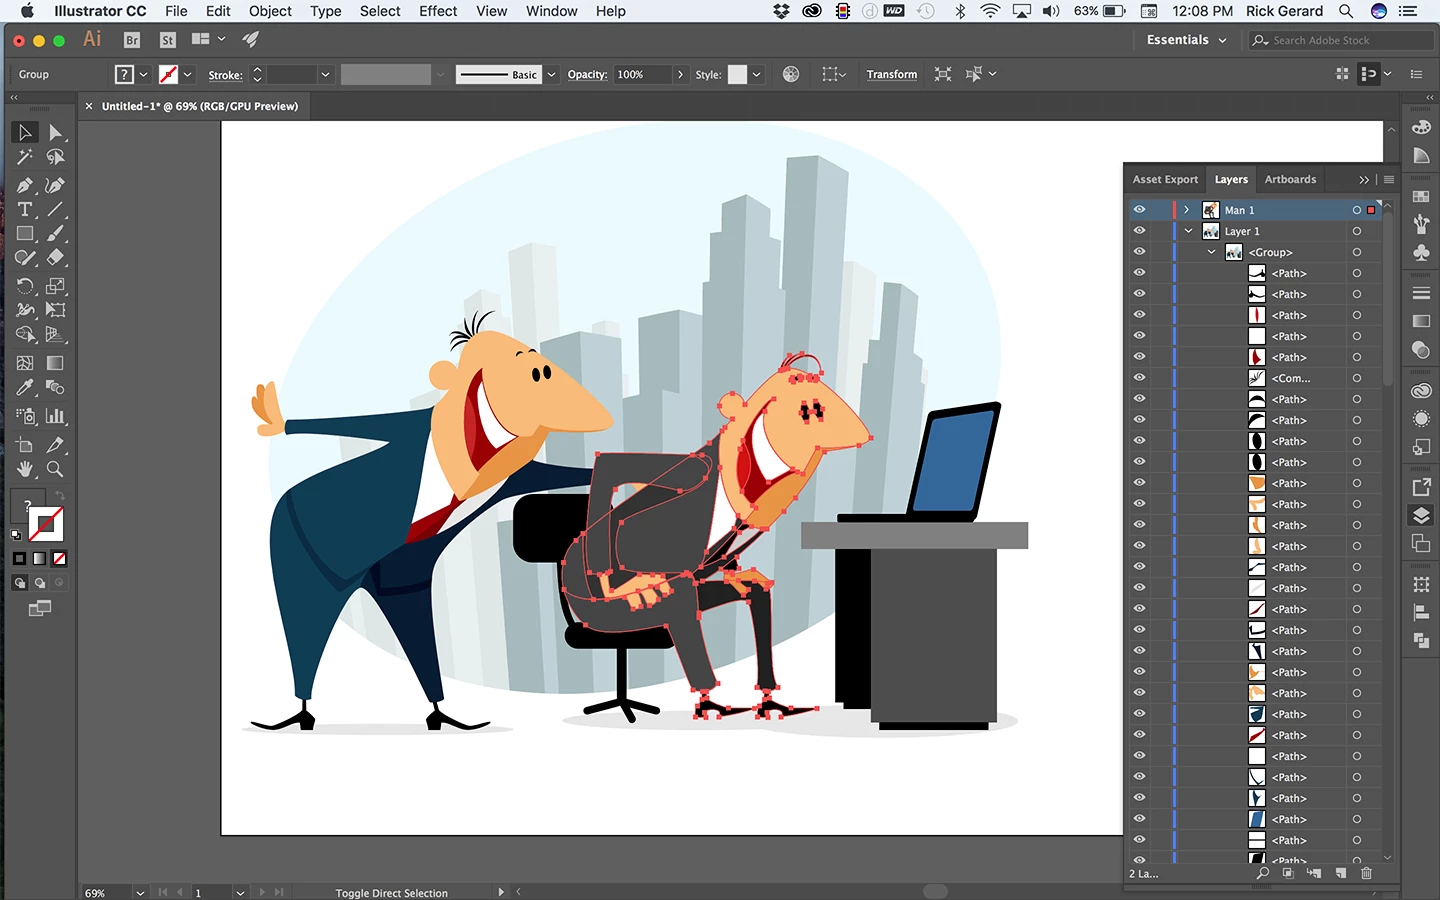
Then I drag to Man 1 - Success:
He is in front of Man 2 but I'll fix that after I get man 2 on a separate layer.
Next step - Turn off Layer 1, expand Man 1 and start separating the layers into body parts. The direct selection tool (a) is used to drag a selection around everything that I think is part of his head.
Not all of the points need to be selected. Note how far apart some of the paths are in the layer panel. I group them, name the group head, turn it off and move on. When I have all of the parts I'm going to animate with puppet pin separated and grouped it is time to release to layers. I want to maintain the groups so I just select the layer, not all the groups and choose Release To Layers Sequence:
That turns the 3 groups into layers. I Rename them and then drag them above Man 1 layer. Man 1 layer is now empty so it can be deleted and it's time to move on to Man 2, then the desk, then the background.
When all of the components in this illustration are separated into layers I import them into AE as a comp and do the animation. In the actual project I even separated Man 1's eyes, eyebrows and mouth so could get excited and blink. I converted the Mouth layers only to a path so I could animate the path and give him a bigger grin when the product popped up on the screen.
Total time to prepare this illustration for animation was about a half hour. It covered about 8 seconds of narration and took me about another half hour to animate.
you need to put each character on it's own Layer in illustrator. Then, when you import the Illustrator file, choose Import as Composition. Then, in the comp panel, double-click the composition icon to open the comp. each character should now be on its own layer and ready to animate
Not a huge Illustrator person either but I think that you would have to combine all of the elements of each person on to it's own layer inside of illustrator and then take the illustrator file in the AE. Example body, head, legs of the person on to one layer.
I'd find a base layer of the person (body for example) in the layer panel then select another layer that makes up the person with the direct select tool. There should be a colored square when you select that item. Drag the colored square up to the base layer until that person is complete on its own layer. Save as an AI and bring it in to AE as a composition. That person and all of the details should be its own layer.
If he wants to animate the characters in AE, each of the body parts would need to be on separate layers. You could use parenting to set up the hirearchy of body parts in AE
....and don't forget, you can re-name layers in Illustrator. It's very handy to import the file as a comp with the layers already named, "Head", "Left Thigh", "Right Shin", "Torso".... what have you.
I'm afraid this is the way it works, each Shape in Illustrator will be brought in a an individual shape in Ae. You have two choices, either re-group the shapes in AE - probably not practical! Or, in Illustrator, create layers for each body part. This can be done by selecting each character and choosing "Release to Layers" in the wing menu of the Layers panel. You can then import the file as a comp. double click the comp to open it and then animate the layers - don't bother making them into shape layers. If you click on the Continuous Rasterization switch, this will ensure the vector images stay sharp despite scaling etc. So, unless there is a pressing reason for using Shape layers, in this situation, best to steer clear
I'm not getting it. I tried the "Release to layer" and it didn't change anything when I imported into After Effects. I tried importing as layered comp and it still appeared as just one file.
What I need is some way to "Flatten" each layer (I know that's photoshop speak) before I import into After Effects.
I do apologize for misunderstanding your request. I thought you wanted to animate the character.
It sounds like you want to flatten the artwork. In Illustrator, select each character, one-at-a-time, making sure to select all the body parts. Once you have done this, go to the Wing menu of the Layers panel and choose "Flatten artwork".
In AE, import the file once you've done this to all characters. DO NOT convert them to shape layers, just double click the comp (in the project panel) to open it and you should have all the individual characters, each on one layer.