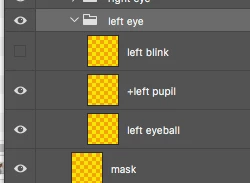
OK, I just tried putting each blink in its own folder (see image) and then I confirmed they were tagged. With that setup, neither blinked. And if I put them both in the Eyes folder then I'm back where I started with the blinking being cropped by the mask.
You're right, looks like I need a samurai.
Martin

Remove all mentions / tags of "blink" except for the ones inside the groups and you should be set.
1. Select the "Blinks" group and make sure it doesn't have any tags associated with it.
2. Select the "left blink" and "right blink" groups inside "Blinks" and remove any tags from them. (This is why I named my groups a throwaway term like "go" instead).
3. Select the "left blink" layer and make sure it's tagged as "Left Blink." Do the same with the "right blink" layer and "Right Blink" tag.