• Global community
    • Language:
      • Deutsch
      • English
      • Español
      • Français
      • Português
  • 日本語コミュニティ
    Dedicated community for Japanese speakers
  • 한국 커뮤니티
    Dedicated community for Korean speakers
Exit
0

how to make some top part of arm behind the body and the bottom part is in front of head

Explorer ,
Mar 13, 2020 Mar 13, 2020

Copy link to clipboard

Copied

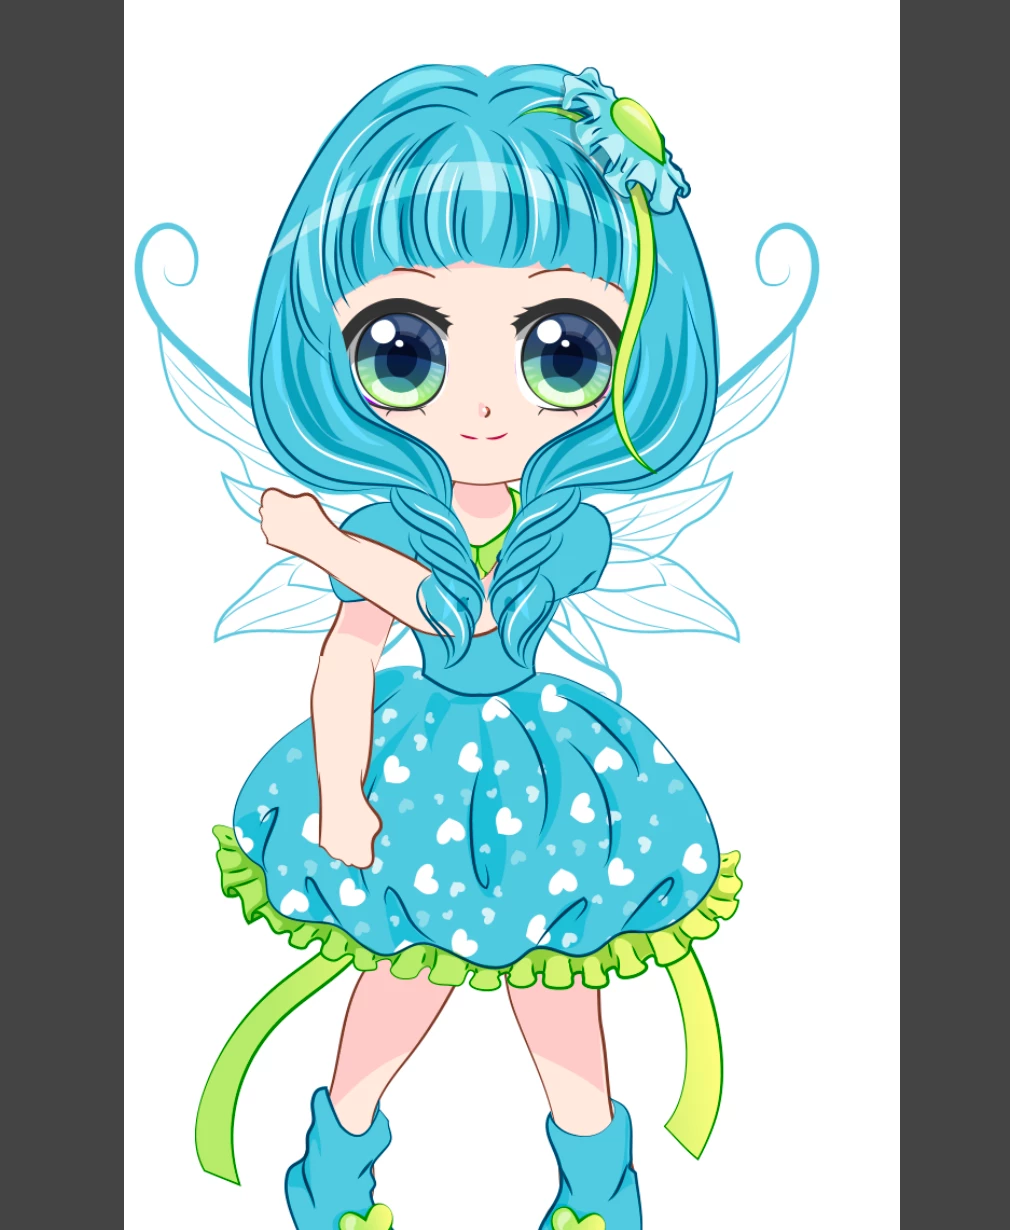
Hello I have a problem with my character. my character has a long hair in front of her body, so the hair should be covers the top part of arm, but I want to make the part from elbow to wrist is in front of the hair .. If I put the arm inside the body folder, It is behind the hair.. but If I put the arm in front of the hair, the top of arm is in front of the hair. If I split the layer, top arm behind the body, and bottom arm in front of the hair, it won't draggable together..  please helpScreen Shot 2020-03-14 at 13.48.13.png

Views

1.3K

Translate

Translate

Report

Report
Community guidelines
Be kind and respectful, give credit to the original source of content, and search for duplicates before posting. Learn more
community guidelines
Explorer ,
Mar 13, 2020 Mar 13, 2020

Copy link to clipboard

Copied

I dont want to put the whole arm in front of the air, just the bottom of armI dont want to put the whole arm in front of the air, just the bottom of arm

I don't want to put a whole arm in front of hair coz it becomes so strange.. I just want the bottom part to be in front of the hair

Votes

Translate

Translate

Report

Report
Community guidelines
Be kind and respectful, give credit to the original source of content, and search for duplicates before posting. Learn more
community guidelines
LEGEND ,
Mar 16, 2020 Mar 16, 2020

Copy link to clipboard

Copied

It is a well known issue with CH. Layers top to bottom control depth, but hierachy also matters. So you get this sort of case where you cannot get the nesting hierarchy and depths both working at the same time. Could you share the independence hierarchy of the layers? The more independence, the tricker things can be because independence says you MUST have the independent layer a child of something (you cannot move it elsewhere in the hierarchy) causing the problem.


If you *really* want to have a go, here is my best suggestion.

* make the upper arms dependent (not independent). Put them behind the hair (like you have now basically). So the upper arms are a part of the Body mesh.

* Make the head not independent - so Body and Head share the same mesh.

* Make the forearms independent, attached at the elbow to the upper arms. Because the upper arms are part of the Body and Head layer, you can put the forearms further up - put them above the Head so they appear in front.


+MyCharacter

- +Forearms

- Head

- - Hair

- Body

- - Upper Arms


As long as Head and Body are not independnet, you can do this kind of trick to move the forearms up higher in the rigging hiearchy. Effectively Body and Head are a part of the "MyCharacter" mesh, and the forearms are attaching to the parent - the MyCharacter mesh. (Hmmm, maybe Head can be independent... but Body must not be.)


But!! Doing this means you will have to put draggers on the elbows, then draggers on the hands. You cannot just drag by the hand to move the whole arm any more I think - you will have to drag the elbows then arms.


What some people have done I think is to use triggers as well, so the arms are normally just normal, but you use swap sets and triggers to hide the normal arms and do clever stuff (with more pain to animate) for the few frames the need the arms in front.


Yes. Its a pain. It would be great if there was some "layer depth" property instead of relying on layer order, but there isn't.

Votes

Translate

Translate

Report

Report
Community guidelines
Be kind and respectful, give credit to the original source of content, and search for duplicates before posting. Learn more
community guidelines
Explorer ,
Dec 04, 2020 Dec 04, 2020

Copy link to clipboard

Copied

YES. This is a huge problem.

We can't make female (or any) characxters with long hair and have the arms make any kind of sense.

I've tried all kinds of workarounds, inclduing magneting forearms in layers above the hair to IK controlled arms in a layer below, but it just doesnt work for lots of different reasons.

It'd be great if there was a "copy pixels from this lower element to this clone holder above" - then all the distorting from Limb IK would translate too. I'd just have a limb IK layer below, and a duplicate of JUST the forearm, ann distorted and warped, that laid on top at any level I wanted to.

Another possibility would be duplicate IK layers that behave identically, if you want the software to calculate it twice rather than pixel copying.

This is a huge problem for me, and it is preventing me from continuing with a bunch of things I really want to do.

Thanks!

Votes

Translate

Translate

Report

Report
Community guidelines
Be kind and respectful, give credit to the original source of content, and search for duplicates before posting. Learn more
community guidelines
LEGEND ,
Dec 04, 2020 Dec 04, 2020

Copy link to clipboard

Copied

There is the votes areas for new features - feel free to find the request there and vote for it! Someone used the term reparenting (i assume from the 3d world and blender etc) - at present the parent is used for two things in CH (depth and control/ownership). My best solution is to avoid an independent head.

Votes

Translate

Translate

Report

Report
Community guidelines
Be kind and respectful, give credit to the original source of content, and search for duplicates before posting. Learn more
community guidelines
New Here ,
May 27, 2021 May 27, 2021

Copy link to clipboard

Copied

LATEST

Hi, where can we vote for new features ? 

Votes

Translate

Translate

Report

Report
Community guidelines
Be kind and respectful, give credit to the original source of content, and search for duplicates before posting. Learn more
community guidelines
Community Expert ,
Dec 04, 2020 Dec 04, 2020

Copy link to clipboard

Copied

Translated from Japanese to English with translation software.


Step 1

Place both arm layers in front of the hair and assemble the rig.

Step 2

Duplicate both arm layers and place them on a layer behind the hair.

Step 3

Hide the upper arms from both arm layers in front of the hair.

Step 4

Hide the wrists and upper arms from both arm layers behind the hair.


Watch the YouTube video for more details.Japanese explanation

https://youtu.be/yvmju3alJfY


You can also download the project file below. Please take a look at it.


https://e7sharp9.com/2020/12/%e3%80%90adobe-character-animator%e3%80%91long_hair_girl_sample/ 

I faced the same problem once. I hope this method is useful for many people.

Thank you!

Votes

Translate

Translate

Report

Report
Community guidelines
Be kind and respectful, give credit to the original source of content, and search for duplicates before posting. Learn more
community guidelines
LEGEND ,
Dec 04, 2020 Dec 04, 2020

Copy link to clipboard

Copied

That is a cool trick! Thank you for sharing the video! To summarize, the two sets of arms are effectively bound together as they share the same overlapping mesh space.


I suspect it will not work in the case where arms are independent...? That is, the two copies would be independent of each other then, so not stuck together... 


But I wonder if your previous post could help here. That is, have two sets of arms, make them independent, but put a dragger behavior on both sets of arms. Both arms will then get the drag events. Then hide the upper and lower section of the two sets of arms. You need to get the sticks in exactly the same spot to make everything align exactly...

Votes

Translate

Translate

Report

Report
Community guidelines
Be kind and respectful, give credit to the original source of content, and search for duplicates before posting. Learn more
community guidelines
Explorer ,
Dec 04, 2020 Dec 04, 2020

Copy link to clipboard

Copied

That is amazing k_oshiro!

I will study what you've done!

Do you know if it is possible to use Arm IK with this approach? I will test and see.

Thank you SO much for this!!

Votes

Translate

Translate

Report

Report
Community guidelines
Be kind and respectful, give credit to the original source of content, and search for duplicates before posting. Learn more
community guidelines
Community Expert ,
Dec 04, 2020 Dec 04, 2020

Copy link to clipboard

Copied

I'm glad I could help you.
You can apply the "limb IK" to each arm layer.

But this method is not perfect, because you can't rotate the arms much.

This is because individual arm layers cannot be "marked independent".


I hope it will be easier to use in future versions!

Thank you.

Votes

Translate

Translate

Report

Report
Community guidelines
Be kind and respectful, give credit to the original source of content, and search for duplicates before posting. Learn more
community guidelines
LEGEND ,
Dec 04, 2020 Dec 04, 2020

Copy link to clipboard

Copied

Your approach *does* work with independent arms! I just did a variant of it.


alank99101739_0-1607130839290.png


I created a quick puppet following your video. I have an arm with two segments (red and purple). I made the arm independent. I put the sticks and dragger on the arm - everything ready to go. After the stick and draggers are on it, I duplicated the Arm layer *inside CH* (not in the artwork file). I then dragged the copy down behind the head (in front of the body). I then hid the upper arm segment in one copy, the lower arm segment in the other copy. Then, did I think it was your trick from a previous post - I put a "Dragger" behavior on each arm. I turned on the range limit to stop unwanted clicks from being picked up by accident on the behavior (necessary or else with left and right arms both will move all the time togther, not just the front/back arm copies). Combining the ideas worked!


alank99101739_1-1607131099466.png


Votes

Translate

Translate

Report

Report
Community guidelines
Be kind and respectful, give credit to the original source of content, and search for duplicates before posting. Learn more
community guidelines
LEGEND ,
Dec 04, 2020 Dec 04, 2020

Copy link to clipboard

Copied

Here is the link to the puppet I created if anyone wants to play.  https://drive.google.com/file/d/1Gre-bDD5mq-BqGOxXr-OCgZ4fMvntgBG/view?usp=sharing.

(Oh, I just remembered I had not set the target range on the extra dragger behaviors before I exported. That will be important when there are two hands in a real puppet I think.)


And I had not added IK-Arm behavior - but that should not be a problem - just add it to both copies of the arm so they are identical.

Votes

Translate

Translate

Report

Report
Community guidelines
Be kind and respectful, give credit to the original source of content, and search for duplicates before posting. Learn more
community guidelines
Community Expert ,
Dec 04, 2020 Dec 04, 2020

Copy link to clipboard

Copied

That's a great idea!
It's nice to combine our ideas with each other.
Thank you!

Votes

Translate

Translate

Report

Report
Community guidelines
Be kind and respectful, give credit to the original source of content, and search for duplicates before posting. Learn more
community guidelines
Explorer ,
Dec 04, 2020 Dec 04, 2020

Copy link to clipboard

Copied

Thanks both of you! I will test this all out and see how it goes. I was basically doing this too, but I was creating the multiple layers in Illustrator, and I can see how it works better copying within CA. Awesome. That may be the fact I was missing.

You should see the hoops I was jumping through with magnets to stick a forearm above the hair on to the IK'd forearm below the hair, and it was super clunky.

I'll go test now!

Votes

Translate

Translate

Report

Report
Community guidelines
Be kind and respectful, give credit to the original source of content, and search for duplicates before posting. Learn more
community guidelines