thompsonryan
Inspiring
November 30, 2019
Answered

Custom Bottle - Curves Render with Jagged Horizontal Lines.

  • November 30, 2019
  • 3 replies
  • 1567 views

Thank you in advance for any helpful notes. 🙂
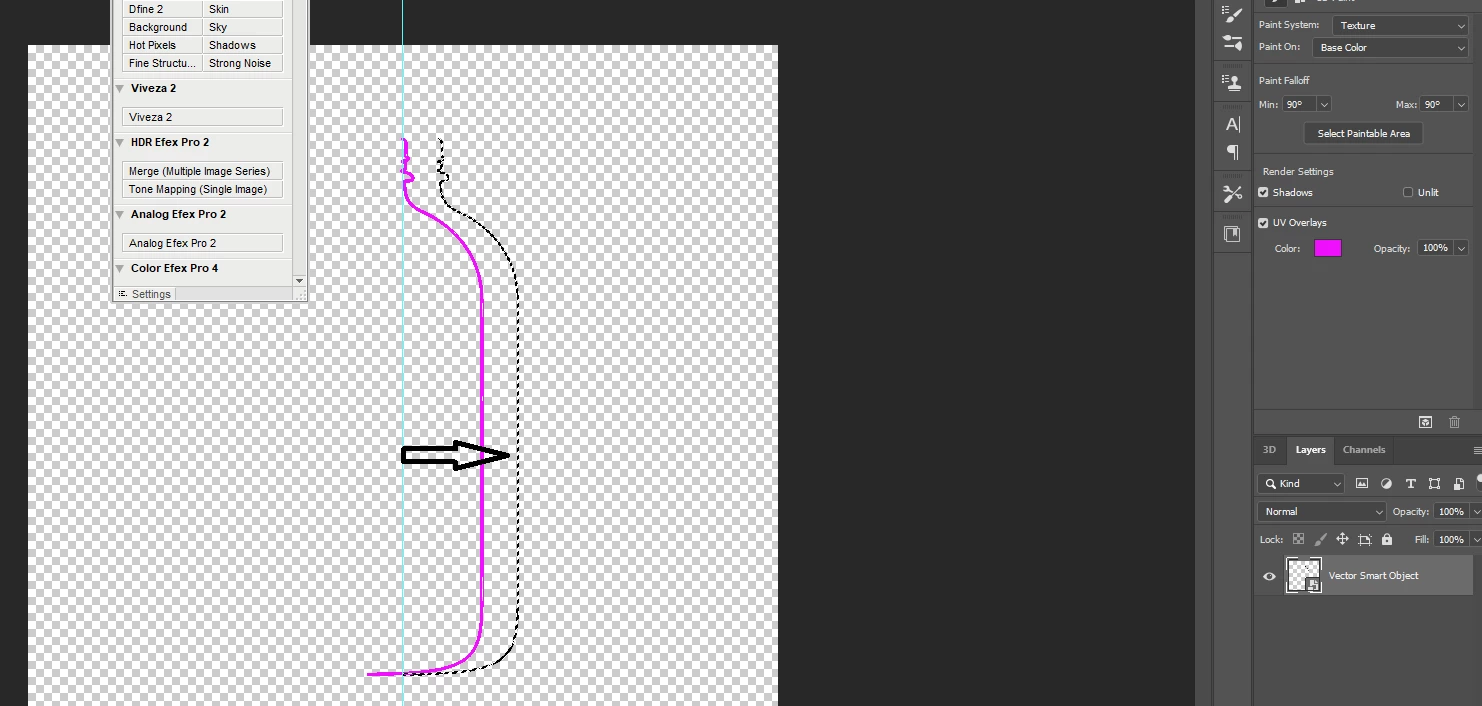
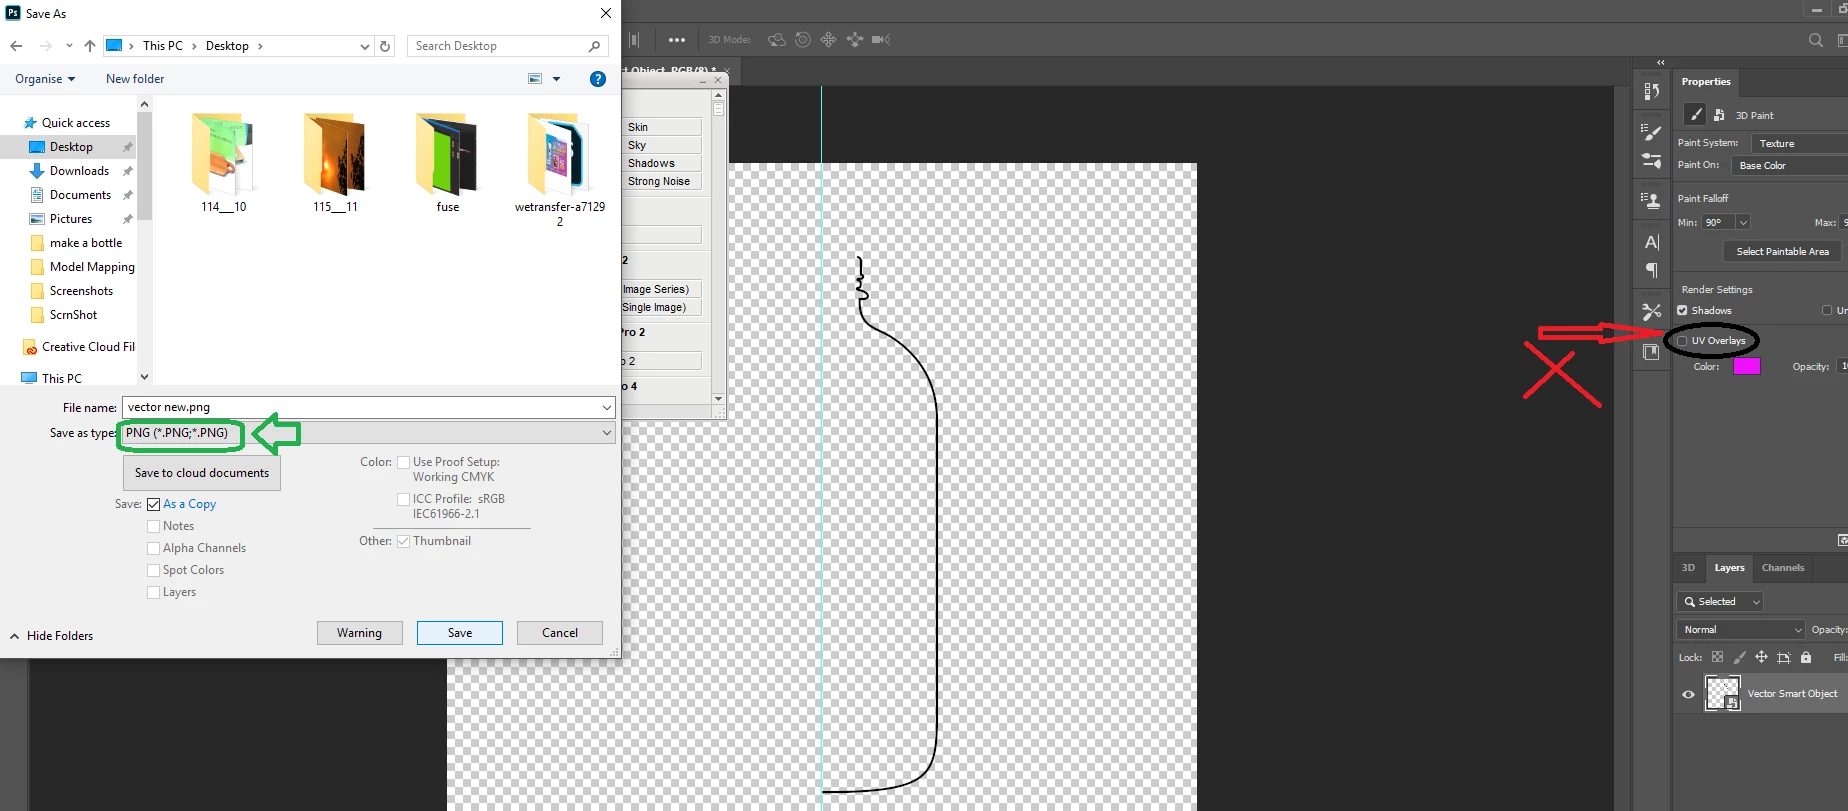
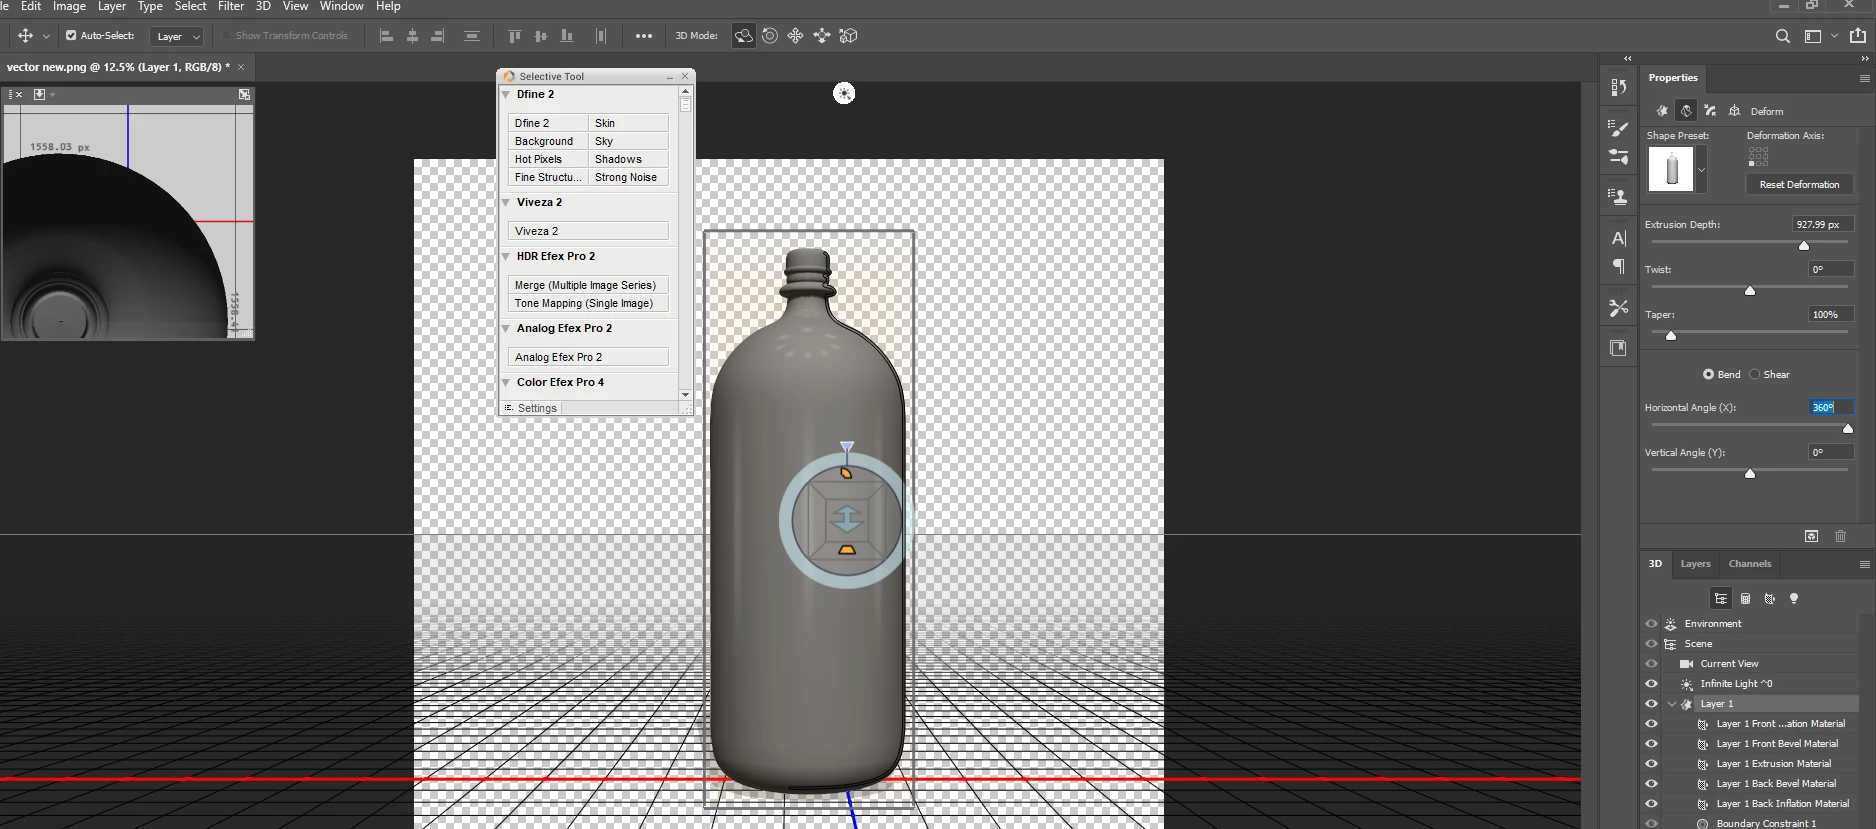
I'm attempting to create a custom glass bottle OBJ using Illustrator and Photoshop to then import into Dimension. I've created a simple outline of my bottle using the pen tool in illustrator, but when I create a 3d layer in photoshop the smooth curves render very poorly. 


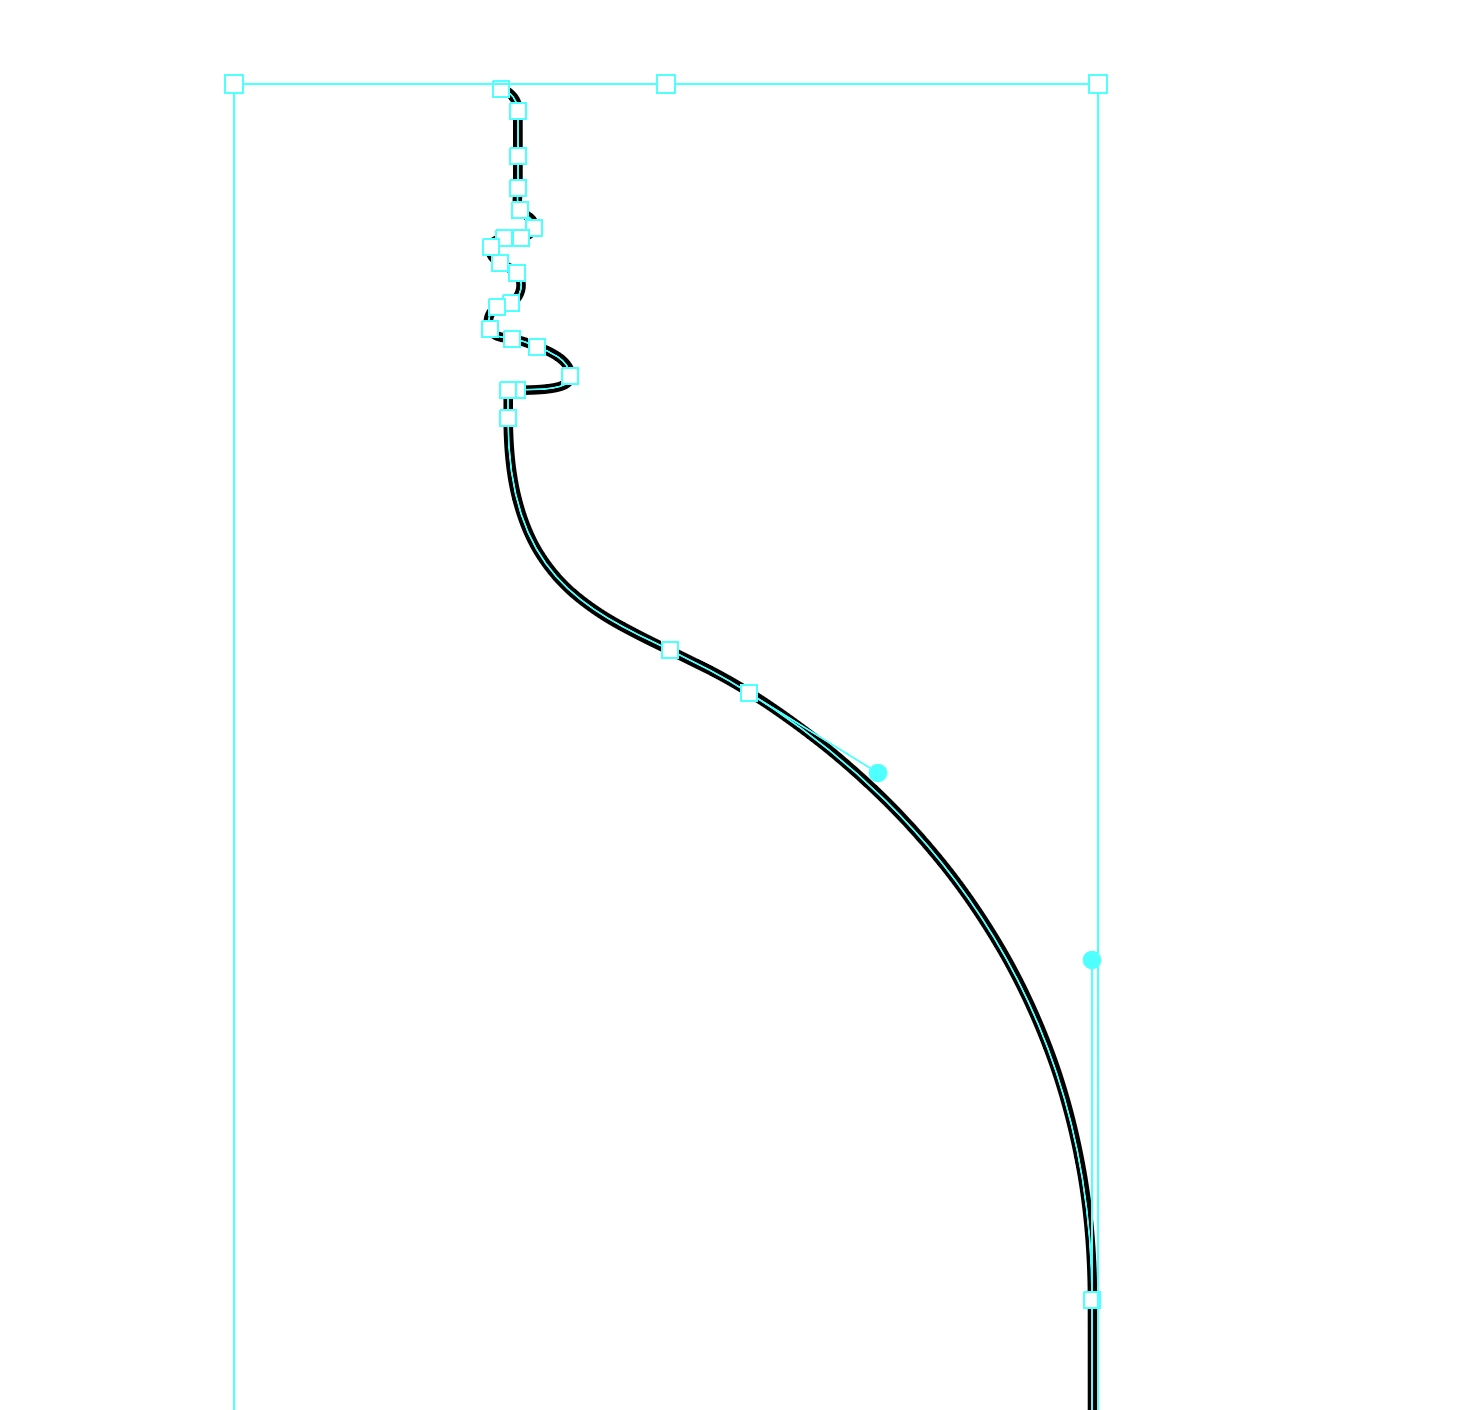
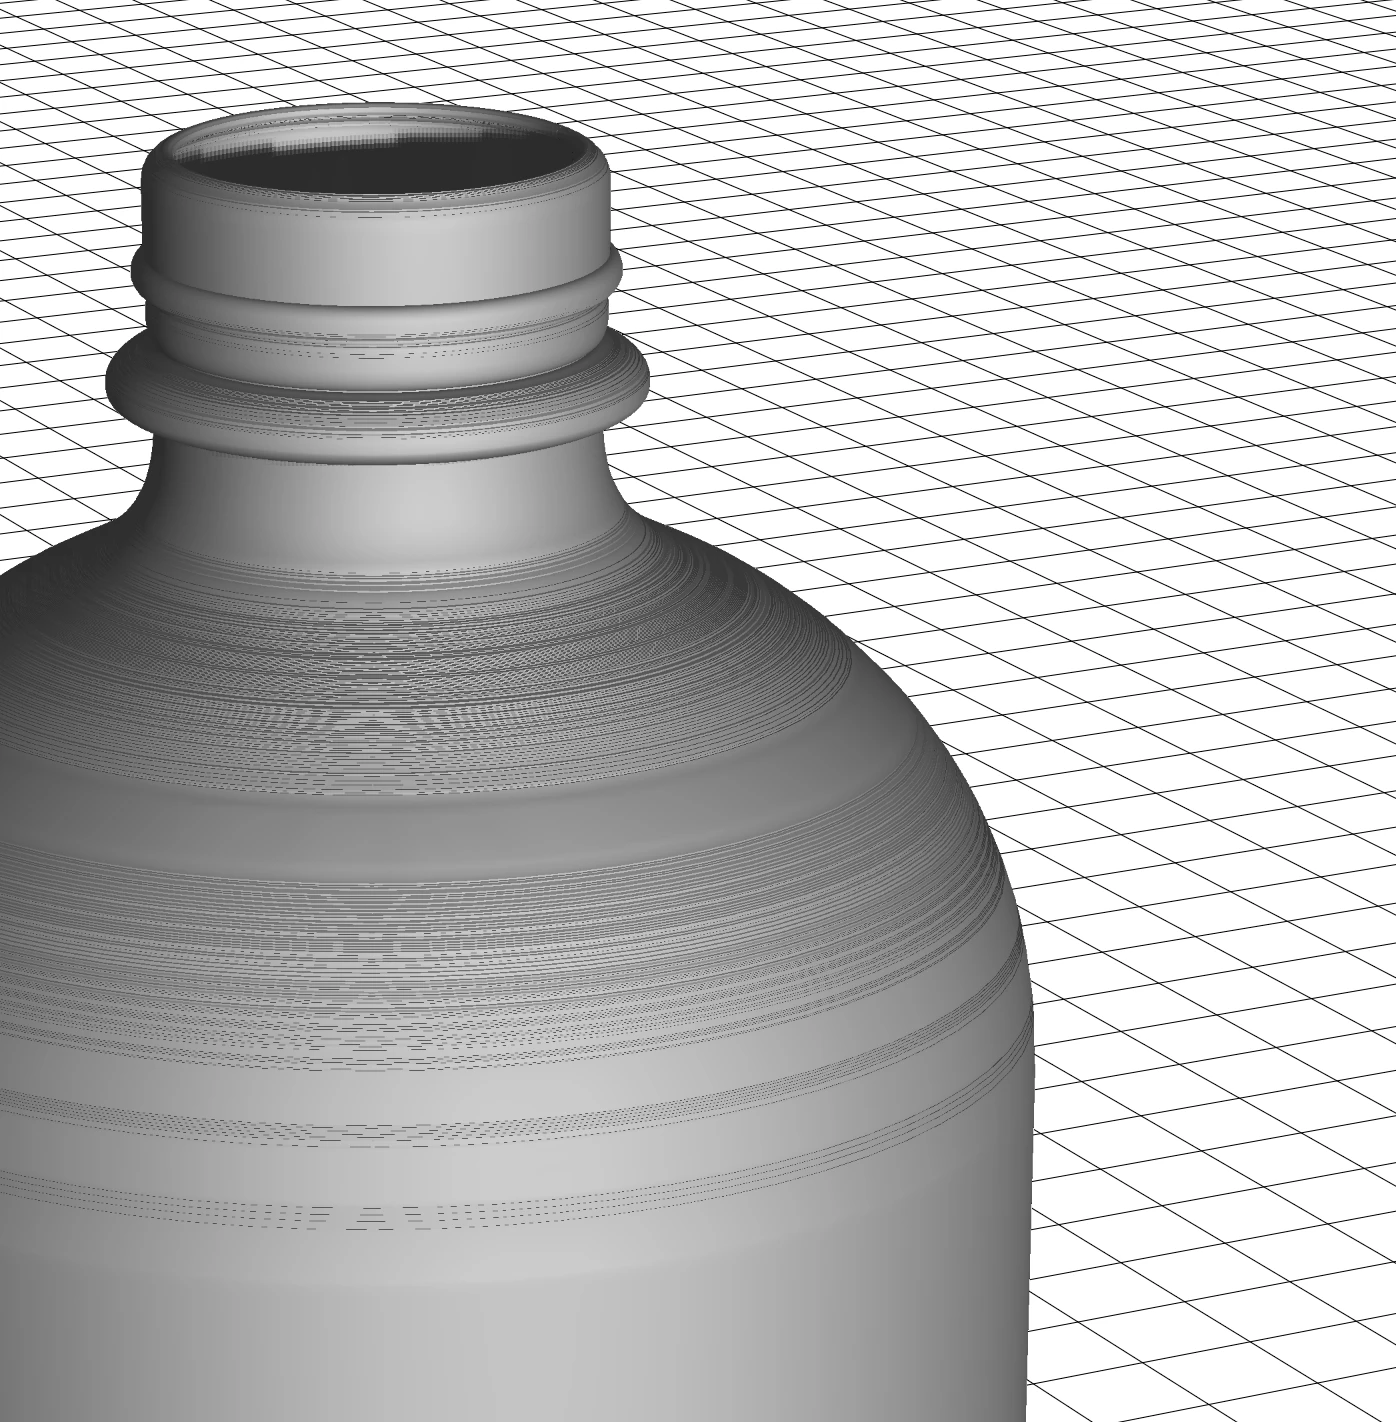
As you can see below, horizontal lines are appearing across all curved surfaces. The same occurs if I export an OBJ and import to Dimension. The same striation is happening on what should be a simple smooth curve. Am I missing a step anywhere? What is causing this?


This topic has been closed for replies.
Correct answer Ussnorway7605025

your file back

what it looks like is the smart object paste step buggered up your map... I turned the map off and moved the line over so it is centered

  • then i saved your line as a png and reloaded it to make another bottle

this extursion is at 100% ... i'd change that to 33% for glass but you can adjust for your needs

3 replies

Ussnorway7605025
Brainiac
December 2, 2019
  • the map on your bottle is the vector smart object... double click that to open it and you will be able to see the tick box for turning off the map

  • yes the UV map controls how a decal works and using an extrusion = you must take control... I show how to do this this in my example linked above i.e, I use a fill, not a decal

when you make an extrusion the map part is the thin line you used to set your shape i.e, worthless because Dimension is dum as but a fill can be used to get the same result | you can use another model [or the wand tool] to build a new surface for your decal... the end result is the same but ime a fill is the normally best i.e, easiest

  • you are welcome
Ussnorway7605025
Ussnorway7605025Correct answer
Brainiac
December 1, 2019

your file back

what it looks like is the smart object paste step buggered up your map... I turned the map off and moved the line over so it is centered

  • then i saved your line as a png and reloaded it to make another bottle

this extursion is at 100% ... i'd change that to 33% for glass but you can adjust for your needs

thompsonryan
Inspiring
December 2, 2019

THANK YOU!

I appreciate your time explaining the process. I was able to follow your guide and re-make my file. You were correct, importing as a PNG solved the surface issue. However, I am unable to apply a decal to the surface in Dimension. I suspect this has something to do with UVs. I am new to 3D modeling so I appreciate any helpful tips. 

I have not been able to find the "UV Overlays" checkbox in Photoshop properties. Where is this found or displayed?


Ussnorway7605025
Brainiac
November 30, 2019

you say you made this bottle in Photoshop? 

  • What is causing this? = the normal map... what software did you use to make it?


my example  = https://community.adobe.com/t5/dimension/how-to-make-a-good-bottle-in-photoshop-for-dimension-my-way/td-p/10759234


or share the files and I'll have a go at fixing it for you

thompsonryan
Inspiring
November 30, 2019

I drew the bottle outline in Illustrator then pasted the smart object into photoshop where I used the extrusion tool to revolve the shape. At that point I already noticed the surface wasn't smooth and exporting it as an OBJ for Dimension didn't help.

Thank You!!

If you want to have a look at my file here is the photoshop 3D extrusion (revolve)  Photoshop File