Chabad LV
Participating Frequently
June 2, 2017
Question

Needing super help with the cutlines to set up a folder.

  • June 2, 2017
  • 2 replies
  • 3365 views

So I am trying to set up a folder on the inside back cover of an 11"w x 8.5" h brochure, and am dealing with a disgruntled printer. He sent me this dummy as an example to show me how to set up the lines, but I am not sure how to get that into indeseign, and how to set up the lines on just those pages, so that the document is actually extended beyond the bleed line when you open it? I hope I'm wording it in a way that makes sense. Basically how do I set up my file so the inside cover is a folder and the printer doesn't drive to me and burn down my house?

This btw is what he sent me which unfortunately I'm not too clear on it:

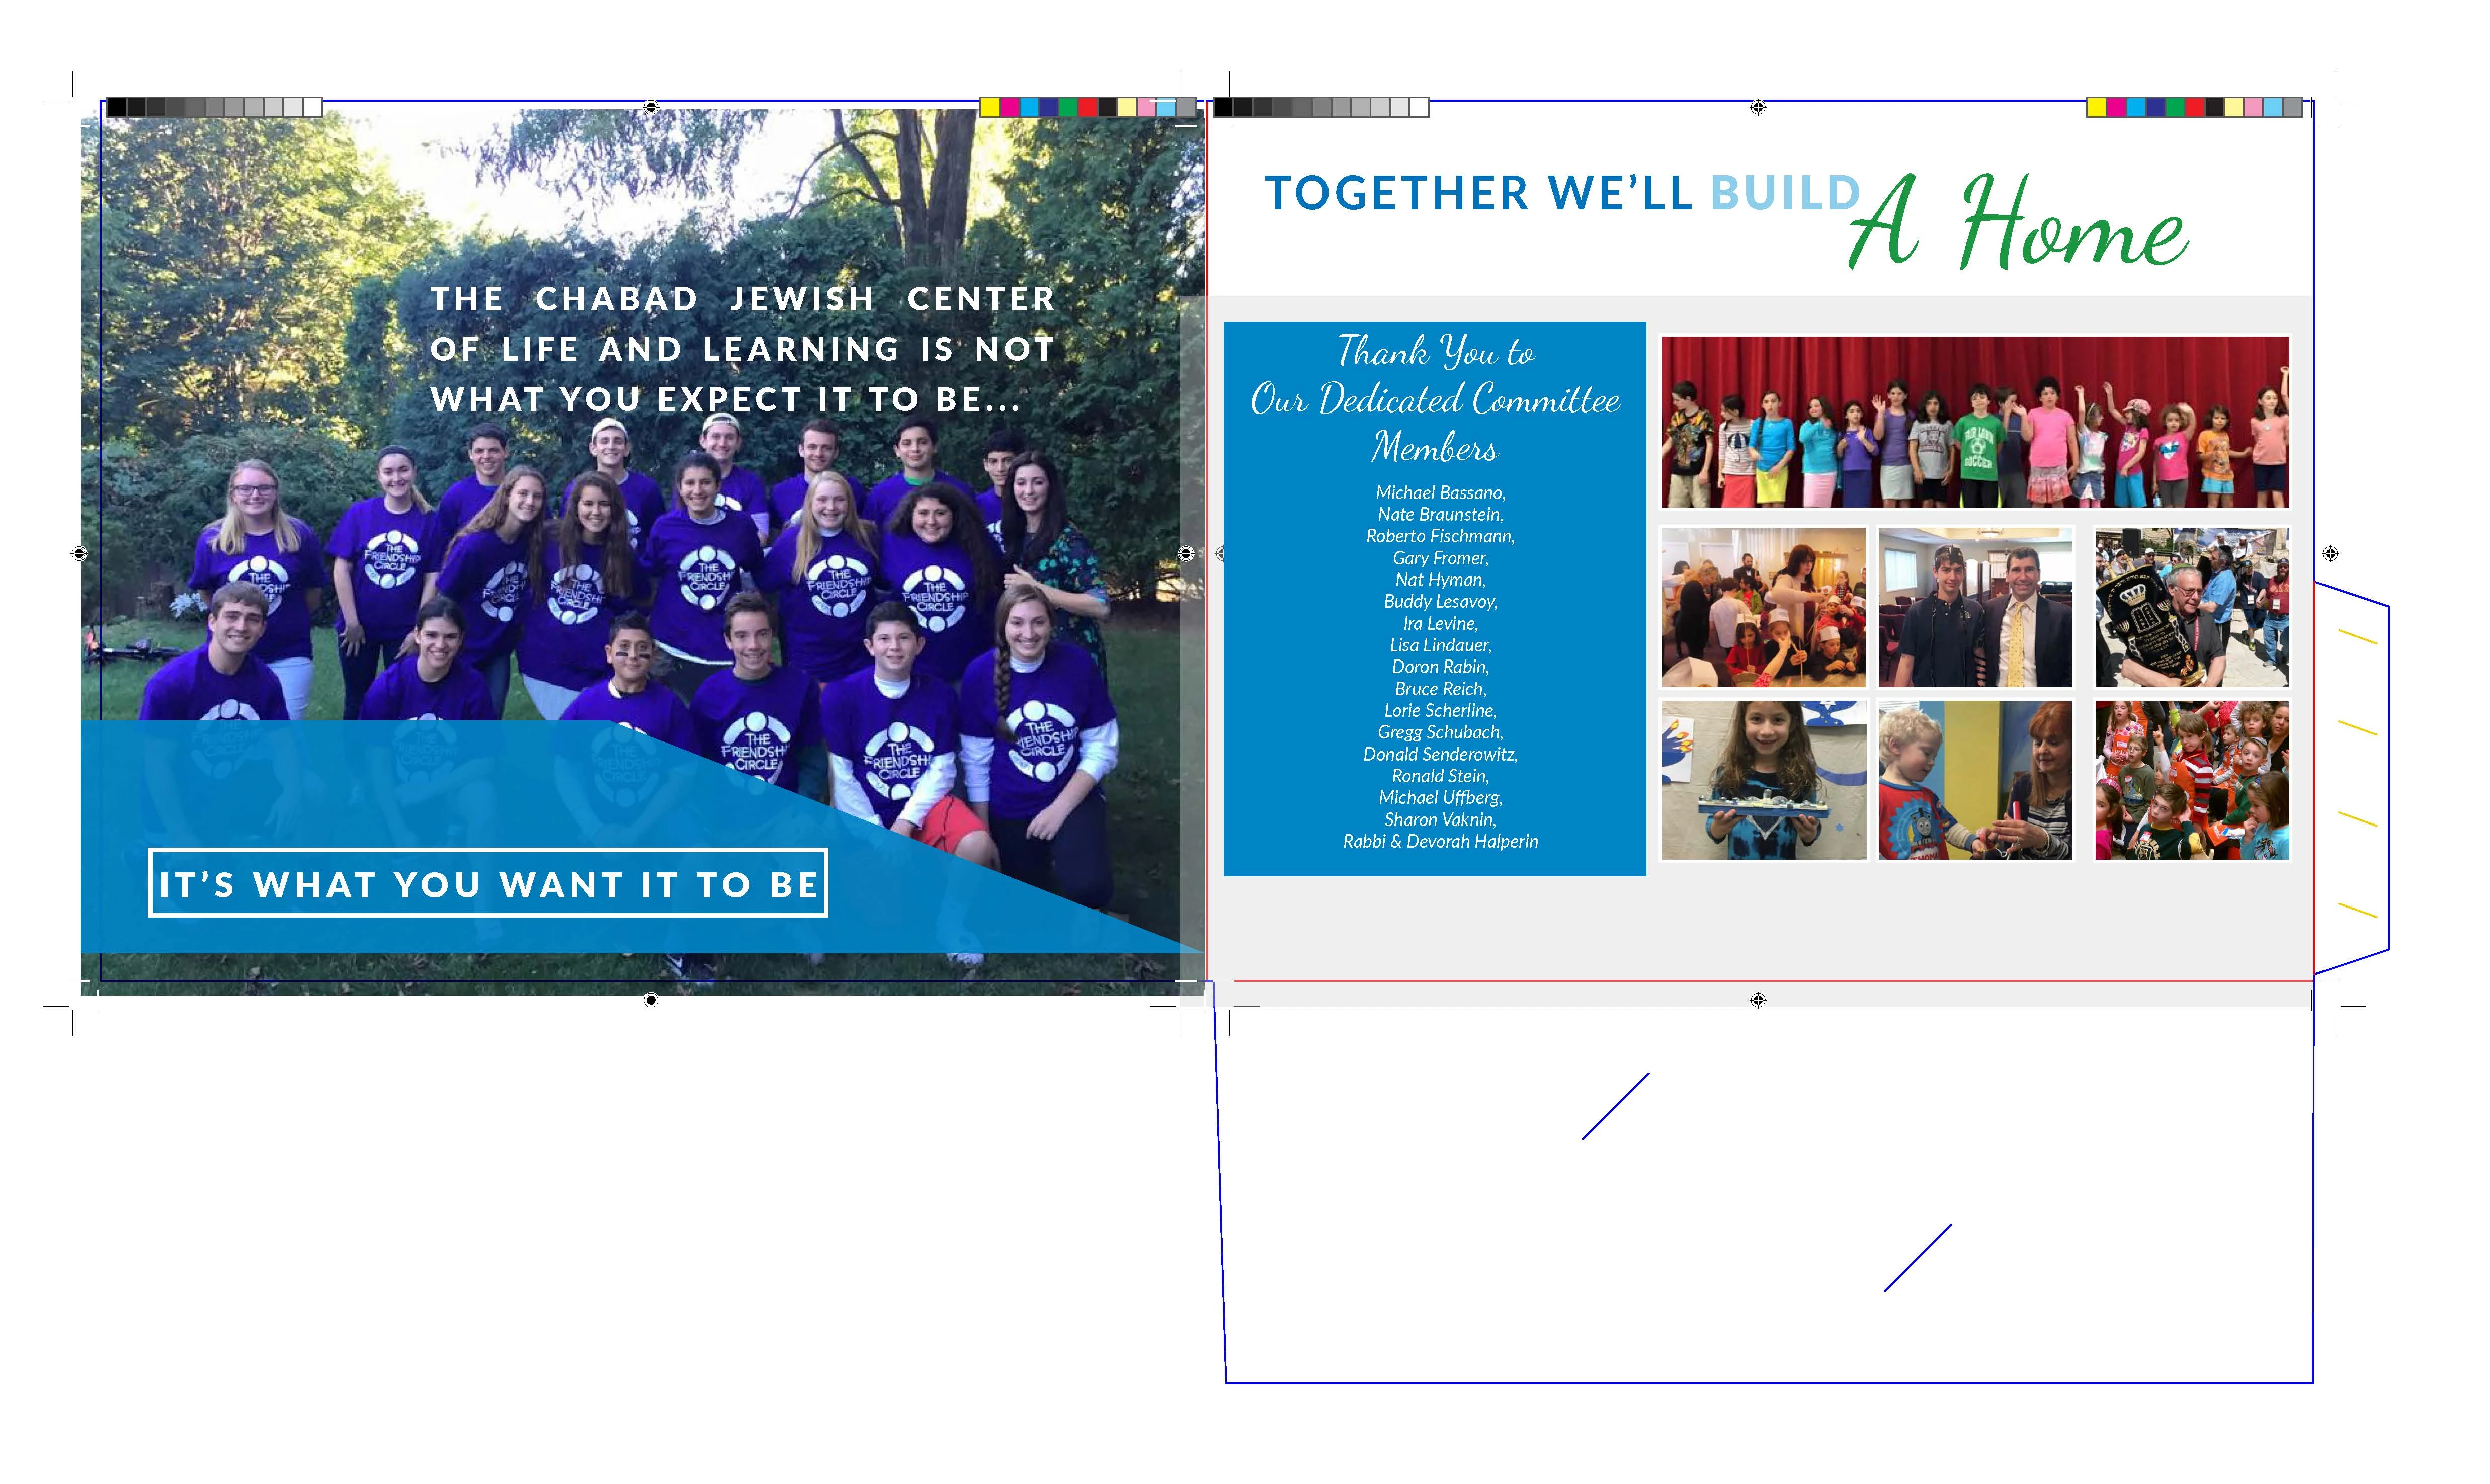
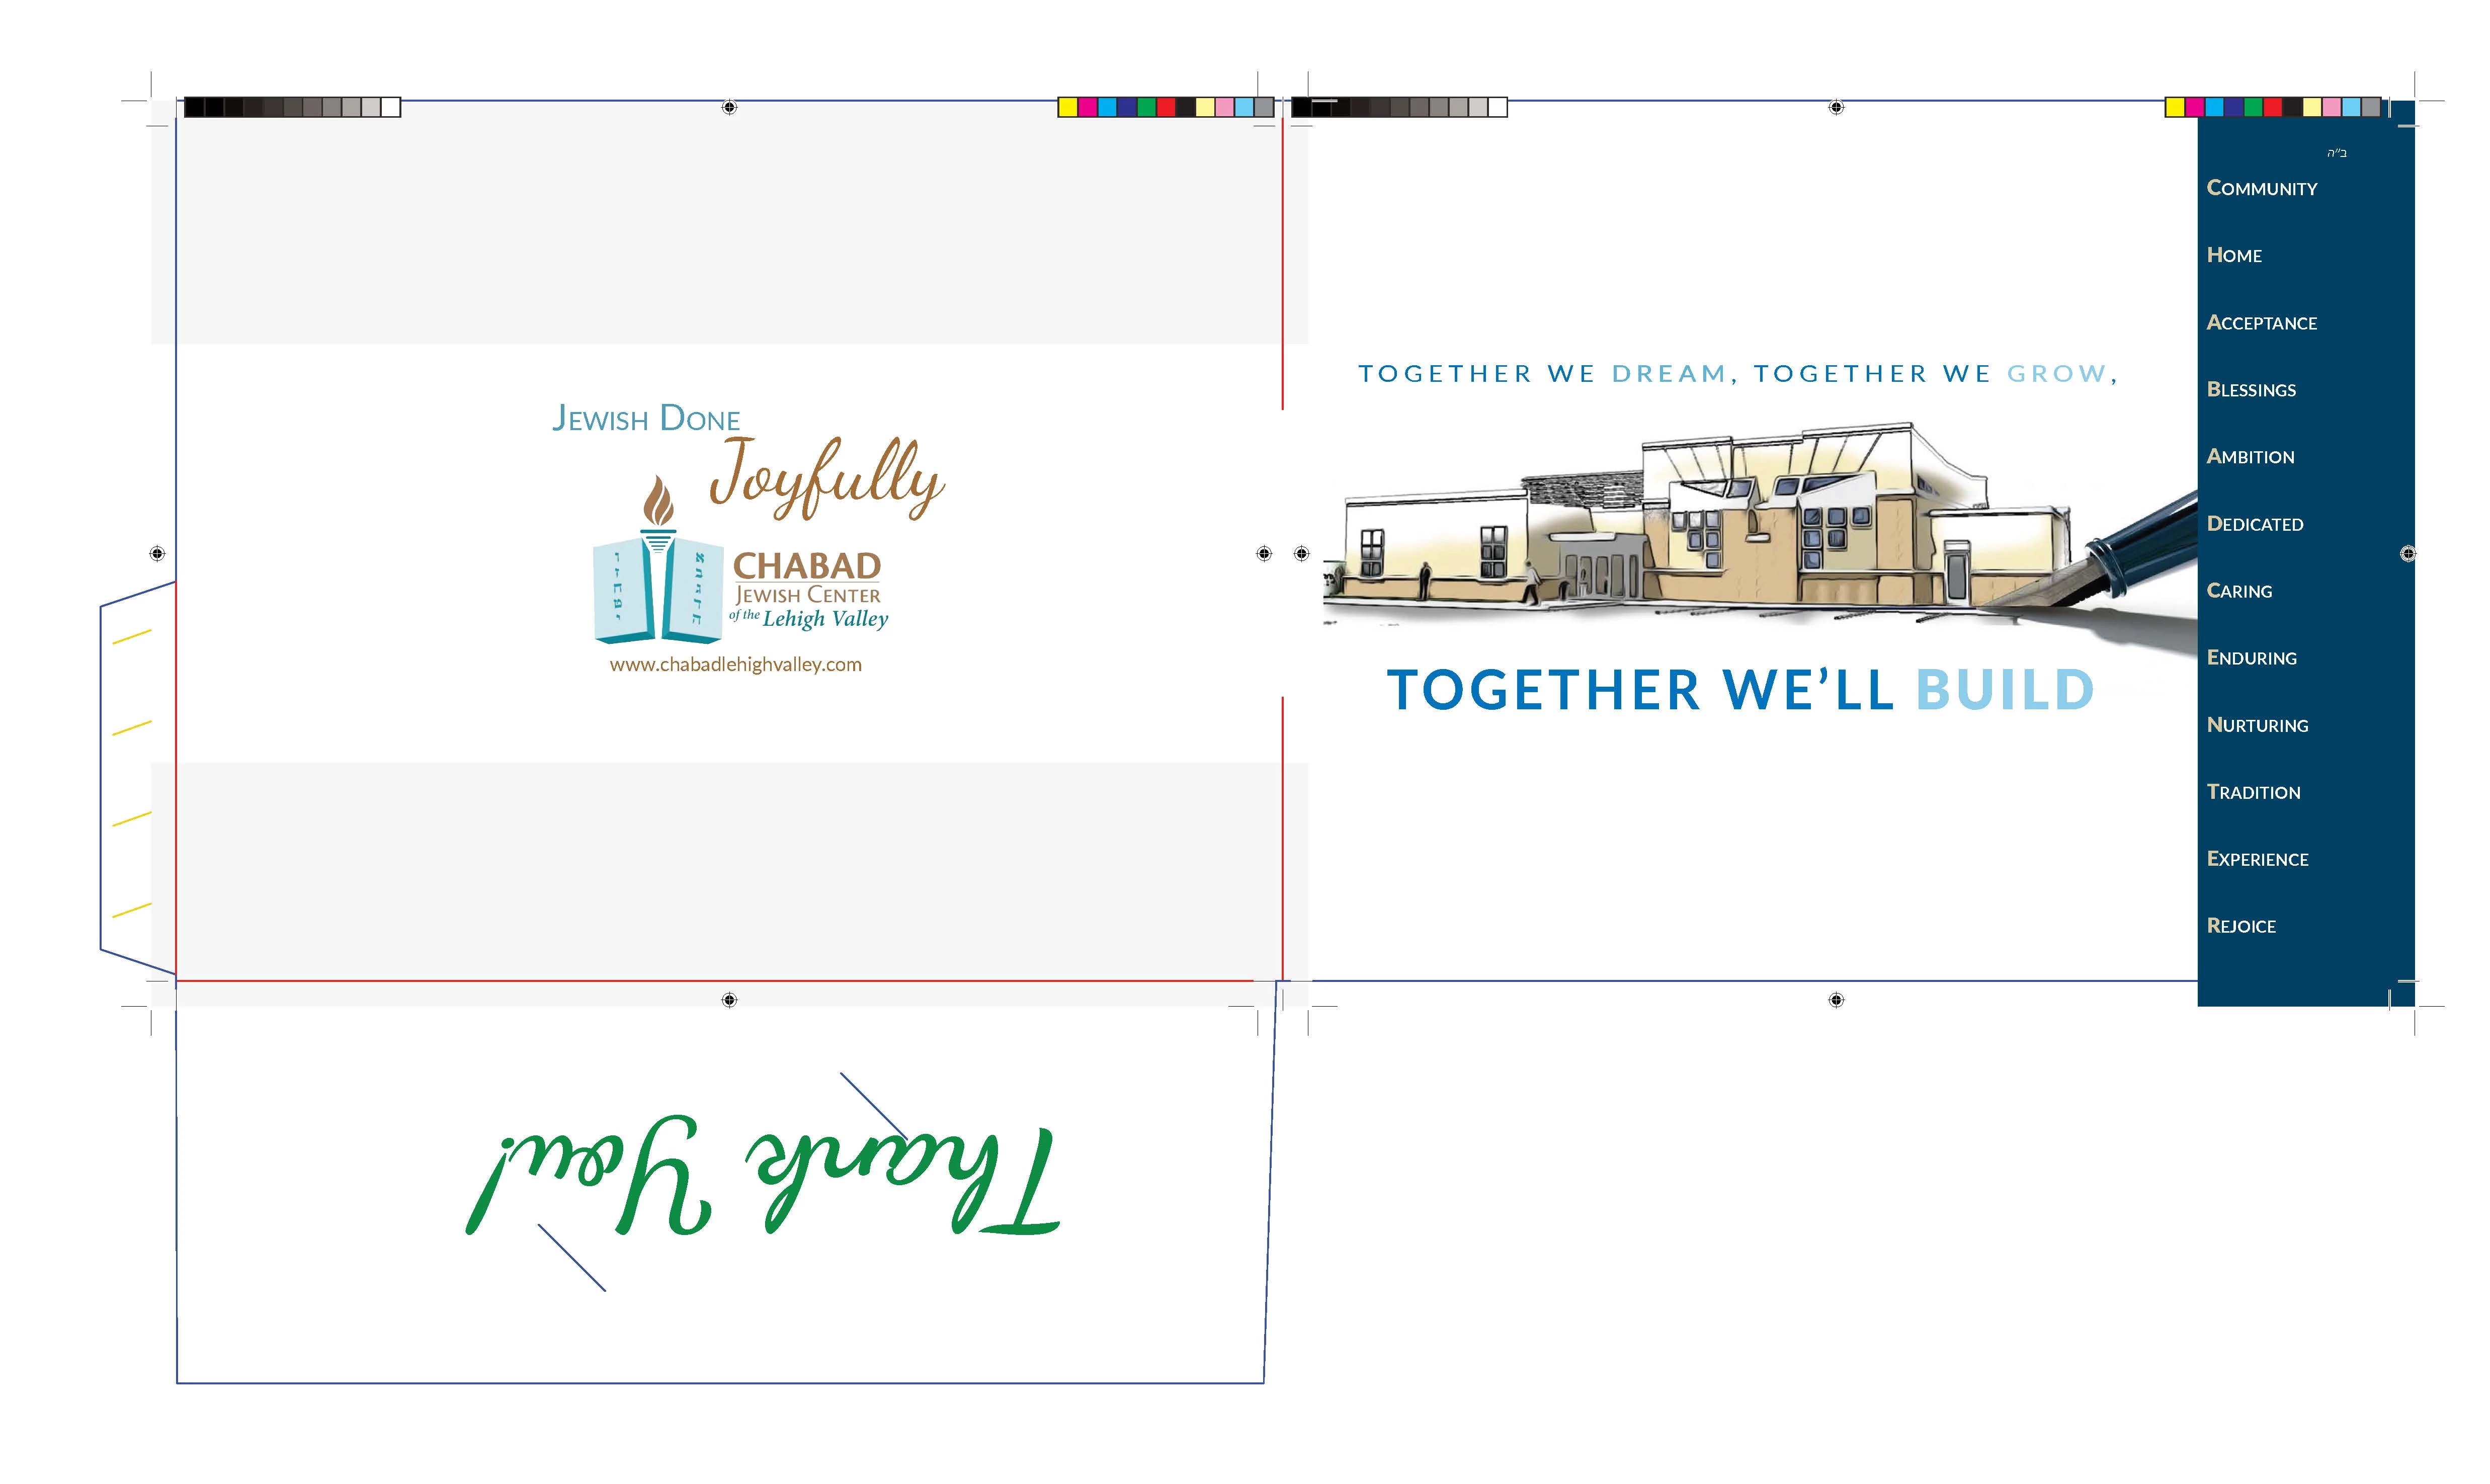
Hi I made a dummy for you of what the cover needs to look like, I pasted the cover pages into the die line, see attached.

What you need to do is bring the die line into indesign then place the pages in the correct position, then make 2 pfd's 1 with the die line and one without the die line. In the dummy I made for you you will see all the marks from the pdf of the print file. These are not supposed to be in the final cover file.

I hope this explains every thing

[Moved from the non-technical LOUNGE Forum to the Program forum... Mod]

[Here is the list of all Adobe forums... https://forums.adobe.com/welcome]

This topic has been closed for replies.

2 replies

The Print Craftsman
Inspiring
June 2, 2017

So I read what the printer sent you and it make perfect sense to me.  Of course I work at a commercial print shop so that might have something to do with it.  It sounds like he sent you a DIELINE attached.  You need to save that and then "Place" it in your InDesign file.  Whatever size the DIELINE is you need to make your InDesign document that size or larger.  You need to place the DIELINE on a layer by itself preferably on top (I assume it is transparent) and lock it so it won't move.  Then put all your artwork together on layers underneath the dieline positioning everything where you want it to be.  Then output a HIGH RESOLUTION PDF of the art with the DIELINE showing.  Then output a 2nd HIGH RESOLUTION PDF of the art without the DIELINE showing by either turning that layer off or double clicking the layer and setting it to NON-PRINTING.  You should end up with 2 PDFs exactly the same size.  One with the dieline showing and one without.  He will use the one with the DIELINE showing to position the artwork correctly on his printing press plates and then once he has it where he wants it he will swap it out for the one without the dielines to actually print from.  You could set the dielines to be spot colors and set to overprint which would negate the necessity of the 2nd PDF but he is trying to make it easy for you. So just ignore what I just said about the spot color and overprinting.  If you still don't understand just call the fire department and have them standing by. LOL.  ;-)  I'm sorry I couldn't resist.  I sometimes rant about how people should have to be licensed to create artwork just like an electrician has to be licensed in order to wire a house.  But that doesn't mean we hate you.  It's just frustating sometimes when a person not very familiar with the printing process sends in artwork that is not ready to print.  O.K. I'm done ranting.  I hope this has helped.  You do understand that by having a folder as part of your brochure requires extra paper.  The tab and other parts need to come from somewhere so your document will by necessity have to be larger then the finished size of the brochure.  The printer will DIECUT the folder tab and front pocket area out of paper that is on the press sheet beside your brochure as his dieline indicates.  It will diecut and score the paper so that afterwards he can fold the front pocket up and fold the tab in and with a little adhesive placed on the tab glue everything together as a finished folder.  I see you have the word "Thank You" printing on the front pocket of the right hand inside of the folder.

Chabad LV
Chabad LVAuthor
Participating Frequently
June 2, 2017

What I am not understanding is how am I alining the cut lines and bleed lines to be smaller than the rest and still have this die line on top and export it in the correct size? When I export it sized with the lines the cut and bleed lines are off, when I export it sized to the cut and bleed lines then the dielines are cut off.

Bill Silbert
Community Expert
June 4, 2017

Ok so thank you both for all of your help. I think I'm beginning to understand whats needed, sorta. The only thing I don't understand is how to set up the rest of the document so that the printer needs to do nothing more to assist me, especially because he despite all of his crabbiness usually gives us an amazing discount. I put the dropbox link below as to what I am planning to send to the printer. The folder is supposed to go on a blank page, so I took out the first two pages from the full pdf (the front cover and page two) as well as the last three pages. If you could take a look and see if it's set up properly or what I need yet to incorporate, like should I be doing the rest of the pdf in spreads now or regular?

Dropbox - Halperin Building Campaign

Thanks so much!!!!!!


In this case I think that you can provide him with One pdf for the front and back of the cover and another for the rest of the brochure in spreads. Also provide him with the pdf of the front and back cover without the die lines. I am assuming that this brochure is to be saddle-stitched (bound by staples). If it was to be spiral-bound then it might have to be done as single pages. The spreads that you will be providing will be in what is called reader-spreads but the printer should not have trouble making them printer spreads for production.

Good Luck.

Bill Silbert
Community Expert
June 2, 2017

What the printer is requesting is for you to set up this part of the job in the actual way that will be trimmed folded and glued using a die-strike. Die strikes are used when the content is to be printed on something other than just a rectangular page. The die strike is usually drawn precisely in Illustrator and then placed into an InDesign file on a page that has been sized to match the outer perimeter of the die strike on its own layer. The InDesign content is then placed on its own layer(s) in the exact position that it will be printed on the die. If the printer has supplied you an already drawn die strike open it in Illustrator and save it as an .ai file and proceed as above. If the printer has not provided the die it will take a knowledge of how to draw precisely in Illustrator along with the exact dimensions needed. Generally a die strike will use solid lines for anything that is to be cut and dashed lines for anything that is to be folded. It does look like the printer has provided you with a die in which the blue lines are what will be cut and the red lines are folds.