Known Participant
July 21, 2025
Answered

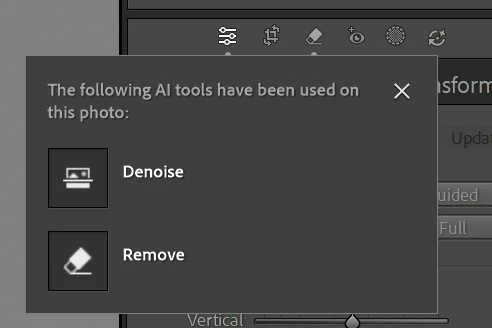
More noise after using Generative AI Remove on a raw file with denoise (14.4)

  • July 21, 2025
  • 2 replies
  • 992 views

Something else I’ve noticed about the denoise function – by the way, I’m really happy with it, especially since it doesn’t create an extra DNG file, which is great for my workflow. Maybe except for the progress window.

When I apply it to a photo with a high ISO value of 8000 (using the default denoise value of 50), and then use the AI Remove tool afterward, the noise seems to come back more than in the original photo. This is also when I first use remove and then denoise. 

Here are the steps with images I follow:

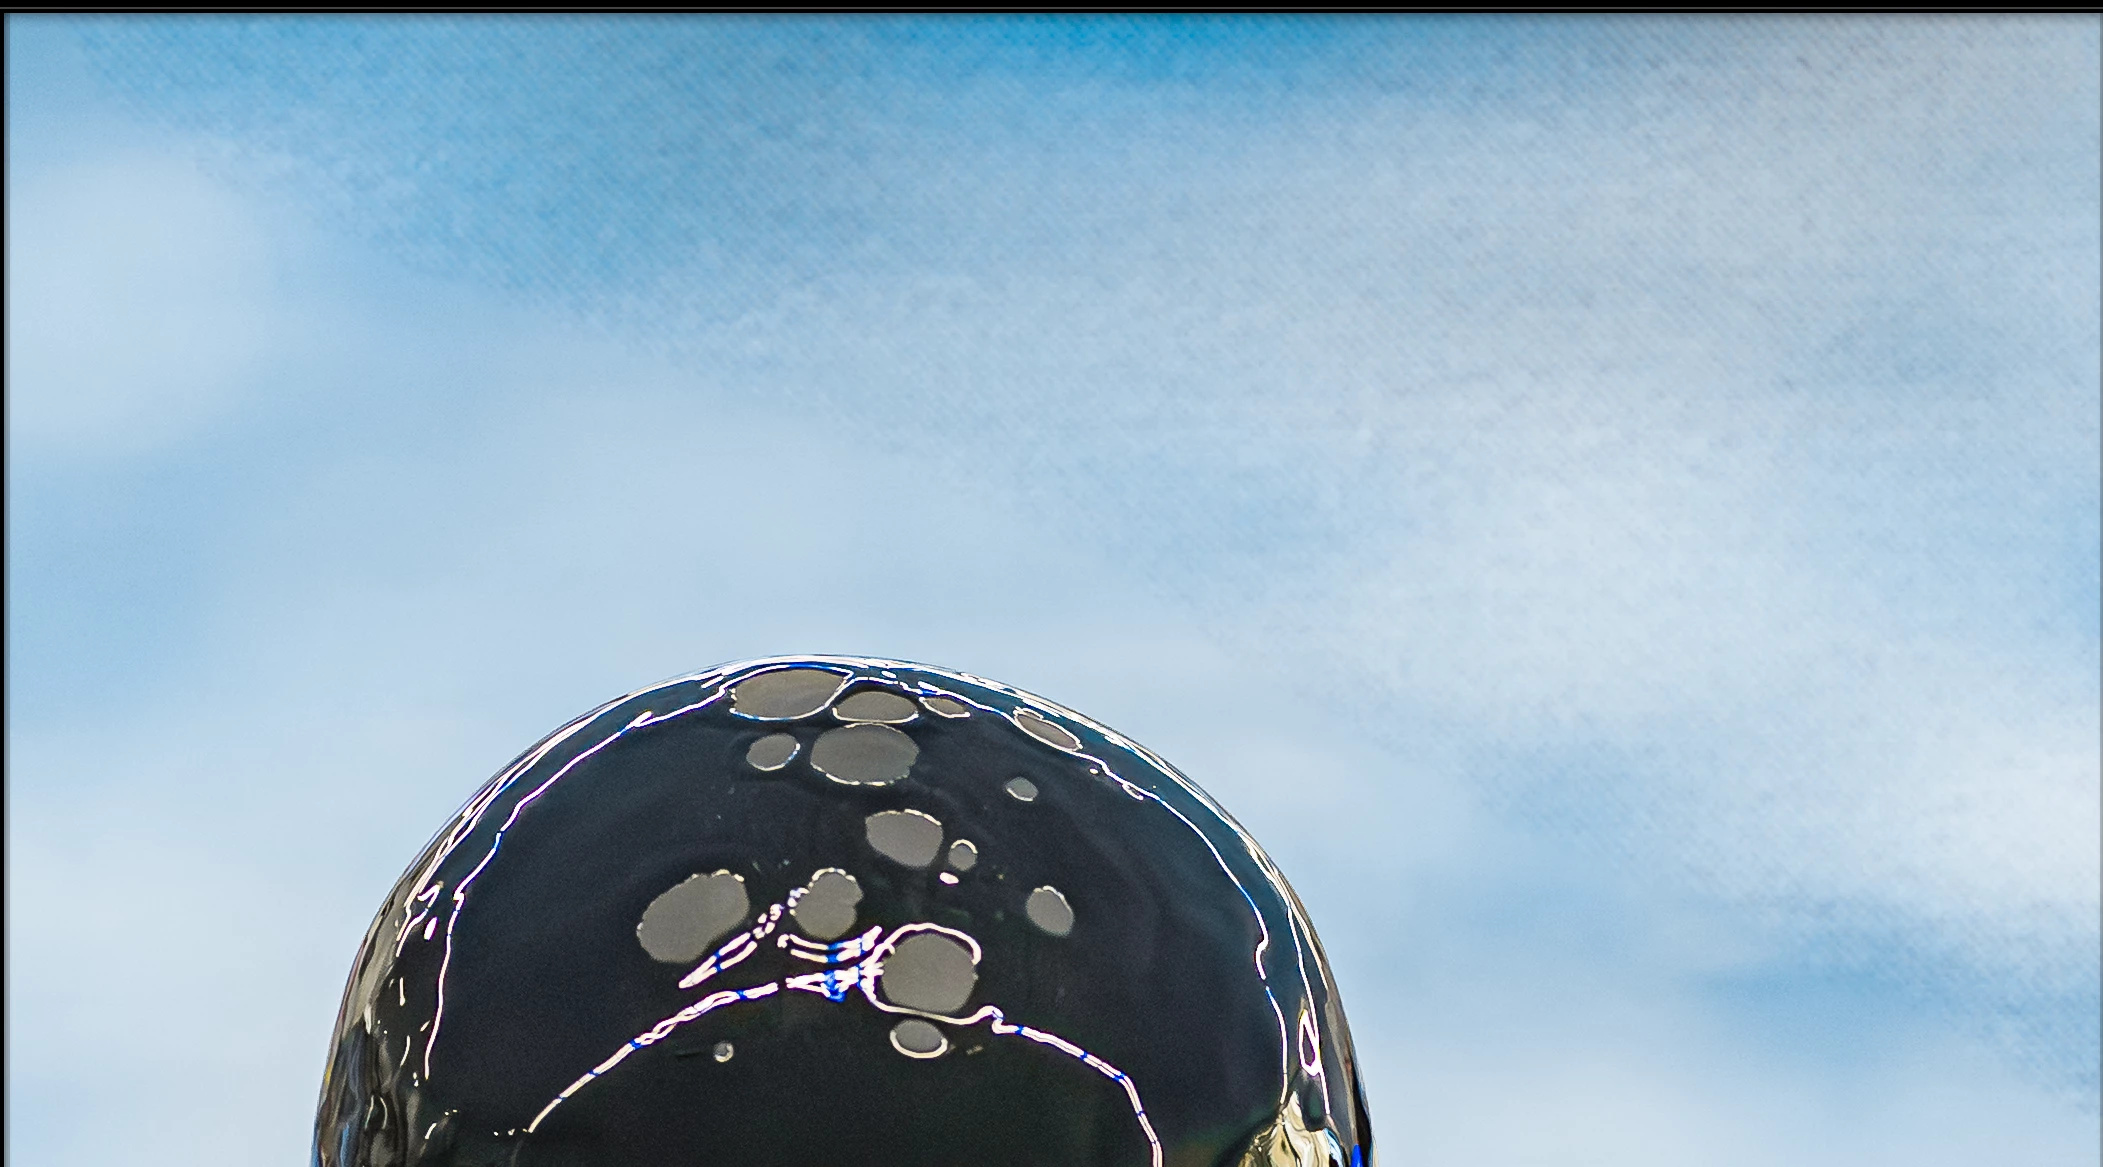
This is a standard imported raw file

 Denoise applied

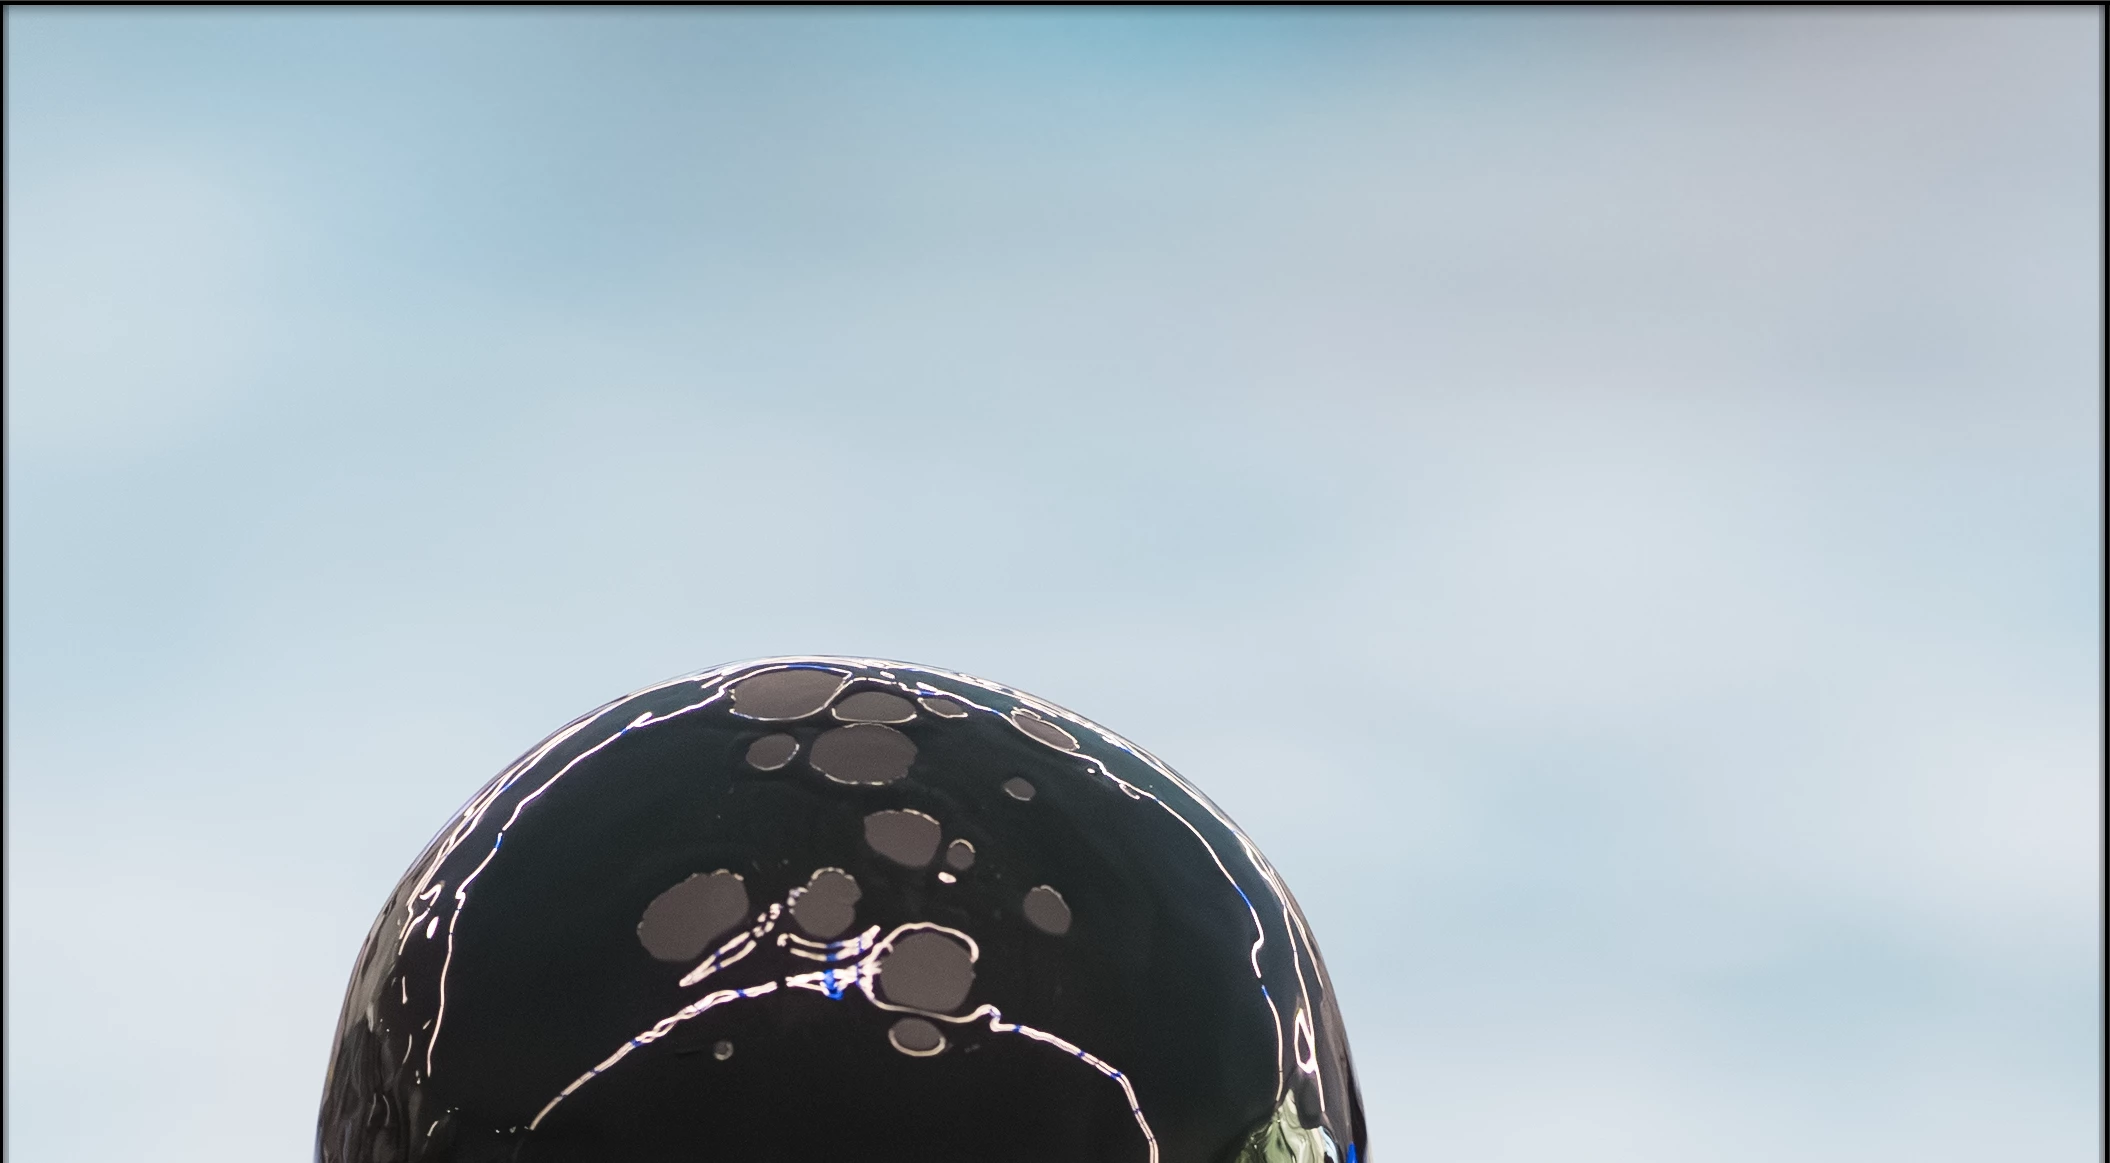
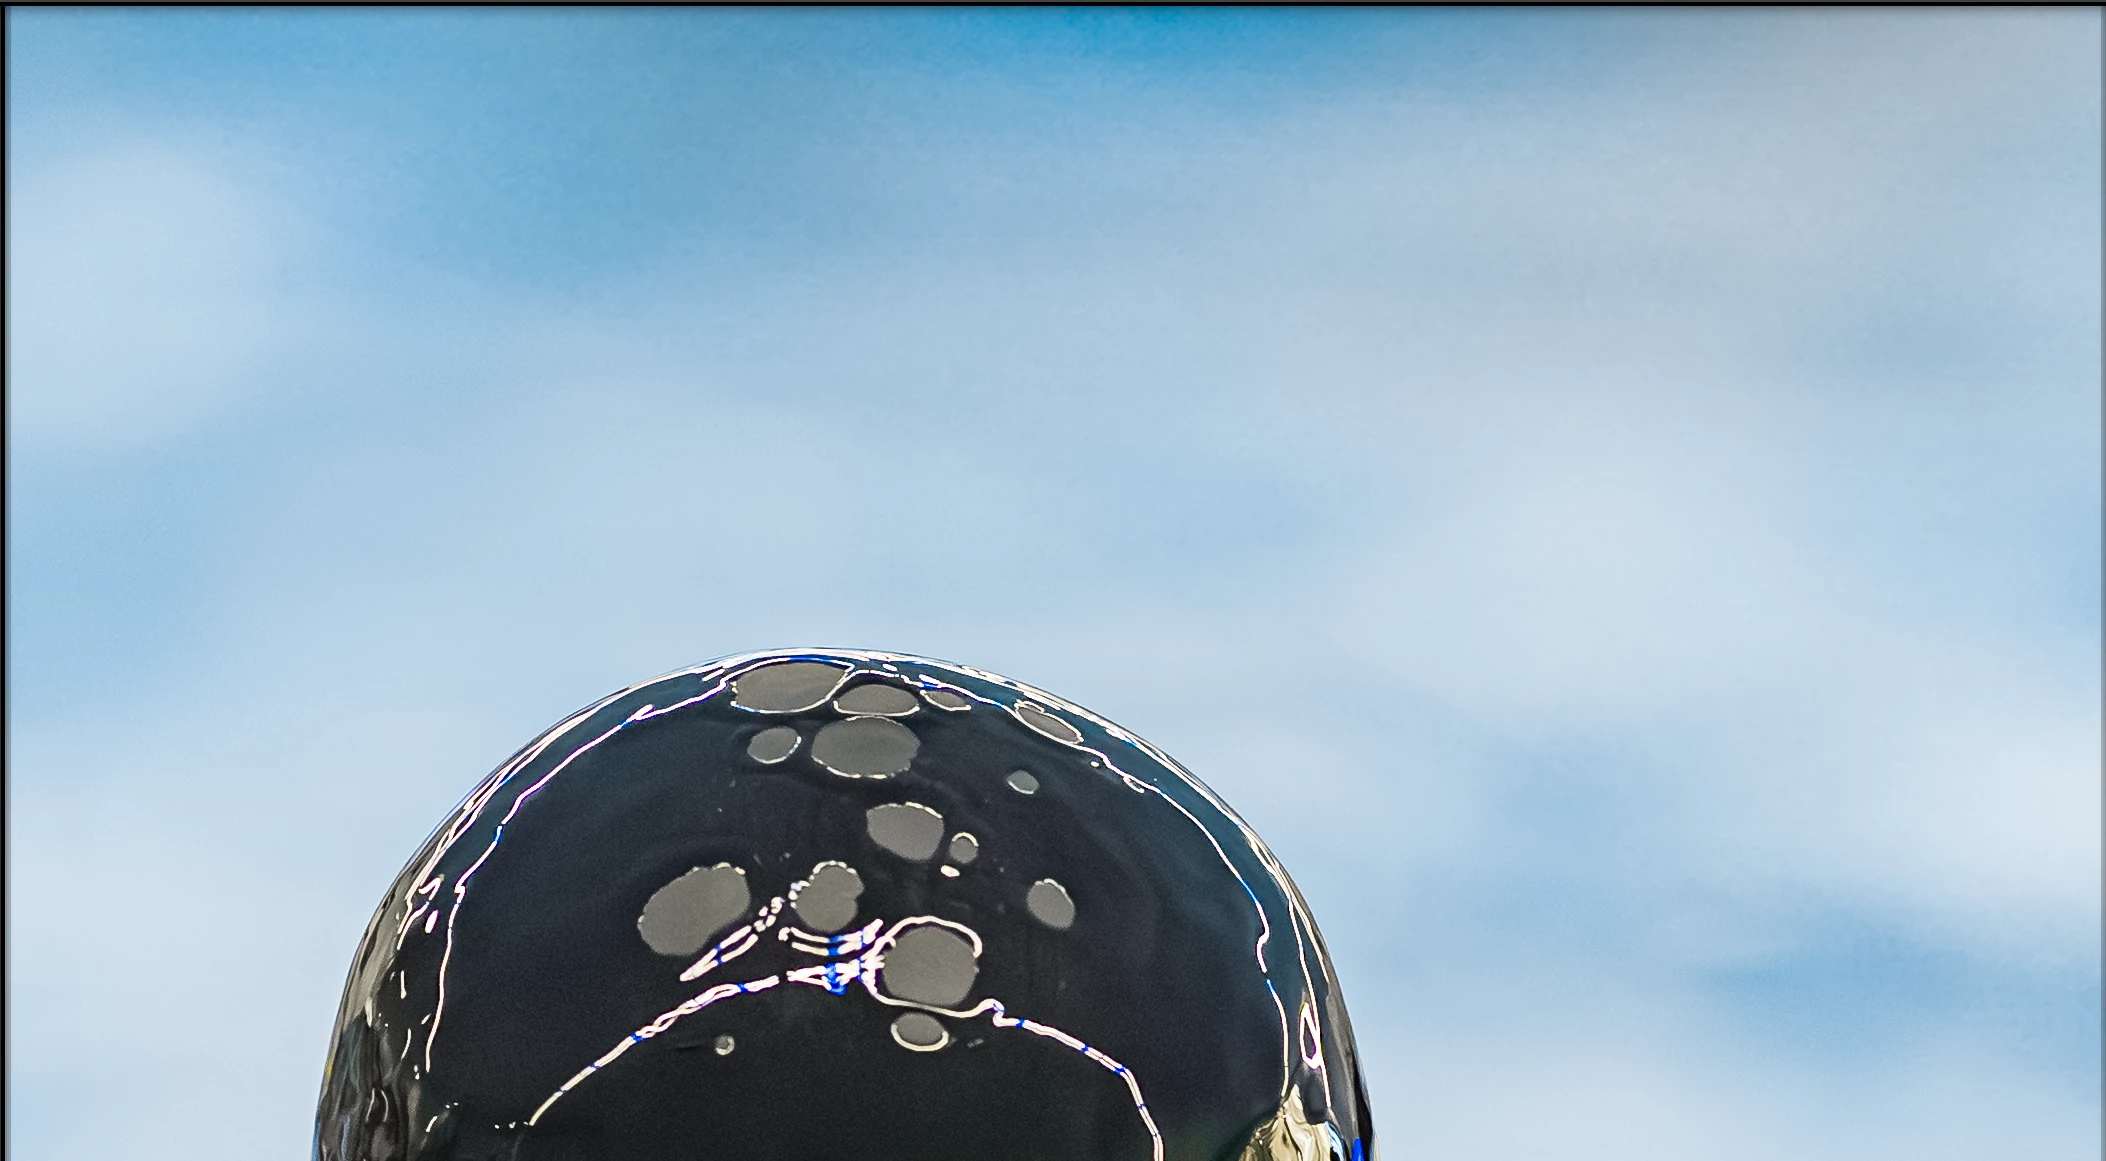
 Then I want to remove the yellow line in de upper right corner

 The line is removed, but there is a strange effect in the place of line now

 Here under a detail

 I hope you can see this.


Correct answer johnrellis

I only see this in Ai edit status for the given photo


[This post contains formatting and embedded images that don't appear in email. View the post in your Web browser.]


@KJvO, thanks for providing the raw and your edits (in the form of the .xmp sidecar). If only more users posting here were willing to do that -- it makes the discussions so much more productive and efficient.


With all your edits enabled, viewed at 100%, I see the same artifacts you did on the removed area:


Zooming in to 200% shows a regular pattern:


But the removed area matches the background very well with all the edits disabled except Remove and Denoise:


You've changed Detail > Manual Noise Reduction > Color from its default of 25 to 0, and that's causing nearly all the artifacts seen in the screenshots above. Setting it back to the default makes a huge improvement:


When I view the full image on my display, rather than pixel-peeping at 100%, the removed area matches the rest of the background pretty well. Your other edits have exaggerated the contrast of the remove boundary in the upper-left corner of the screenshot -- it's barely noticeable to my eyes, but if it bothers you, you could blur it out with the Healing tool with feathering = 100%, making short strokes.


Is there a reason you set Manual Noise Reduction > Color to 0?


2 replies

johnrellis
Legend
July 21, 2025

Generative AI Remove often doesn't do a good job of matching tone and noise/grain for relatively uniform areas.


The first thing to try is making the selection significantly wider. Your screenshots suggest that the selection boundary is dangerously close to the faint discolored bands on the outside of the white part of the line.


When I do that on your low-resolution screenshot, I get good results (which won't necessarily carry over to your raw):


If that doesn't help, please share the original raw. If the forum won't let you attach the file here, upload it to Wetransfer, Dropbox, Google Drive or similar free service and post the sharing link here. We can see if some of the other workarounds are good at avoiding this problem on your photo.

KJvOAuthor
Known Participant
July 22, 2025

Thanks John, I follow your instructions, but now the noisy part is just greater.

The raw & xmp file can be downloaded from https://we.tl/t-0TLYz3Eaqt

KJvOAuthor
Known Participant
July 23, 2025

[This post contains formatting and embedded images that don't appear in email. View the post in your Web browser.]


@KJvO, thanks for providing the raw and your edits (in the form of the .xmp sidecar). If only more users posting here were willing to do that -- it makes the discussions so much more productive and efficient.


With all your edits enabled, viewed at 100%, I see the same artifacts you did on the removed area:


Zooming in to 200% shows a regular pattern:


But the removed area matches the background very well with all the edits disabled except Remove and Denoise:


You've changed Detail > Manual Noise Reduction > Color from its default of 25 to 0, and that's causing nearly all the artifacts seen in the screenshots above. Setting it back to the default makes a huge improvement:


When I view the full image on my display, rather than pixel-peeping at 100%, the removed area matches the rest of the background pretty well. Your other edits have exaggerated the contrast of the remove boundary in the upper-left corner of the screenshot -- it's barely noticeable to my eyes, but if it bothers you, you could blur it out with the Healing tool with feathering = 100%, making short strokes.


Is there a reason you set Manual Noise Reduction > Color to 0?


Many thanks @johnrellis , I don't know why Manual Noise Reduction > Color is 0, probably an old setting error in one of my import presets. I'll investigate this. I'm using LR from 2007 and maybe I need to setup my presets from scratch to avoid old en outdated settings.

JohanElzenga
Community Expert
Community Expert
July 21, 2025

Did you notice the yellow 'Update AI Settings' warning? Click on it.


-- Johan W. Elzenga
KJvOAuthor
Known Participant
July 21, 2025

It's not yellow Johan, but thanks for this reply