bartonlew
Legend
April 29, 2020
Answered

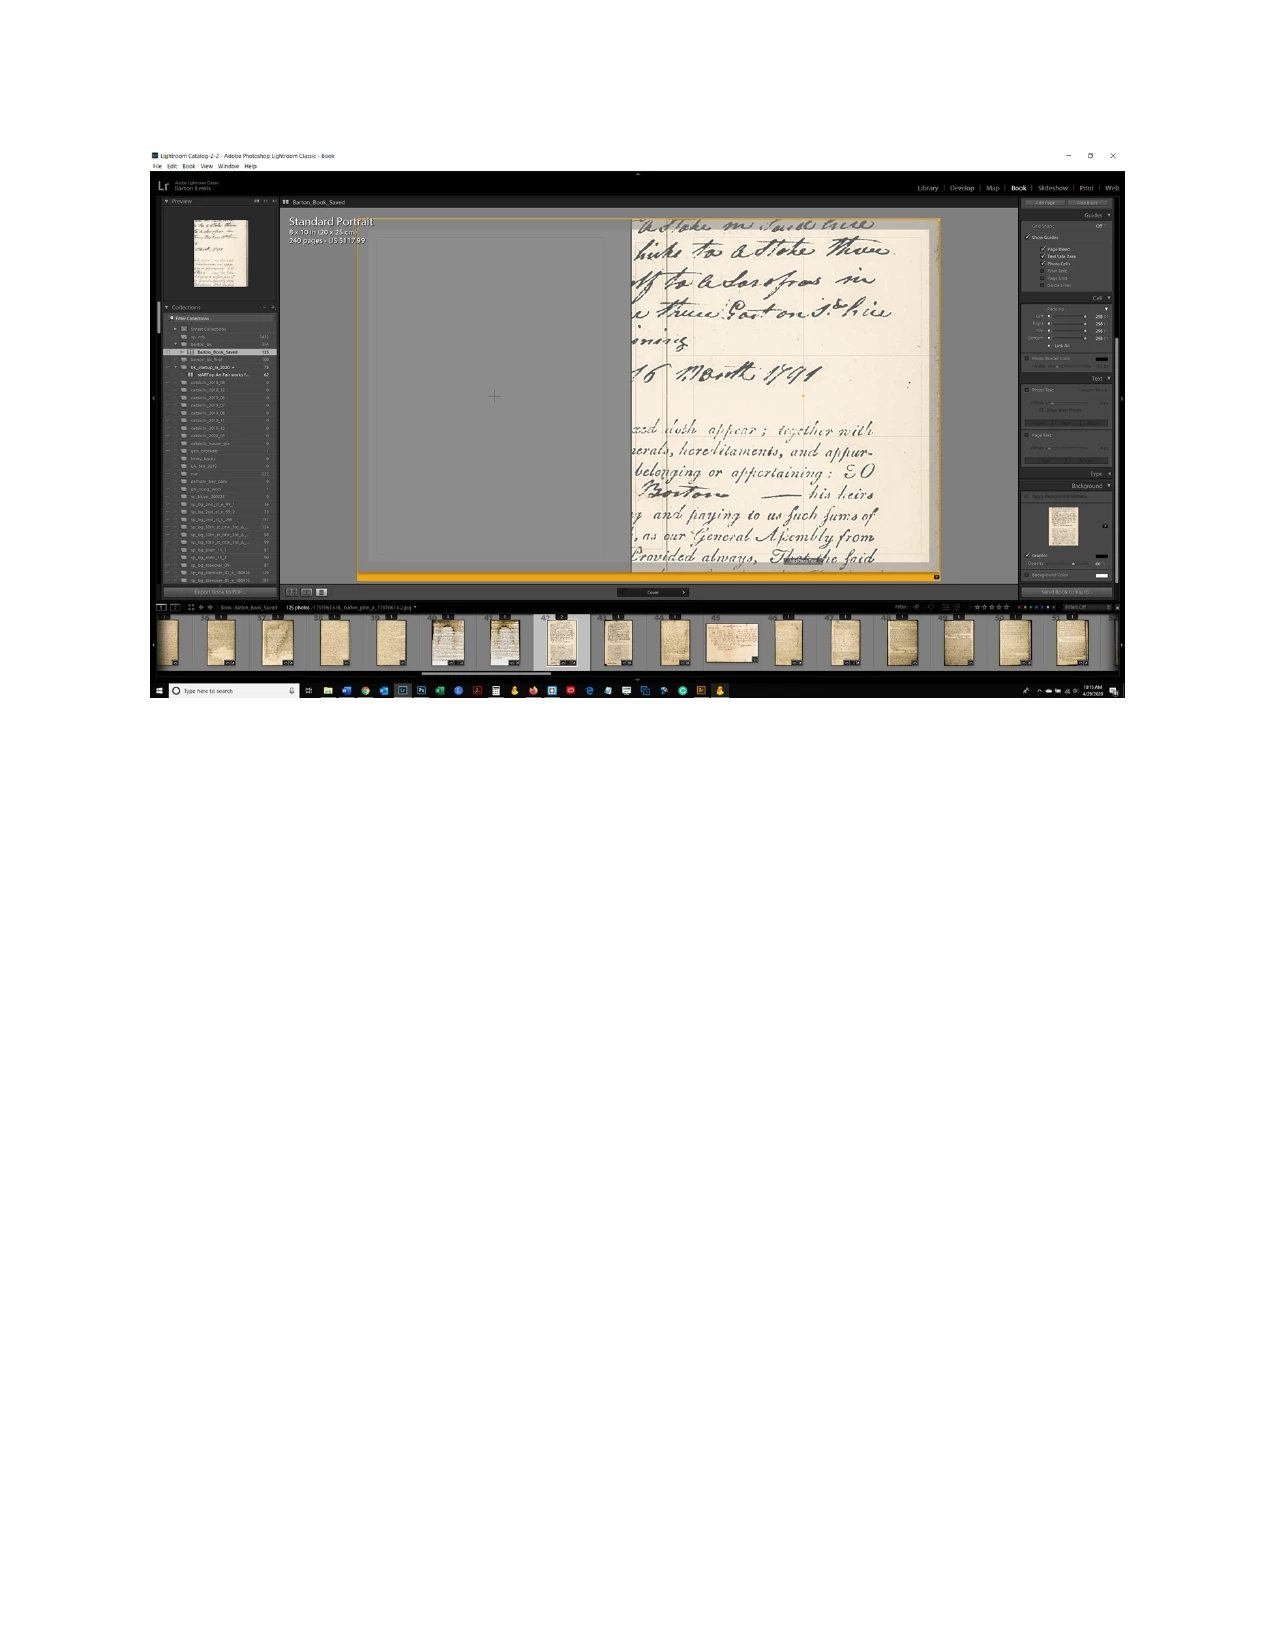
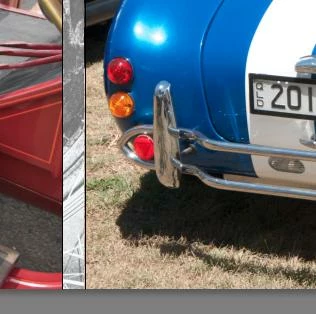
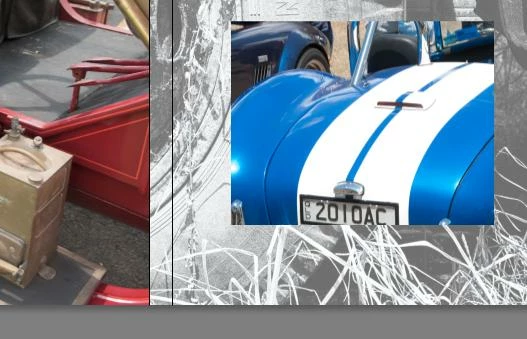
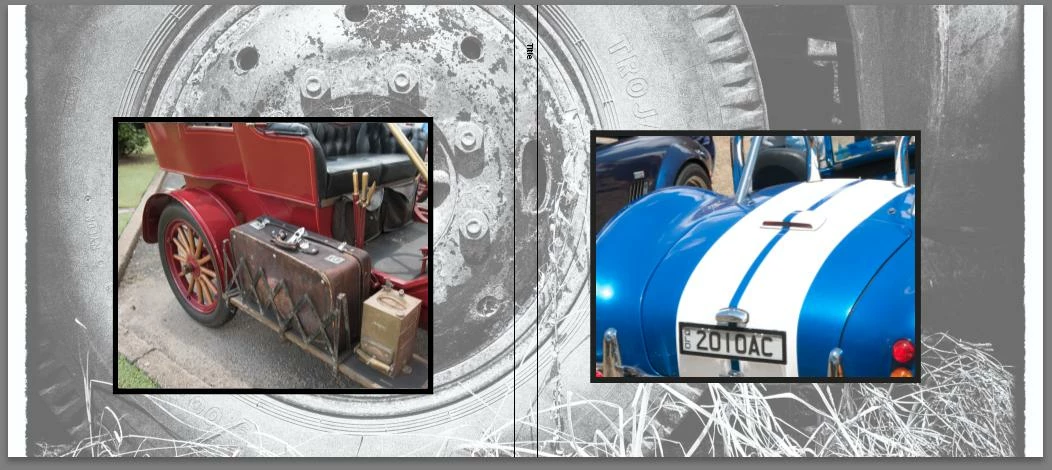
How do you fill the entire background image in the Book module?

  • April 29, 2020
  • 3 replies
  • 3059 views

Can someone tell me why my background cover photo is so enlarged in the attached screenshot?  I want the entire file to fill the cover of the book, not just an enlarged portion of it.  Thanks.  

This topic has been closed for replies.
Correct answer Rob_Cullen

The Cover template you have used is showing the photos totally covering the front & back covers- hiding the background image below.

If you resize the photo cells smaller (click the cell to select the handles) you will see the background image.

Or choose a different cover page template.

And for a 'Cover' background it is best to use an image cropped to the ratio of the total cover ratio, or it will zoom up and clip off some of the image.


3 replies

Bob Somrak
Legend
April 29, 2020

I edited my reply above.  Dont use the Background panel, just put your background image on the cover and then add a new cell and put your real cover image over the top of the "fake" background image.  If you want the opacity of the background image to be lower you will have to create one in photoshop with a low opacity look.

M4 Pro Mac Mini. 48GB
Rob_Cullen
Community Expert
Community Expert
April 30, 2020

"create one in photoshop with a low opacity look"

Great advice- when you only want the background on either front or back (and not both).

Regards. My System: Windows-11, Lightroom-Classic 15.0, Photoshop 27.0, ACR 18.0, Lightroom 9.0, Lr-iOS 10.4.0, Bridge 16.0 .
Bob Somrak
Legend
April 30, 2020

Wobertc

From the OPs first post I assumed they only wanted a background and image on the front so I came up with the workaround. I'm not sure what they really intended. Good catch on why only the spline was showing. I'm an amateur in the book module

M4 Pro Mac Mini. 48GB
Bob Somrak
Legend
April 29, 2020

Your background image stretches all the way across the book cover.  It essentially does a FILL to cover the front and back.  If you only want it on the front you will have to go to Photoshop and create a file which has the low transparency look of your background photo and place your other photo on top by adding a cell.

M4 Pro Mac Mini. 48GB
bartonlew
bartonlewAuthor
Legend
April 29, 2020

Thanks.  This is all incredibly non-intuitive.  I removed the image and added another, using the margin defaults of 0 for all sides.  The image only shows up in the spine of the book.  I have no idea what's going on here.  Maybe there's a youtube video that explains how to add a background image to the front and/or back cover.  

Rob_Cullen
Community Expert
Rob_CullenCommunity ExpertCorrect answer
Community Expert
April 30, 2020

The Cover template you have used is showing the photos totally covering the front & back covers- hiding the background image below.

If you resize the photo cells smaller (click the cell to select the handles) you will see the background image.

Or choose a different cover page template.

And for a 'Cover' background it is best to use an image cropped to the ratio of the total cover ratio, or it will zoom up and clip off some of the image.


Regards. My System: Windows-11, Lightroom-Classic 15.0, Photoshop 27.0, ACR 18.0, Lightroom 9.0, Lr-iOS 10.4.0, Bridge 16.0 .
gary_sc
Community Expert
Community Expert
April 29, 2020

Hi Barton,


The resolution is hard to see in your screenshot but I CAN tell that your zoom setting is not at the "Fit" location. On the top right part of your screen, to the right of where it says "Navigator," are your zoom settings, here is mine:

To the right of the 3:1 setting, you see a dropdown/up arrows, there you can set a default last entry. If you select "Fit," the entire document will fit into the available space. "Fill" will zoom in so that either the height or width fills the screen even if the width or height is too big, 1:1 is 100% and everything else is some magnification.


Does this solve your problem?


bartonlew
bartonlewAuthor
Legend
April 29, 2020

Thanks for your reply.  In the screenshot, you can see (I hope) that "FIT" is selected; yet despite this, only the spine is showing the image that I dragged and dropped into the "Background" of the book cover.  Do you have any idea why?  Thanks.

bartonlew
bartonlewAuthor
Legend
April 29, 2020

Wow, OK, now I better understand the problem.


Question: what kind of document is this (jpg, raw, psd, tif). If it's a layered document, do you happen to have all the layers showing (I think yes from what I see), do you have any layers locked?


Thanks and good luck!


The files are all jpg's inside a Lightroom Collection which is being edited in Lightroom's Book Module.

It's inexplicable to me that Lightroom would have a "Background" option, with opacity, and only allow the image to appear on the spine of the book, not the cover.  Some setting must be wrong.  There are lots of tutorials on youtube for editing books in Lightroom, just not single ones for the cover page.  I'll just scrub through them till I can find a discussion of this aspect.  Thank you.