Copy link to clipboard
Copied
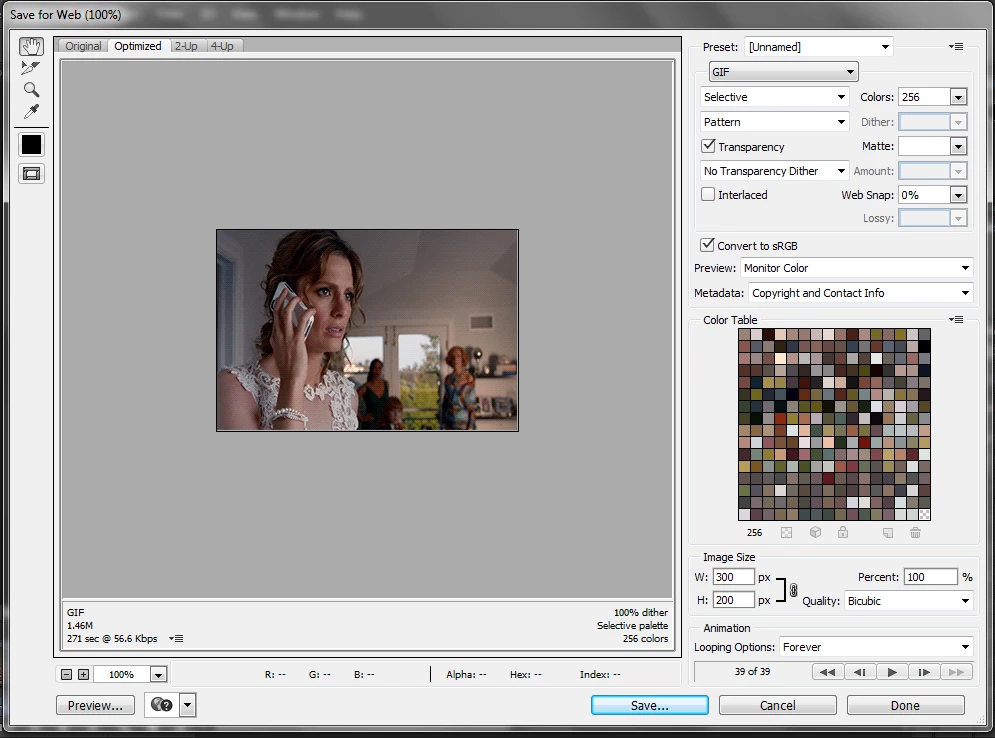
Hello! I recently switched laptops and I have been having major issues trying to regain the quality gifs I used to make. After I have my gif set to go, I go to save it in 'Save For Web'. This is where all of my problems start. My gif no longer looks smooth, but the entire thing has a grainy or pixelated look -- and it doesn't change no matter how I fiddle with my settings. When switching from the 'original' to the 'optimized' tab in the save for web page, you can obviously see a loss of quality. It may be slight, but it makes a huge difference to me.
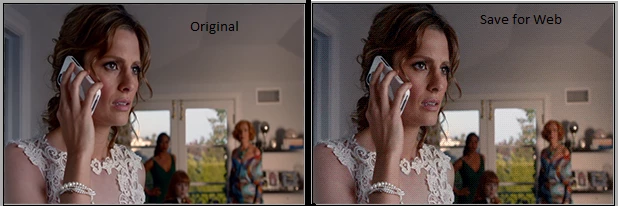
Here's a side by side reference:
Not sure if it will help, but here are my settings when saving (I have changed from 'pattern' to 'diffusion' and nothing changes):
Thank you for any help you can provide!
First, JJMack is correct: lots of colours (around 32100) in this example do make it harder to convert without grain.
Second, the quality of the GIFs you produced in Save for Web (SfW) prior to the purchase of the new laptop were never any "better" - it merely means that the previous screen was unable to display the results at a decent enough quality to actually discern the differences between the original and the GIF version with reduced colours. Screen quality does matter.
Second, Photoshop's Sav
...Copy link to clipboard
Copied
Could it be that your original image has millions of colors and that your GIF image has only 255 colors. If you uncheck transparency your Gif could have 256 colors.
Copy link to clipboard
Copied
First, JJMack is correct: lots of colours (around 32100) in this example do make it harder to convert without grain.
Second, the quality of the GIFs you produced in Save for Web (SfW) prior to the purchase of the new laptop were never any "better" - it merely means that the previous screen was unable to display the results at a decent enough quality to actually discern the differences between the original and the GIF version with reduced colours. Screen quality does matter.
Second, Photoshop's Save for Web colour reduction algorithms are quite old-fashioned, and (far) better methods are available. Not in Photoshop, however. For a good conversion you will have to look elsewhere.
Here is the original version @2x zoom (32101 colours):
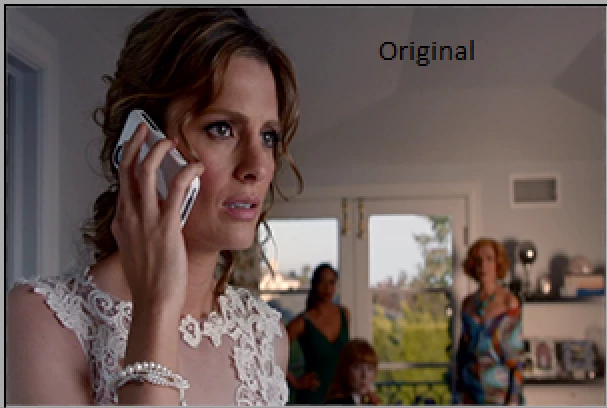
Photoshop's version. The best visual quality I could achieve in SfW (diffusion dither at 81%, perceptual). Obvious banding issues, and a very grainy result.
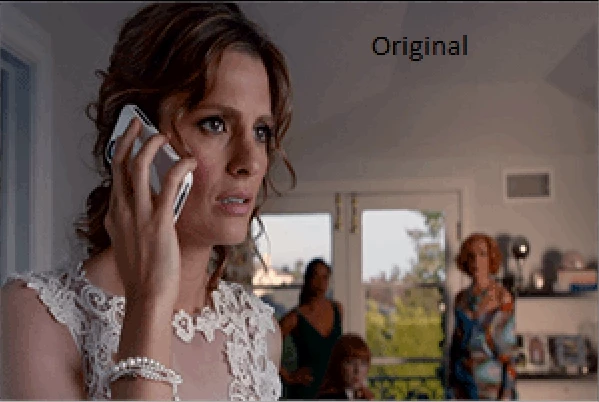
Next up: RIOT (Radical Image Optimization Tool). RIOT features a newer "NeuQuant neural-net" colour quantization algorithm. Notice how the gradients are quite nicely retained, although here and there some issues pop up (lips/makeup, building, arm highlight, and greenery are missing colour). Overall, though, the final result is much less grainy looking than Photoshop's effort. At the expense of smaller areas with unique colours.
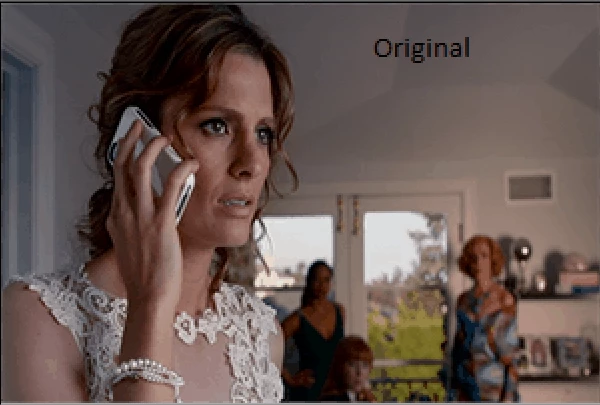
Next, let's try Color Quantizer with standard settings, a two factor gradient priority, and 256 colours. Dithering was set to Shiau-Fan @75%. Slight banding in the lighter areas of the background, and the building and lips are again missing colours from the original. Much less grainy than Photoshop's version.
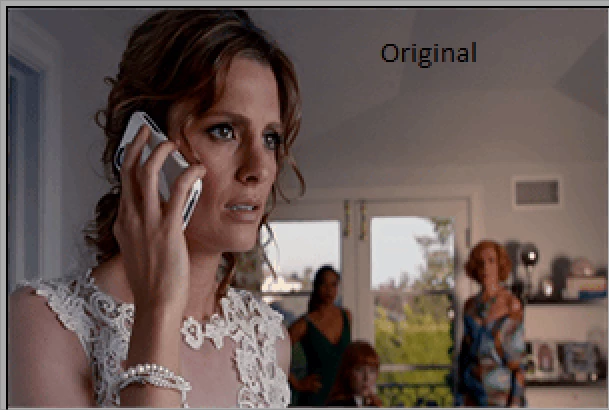
Colour Quantizer features a quality mask brush, which allows us to safeguard smaller areas with unique colours from colour degradation. I painted a mask for the lips, the building and greenery in the background, the skin of the woman on the right in the background, the lighter area around the vent, and the forehead to preserve those areas' quality as much as possible.
I feel this result speaks for itself. There is slight banding visible in the lighter area of the wall on the right, but still much less pronounced compared to SfW's version. The colours are all there, especially the important ones for the makeup and the smooth facial tones of Kate. The shoulder's highlight is also preserved nicely. Even the woman on the right in the background looks spot on (which was yet another sore point in SfW's version).
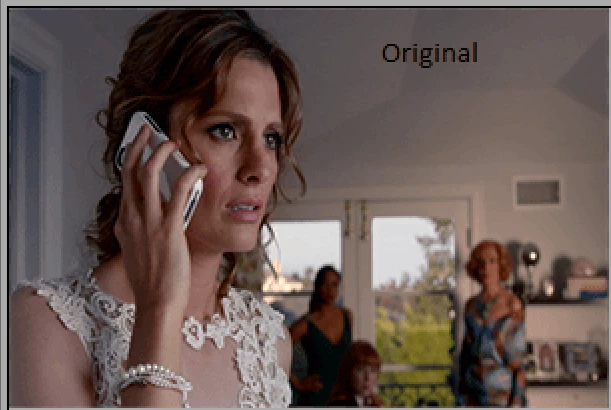
Arguably the best version. Far superior to Photoshop's failed effort.
Fourth, if you are still using GIF to optimize still images: STOP NOW. GIF is terrible in comparison to properly optimized and compressed PNG files. Only use GIF when small animated movies are your goal.
Here is a 512 colour version produced in Color Quantizer (Photoshop's SfW function lets us down once more, unfortunately: there is no option to reduce an image to 512 colours for PNG):
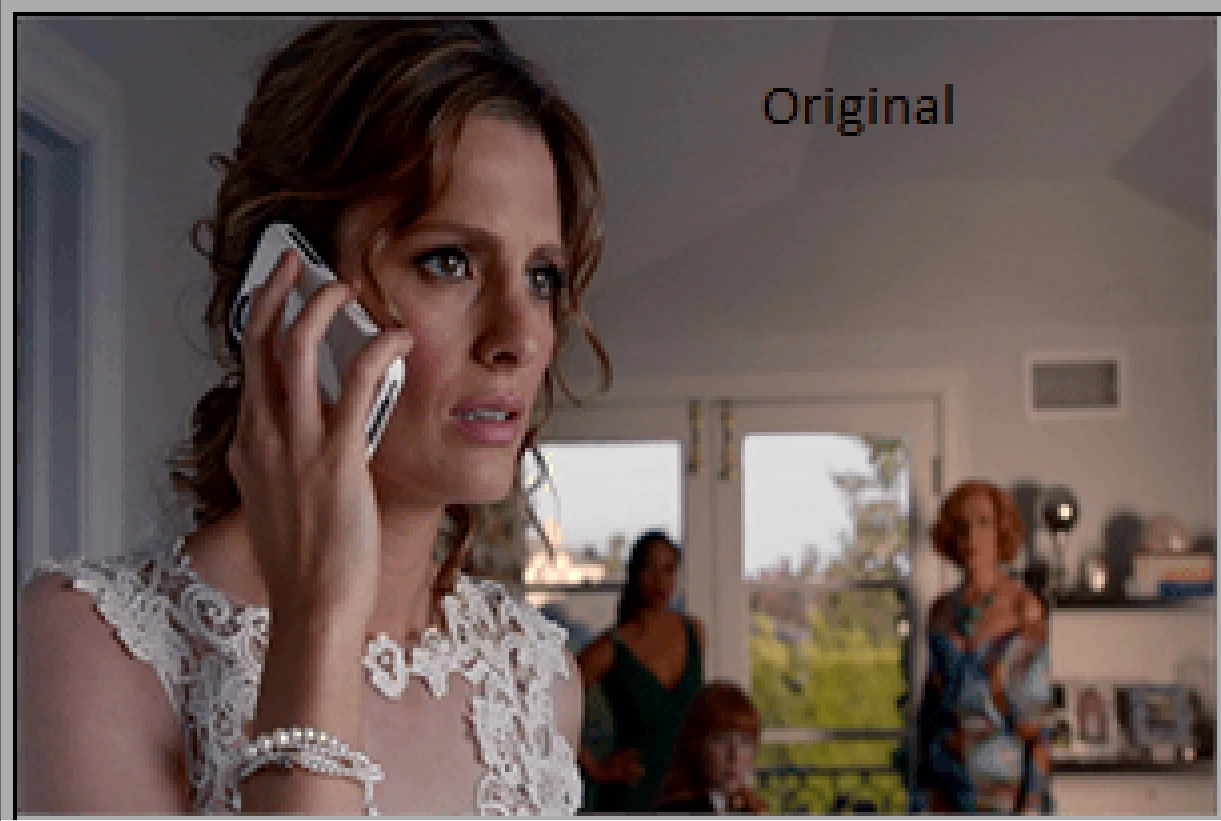
This last version is visually (mostly) indistinguishable from the original, and clocks in at only 52kb.
Of course, if you are saving this as a still image, jpg should have been your choice in the first place, since it is a photo.
Conclusions:
- avoid Photoshop's "Save for Web" function if your intention is a quality colour reduction;
- avoid GIF for still images. Either use PNG or JPG. JPG works best for photos;
- avoid Photoshop and SfW if your intention is to optimize PNGs well. Sfw cannot save PNG files with reduced colours beyond 256 colours;
- fall back to external and/or online utilities to optimize PNG and GIF files. Color Quantizer and RIOT deliver better results than SfW. Or use online optimization tools to optimize animated GIFs (Optimize animated GIF). You can also optimize each frame in a tool such as CQ, and then import the individual frames into a animated GIF utility. Remember, each frame can save its own custom 256 colour palette;
- for optimum quality a quality mask tool, such as the one in CQ, is a very effective and efficient method to guarantee the best possible conversion;
- file sizes of png files created in external utilities almost always beat the ones generated in Photoshop and SfW;
- a better choice to export PNG files is Photoshop CC Generator. At least that one allows for 8bit PNG files with full transparency (another missing essential feature that SfW fails to provide).
Other resources (these refer to png, but are also effective for GIF optimization in Photoshop):
http://www.smashingmagazine.com/2009/07/15/clever-png-optimization-techniques/
PNG Optimization Guide: More Clever Techniques - Smashing Magazine
Color Quantizer: Color quantizer
RIOT standalone version (no installation required): http://download.criosweb.ro/download.php?sid=R
Copy link to clipboard
Copied
Thank you for your detailed help and explanations! I do realize the difference between PNG, JPEG, and GIF as I work with both animated giffing from videos and photography. However, my issue is that I was having no problems whatsoever with quality reduction on my old laptop via photoshop and making animated gifs. Actually, my animated gifs looked quite smooth and sharp while making them through photoshop. As soon as I switched to my new computer and bought photoshop, the quality reduction started happening on the new device. Perhaps it's something with my computer itself rather than photoshop.
Copy link to clipboard
Copied
Most likely the quality of the LCD display. LCD vary in resolution and technology image quality in a file is not different from machine to machine however the image rendered on a machine display will vary between machine displays. Vary in size, resolution sharpness and color.
Copy link to clipboard
Copied
Herbert2001 wrote
[Some very useful stuff snipped]
That was worthy of a bookmark. I shall came back and refer to it when the need next arises.
Copy link to clipboard
Copied
The answer you are looking for (2 years late) you have the gif set to "optimized" (in the upper left corner). Set it to "original" and you'll be all set!
Copy link to clipboard
Copied
Crazy how simply correct this is lol
Copy link to clipboard
Copied
Not sure if you're gonna read this, but this reply deserves all the rewards. I literally tried fixing this issue for two years and couldn't figure it out and people were telling me the same things as others on this thread, when the optimized setting has been the issue all along after switching laptops - so thanks for saving my life!
Copy link to clipboard
Copied
There is a lack of understanding here about how the export as web dialog works: when you activate the "Original" view, it merely displays the original image. The unoptimized image.
But it will still export a version that is based on the settings that are picked and previewed in the "optimized" view.
So perhaps it looks as if you've solved it, but really you haven't. The original and optimized views are meant to compare the original version with the optimized version.
To check this for yourselves: save your GIF version, and open that in Photoshop. Then compare that version with the original.
Copy link to clipboard
Copied
Best thing to do when it comes to photos in GIFs is to first export it as a video first
(File > Export > Render video)
Then take the video into PremierPro, export as a Animated GIF
(File > Export > Media.. then Format > Animated GIF)
This will keep the photo quality, it's a bit of a faff but better than messing around with the exports!
Copy link to clipboard
Copied
Thank you from the bottom of my heart!!!
Copy link to clipboard
Copied
@Laura237207599u02 That's not how it works. It's not the correct answer. If you set it to "original" it merely shows you the original image -- not the optimized version.
Copy link to clipboard
Copied
rayek.elfin is correct, as already stated elsewhere in this thread, Original is intended to let you see the un-optimized original as a reference, to compare with how good your Optimized settings look compared to the original. You can easily see this by using the 2-up or 4-up views.
If the preview in any tab does not look as good as Original, the solution is to adjust the optimization settings to make it look closer to the original, not to choose Original.
Of course Original looks good, because that's how it looks when nothing has been done to adapt it for web file formats.
Copy link to clipboard
Copied
Yeah, in the meantime I already realized it is not the solution and that all GIFs made in Photoshop turn out horrible. What is your point in going around saying "this is not how it works"? Do you have the solution or are you not here to help but to buzz the "wrong" button?
Copy link to clipboard
Copied
Would love to help you out! To do so, it would be helpful to learn more about what kind of image you are trying to convert to GIF.
Also, it is an animation? Or a still graphic? Is it perhaps possible to choose an alternative file format? Because GIF is outdated and the worst choice for web graphics at the moment.
Provide a bit more context and we should be able to give you a hand.
Also: have you checked out @Herbert2001 's answer?
Copy link to clipboard
Copied
Hey Laura, if you're working with videos/photos this is what has worked for me previously:
(File > Export > Render video)
Then take the video into PremierPro, export as a Animated GIF
(File > Export > Media.. then Format > Animated GIF)
Copy link to clipboard
Copied
The answer you are looking for (2 years late) you have the gif set to "optimized" (in the upper left corner). Set it to "original" and you'll be all set!
Copy link to clipboard
Copied
klonkster wrote
The answer you are looking for (2 years late) you have the gif set to "optimized" (in the upper left corner). Set it to "original" and you'll be all set!
No. That is incorrect. Your answer has nothing to do with the original question: "Original" will merely display the original (unoptimized) version.
Copy link to clipboard
Copied
it worked for me
Copy link to clipboard
Copied
It worked for me too
Copy link to clipboard
Copied
The question was why does the gif get pixelated and grainy and that's because it's being optimized, so choosing original actually does answer the question. Using what you started with gets you what you expected.
Copy link to clipboard
Copied
It won't export as the original, though. It will export as the optimized. The "original" option in the preview is just to allow you to compare the two. The optimized is what you will be exporting from photoshop.
Copy link to clipboard
Copied
Actually, it's not only me, but it's most people that send gifs to me and all of the gifs that I send to others.
Copy link to clipboard
Copied
Reduce Lossy worked for me.