 Adobe Community
- Home
- Photoshop ecosystem
- Discussions
- Re: Remove ALL white that is JUST in the BG of an ...
- Re: Remove ALL white that is JUST in the BG of an ...
Remove ALL white that is JUST in the BG of an BW PNG image

Copy link to clipboard
Copied
Hello.
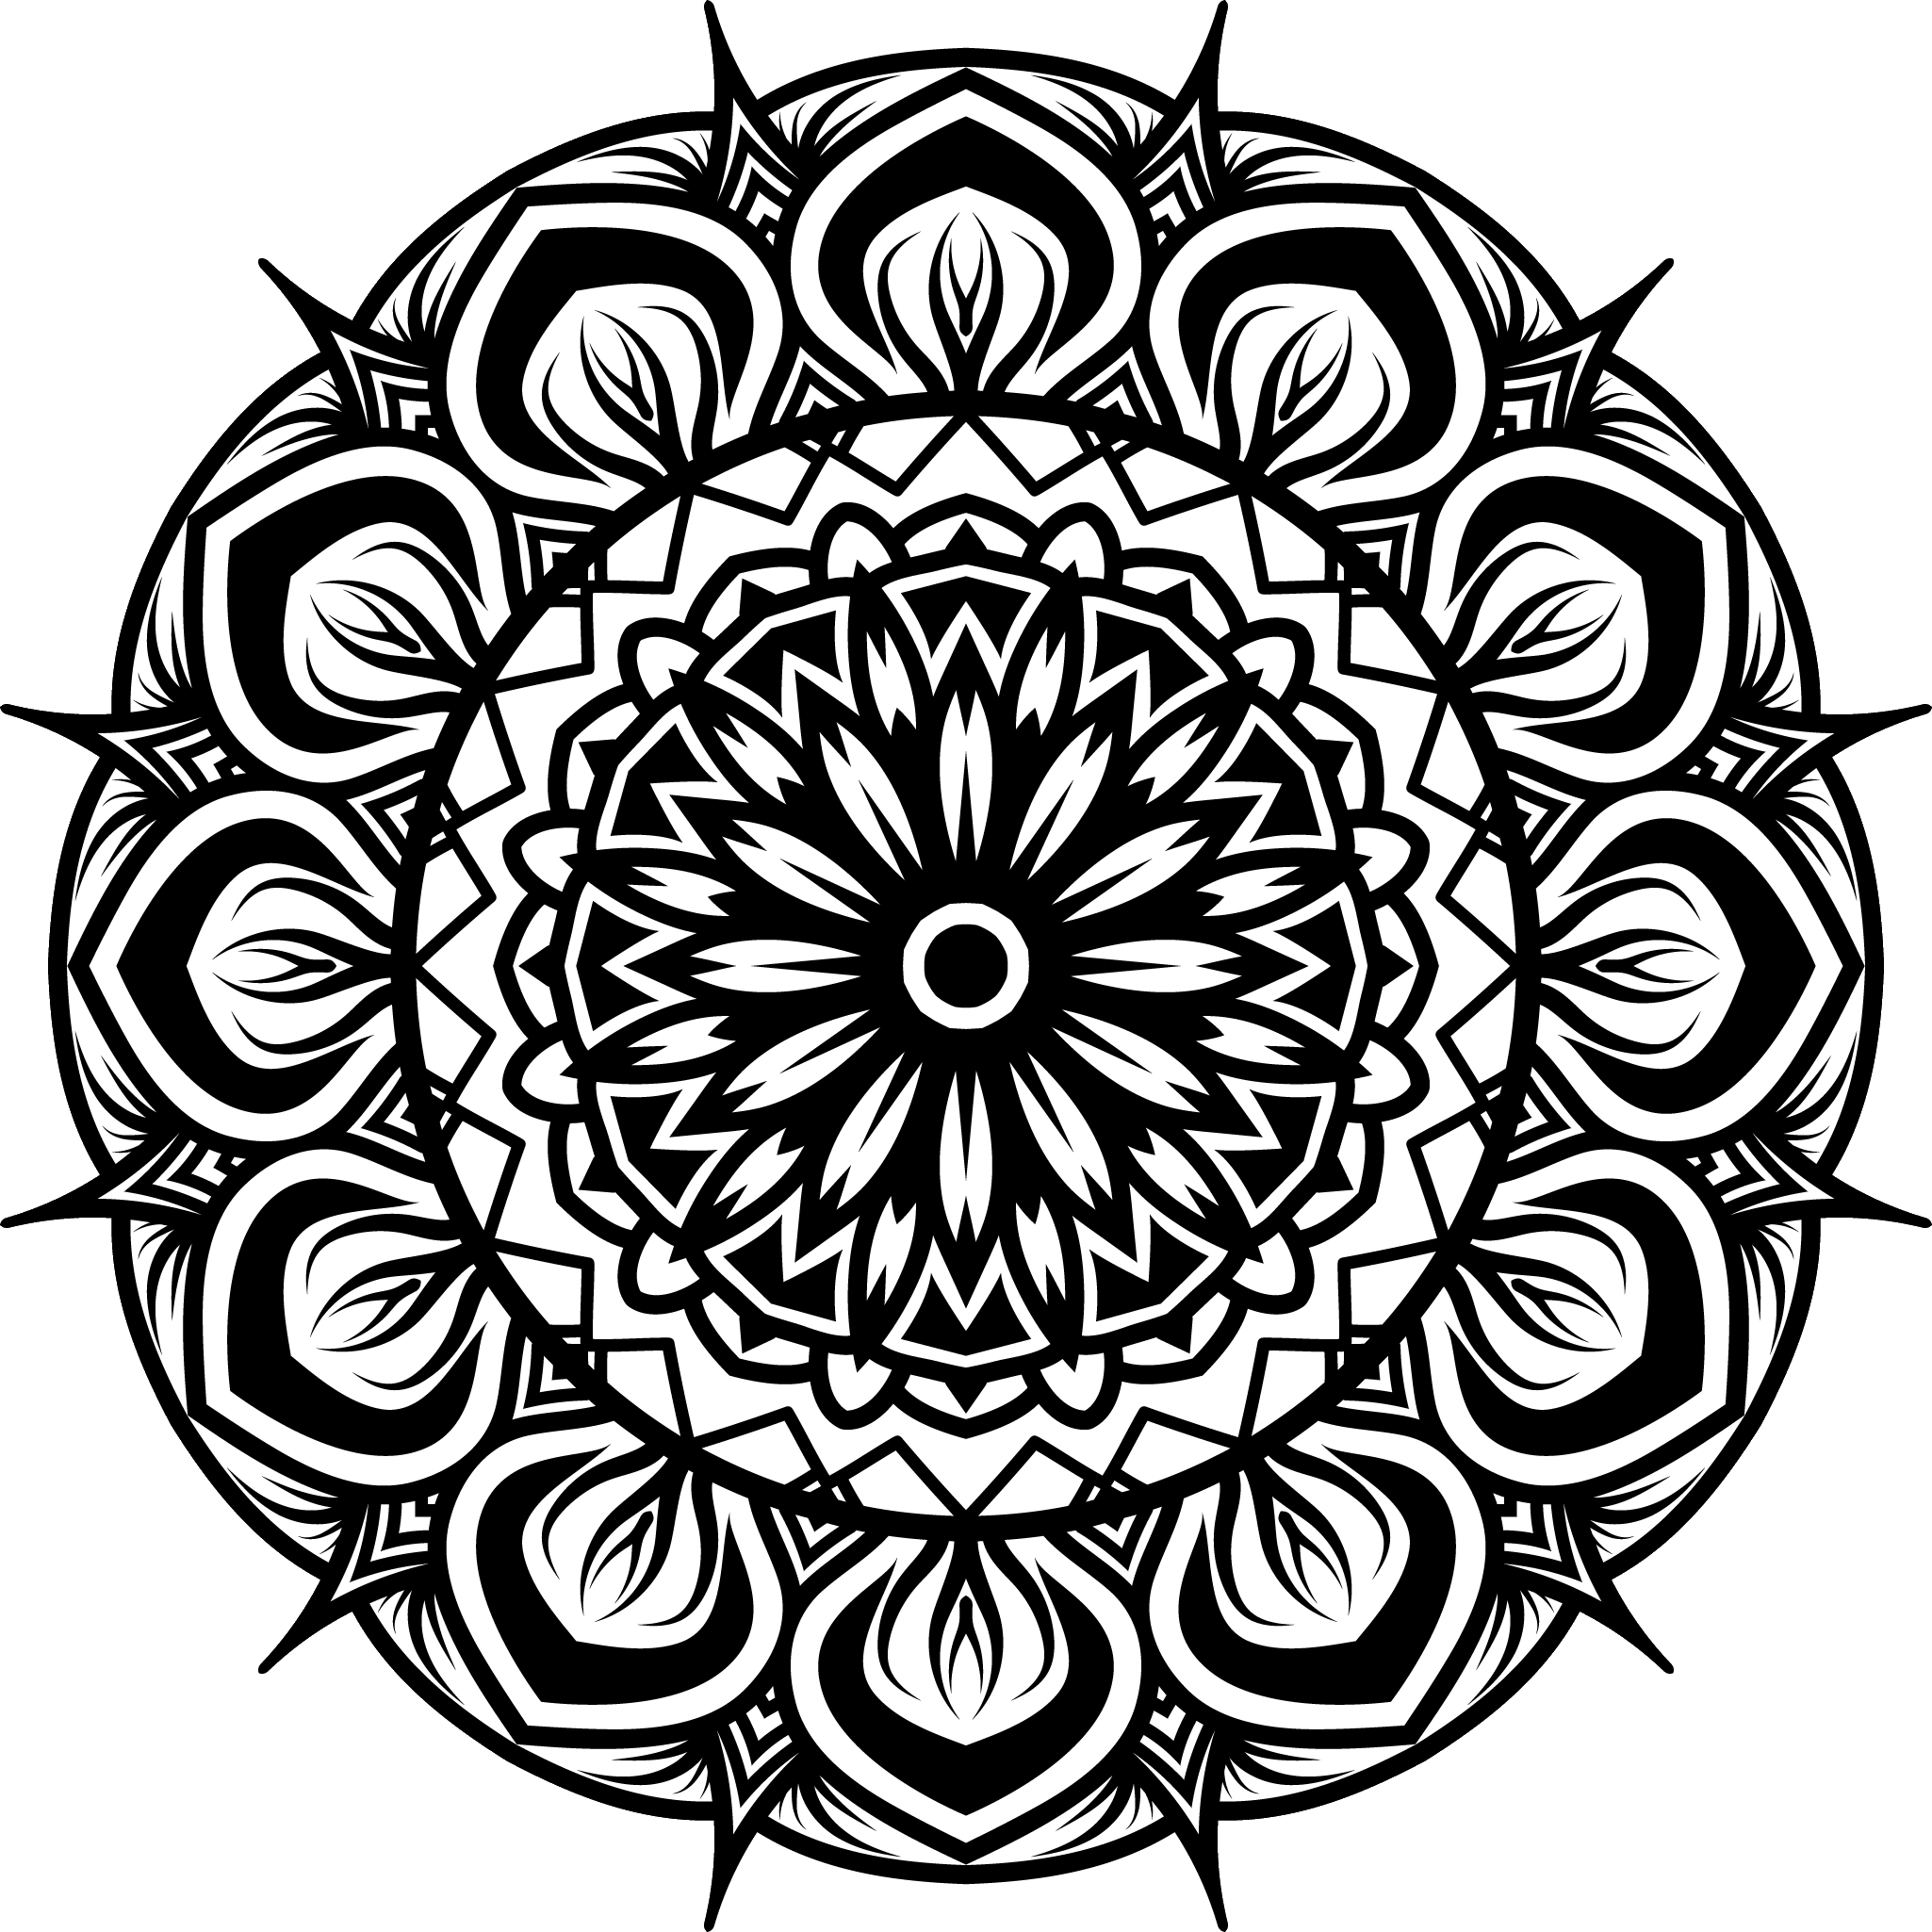
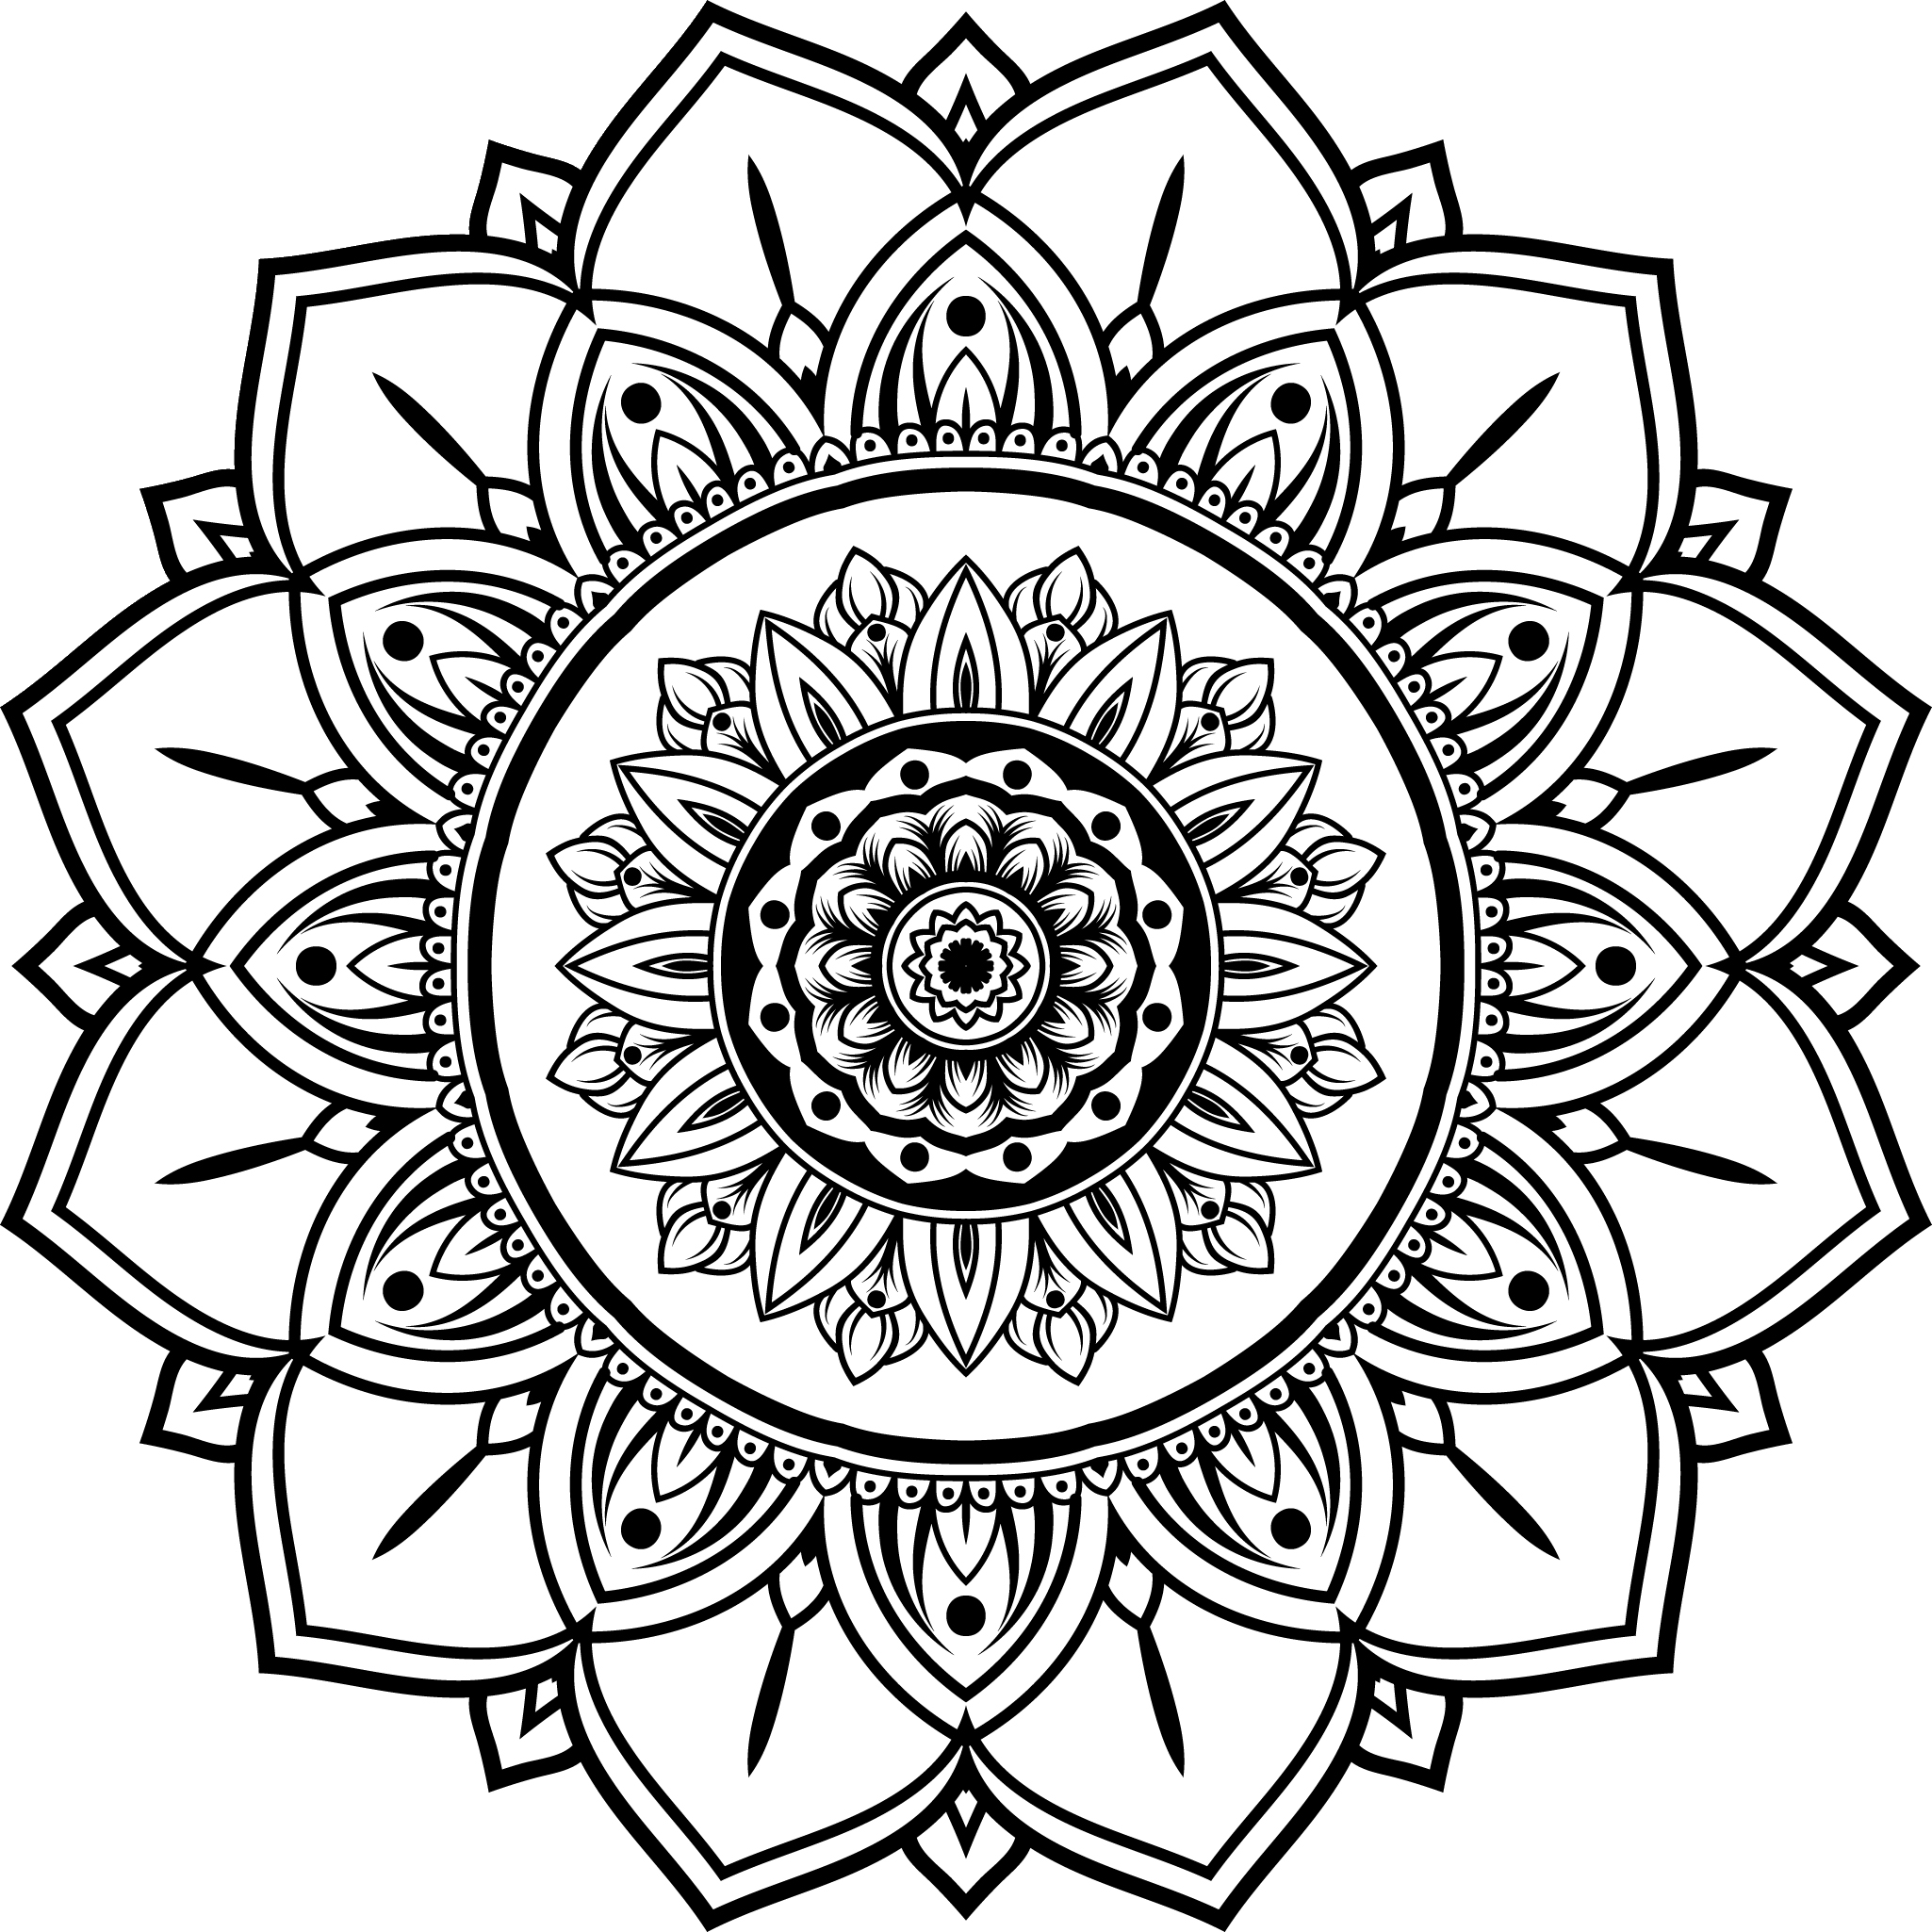
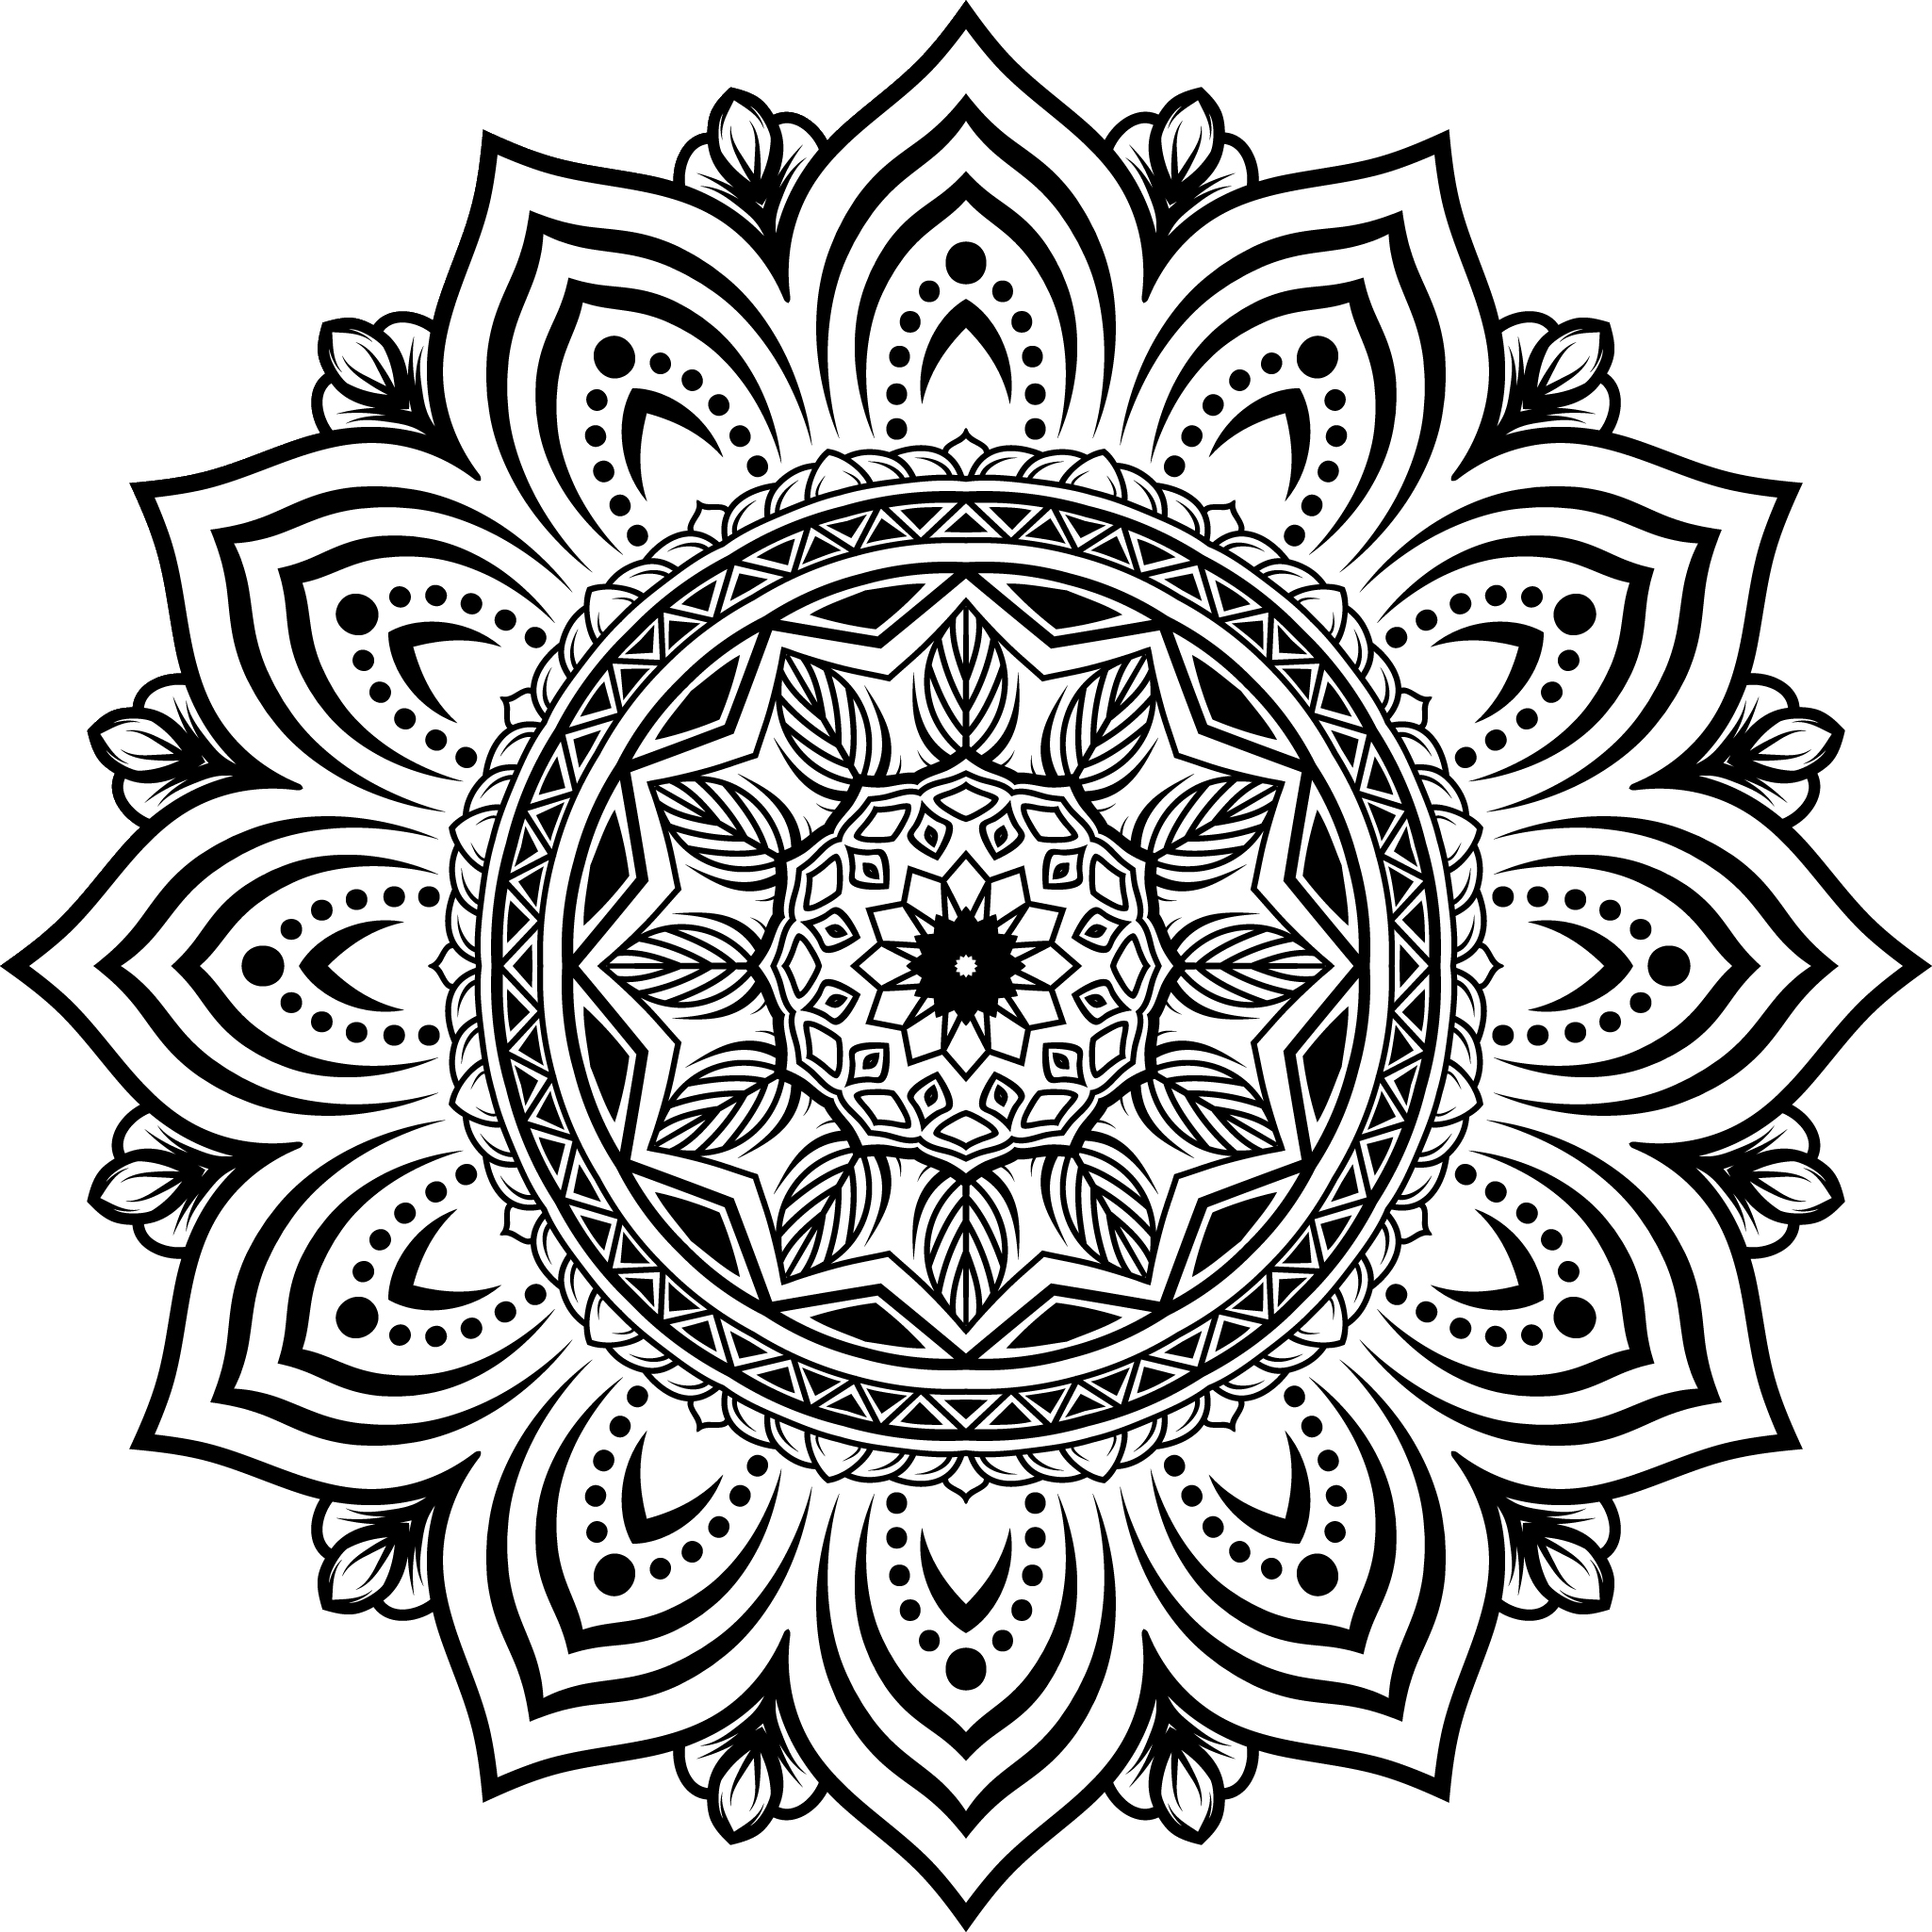
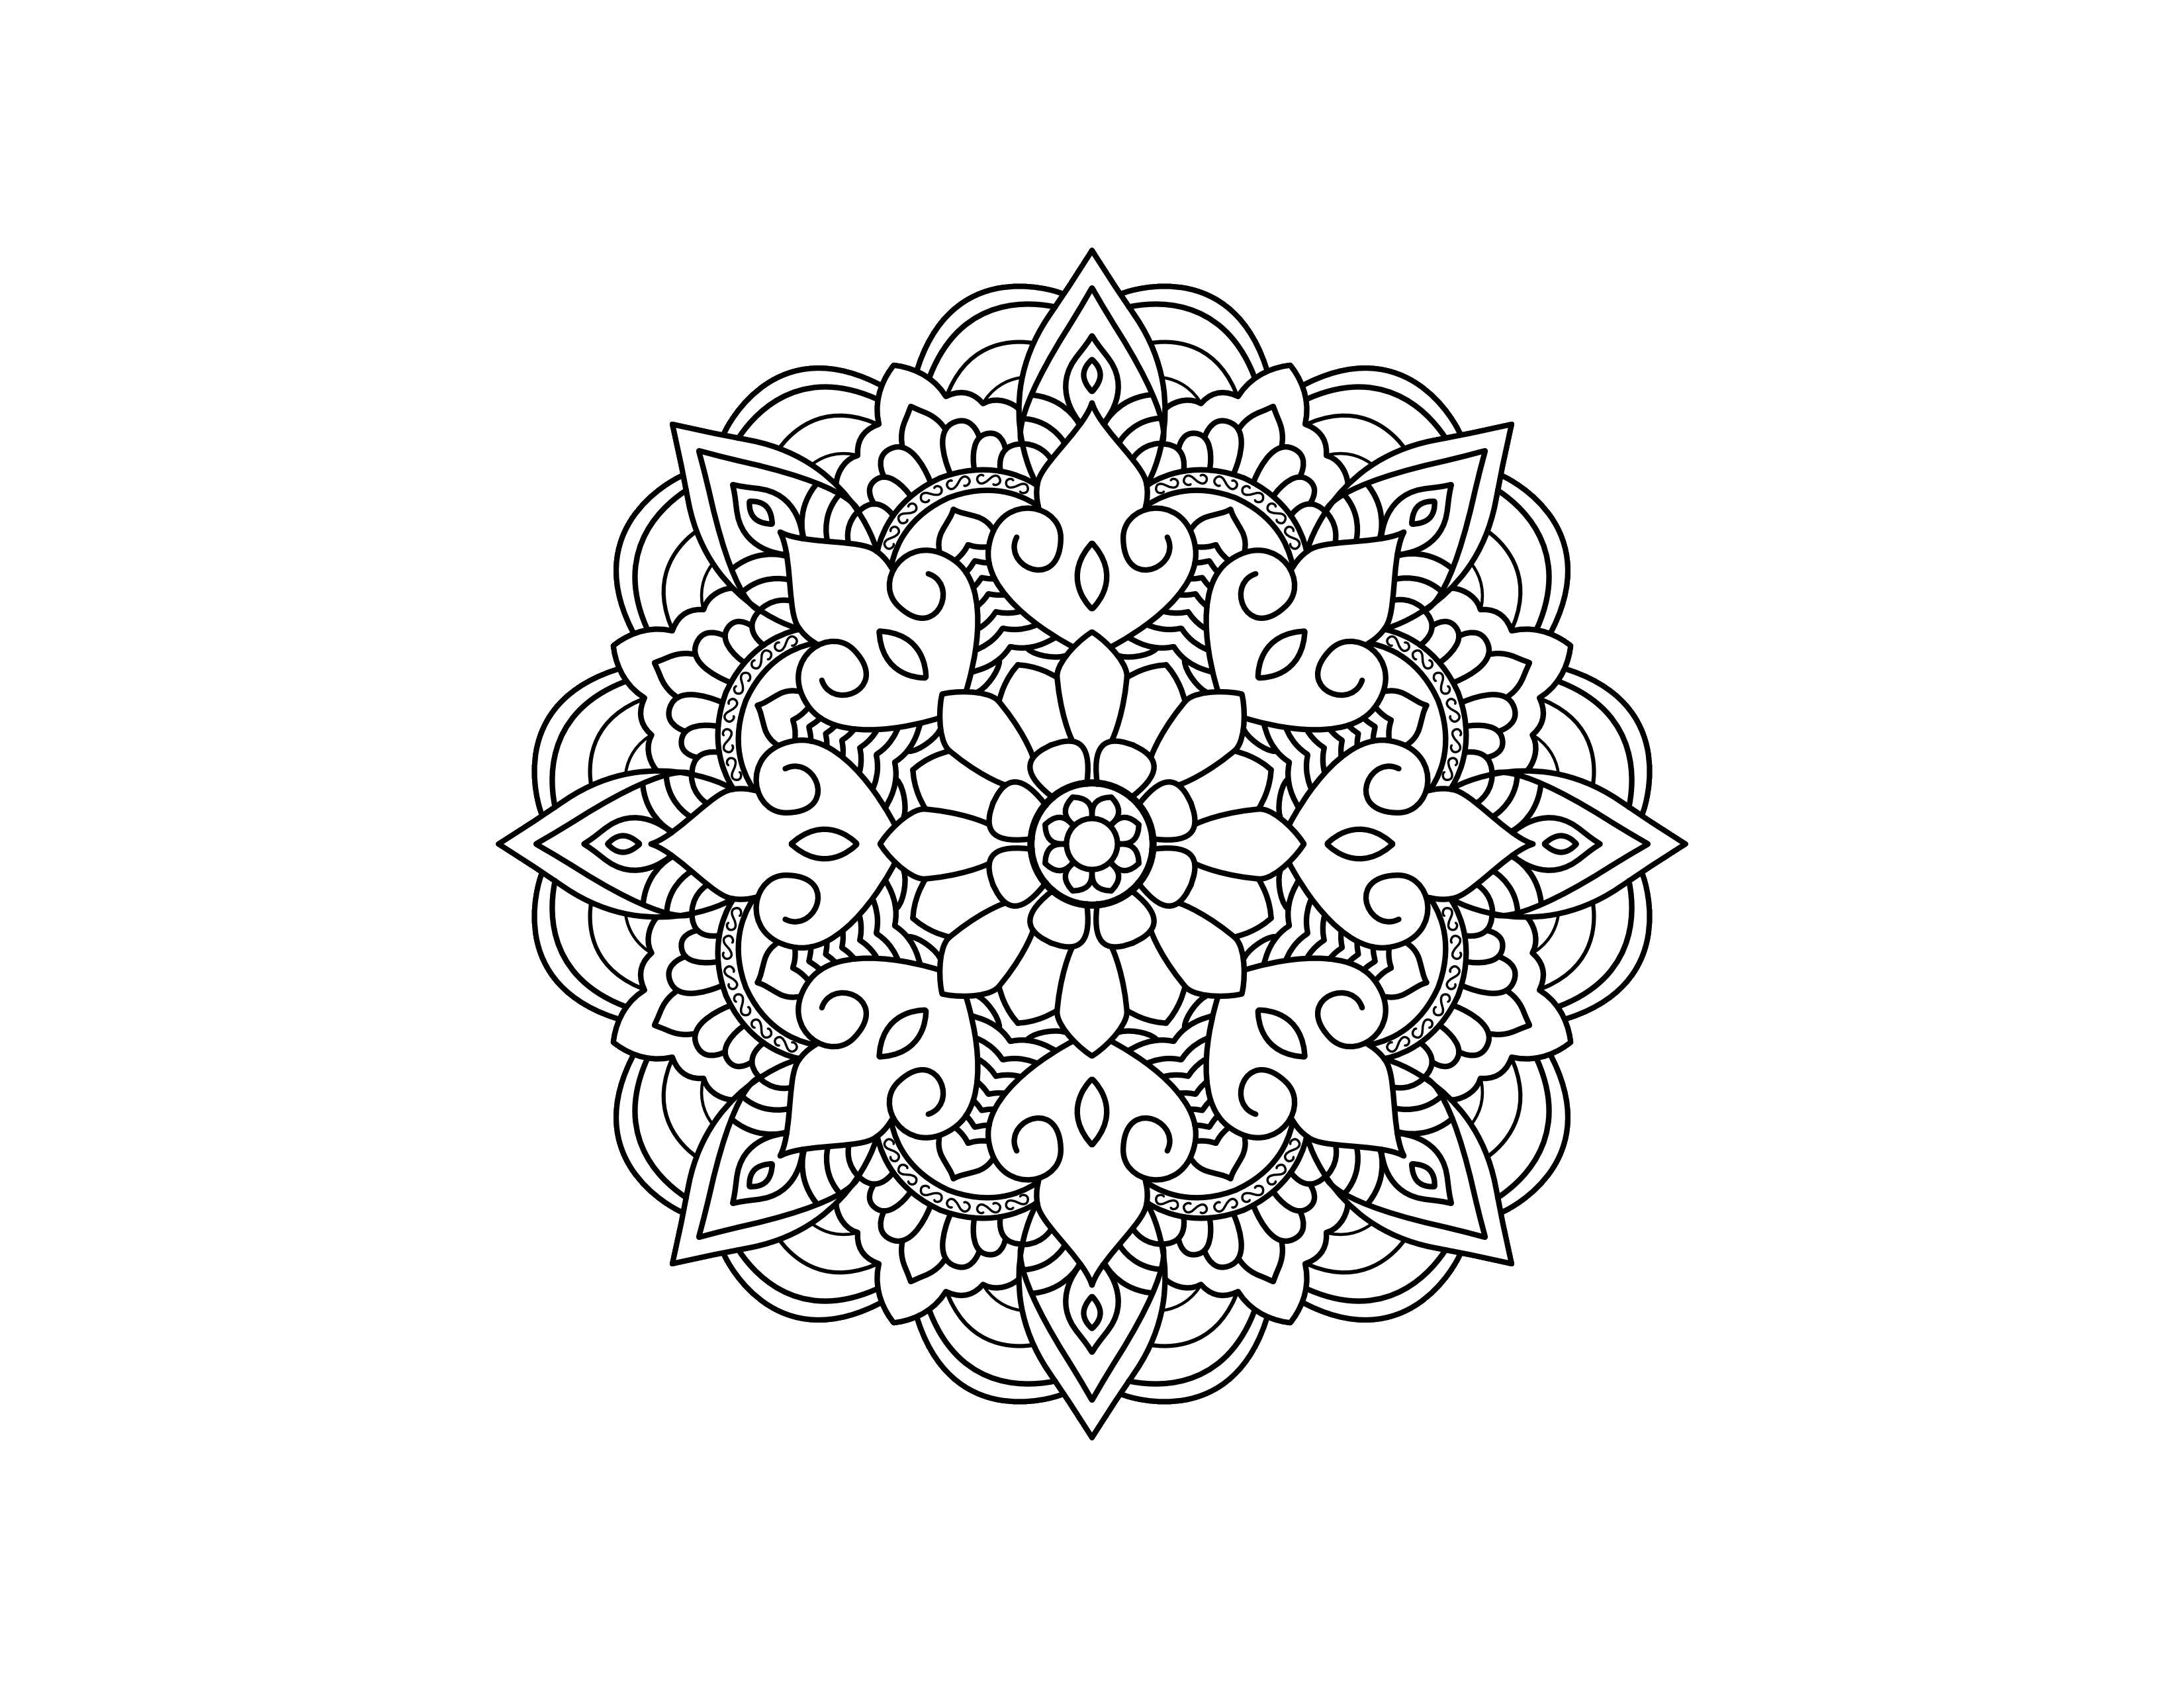
I have +5000 black and white PNG images with black drawings (mandalas) on them that have square dimensions but the image it self is not squared.
I need batch action that will:
a) Select all white around using magic wand
b) Invert selection
c) Crop image to selection
d) Change dimensions to 3000×3000px
e) Save as PNG transparent with 300px (the original is 300px)
Problems I am facing:
- if mandala in original photo is touching the edge the magic wand only selects one corner of white. I hoped I can make multiple magic wand clicks in to action but it is not working.
- save as PNG for some strange reason changes resolution to 96px
Windows 10 PC
Photoshop 22.5.1.441 (others have bugs, artboard is not transparent even if both settings are checked)
I tried using these:
and
I do not understand this one:
With Photoshop, how to batch replace white background with transparent in the image
and how to convert from tiff to PNG at the end. Why export to PNG is not acceptable?


Explore related tutorials & articles
 36
Replies
36
36
Replies
36

Copy link to clipboard
Copied
@Marinapomorac wrote:
Problems I am facing:
- if mandala in original photo is touching the edge the magic wand only selects one corner of white. I hoped I can make multiple magic wand clicks in to action but it is not working.
Start recording the action with the following first:
1) Press Ctrl D (Default foreground/background colours of black/white)
2) Image > Canvas Size, add say 20px to the width/height with relative checked to expand the canvas before making selection
Now you should be able to remove the background with a single magic wand click in the upper left and crop to selection (double check the toolbar options for tolerance, contiguous on etc).
.
Copy link to clipboard
Copied
So you are saying that I should first treat all images with enlargment then use the BG removal action?
So I opened Photoshop and some random file then click on New action, record.
Then:
CTRL + D
X - exchages swatches
Image - canvas size relative 20 20
Save
Close
That is action #1
Action 2 is:
Set selection
Inverse
Crop
Save
The first one worked, second one I get "The command "Select" is not currently available."
Copy link to clipboard
Copied
No need to exchange swatches if the background is white, I removed that from my post, sorry...
Copy link to clipboard
Copied

No pixels are selected.
I did something wrong, it added transparent 20px around.

Copy link to clipboard
Copied
Apologies, I'm assuming a flattened image, no transparent pixels to start, then extending the white background so that the contiguous upper left hand side magic wand selection fully selects each design.
Copy link to clipboard
Copied
So,
I should flatten, enlarge, color white with selection 1px 1 px XY then save then open again flatten select inverse crop and save?
Copy link to clipboard
Copied
No, everything can be done in a single action. Does this help?

Or should I just upload the action?
Copy link to clipboard
Copied
Please upload action because I did all of that and I keep getting errors (no pixel selected, cut not available delete not available.)
Thank you!!
Copy link to clipboard
Copied
Please let me know how this goes:
There is no save step, so you'll need to add that for batching the action.
Copy link to clipboard
Copied


It doesn't work.
It stops at magic wand selection.
If the image is transparent or white. I tried solving that white changing color to white to both 1px and 21px, but nothing.
Copy link to clipboard
Copied
Your going to need to add a convert to RGB mode from Index Colour Mode step in the action as first step.

Copy link to clipboard
Copied
Stephen's action will do it. The point is that the added canvas ensures nothing touches the edge, and a single magic wand click will select everything around.
I think you may have complicated it by already starting to select one corner. The partial transparency is what trips it up. You need to undo that, or go back to the originals.
As for your other question: Export does not save at 96 ppi. Export saves without any ppi value at all, not 96, not 300, nothing. A ppi number is not needed for what Export is intended for: web, screen and mobile devices.
96 ppi appears as a default number when the file is reopened in a Windows app. Photoshop will assign 72 when there is no ppi.
Use Save A Copy, which will retain the ppi number. You can also assign 300 ppi later (make sure resample is unchecked!) - and this can also be done with an action.
Copy link to clipboard
Copied
Stephen's action will do it. The point is that the added canvas ensures nothing touches the edge, and a single magic wand click will select everything around.
I think you may have complicated it by already starting to select one corner. The partial transparency is what trips it up. You need to undo that, or go back to the originals.
By @D Fosse
I tried to account for this with the flatten step, it didn't appear to need to use a background layer conditional, the action played as expected without warnings/error whether the image was flattened or not.
My sample was not indexed color, so I didn't have those complications.
Copy link to clipboard
Copied
Thank you for comment. I am sorry but I can't get action to work even if the photo is all white around or all transparent, not just partialy.
Copy link to clipboard
Copied
Please refer to my previous reply, you need to change the colour mode from Indexed Colour to something workable for regular editing, such as RGB.
Copy link to clipboard
Copied
So bottom line, this all can be done, this action to work as mentioned from enlarge, crop, resolution and set size can be made?
I tried making this for two days and it did not work so I would very much appreatite to get working action.
The end result should be 3000×3000 image with transparent BG and BW drawing in the midle.
Copy link to clipboard
Copied
Here is a v2 action, I have added some "potentially redundant steps" to try to ensure that you reach your goal.
You'll still need to add a save format location step for batching at the end, once you get the action working.
Copy link to clipboard
Copied


Am I doing something wrong?

Copy link to clipboard
Copied
I don't get those errors.
P.S. I thought that all the images were square ratio and needed to be cropped to the content so that the content was 3000px.
I'm off to bed, hopefully somebody else can help you out, good luck!
Copy link to clipboard
Copied
Yes, I thought all images are squared but some are rectangle shaped.
Nothing. I will do it manually until someone figures out the solution. Thank you so much for help. It is truly appreciated.

Copy link to clipboard
Copied
If an image is not square, you can pad it out to be a square. That's the only way you can get 3000x3000px.
Copy link to clipboard
Copied
How do you explain this?
I opened same file and click Quick Export as PNG in Photoshop 22 (that has bug and wont have transparent artboard):

Then I opened identical file and clicked Quick export to PNG:

One has no transparency but exports in 300px. Other has transparency but exports in 96px. You are saying that values are irrelevant and both files are identical?
@Lumigraphics All drawings are squared but not in original form as in artbords are not always squared but the crop drawing will alway be. I took cat screenshot by accident. The first file shared are the actual files. I run action on htem and it doesnt work.


.png")
.png")

Copy link to clipboard
Copied
I do product photography and have actions which select the white background to clean up. Its fairly easy to do. You can add white to your images with Canvas Size. As for ppi data, its just metadata and there are bugs with Adobe's handling of PNG files where it is not retained or shown properly. Forget ppi for PNG files, either use a different format or use them on-screen as designed.

Copy link to clipboard
Copied
In your action you could set your preferences units to percentage. Then use the magic wand in the top left corner then hold the shift key and use the magic in the other corners to add to the selection. You could also use the wand in other edge area the you feel will never bet black.

-
- 1
- 2

 AdChoices
.png)