- Home
- Photoshop ecosystem
- Discussions
- Re: Something for the weekend - Part 14 - Trouble ...
- Re: Something for the weekend - Part 14 - Trouble ...
Something for the weekend - Part 14 - Trouble at mill!
Copy link to clipboard
Copied
Hi
It's a rainy day at this mill and the doors are tightly shut. Can you open the doors and show us what is happening inside, or even cut away the whole wall and give us a perfect view of the interior?
Anything goes as long as it meets the forum rules on decency, copyright etc.
Anyone is welcome to have a go - whether you are a complete beginner or a Photoshop expert.
There are no prizes - just the chance to practice, show off, or bring a bit of humour and fun.
When posting back your edited images please use jpeg and downsize to 1200px on the long side.
To download the image below without the forum scaling artifacts, right click and then use Save Image As / Save Picture As (or similar depending on your browser).
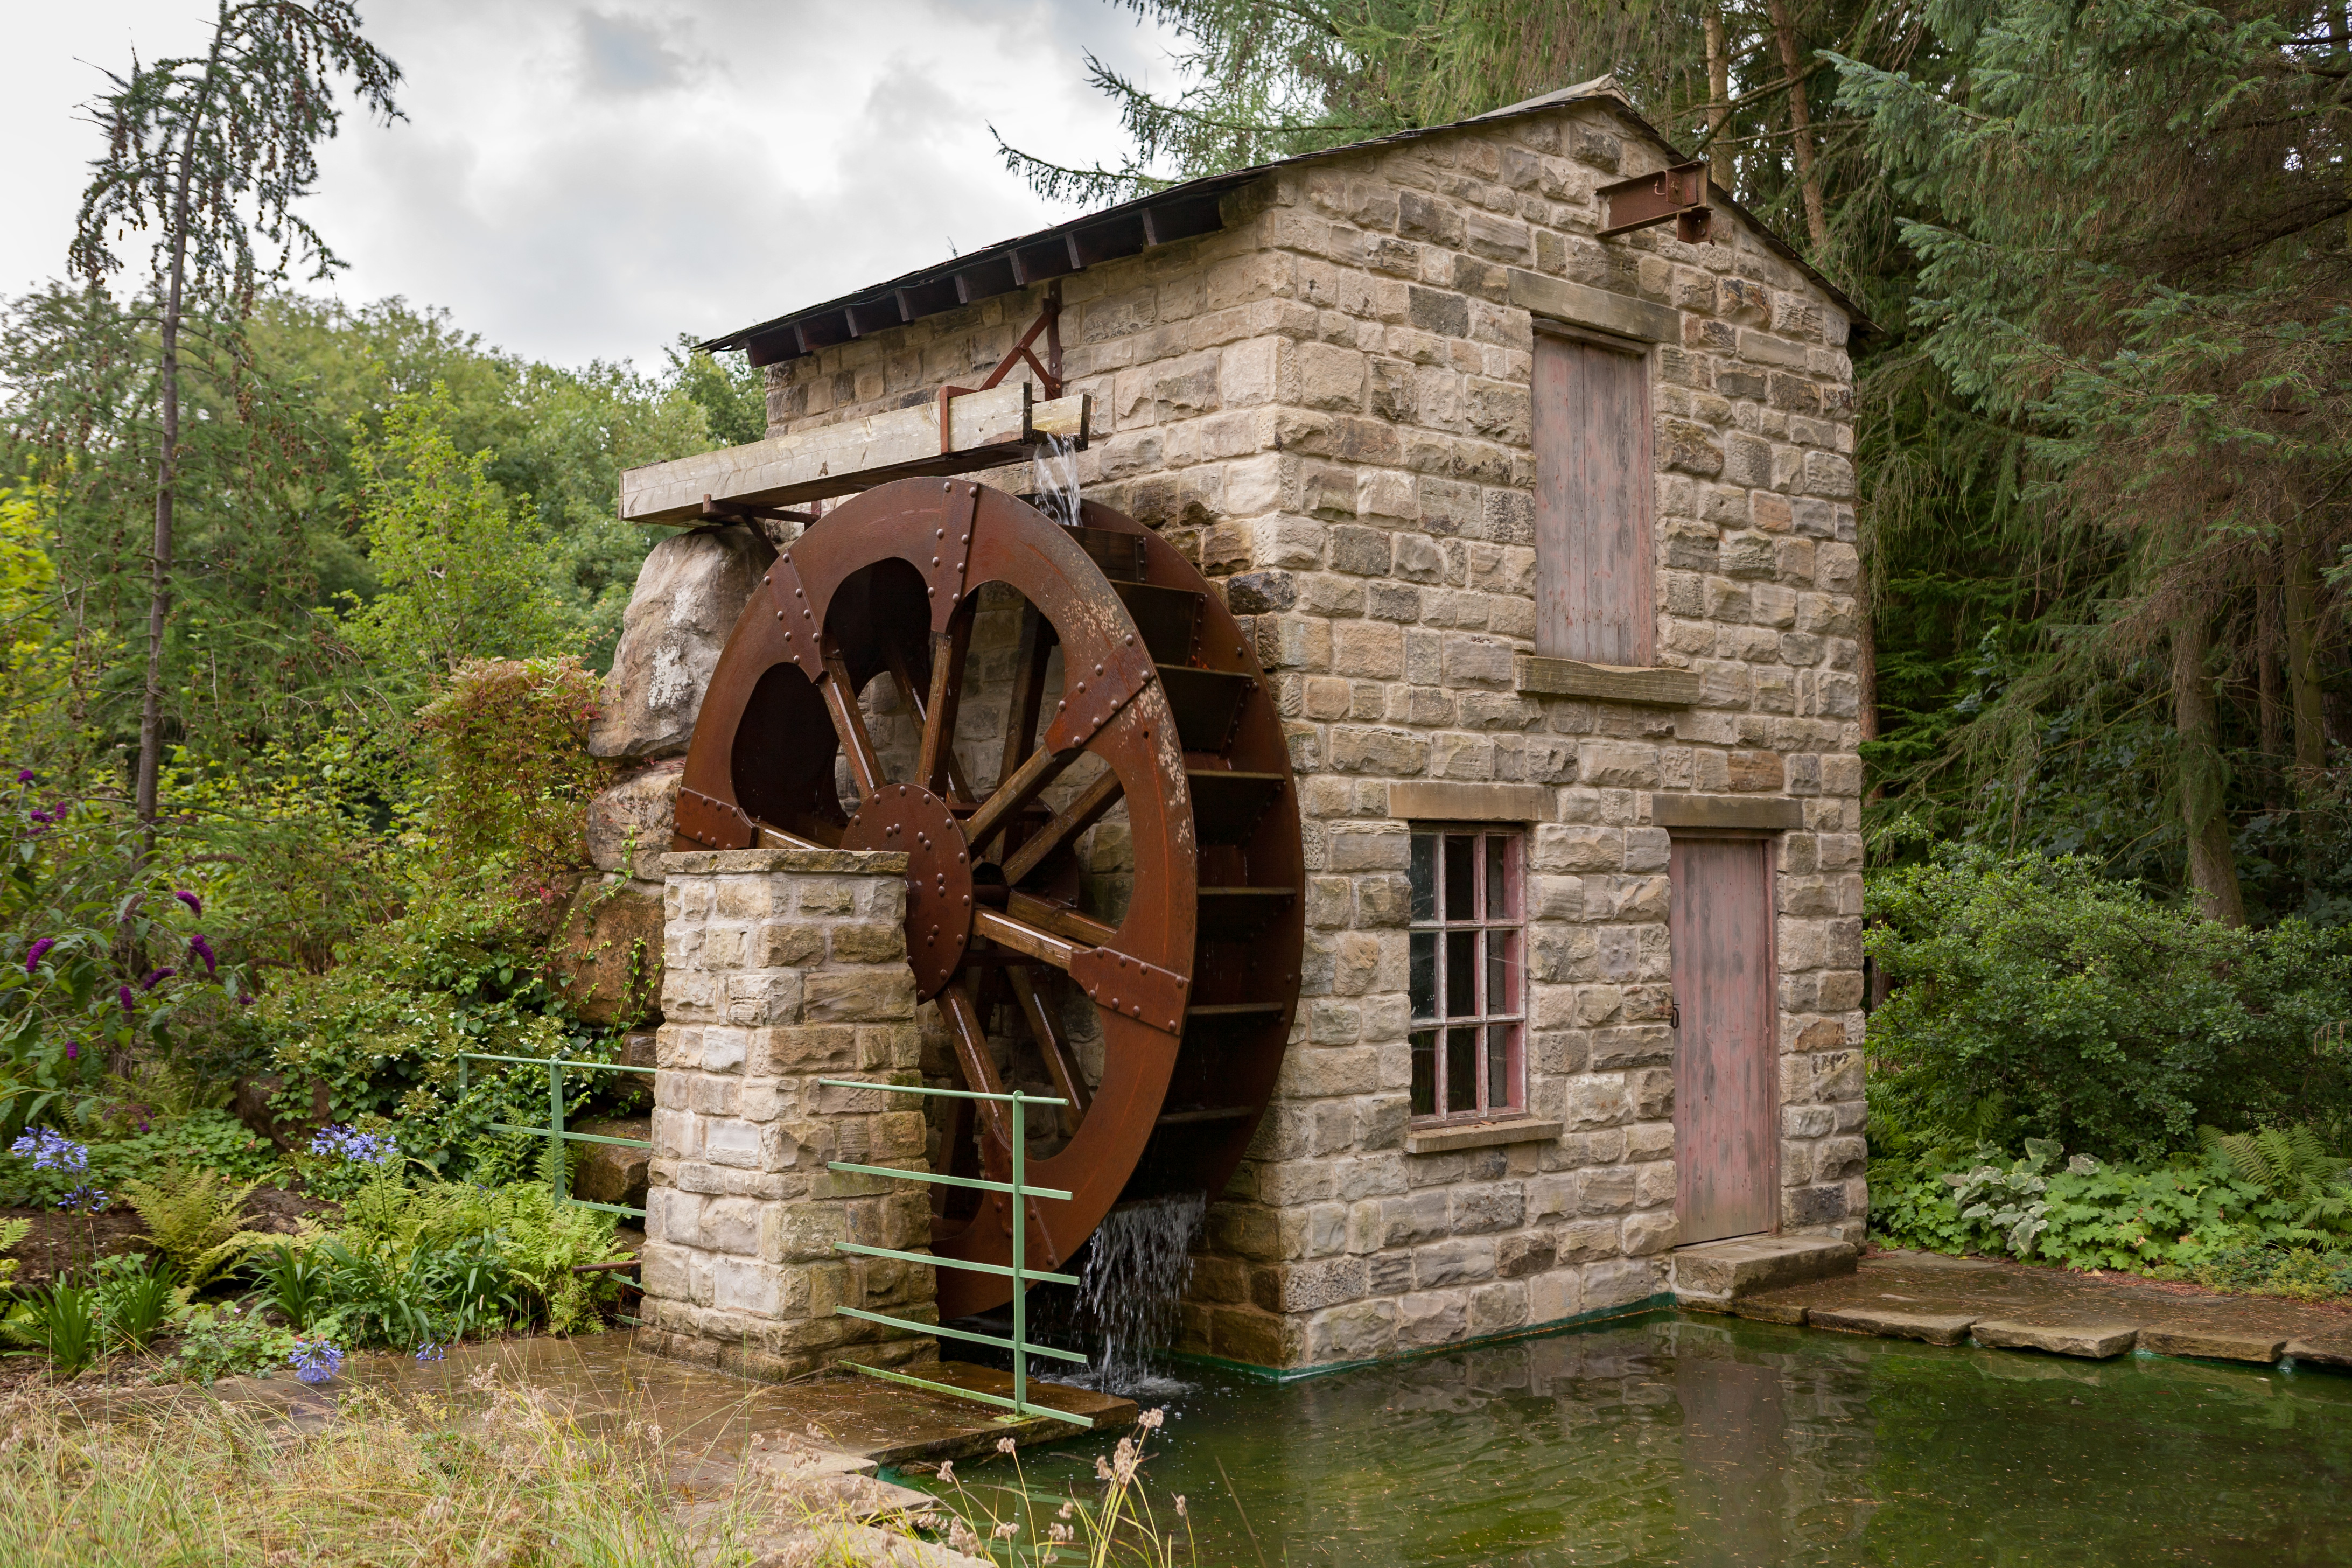
Have fun
Dave
Explore related tutorials & articles
Copy link to clipboard
Copied
Trevor.Dennis wrote
What the heck! Of all the clock faces I could have grabbed, I managed to get an upside down one, and I didn't even notice!
Isn't that what they use on the other side of the world?
Copy link to clipboard
Copied
What I have been waiting for is for some genius to set the water wheel in motion. After all, the spray is already there.
Copy link to clipboard
Copied
Rista12 wrote
What I have been waiting for is for some genius to set the water wheel in motion. After all, the spray is already there.
Doable, but a bit of work. It would be easy to do the outside face using the method I described for the clock face, and you'd only need enough frames for one eight of a resolution.
The problem comes with giving it depth because it would be a separate animation, and you would need to manually sync the new layers to existing frames. Helped again by the one eight revolution thing, so maybe 20 frames. You could copy the Group with the face layers and move the group to align with the inside face. Clip a curves layer to the group to darken it. I don't think the copied layers would maintain the frame sync though, but it might do, and 20 frames wouldn't be too bad a job to sync. It helps if your layers have numbers that match the appropriate frame.
The blades/buckets would only need the lighter outside face animating, and you'd need to do this manually with all eight buckets on twenty layers (so you could sync them to existing frames). The water would be fairly easy, but would also need 20 layers so you could adjust the fall (height) for each layer. I think I'd paint some white splatter on the layers after making them to give them some life.
If I can get an hour on Photoshop later, I'll have a go out of interest, but we have builders all round the house, and my Chris is keeping me busy. ![]()
![]()
![]() I'm doing my afternoon shift at Citizens Advice right now, and I'm glad to get out of the house — even if I don't have Photoshop here.
I'm doing my afternoon shift at Citizens Advice right now, and I'm glad to get out of the house — even if I don't have Photoshop here.
Copy link to clipboard
Copied
That's Okay - it's a Southern Hemisphere clock![]()
Copy link to clipboard
Copied
looks fine to me ![]()
Copy link to clipboard
Copied
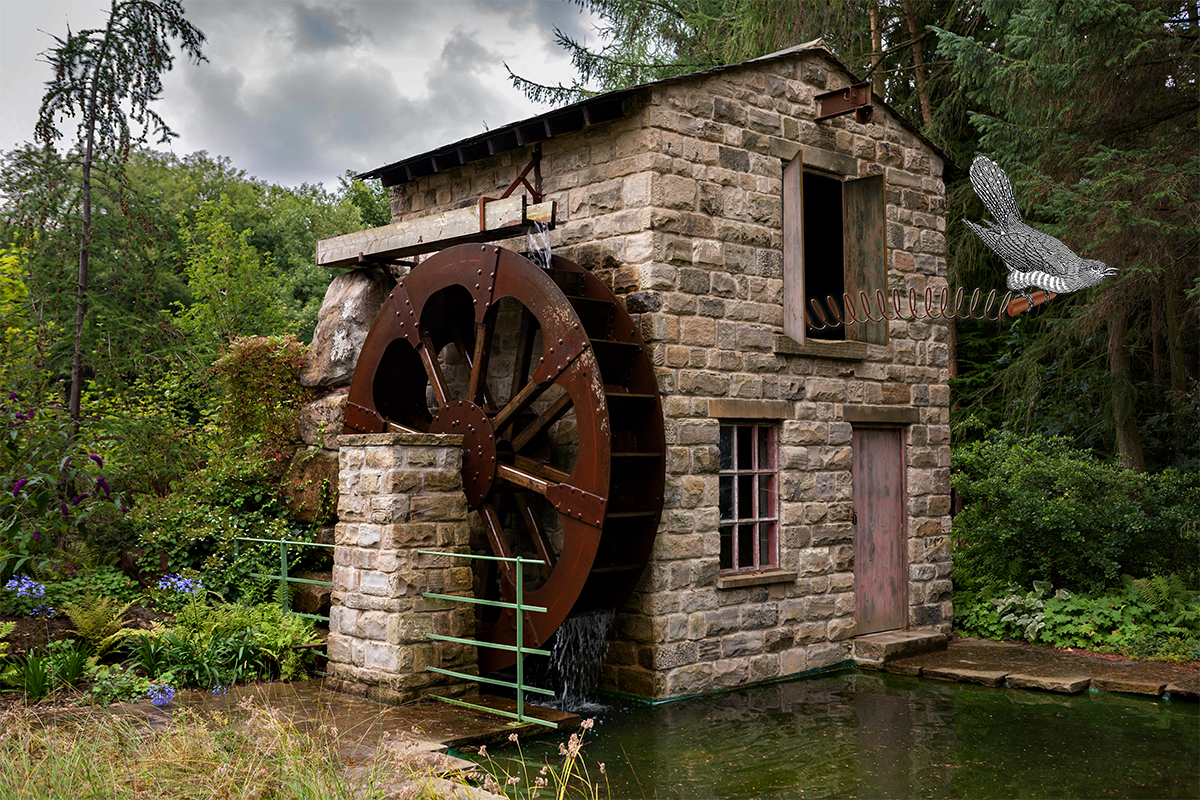
Yet another clock
Copy link to clipboard
Copied
Well, that's just cuckoo, Semaphoric!
(Also clever!)
Copy link to clipboard
Copied
I'll throw my ring into the hat. (Did somebody say make the wheel move?)
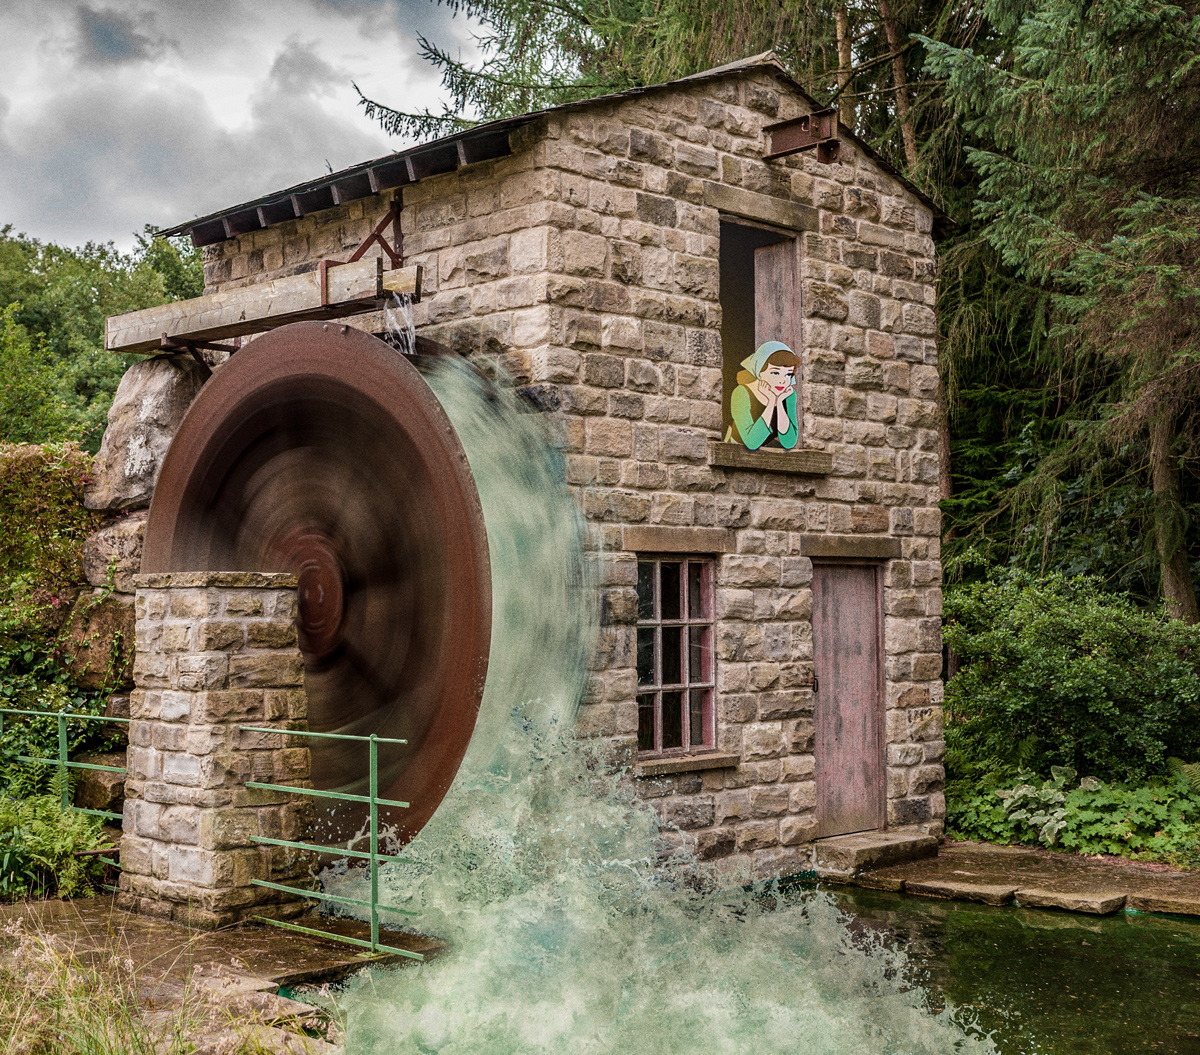
Thanks for the fun image and concept Dave.
Regards,
PG
Copy link to clipboard
Copied
Outstanding Pete, and really quite funny. ![]()
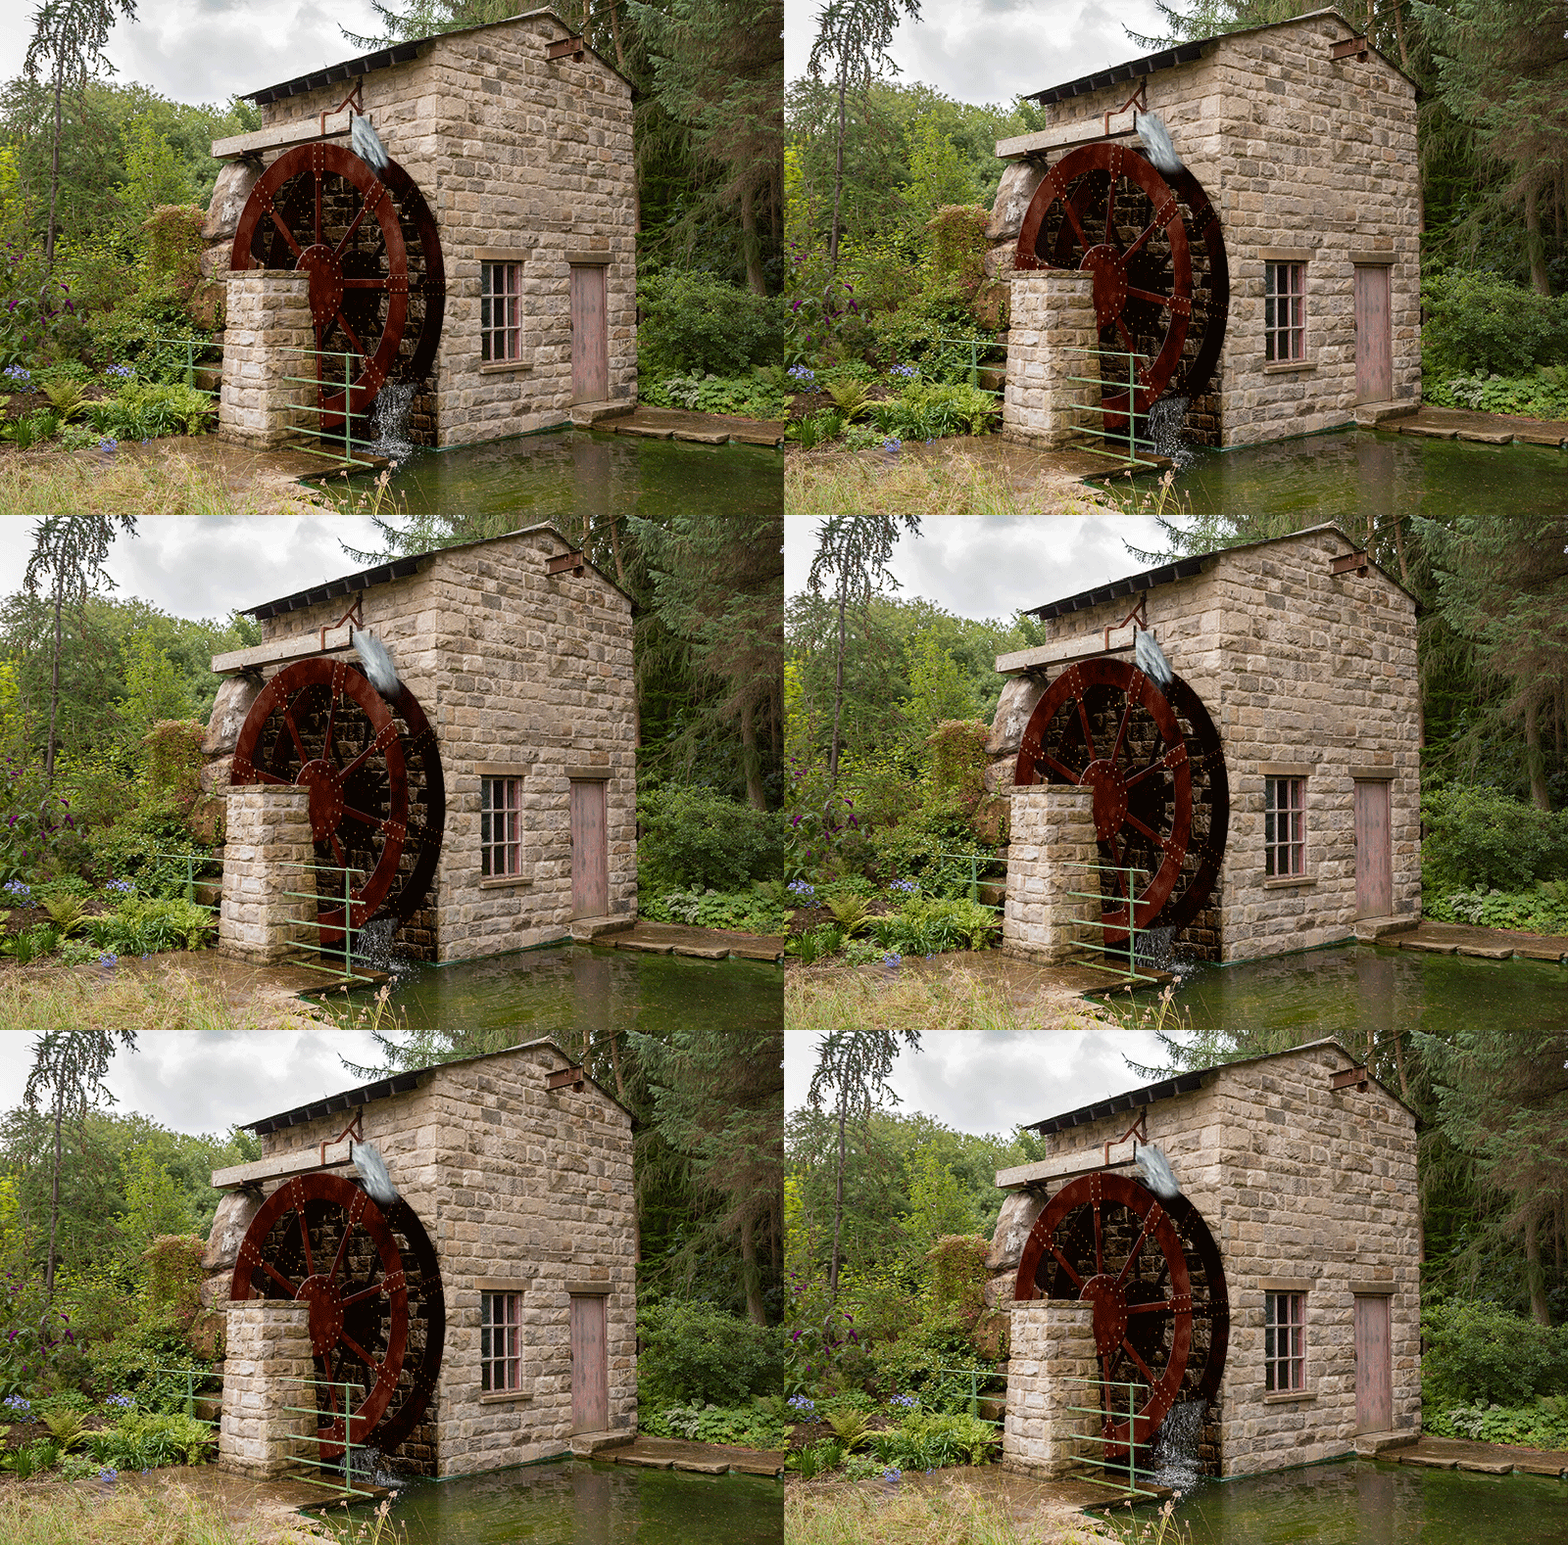
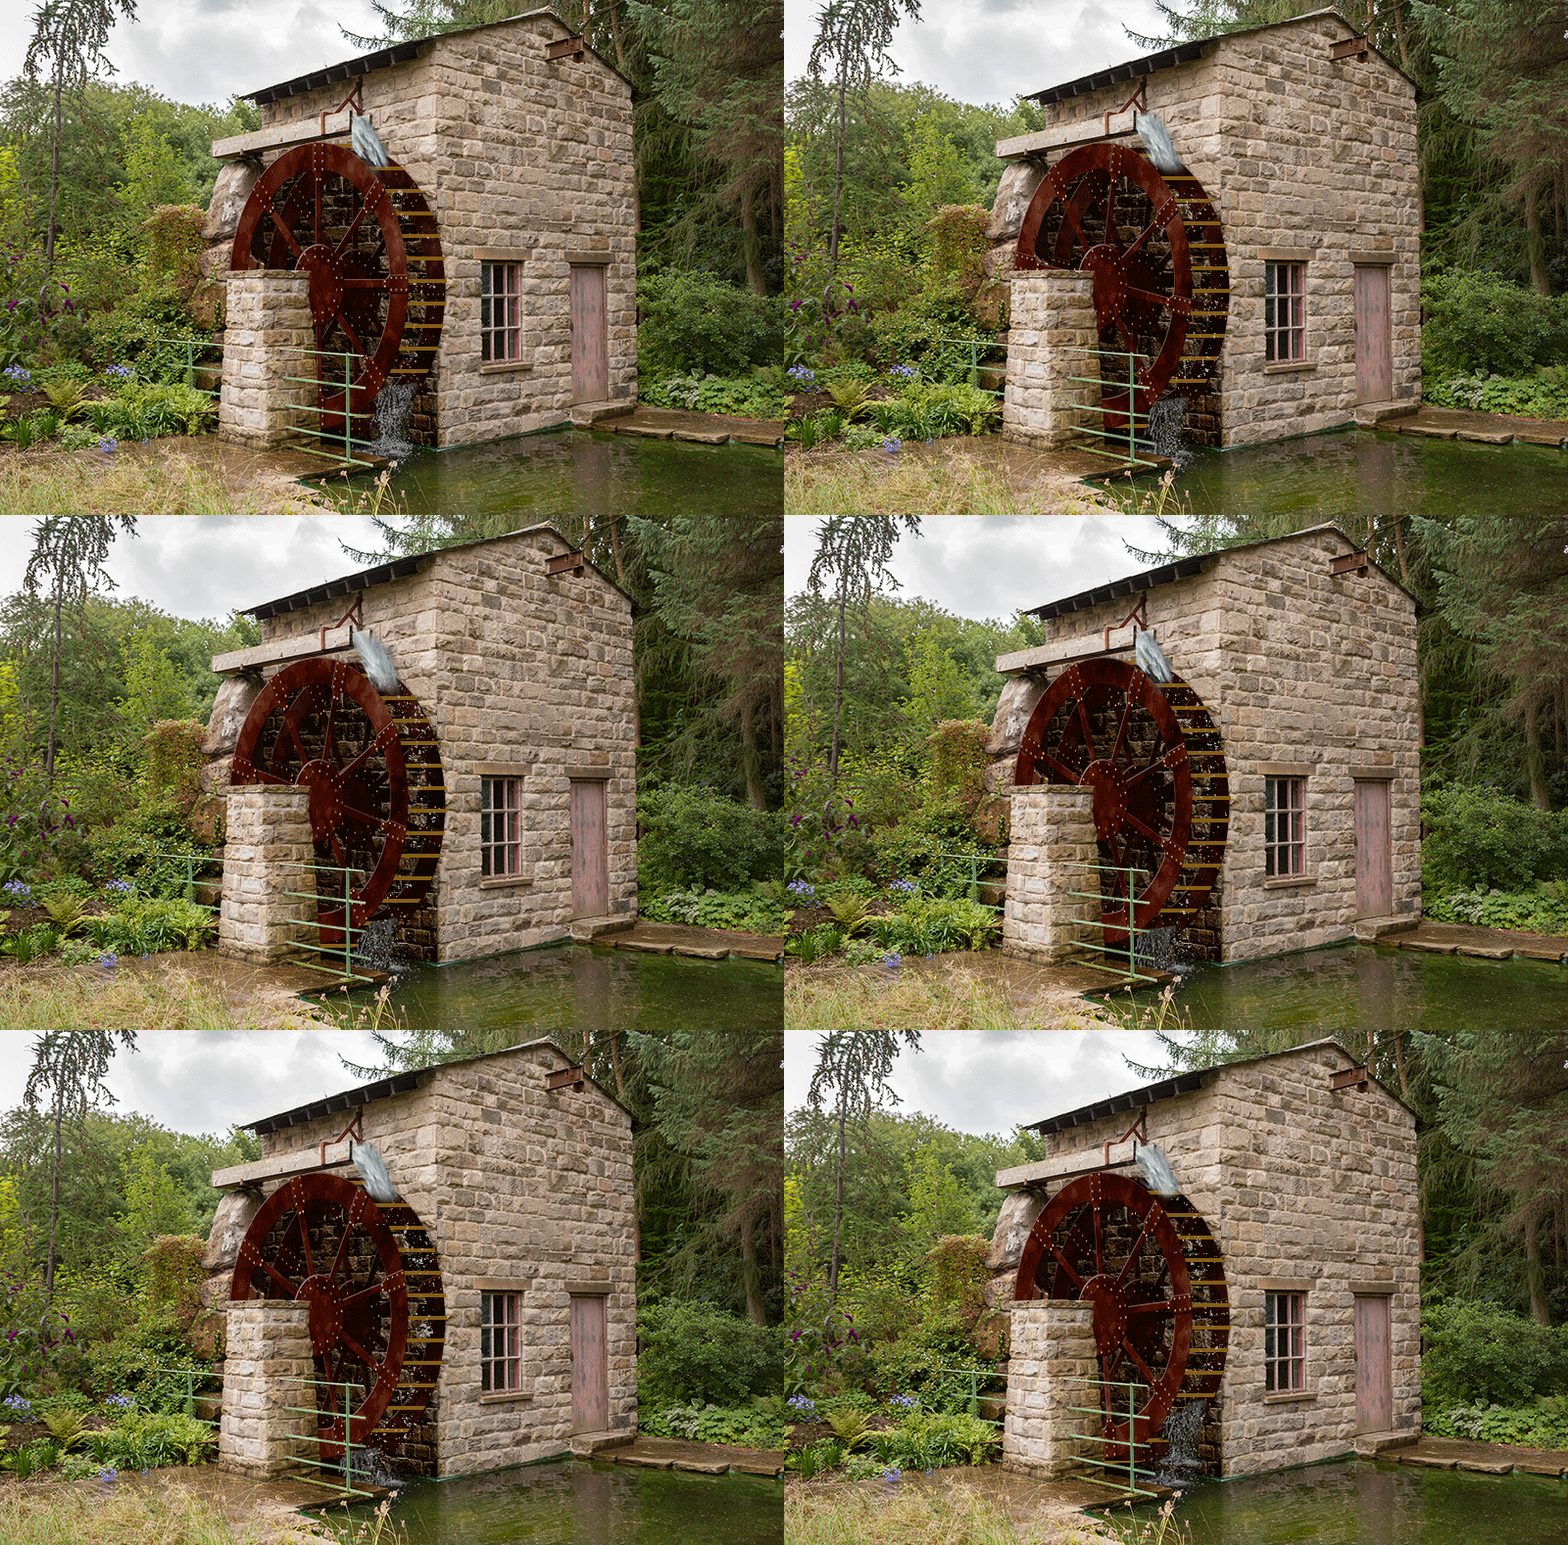
This is not a full on job as I left out the blades, and I really must get to grips with Illustrator, as I had to think about how to do the wheel face. Only nine frames because of the eight spokes — it would have been a mission to do otherwise.
Copy link to clipboard
Copied
Nice Trevor ![]() . Mind you I think the idea was to open the doors, not brick them up !
. Mind you I think the idea was to open the doors, not brick them up !
I'm glad to see some images flying in now. I was worried about this one when we got off to a slow start at the weekend. Keep them coming.
If anyone has an image for this coming weekend let me know. If not I'll dig out another one.
Dave
Copy link to clipboard
Copied
davescm wrote
Nice Trevor . Mind you I think the idea was to open the doors, not brick them up !
Dave
I needed a big area of stone to hide the original wheel Dave, so I disappeared the door with Content Aware Fill.
Copy link to clipboard
Copied
Nice Trevor! Well done, and on the shadow too!
Copy link to clipboard
Copied
Pete, I've realized that you might be thinking that the inside of the wheel is the shadow. I darkened it more than I should of because it hid that I had not put the blades/buckets, but I have added those now. ![]() I like the water at the bottom, which is from the still with some KW splatter added randomly to each frame. The water at the top, not so much so, but it owes me a couple of hours already, and real life calls.
I like the water at the bottom, which is from the still with some KW splatter added randomly to each frame. The water at the top, not so much so, but it owes me a couple of hours already, and real life calls.
Copy link to clipboard
Copied
I took a slightly different approach and made a printer :
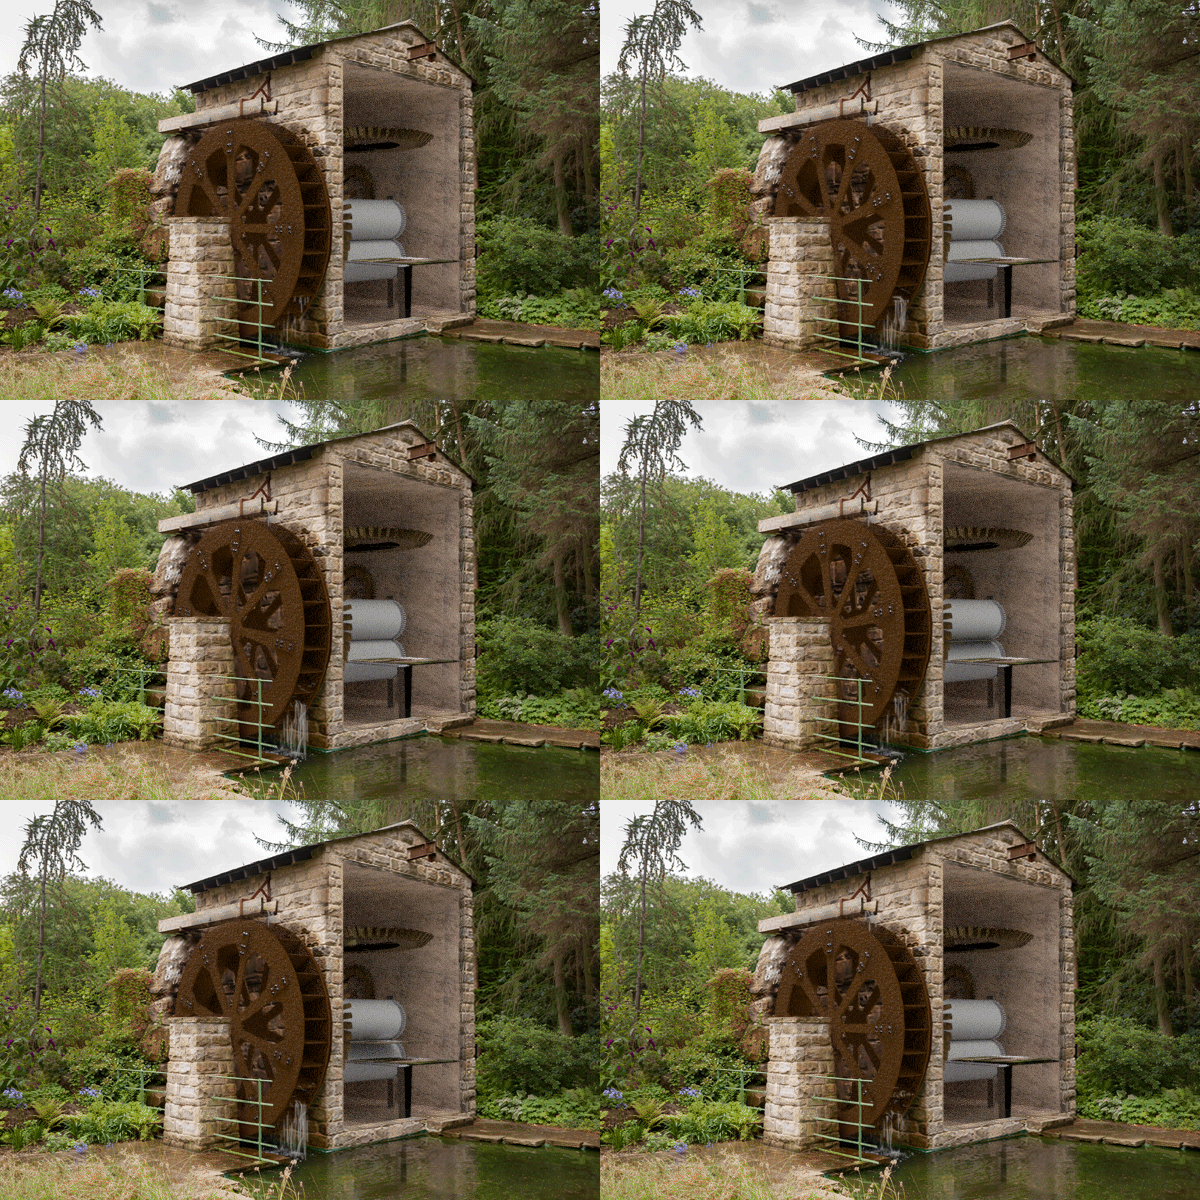
Edit: After having trouble with the you tube embedded video playing on to other videos I've halved the frame-rate (literally deleting every other frame) and exported as a GIF
Dave
Copy link to clipboard
Copied

Copy link to clipboard
Copied
Hi Jane
You must have looked when I went into Edit to try and get it to embed without moving on to related videos. It is the correct embed code but the code to stop those other videos rel=0 is being ignored!
Also I can't get the video to loop _ I'll stick to gifs in future (unfortunately a Gif would have been a little to big in this instance )
Dave
Copy link to clipboard
Copied
Yes, I also went to Youtube and it said it had been removed. Now it goes on to play another video I had watched earlier today—a chef making a recipe from Ruth's Chris Steak House. I'll look later when you get it fixed.
What a great idea to put a printer in the mill!
Copy link to clipboard
Copied
Hi Jane - thanks for the feedback - I've gone back and removed the problematic you-tube link and embedded a lower frame rate gif
Dave
Copy link to clipboard
Copied
That's a very complete wheel Dave. Is it a 3D model?
Copy link to clipboard
Copied
Yes it's 3D. I made it in Blender along with the cogs, rollers, table, paper and room.
I started out making them in Photoshop but had so much trouble with the keyframes (movement was different between preview and render )that I gave up and went to Blender and started again. Blender also has the advantage that you can define the relationship between objects so the cogs and rollers do follow the rotation of the wheel or other cogs. Great for modelling machines.
After rendering the animated frames I came back to Photoshop as I still prefer the layer rather than node based approach to compositing.
It is frustrating that 3D development appears to have stalled in Photoshop. It has so much potential but has some infuriating quirks and bugs.
Dave
Copy link to clipboard
Copied
What about the animation though? Do you produce that in Blender and render out to video, and turn the video into a frame animation in Photoshop? I saw your reference to deleting every second frame, so I am guessing the workflow was along those lines. Does Lynda.com cover Blender? Wow, yes, there's a ton of Blender tutorials over there 🙂
It all comes down to time though, and it takes me much longer to learn new apps nowadays, although I got to grips with SketchUp pretty quickly.
I don't think the movie guys think about Photoshop too much when it comes to serious 3D animation. 3D Max, After Effects. I see Lynd also has some tutorials for Maya, but at NZ$300 a month, it puts the Photoshop Photography plan into a whole different perspective!
Copy link to clipboard
Copied
do a tafe course and grab the free (3 year) Maya copy... its the same one as normal but yes Blender is a much better tool for learning the basics
Copy link to clipboard
Copied
Hi Trevor
I rendered each Blender frame to png, it was surprisingly quick for 250 frames but then again it was only 600x400 pixels, then imported them to Photoshop layers and created a frame animation in Photoshop. I then added the 2D layers back in. I could have done the compositing in Blender but whilst I prefer Blender's node based approach to materials and textures I much prefer Photoshop's layer based approach to compositing.
Alternatives
There is very little Blender will not do and the Cycles renderer in it is very good. The interface takes some getting used to at first, but works brilliantly across multiple screens. The first thing I advise anyone to do is to go into Preferences and change them so that the left click selects. By default the right click selects and left click moves the 3D cursor - resulting in incorrect cursor moves whenever you switch from another app.
This site has some good beginner tutorials : Blender Guru . Being open source, the user base is large and you can usually find a relevant tutorial or Q&A if you get stuck on something.
Dimensions - rendering is pretty good but it doesn't have the modelling or animation that a 3D app has.
C4D Lite comes with After Affects and integrates very well with After Effects but to get the power of Blender you have to buy one of the full versions, which are very good but the price is quite steep.
I've not used Maya so can't comment personally.
Dave
Copy link to clipboard
Copied
I've just read through this thread and we have had some twists and turns this week. At first I was concerned that I'd made it too hard, but I obviously under-estimated the skill and imagination in our forum!
Starting with Trevor's electric cars, then a hamster wheel, we moved on to Rista's sauna and UssNorway's tap and Steampunk guage. We then moved through various clocks ,including Semaphoric's cuckoo clock and Trevor's "down under" clock, through Pete's supercharged Disney wheel and then into moving images after Rista threw us an extra challenge to make the wheel move.
There is still time for more before we start a new challenge on Friday. Anyone is welcome to have a go - come and join us ![]()
Dave
Copy link to clipboard
Copied
Am I going to be first in, last out? It's Friday here, but I'll squeeze this last one in, and the water wheel has been saying riverboat paddle almost from day 1, and you'll know how it is. If you see it, you have to draw, illustrate, composite it or whatever makes your boat float. Which is a bit of a tall order in this case. I've heard of concrete boats, but a stone boat would leave Archimedes still scratching is scholarly Greek head.
It's also been a useful exercise with getting to grips with Flaming Pear's Flood 2, but still some work to do with making angles work. It has a 'Spin' slider which tilts the reflection horizon, but the reflection is always perpendicular to the horizon, so you have to FT > Skew to realign it. That leaves a wee triangular hole, but CAF fixes that. You never stop learning with Photoshop. ![]()


