- Home
- Photoshop ecosystem
- Discussions
- Re: Why is the checkered pattern not appearing whe...
- Re: Why is the checkered pattern not appearing whe...
Copy link to clipboard
Copied
Initially I am pressing Layer Mask and a light grey line is appearing around my cut out. And then I go back where I pressed Layer Mask and it is now saying Vector Mask. I am confused and for the life of me can not get my checkered patterns to complete the process and move it into a different document! Can you help me please??
 1 Correct answer
Hi
A couple of principles that may help you
Where a mask is white the pixels on the associated layer will be visible
Where a mask is black the pixels on the associated layer will be hidden, allowing the layer(s) below to show through
So if you make a selection of the object then use - Layer>Layer Mask >Reveal Selection to add a mask
If you make a selection of the background that you want to hide, use Layer >Layer Mask>Hide Selection to add a mask
You can adjust a mask later by clicking on it and paint
...Explore related tutorials & articles
Copy link to clipboard
Copied
Could you please post a screenshot taken at View > 100% with the pertinent Panels (Layers, Channels, Options Bar, …) visible?
And then I go back where I pressed Layer Mask and it is now saying Vector Mask.
If a Layer already has a Layer Mask the »Add Layer Mask«-button at the bottom of the Layers Panel become the »Add Vector Mask«-button.
Copy link to clipboard
Copied
Im sorry, thank you for your reply. How do I send a screenshot off through this forum? I am new to forums.
Copy link to clipboard
Copied
Copy link to clipboard
Copied
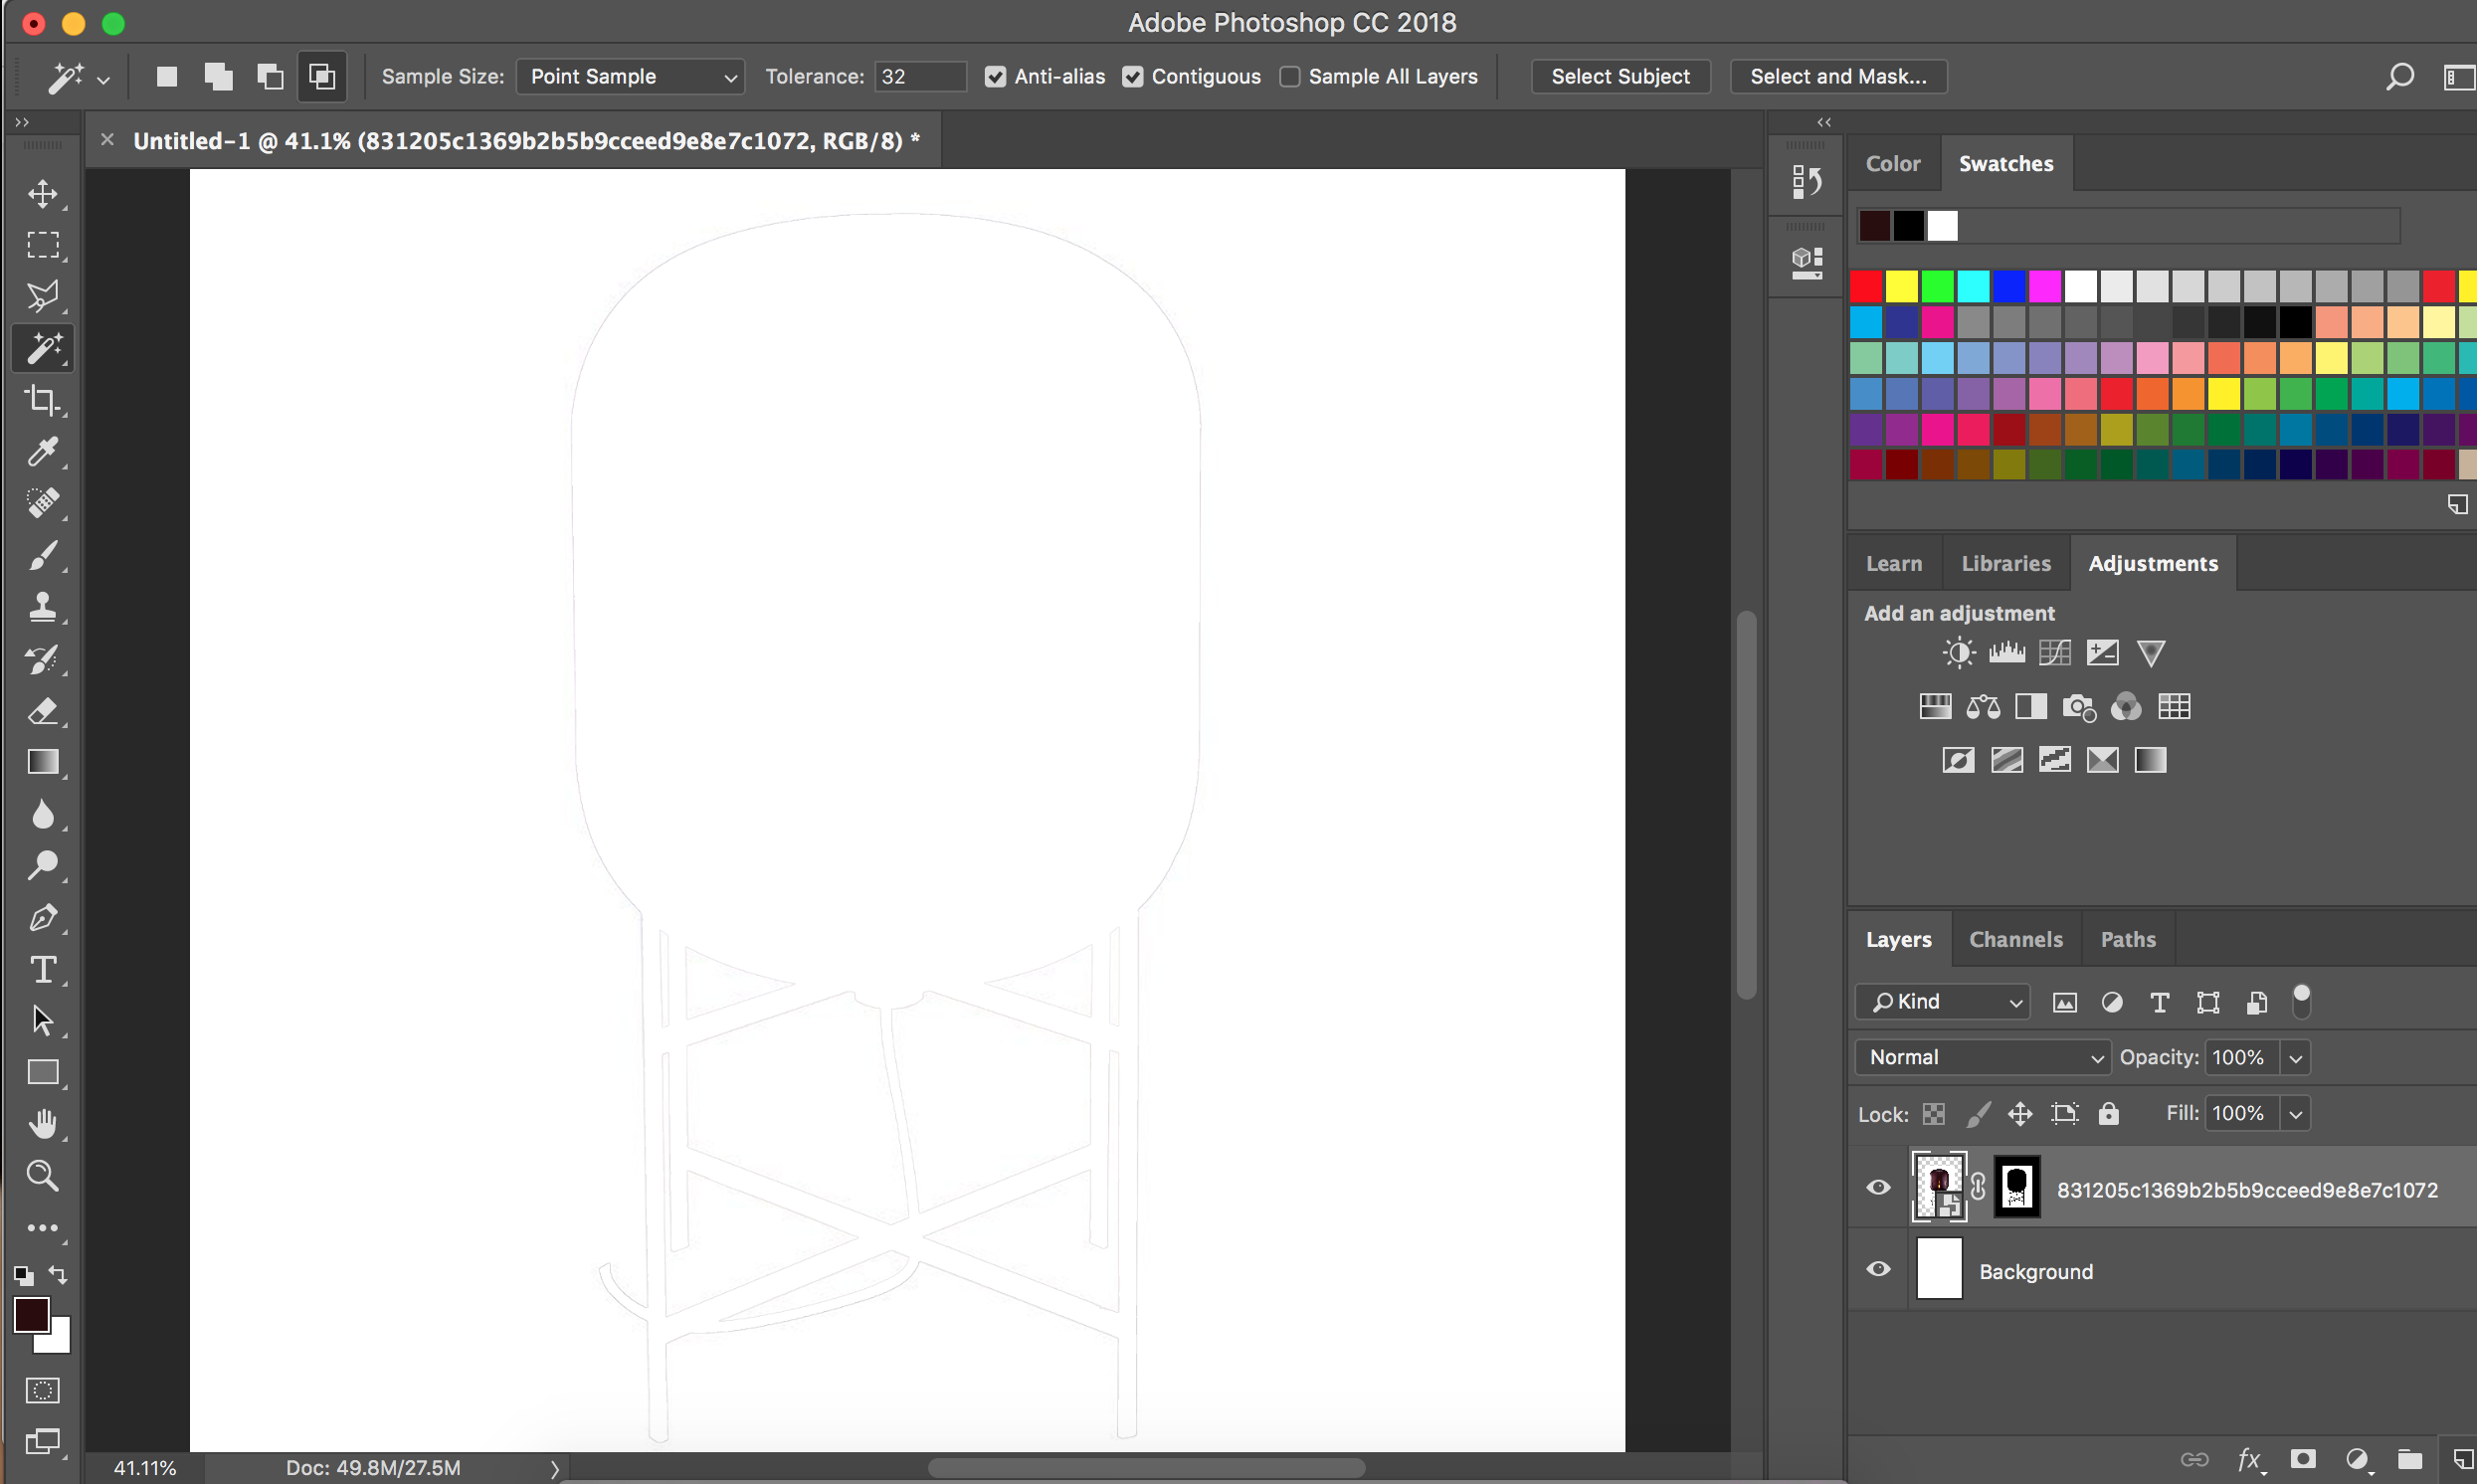
How did you create the Selection you want to use as a Layer Mask – with Selection Tools like the Magic Wand Tool, Paths, …?
When you alt-click the Layer Mask what does it look like?
Copy link to clipboard
Copied
Copy link to clipboard
Copied
Thank you for helping me. I appreciate it. Above is my photo capture. If you can zoom in and see my faint Magic Wand cut out this is the result of pressing Mask Layer on the right hand bottom corner. I was expecting black and white checkered format so I can complete my task. Any ideas?

Copy link to clipboard
Copied
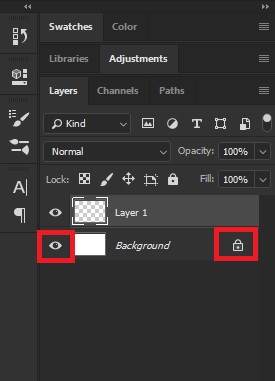
Try unlocking the background layer and turning off the visibility of that layer
Copy link to clipboard
Copied
• Also did you not want to invert the Selection before applying it as a Layer Mask?
• And you might risk edge pixels of the Layer becoming semi-visible by creating a Mask that is based only on part of the document.
Copy link to clipboard
Copied
I am only new to Photoshop. What does invert the Selection before applying it as a Layer Mask mean? I want it clean lined so don't want any edge pixels. What is my next step. Shall I unlock the background layer now and turning of the visibility of that layer. How do I do that?
Copy link to clipboard
Copied
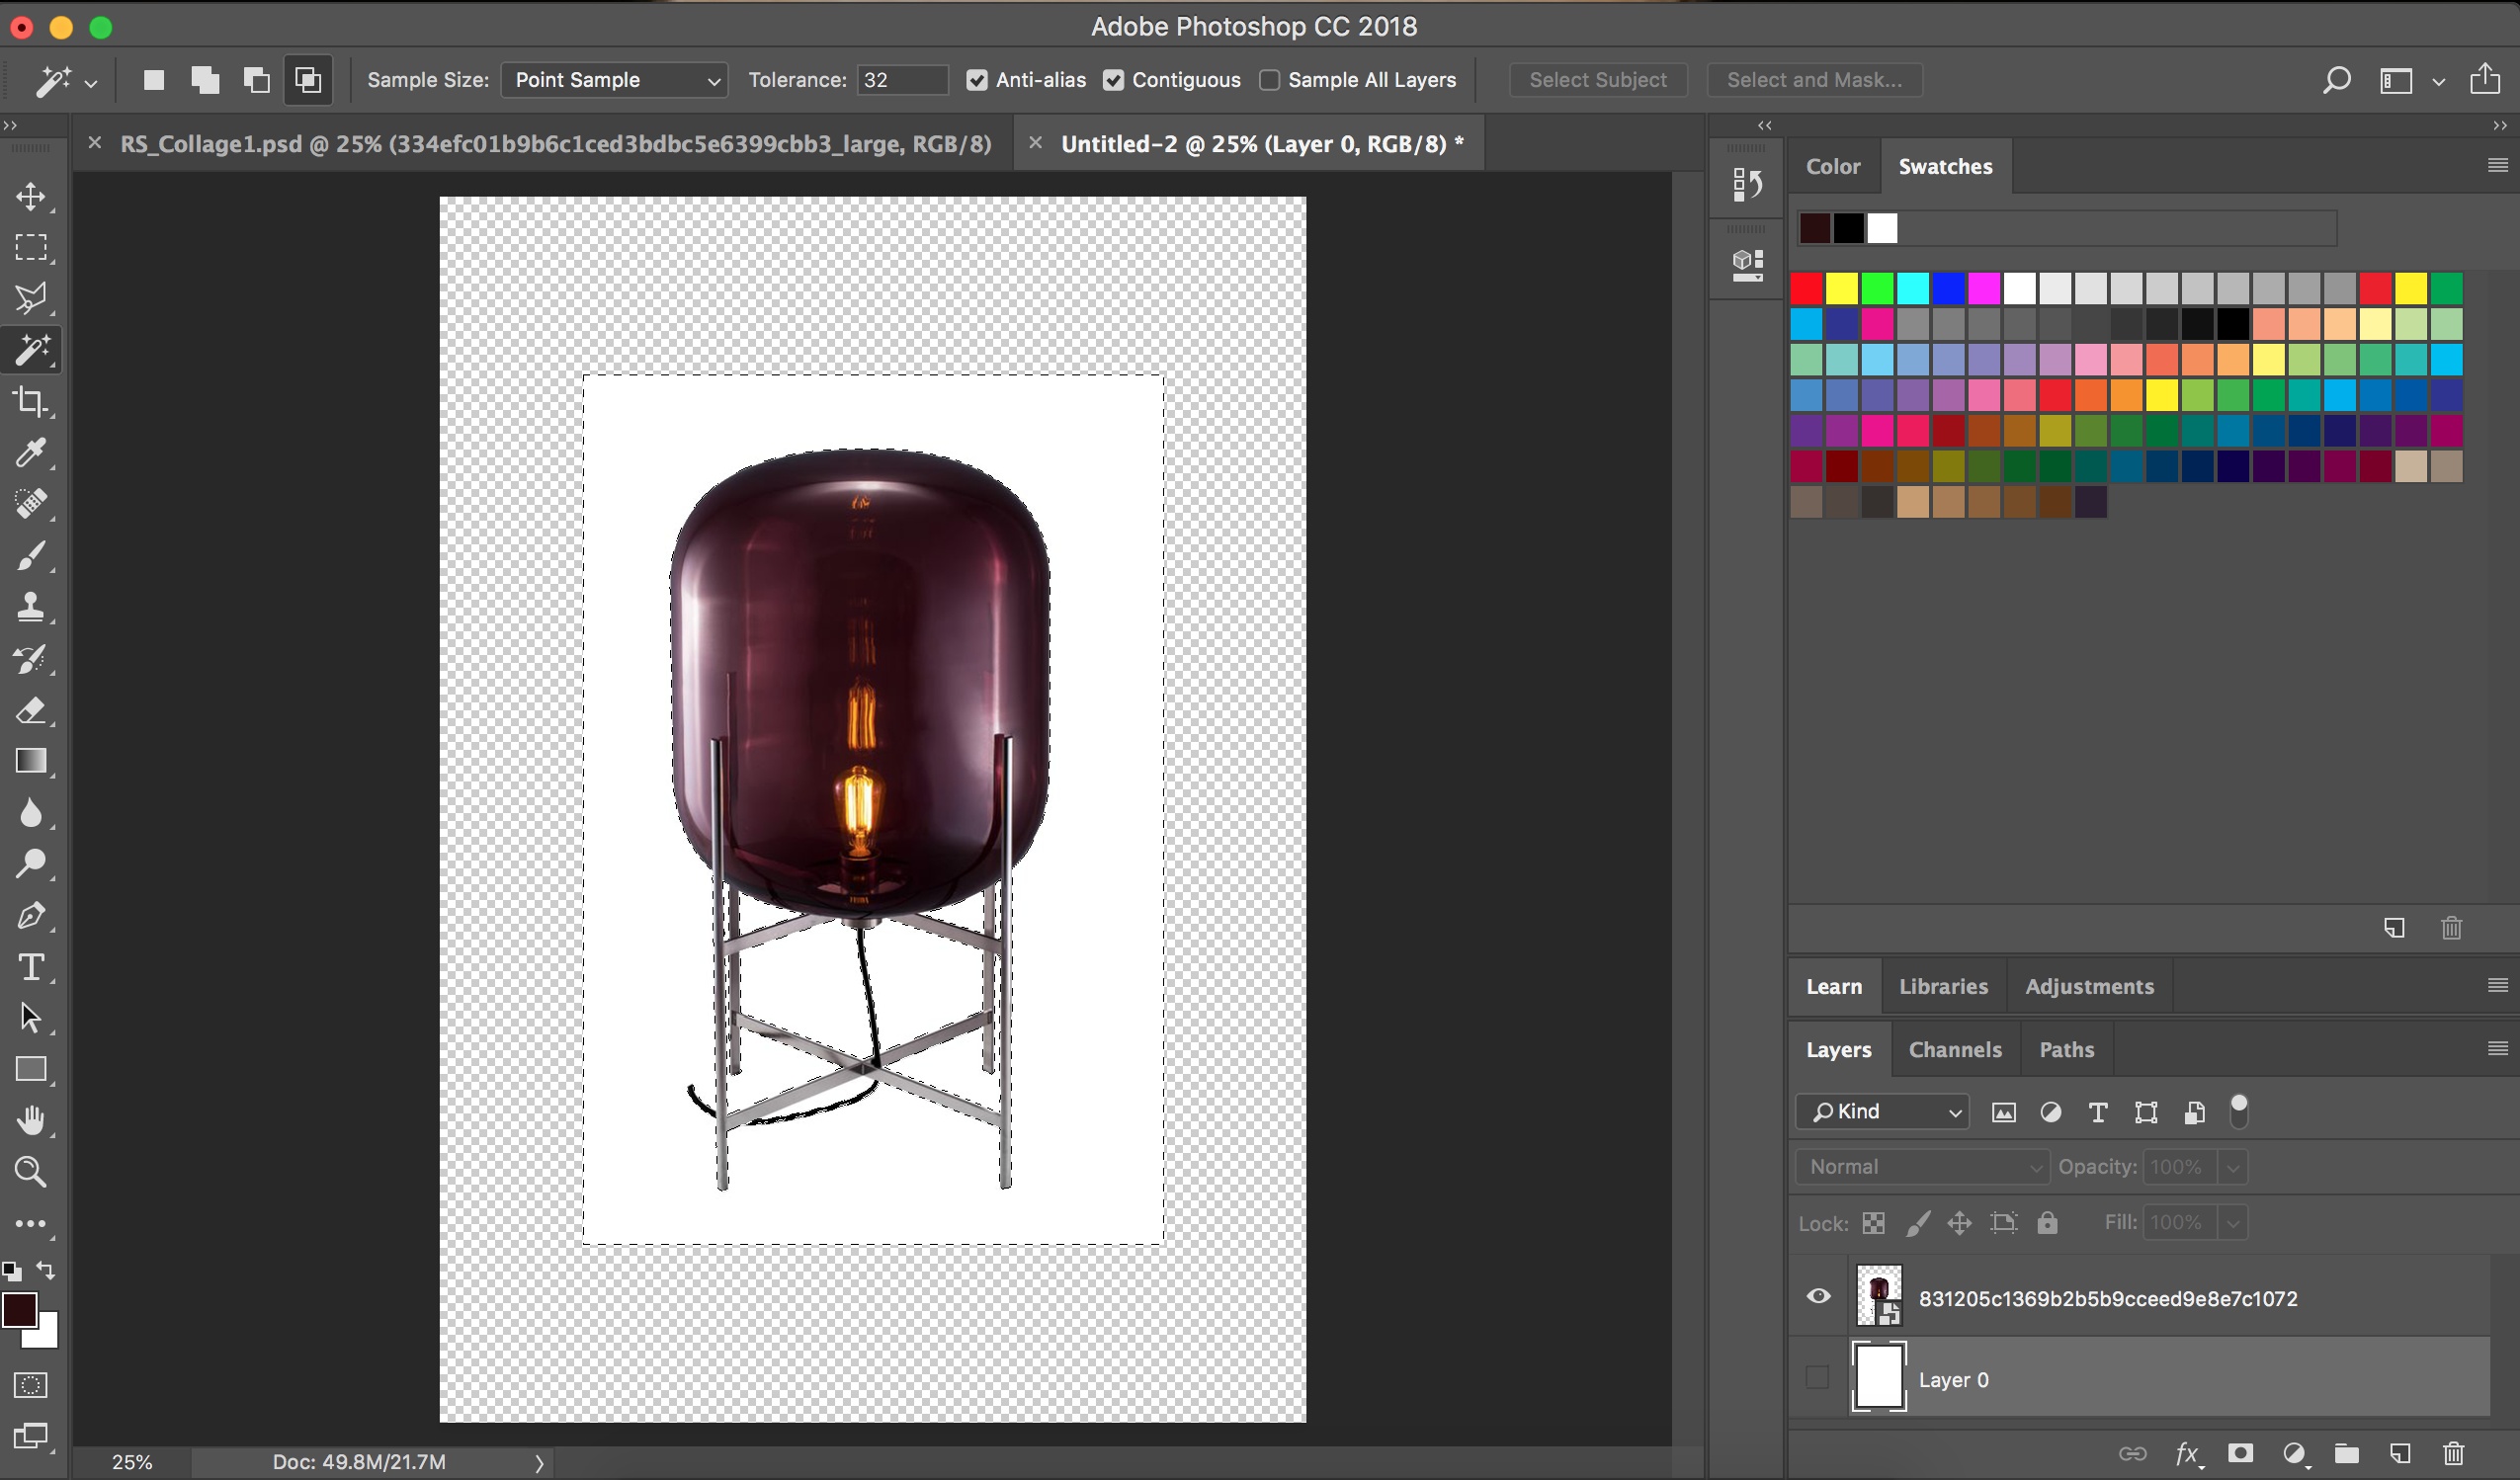
Great Turned off the Lock and Visibility. However, my image still has a white boarder, I only want the image itself.
I haven't inverted yet or fixed the edge of the pixels. Are you able to help me in this process please?
Copy link to clipboard
Copied
Hi
A couple of principles that may help you
Where a mask is white the pixels on the associated layer will be visible
Where a mask is black the pixels on the associated layer will be hidden, allowing the layer(s) below to show through
So if you make a selection of the object then use - Layer>Layer Mask >Reveal Selection to add a mask
If you make a selection of the background that you want to hide, use Layer >Layer Mask>Hide Selection to add a mask
You can adjust a mask later by clicking on it and painting on the mask with black/white
Dave
Copy link to clipboard
Copied
Hi there, Don't understand at all what your speaking about, Im sorry.
I just want to get rid of the white and just have the product.

Copy link to clipboard
Copied
Hi
If you have a selection of the white just the delete key
Copy link to clipboard
Copied
SRenee wrote
Hi there, Don't understand at all what your speaking about, Im sorry.
I just want to get rid of the white and just have the product.
No problem, we all have to start somewhere ![]() . Take a look here and see if it helps you
. Take a look here and see if it helps you
Use masks to hide layers in Photoshop
Dave
Copy link to clipboard
Copied
I am only new to Photoshop. What does invert the Selection before applying it as a Layer Mask mean?
You apparently selected and masked the white background and not the object.
Copy link to clipboard
Copied
Hi, thank you for helping me. When I started using the magic wand it attached the white boarder around the product. Do I press delete when it attaches?
Copy link to clipboard
Copied
Do I press delete when it attaches?
Using a Layer Mask is sensible in many cases but if you want to mask an object you need to actually mask the object, not the background.
Fortunately the Layer Mask can be edited and inverting it (Image > Adjustments > Invert) can help, leaving the issue of the white spaces on the edges.
Copy link to clipboard
Copied
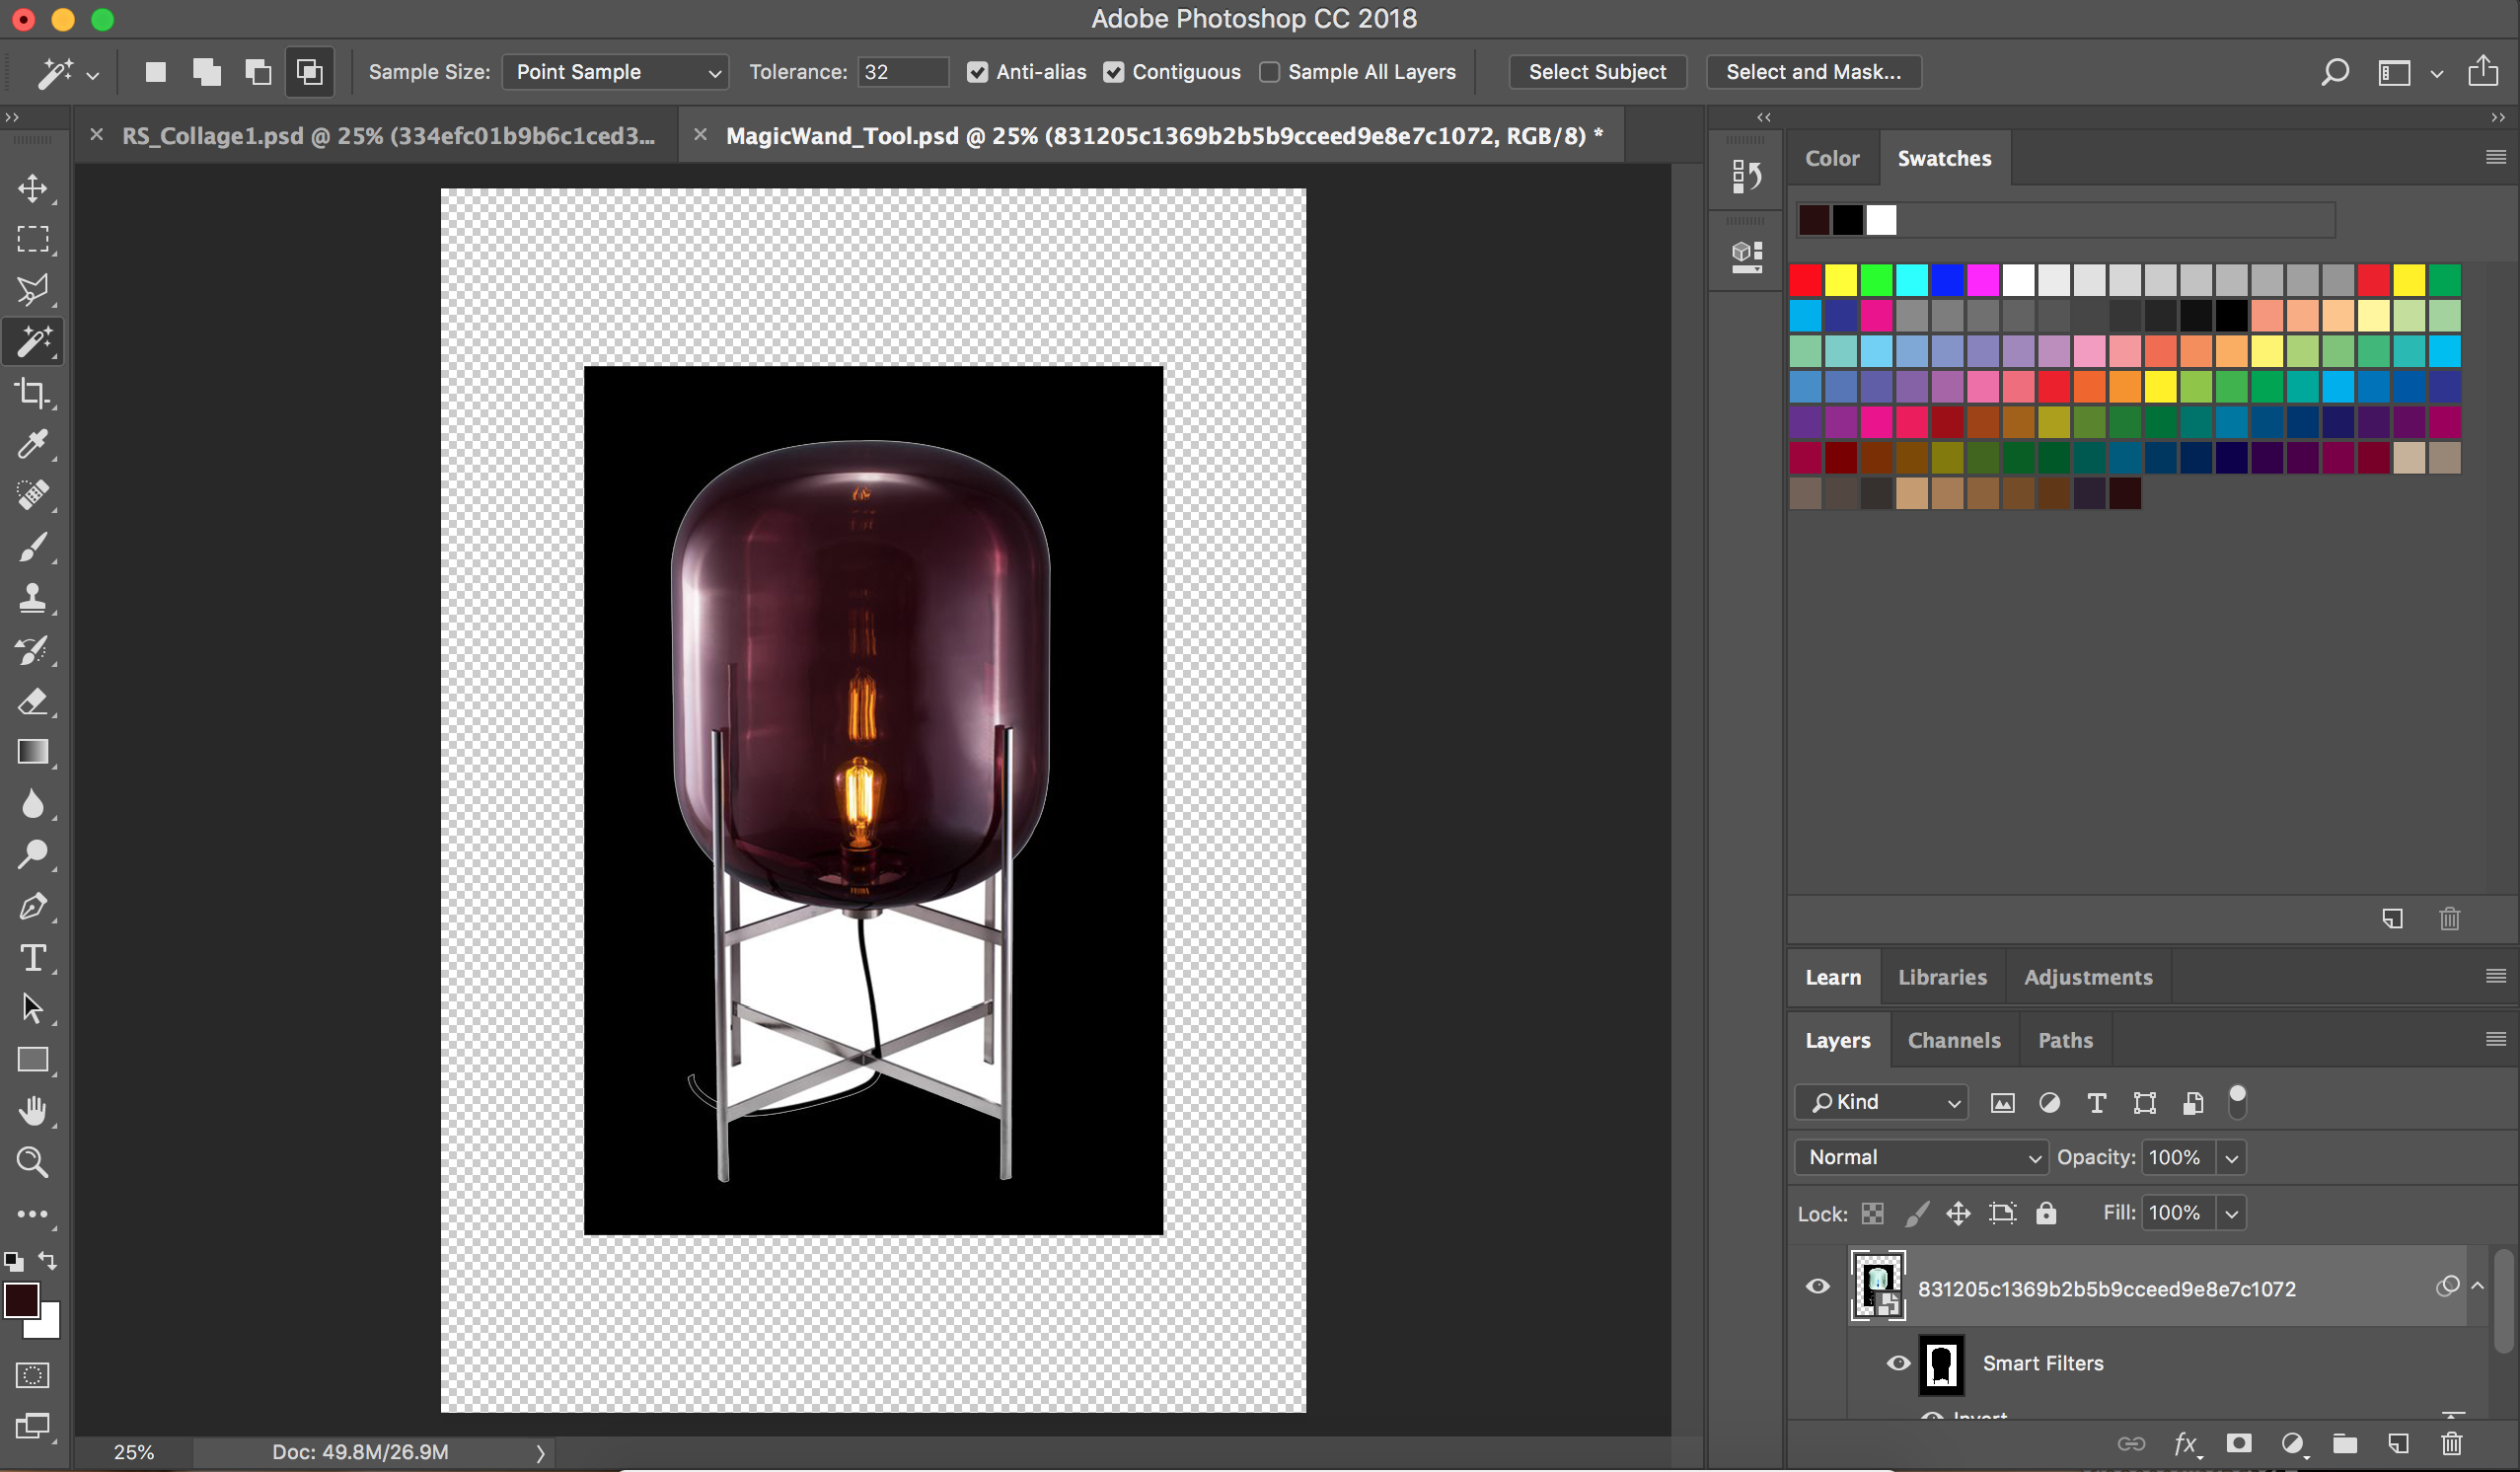
Image Adjustments Invert. This is the result. Not what I am looking for... I just need all checkered including between the lLights legs. Any ideas?

Copy link to clipboard
Copied
Hi
Can you post the original image
Copy link to clipboard
Copied
Image Adjustments Invert. This is the result. Not what I am looking for...
You did not do what I told you.
You applied the Invert to the Layer with a Selection instead of inverting the Layer Mask as shown in your previously posted screenshot.
Copy link to clipboard
Copied
When you have the Layer Mask as before alt-click its icon in the Layers Panel – then the Layer Mask should be the selected on only visible Channel (see Channels Panel).
Then apply the Invert.
Or paint with white to show and black to hide the Layer the Layer Mask applies to.
Or do whatever is necessary to get the result you want to achieve.
Copy link to clipboard
Copied
I am sorry I have not a clue what your talking about. I am only very new to Photoshop. I might need step by step on this occasion. Are you willing to help me?
Copy link to clipboard
Copied
As before what? Icon what? channel what? I just need the light cut out with no white boarder. No tutorials needed not helping me.
Can I get any help from Adobe over the phone?

Copy link to clipboard
Copied
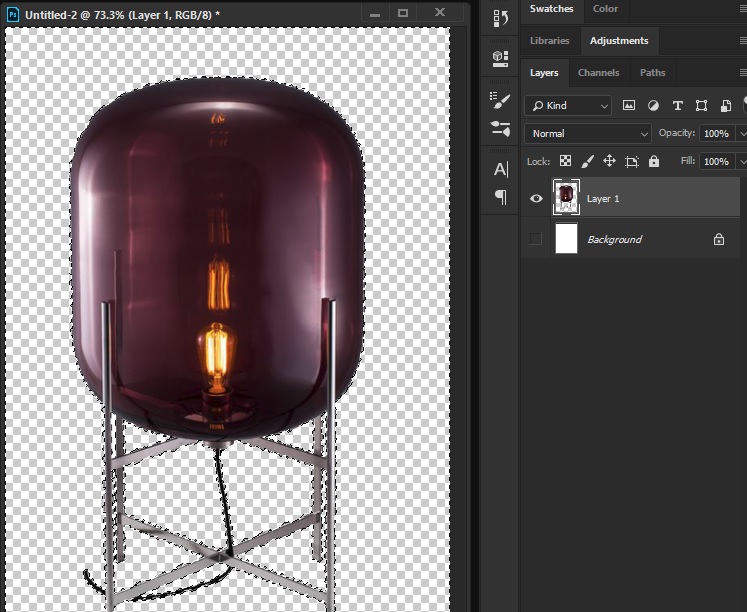
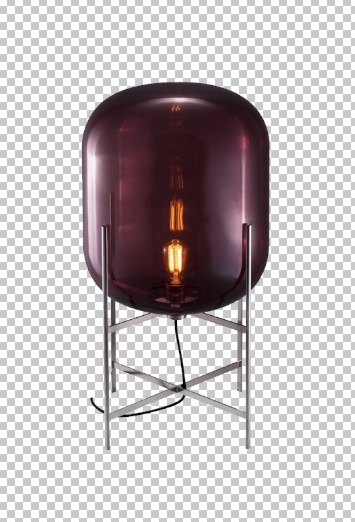
Like this
-
- 1
- 2
Find more inspiration, events, and resources on the new Adobe Community
Explore Now