Exit
  • Global community
    • Language:
      • Deutsch
      • English
      • Español
      • Français
      • Português
  • 日本語コミュニティ
  • 한국 커뮤니티
1

Emulating large screen TV pixelation

Contributor ,
Aug 14, 2024 Aug 14, 2024

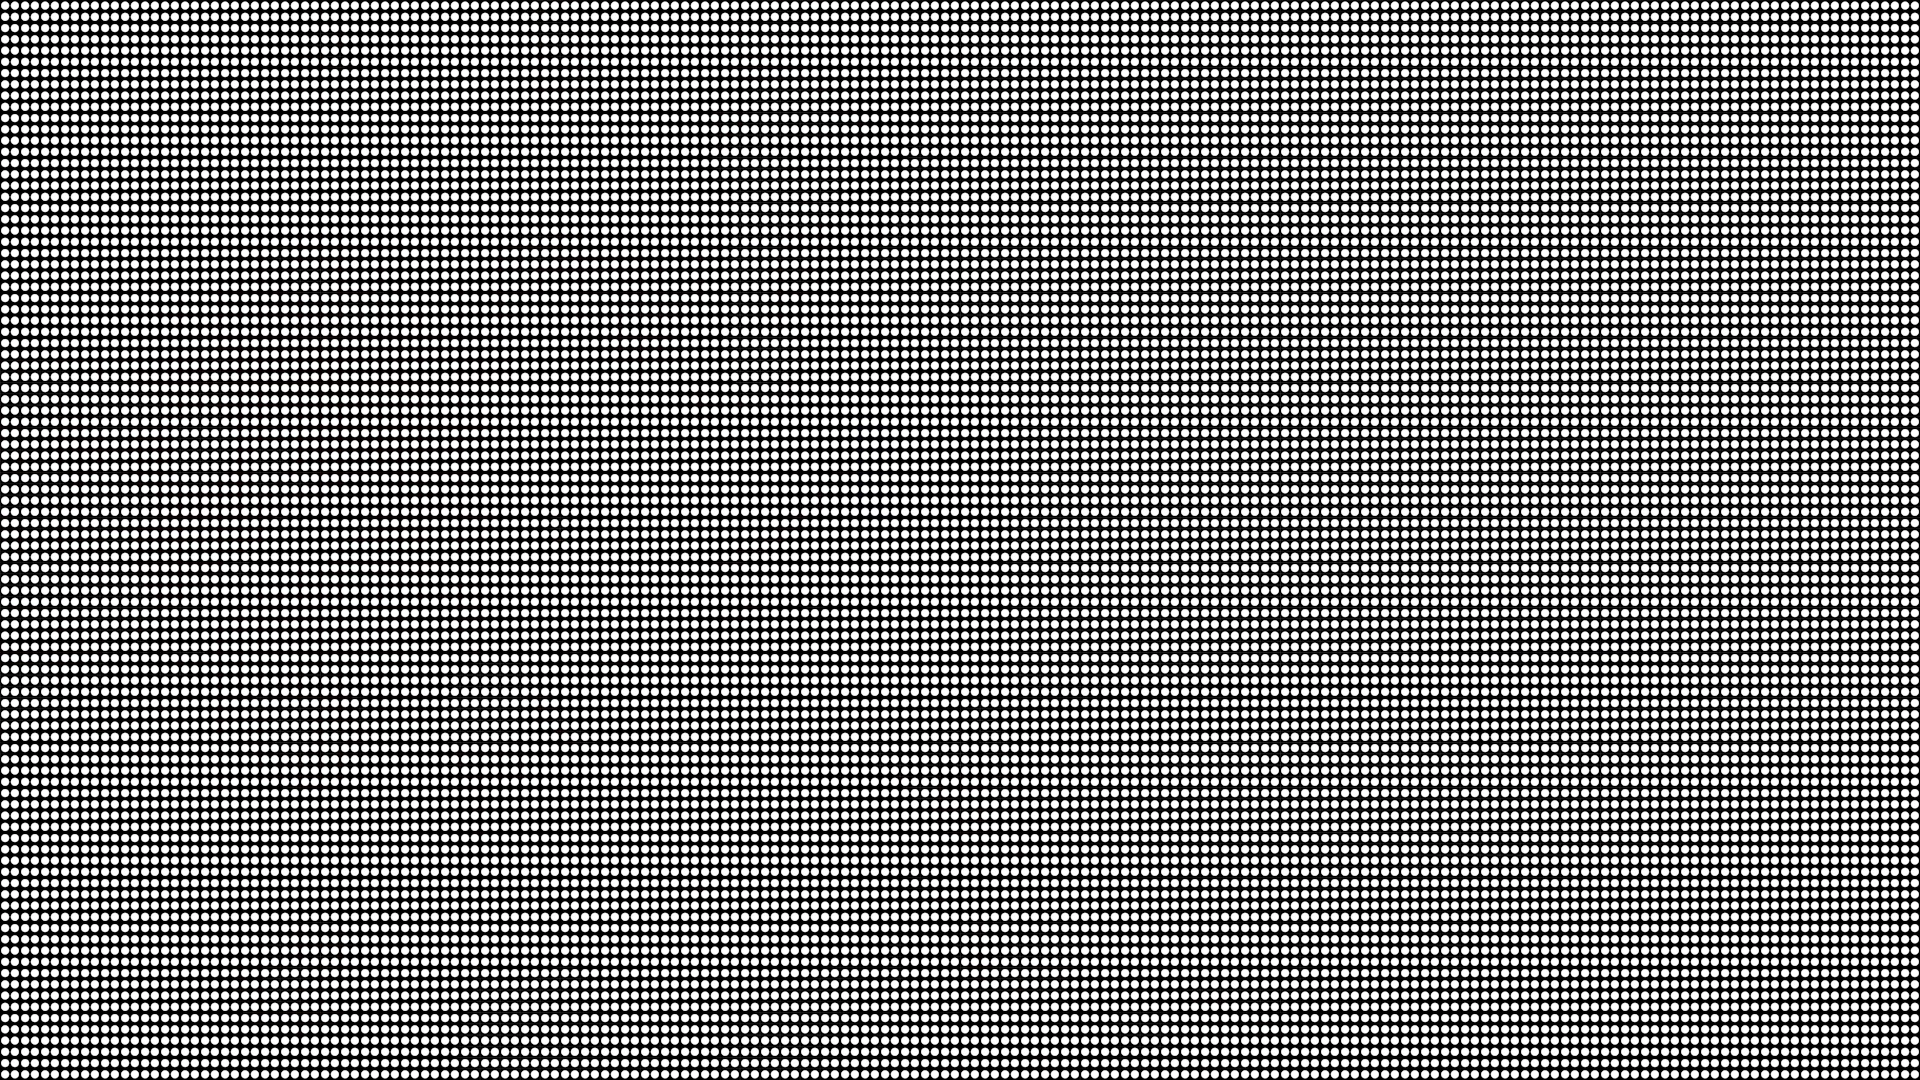
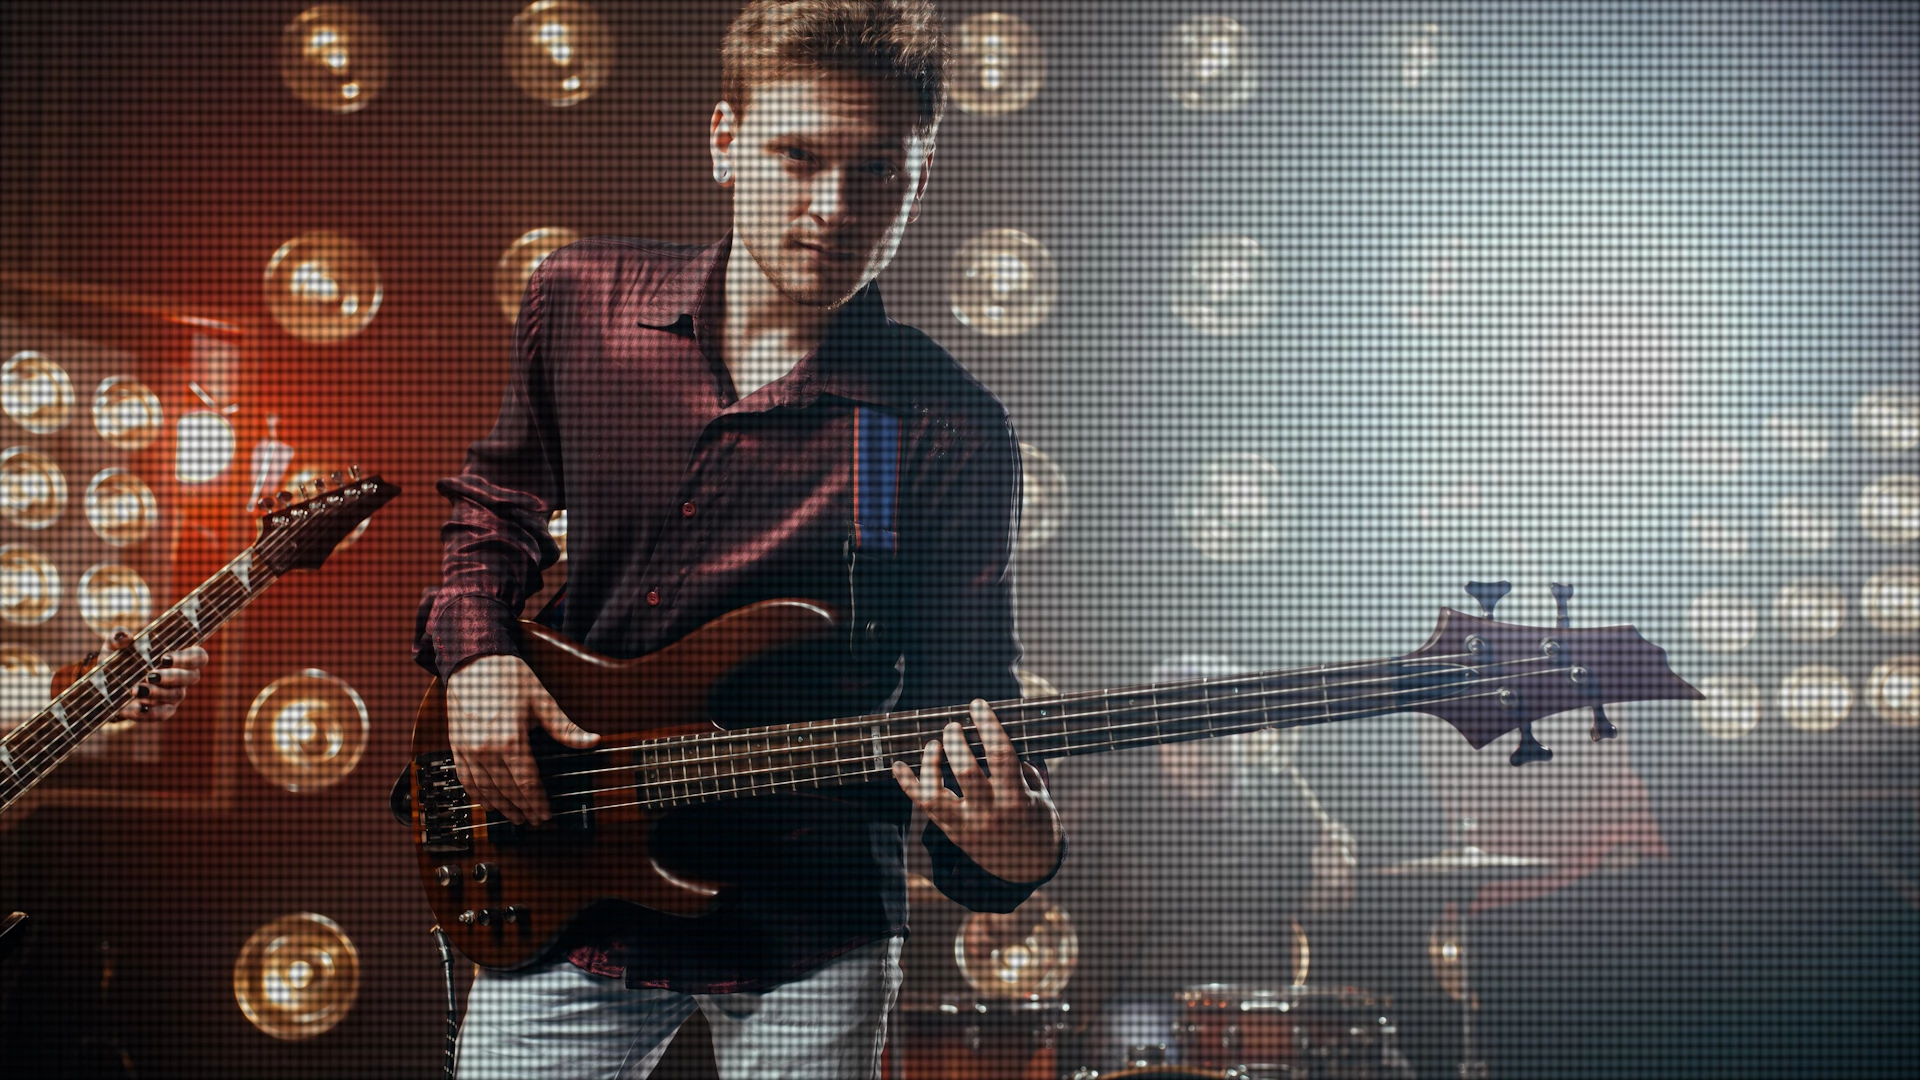
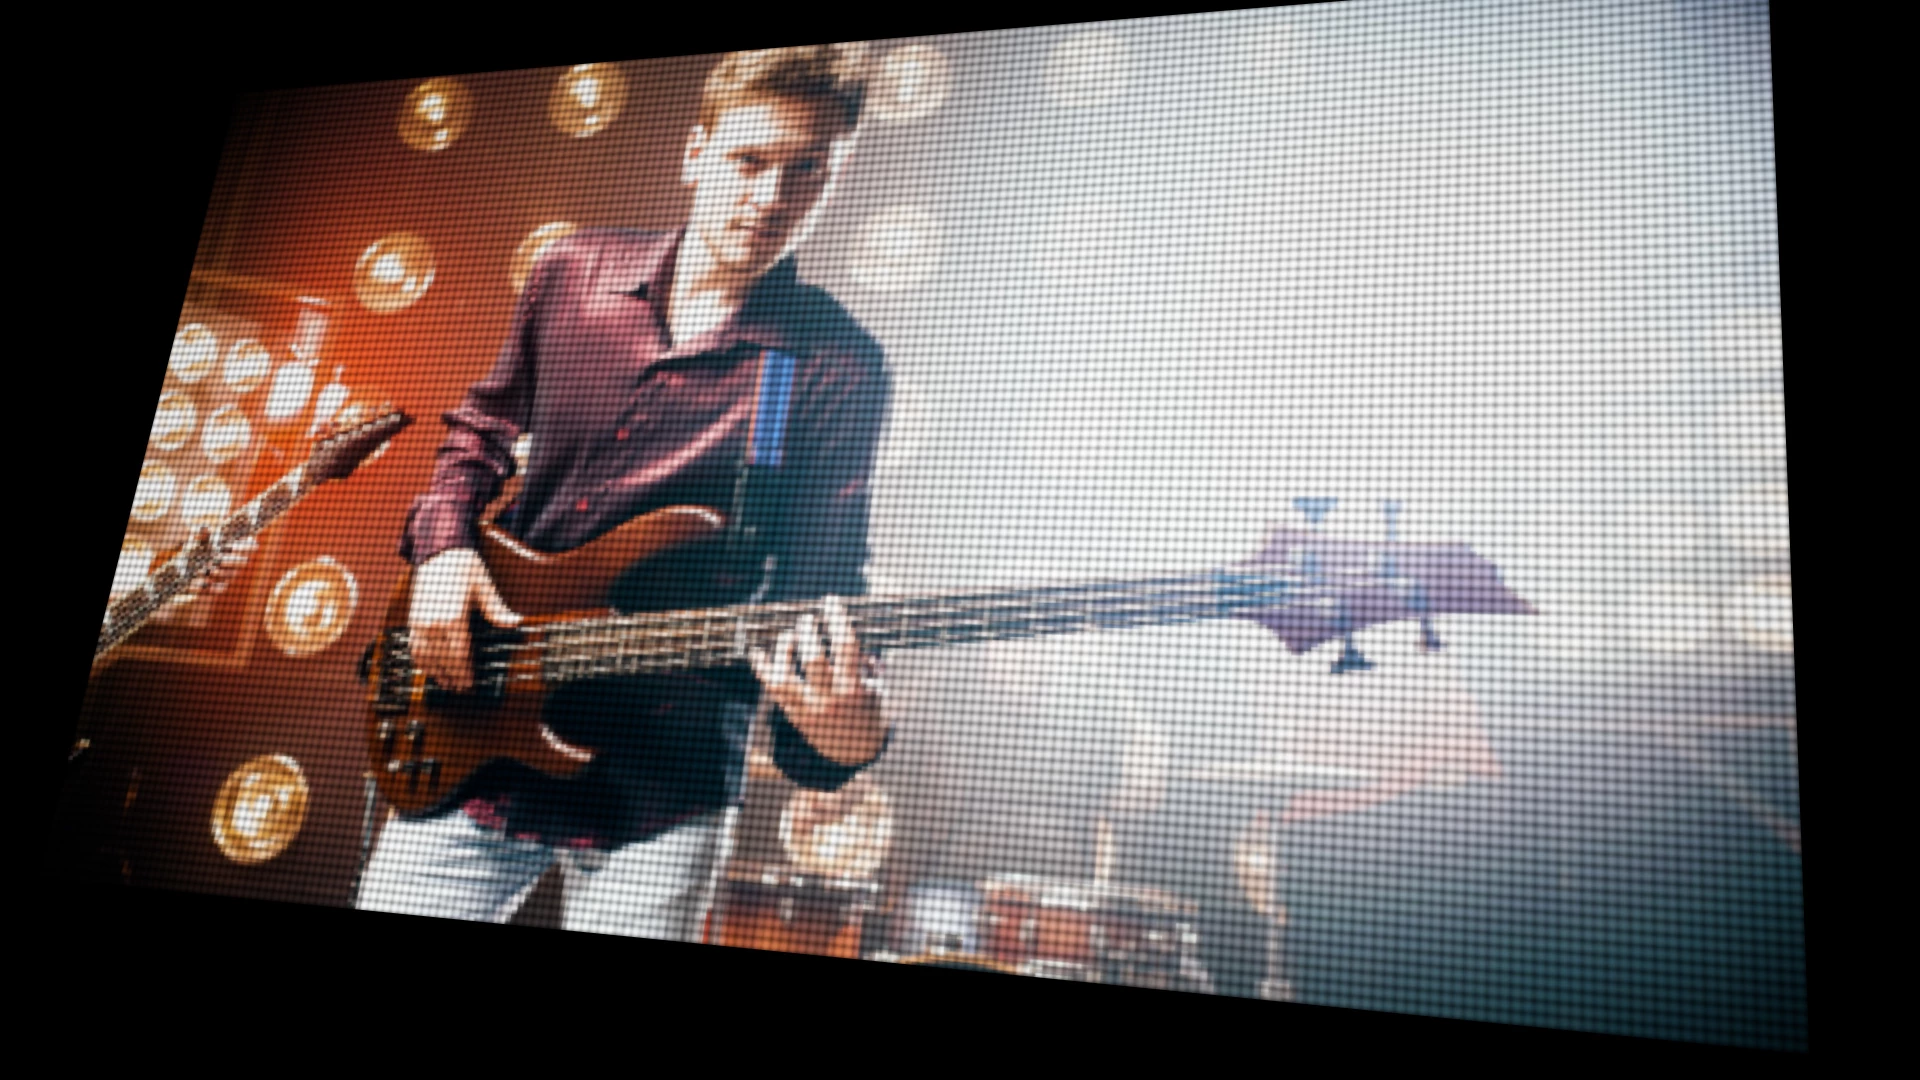
I'm working on a project, where I need to take a video animation I created, and make it look like it is playing on a giant 16' x 9' screen behind a band playing live music at a concert. The camera angle in my scene will be about 15' from the video wall, and for realism the screen would ideally display the sort of subtle pixelation you see when video is displayed on a large screen.  Are there any tricks I can do to make the footage have realistic video screen pixelation? I want it to be subtle. Any ideas are appreciated.


Just for clarity, I've already filmed the band playing against a green screen, and I will be compositing the video animation behind them.

TOPICS
Effects and Titles , How to
1.5K
Translate
Report
Community guidelines
Be kind and respectful, give credit to the original source of content, and search for duplicates before posting. Learn more
community guidelines

correct answers 1 Correct answer

Community Expert , Aug 15, 2024 Aug 15, 2024

Here’s how I would emulate a large screen TV pixelation effect in Premiere Pro:

Add LED Dots:

  1. Create a new sequence.
  2. Go to Graphics and Titles > New Layer > Rectangle.
  3. Set its color to black and resize it to fill the screen.
  4. Go to Graphics and Titles > New Layer > Ellipse.
  5. Set its color to white, and set its Height (H) to match the Width (W).
  6. Add the Mirror effect to the Essential Graphics panel.
  7. In the Effect Controls, find the effect and set its Reflection Center to half the sequence width (e
...
Translate
Community Expert ,
Aug 15, 2024 Aug 15, 2024

Here’s how I would emulate a large screen TV pixelation effect in Premiere Pro:

Add LED Dots:

  1. Create a new sequence.
  2. Go to Graphics and Titles > New Layer > Rectangle.
  3. Set its color to black and resize it to fill the screen.
  4. Go to Graphics and Titles > New Layer > Ellipse.
  5. Set its color to white, and set its Height (H) to match the Width (W).
  6. Add the Mirror effect to the Essential Graphics panel.
  7. In the Effect Controls, find the effect and set its Reflection Center to half the sequence width (e.g., if your sequence is 1920 wide, set it to 960).
  8. Drag the ellipse to the left and scale it up. You want two circles that are the same distance apart and fill the screen.
    Nested Sequence 01.00_00_05_02.Still001.jpg
  9. Add the Replicate effect above this, and increase its count to 16 (the maximum).
  10. Add another Replicate effect, and increase the count until you’re happy with the number of dots.
    Nested Sequence 01.00_00_14_18.Still002.jpg
  11. Add a Gaussian Blur effect to make the dots less sharp.
  12. Add your animation footage to the track below this graphic
  13. Select the graphic clip, go to the Effect Controls, expand the Opacity settings and set the Blend Mode to Multiply. You may want to experiment with other blend modes like Color Burn, Overlay and Soft Light. 

    Nested Sequence 01.00_00_15_22.Still006.jpg


     Stylize the Footage:


  1. Select the animation clip.
  2. Add the Mosaic effect to your clip.
  3. Set the Horizontal and Vertical Blocks to about 250 to make it pixelated.
  4. In the Lumetri panel, add a vignette and increase the exposure and contrast.
  5. Add an Adjustment Layer above the animation and the graphic.
  6. Add a Gaussian Blur with a Blurriness around 5.
  7. Set the Opacity Blend Mode to Screen (this will make the dots seems like they're glowing)

    Nested Sequence 01.00_00_16_22.Still008.jpg


Make the Screen 3D:

  1. Nest these clips together.
  2. Add the Basic 3D effect.
  3. Adjust the Swivel, Tilt, and Distance to Image to achieve the desired look.

     Sequence 02.00_00_07_00.Still003.jpg


Translate
Report
Community guidelines
Be kind and respectful, give credit to the original source of content, and search for duplicates before posting. Learn more
community guidelines
Explorer ,
Dec 06, 2024 Dec 06, 2024

Why did you get rid of the grid effect? I only used it a couple of months ago. Was the easiest way to do this same effect. Now Adobe's made it way too complicated and inconvenient. I'm so pissed.

Translate
Report
Community guidelines
Be kind and respectful, give credit to the original source of content, and search for duplicates before posting. Learn more
community guidelines
Explorer ,
Dec 13, 2024 Dec 13, 2024

And this solution didn't work for me. 

Translate
Report
Community guidelines
Be kind and respectful, give credit to the original source of content, and search for duplicates before posting. Learn more
community guidelines
New Here ,
Dec 22, 2024 Dec 22, 2024
LATEST

THANK YOU PAUL! I'm bummed the grid effect is gone but this works pretty well as an alternative and your stylization suggestions compliment the effect well.

Translate
Report
Community guidelines
Be kind and respectful, give credit to the original source of content, and search for duplicates before posting. Learn more
community guidelines