Copy link to clipboard
Copied
Hi all,
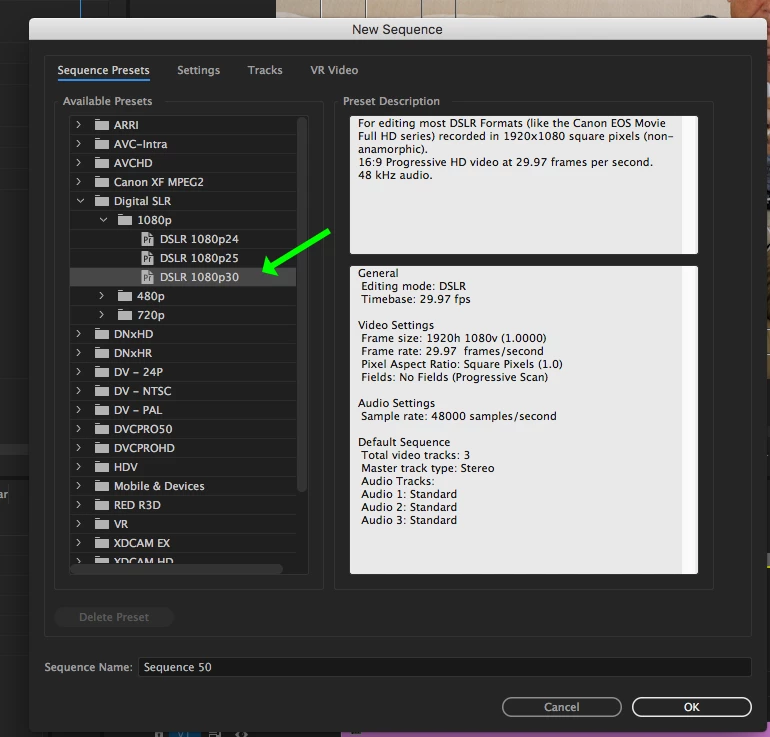
Today I took my first stab at creating a time-lapse video from still photos in Premiere Pro. I followed a tutorial which had me batch edit the photos (150 shots, to be exact) in Lightroom. I then imported them into Premiere and created a new sequence (0 clip overlap, 1 frame per still), but the video exported extremely choppy:
Does anybody know what happened and how I can correct it?
Thanks,
Chris
As a test, go to the menu File > Sequence.
When the New Sequence Settings pane opens, choose DSLR 1080p and click OK.
When the new (empty) timeline opens, drag your still images to the timeline. If you are prompted to match the sequence settings to the source properties, say no.
Your images may not fill frame completely - there may be black areas on the sides of the images - don't worry about this now.
Render the timeline. Does it playback smoothly now?
Export the timeline using the Format: H.264 You
...Copy link to clipboard
Copied
I think to get a proper time lapse, you need to shoot it that way. Did you?
Copy link to clipboard
Copied
Thanks for the response, Jim. Yes– I used the Time Lapse app that is built into my Sony a7ii. It was set up to take 150 shots at a 3 second interval.
Copy link to clipboard
Copied
Is the problem only in the export, or does it also do that when playing back the sequence?
Can you post a screen shot of your export settings summary, like this example below:
MtD
Copy link to clipboard
Copied
It's an error in the Sequence Playback, as well. However, it seems more like a lag with the playback, rather than the type of choppieness I'm seeing in the exported file.
Please see below for my export settings:
Copy link to clipboard
Copied
So what exactly did you do in Lightroom?
Copy link to clipboard
Copied
Basic color correction (i.e. white balance, adjust the whites/blacks, clarity, etc.) I then outputted the entire batch at jpeg and then imported into Premiere.
Copy link to clipboard
Copied
There are a number of issues here.
In order to determine what the best sequence and export settings will be, what do intend to do with the exported file once it is exported? Post it on the web? Burn it to disc?
MtD
Copy link to clipboard
Copied
This was just a test for my first time, but ultimately I'd be posting to web (i.e. Instagram, Facebook)
Copy link to clipboard
Copied
As a test, go to the menu File > Sequence.
When the New Sequence Settings pane opens, choose DSLR 1080p and click OK.
When the new (empty) timeline opens, drag your still images to the timeline. If you are prompted to match the sequence settings to the source properties, say no.
Your images may not fill frame completely - there may be black areas on the sides of the images - don't worry about this now.
Render the timeline. Does it playback smoothly now?
Export the timeline using the Format: H.264 YouTube 1080p Preset.
Does the exported file play smoothly now?
MtD
Copy link to clipboard
Copied
That worked wonderfully in terms of getting the sequence playback and the final export to play smoothly, so thank you!
However, it seems to have zoomed in on the video. Maybe this is a newbie question, but how do I adjust? Thank you so much.
Copy link to clipboard
Copied
Go to Preferences > Media and set (if it is not already) Default Media Scaling to Set to Frame Size:
Now make a new empty sequence as you did before, Drag the stills to the timeline.
Move the playhead to the first still in the timeline to select it (you will likely have to zoom in on the timeline to confirm it is selected) and once selected go to the Effect Controls panel and adjust the Scale and Portion until it fills frame as you wish. Once you have that set as you want, with the first still still selected, type Command (Control) + C to copy it.
Now select the reaming clips on the timeline ( a quick way is to Select All the clips, then holding the Command (Control) key down, click on the first clip to de-select it. Once the remains stills are selected go to the menu Edit > Paste Attributes and when the Past Attributes window opens, make sure Motion is checked and click OK.
Now all the clips in the timeline should have the same scale and position. Re-render to view, then export.
MtD
Copy link to clipboard
Copied
You were immensely helpful. I really appreciate all your quick and thorough responses!
Find more inspiration, events, and resources on the new Adobe Community
Explore Now