- Home
- Photoshop ecosystem
- Discussions
- Re: Photoshop needs "Color to Alpha" button
- Re: Photoshop needs "Color to Alpha" button
Copy link to clipboard
Copied
I was just chatting with a group of other artists about the need to convert a color into transparency sometimes, and we've all needed such a function, then somebody said that in GIMP there's just a simple button for it, "Color to Alpha." It does exactly what we need and very easily. In Photshop this is possible but very cumbersome, having to use the channels to make a selection, then apply a mask.
Googling leads to 10 year old articles and people recommending plugins. But yeah, I'd just like to suggest this as an official feature request.
You know how in Photoshop you can use Replace Color? And you can pick a color, and vary the fuzziness of the selection, then change the color to something else? It would be just like that I imagine, but instead of changing the color, you increase the opacity of those pixels.
 2 Correct answers
Thanks for the sample.
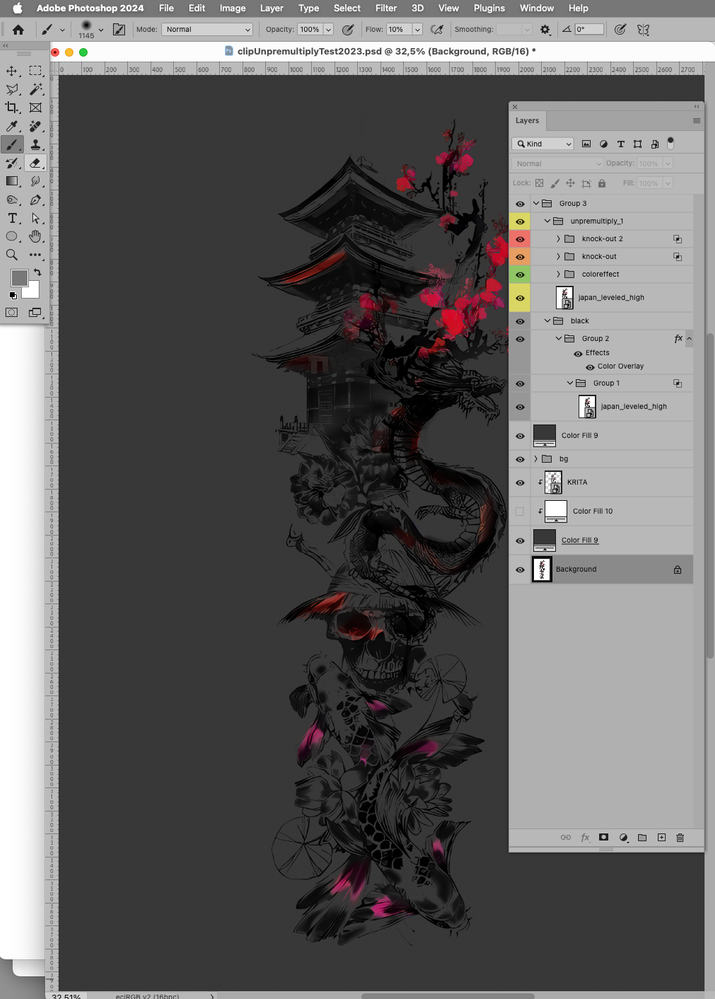
There is a technique to (more-or-less) unpremultiply colors in Photoshop which in this case would leave the neutral elements problematic, but with a saturation mask one can circumvent that to some extent.
As this can be done with Smart Objects one could easily switch in other images but keeping the file at hand is certainly less handy than a plain menu command.
Alexander,
Here's an action that works on your particular image and other images that you want to remove the black or white background from.
http://www.ayatoweb.com/download/down04.html
google translated
The page is in Japanese, however, the action that still seems to work in photoshop 2024 is the
Photoshop Action File for MacOSX・Windows(Photoshop CS5・CS6)that incl
...Explore related tutorials & articles
Copy link to clipboard
Copied
You can post your feature request here: https://feedback.photoshop.com/photoshop_family
Copy link to clipboard
Copied
This is a very sensible request on the face of it. The problem is that Select > Color Range already does it. The output is a selection, not a mask. But all you have to do is click the mask button.
Generally, "new" features that only combine existing ones get low priority. That's just my experience, not my opinion.
In short...well, maybe it might be worth it. Whether it actually happens depends on the marketing value.
Copy link to clipboard
Copied
Whoooa, what? I didnt know this tool existed! This is exactly what I needed! This is SO much easier than fiddling with channels and layer masks. Thank you!
Copy link to clipboard
Copied
HI i know its 3 years later but im just wondering why photoshop doesnt have this feature and im also not understanding why so many people dont understand the propblem at hand.
Photoshops Seletc > Colour Range does not do the same thing as Gimps or Kritas Colour to Alpha
Kritas Colour to Alpha Filter basicly blends your selected colour with a transparent background wich is essential if you want to extract images with float tarnsparent values in some areas.
Photoshops Colour Range select just gives u a flat selection of an area.
This is not the same by far and im suprised why the quote on quote "Best Photoediting program" where u have to pay 25€ a month for doesnt have this.
If some dev or support is reading thsi and still doesnt know the difference pls go ahead.
Draw a simply point on a white background with a soft brush.
Now go into krita Filter > Colours > Colour to Alpha and save the image
Now go into photohsop and do your Select > Colour Range and copy your selction ona transparent background, save the image
Spot the difference.
Copy link to clipboard
Copied
I completely agree at face value someone may feel that its the same but it's not.
With color to alpha, you can preview the change in a much better method once you have selected all the areas you want. It allows you to blend seamlessly with the background BECAUSE you aren't using a mask. Something with a white or black outline still tends to take too much time to blend in photoshop with color range.
It's the number one feature that always has me crawling back to gimp when I need to create a moveable logo from existing artwork. Which comes up if someone wants you to use existing logos, symbols, or artwork in a new image.
It shows that the person who answered isn't as familiar with how color to alpha is implemented and its various uses. Having a mask obscures the image.
Copy link to clipboard
Copied
Could you pleas epost meaningul screenshots/files to illustrate how the feature works in those other applications?
Copy link to clipboard
Copied
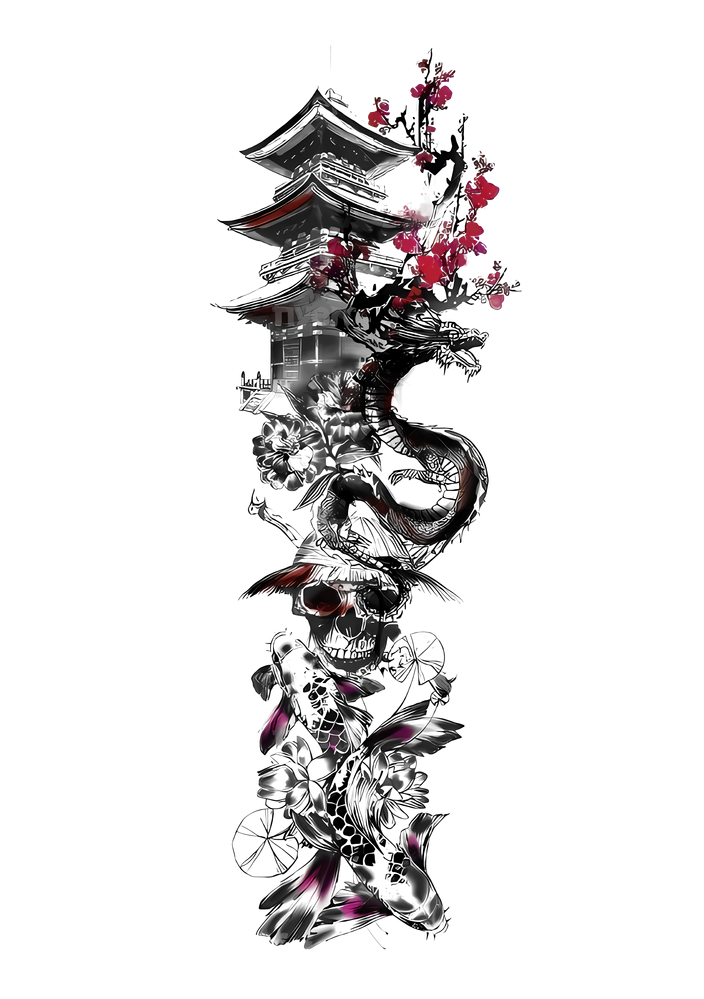
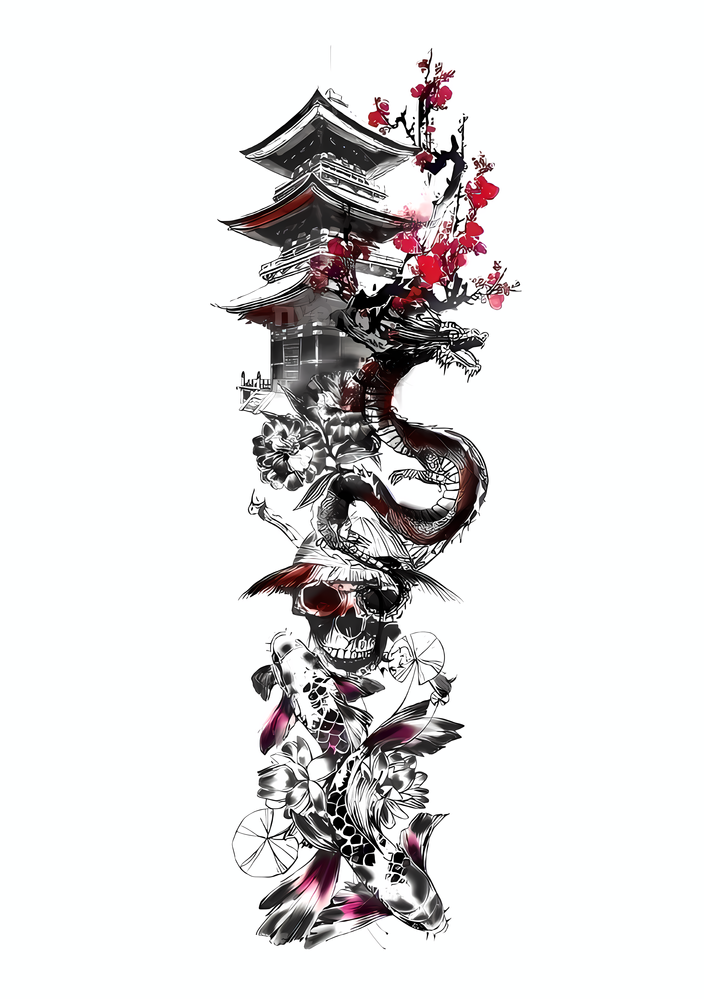
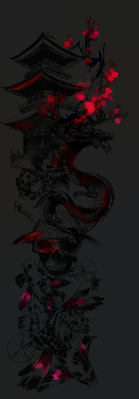
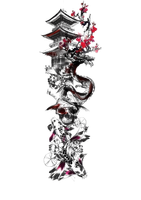
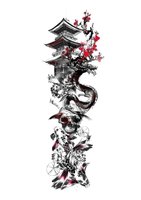
Lets say you have an image like a Tattoo on a white background.
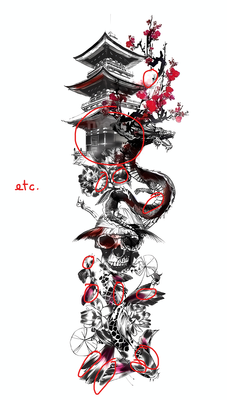
Now u want to remove the background and make it transparent. U can see in the image that it has a lot of spots where the colour fades out. If we would use this as a multiply layer ontop of something else, it would be fine, but if we want it to be transparent Photoshop doesnt have the option to calculate this. We can only select a colour range, but not "blend it on top of a transaprent background"
For clarification, i have highlighted the spots in question here.
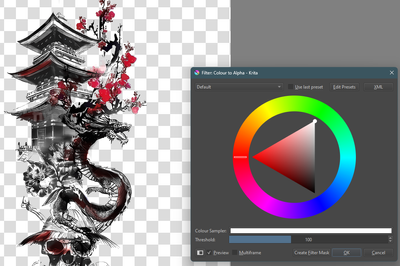
So to turn this now into a Transparent image with all the values matching the correct alpha value we can use something called "Color to Alpha" on programs like Gimp or Krita. I will use Krita in this example.
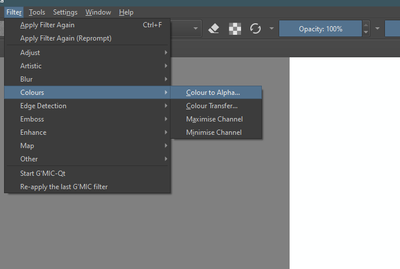
Simply open the file in Krita, go to Filtter > Colours > Colour to Alpha. This will open a new window where we now can choose the Colour to convert to alpha and also the threshhold. For this example the default values of White and 100 is perfect for our needed result, assuming that the background is really White, to ensure this i would recommend to adjust the levels of the image first.
As you can see this will make our image Transparent. From my understanding it dynamicly looks at a colour value and figours out how much of our Selected colour is in their and copys this value over to teh alpha channel.
For a better understanding i will now use the Colour Range option in Photoshop to try to achive the same result.
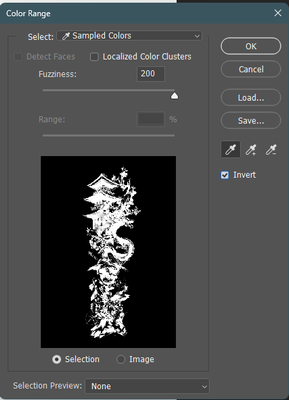
For this i will open the image in PS and go to Select > Colour Range
I put the Fuzziness to 200 (Personal Preference) and select the white background. I also make sure that Invert is selected as i dont want to select the white part, i wont to select everytihng that is NOT the white part.
After this i will cut and paste the selection as a new layer and delete the original.
Edit: In the process of doing this im noticing that in the actual preview of the image within PS, it seems to have actually set half transparent values. However as u will see just in a sec, it doesnt seem to transfer over to the exported png.
After this im going to File > Quick Export as png.
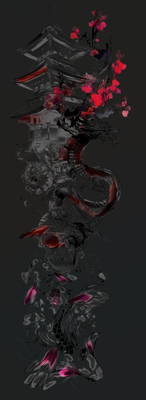
To better demonstrate this i will put both results infront of a lightgrey background, as it is ezier to see the difference their.
PS
Krita
Edit: After even more testing i noticed that indeed the PS version does have half transparent values. However, it doesnt seem to properly fillter out the white tone. As u can see in the results. The Krita version is cleaner and has more contrast, while the ps version still has a lot of white in it. I believe the only reason for the PS version even having half transparent values is because of the fuzzyness, wich is not the same. From my understanding the fuzzyness only blends the edges of the selection. A Fuzzyness of 0 will result in no half transparent values and only a flat selection.
As you can see in the result both methods calculate and work very different and also, imo, have totally different usecases. As someone that likes to keep as much of his pipeline in as few programs as possible, i would appreciate such a feature in PS. I will also append both images down here.
Thank you for reading and i wish you merry christmas.
Copy link to clipboard
Copied
Thanks for the sample.
There is a technique to (more-or-less) unpremultiply colors in Photoshop which in this case would leave the neutral elements problematic, but with a saturation mask one can circumvent that to some extent.
As this can be done with Smart Objects one could easily switch in other images but keeping the file at hand is certainly less handy than a plain menu command.
Copy link to clipboard
Copied
Thx for the fast reply. Its nice to see that it is possible in a relatively "fast" manner, once u have setup the smart object it is. But yes a simple menu option without this workaround would be a nice to have. As is rn i think even knowing that i could achieve it in PS i would still open krita very quick, and alpha out the white values and then going back to PS.
Copy link to clipboard
Copied
As this can be done with Smart Objects one could easily switch in other images but keeping the file at hand is certainly less handy than a plain menu command.
By @c.pfaffenbichler
Any chance of sharing the layered file?
Copy link to clipboard
Copied
"Photoshops Seletc > Colour Range does not do the same thing as Gimps or Kritas Colour to Alpha
Kritas Colour to Alpha Filter basicly blends your selected colour with a transparent background wich is essential if you want to extract images with float tarnsparent values in some areas.
Photoshops Colour Range select just gives u a flat selection of an area.
This is not the same by far and im suprised why the quote on quote "Best Photoediting program" where u have to pay 25€ a month for doesnt have this.
If some dev or support is reading thsi and still doesnt know the difference pls go ahead.
Draw a simply point on a white background with a soft brush.
Now go into krita Filter > Colours > Colour to Alpha and save the image
Now go into photohsop and do your Select > Colour Range and copy your selction ona transparent background, save the image
Spot the difference. "
+99999999999999999999999999999
Copy link to clipboard
Copied
Alexander,
Here's an action that works on your particular image and other images that you want to remove the black or white background from.
http://www.ayatoweb.com/download/down04.html
google translated
The page is in Japanese, however, the action that still seems to work in photoshop 2024 is the
Photoshop Action File for MacOSX・Windows(Photoshop CS5・CS6)that includes an English version
and the action is called Un-Multiply
There is an updated version 2021, but some of the action steps are in Japanese
so the action doesn't work in English photoshop versions.
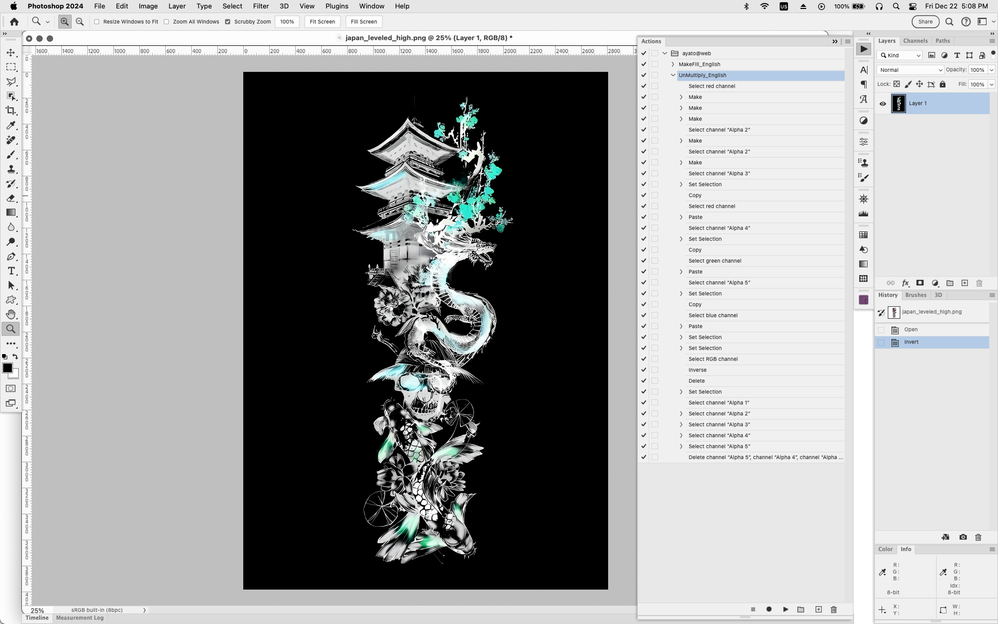
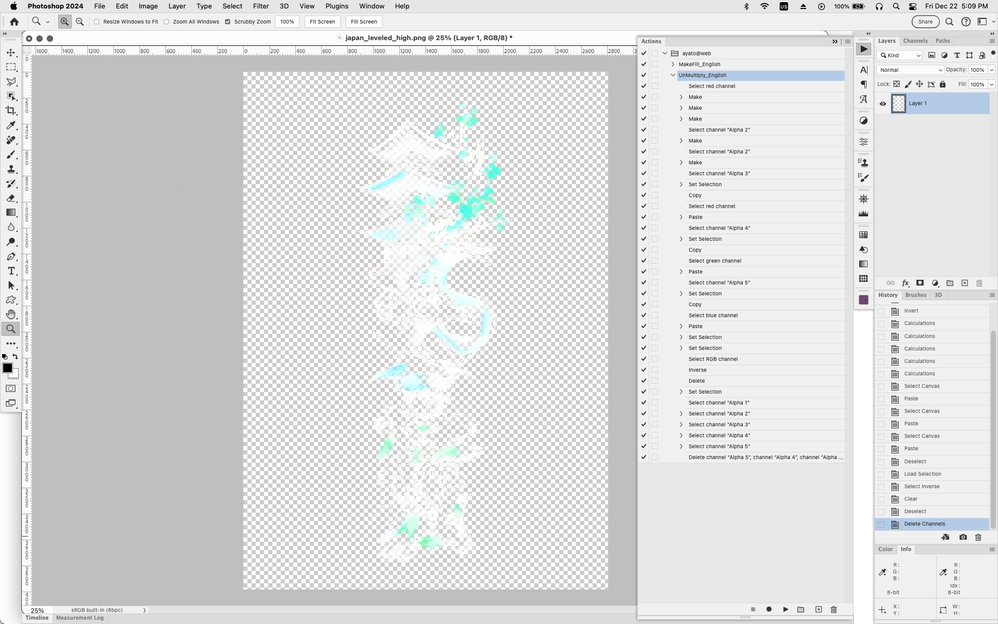
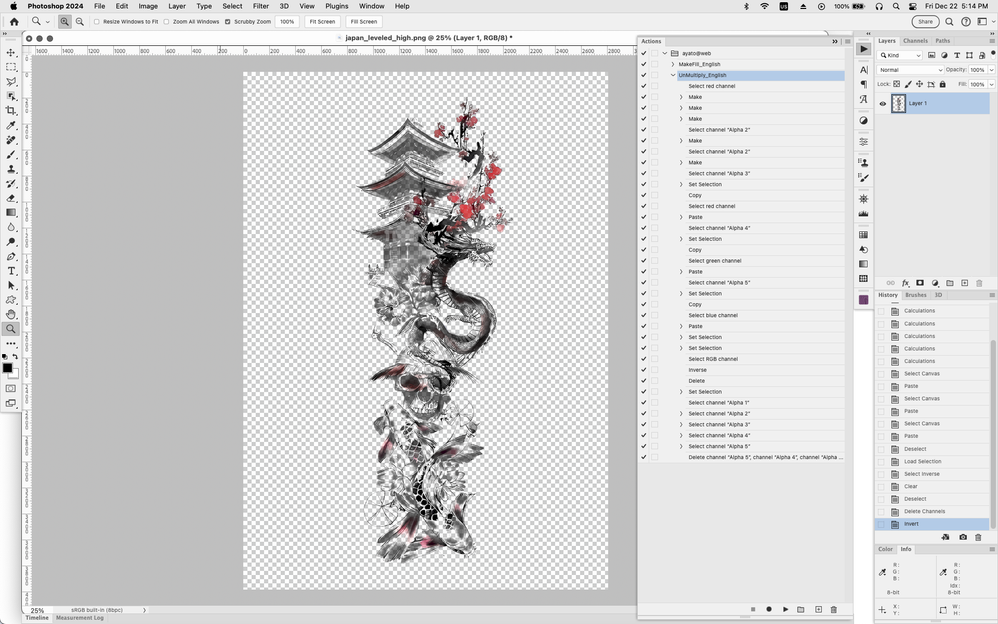
Anyhow, before running the action Un-Multiply on an image such as yours where you want to remove the white, first make sure the layer is a layer and not a Background layer, Invert the image, run the Un-Multiply action, then invert the image again.
Invert image
run Un-Multiply action
Invert image
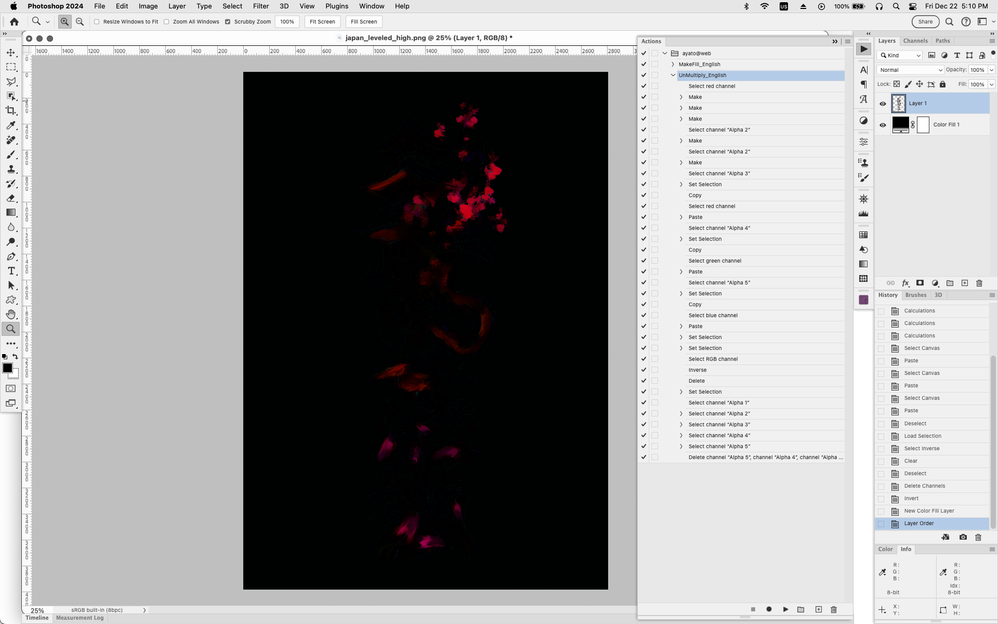
Image on black background
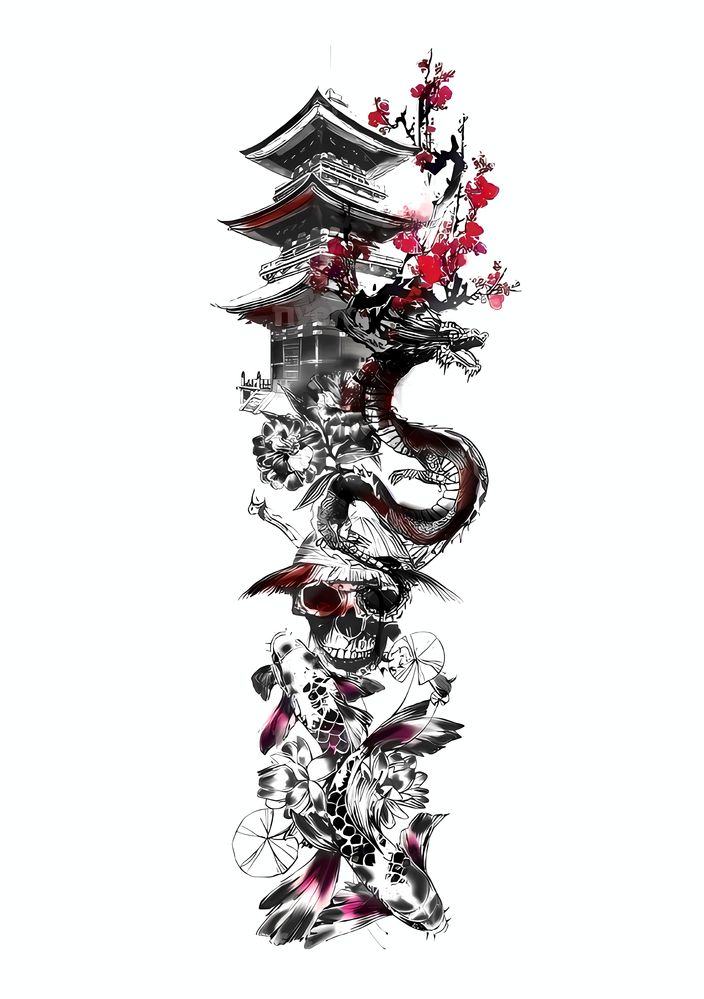
final transparent png
Copy link to clipboard
Copied
The result of that Action seems very good, better than my approach actually.
Edit: But their set-up can be recreated with Smart Objects, too; that may not seem like a great improvement over an Action but it would allow for editing the original illustration »on the fly« if necessary.
Copy link to clipboard
Copied
"Photoshop Action File for MacOSX・Windows
(Photoshop CS5・CS6)"
Not working, some of Green colors are in 100% removed.
Copy link to clipboard
Copied
There is an updated version 2021, but some of the action steps are in Japenese
so the action doesn't work in English photoshop versions
By @Jeff Arola
I have corrected that:
It was just a "simple" matter of changing all action step references of the following Katakana from:
アルファチャンネル
to
Alpha
Copy link to clipboard
Copied
F Sose: your reply is wrong. Select , Color range does it NOT. Check e.g. GIMPs Color to alpha... set black, and it is perfect. I CAN NOT THIS REPLICAtE in photoshop. It is IMPOSSIBLE via any feature. Why is photoshop OVERLIMITED? You are NOT expert, you answer is USELESS. And LIE.
Copy link to clipboard
Copied
With hindsight, now that we have examples from Krita and GIMP that were not available when @D Fosse originally posted, I agree that the method outlined by D Fosse doesn't result in the same effect. I will unmark that as a correct answer.
The result of the action posted by @Jeff Arola is very similar to both Krita and GIMP, so I do believe that that is a correct answer. As the original action contained Japanese language-specific steps and failed on English versions, I have made an English version of the script.
The method shown by @c.pfaffenbichler should also be considered a correct answer.
This topic is a "discussion" and not an "idea" (feature request). @Alexander32558309721z if you make a new post labelled as an "idea" then I'll vote on it (You could just copy/paste most of your reply from here).
@G28298186u5no I am not a moderator, however, I don't believe that your response meets community guidelines of being "kind and respectful".
Copy link to clipboard
Copied
Actually I just misunderstood the original request. Or some of the subsequent posters misunderstood, I don't know.
The fact is that there is a "color to alpha" action that has been floating around for years and years. I picked it up in 2014 and still have that thread bookmarked. These are the steps:
- Open the doc (RGB mode only)
- Make a new layer, fill it with full red. Invert it (Cmd-i).It'll go cyan.
- Make a layer, fill it with green. Invert it, so it goes magenta.
- Make another layer, fill with blue, invert to make yellow.
- Turn off the new layers so you can only see your original.
- Go to the channels palette.
- Create three new blank channels. They'll be black.
- Command-click the Red channel. This will make a selection. Change to your first new channel, and fill that selection with white.
- Do the same thing for the green channel, into your second new custom channel.
- Do the same for the blue channel, into the third custom one.
- Control click your first custom channel (with the selection from the red layer). Invert the selection (command-shift-i). Go to your new red layer (which is now cyan), and apply the selection as a mask (by clicking the mask button).
- Do again using custom channel 2, onto the new Green (changed to Magenta) layer.
- And again, from channel 3, into the Blue (now Yellow) layer.
- Set all 3 of your layers to blend type "Multiply"
- Turn off any other layers.
I've kept and used this action occasionally over the years, and it works pretty well.
The only thing that offended me with G2829's post was that he got my name as "F Sose". Huh, you're talking to me? 😉 😄
Copy link to clipboard
Copied
This was my post and it was MEANT as a feature request. I guess I just did it wrong.
Here is a submitted Idea:
Copy link to clipboard
Copied
I know that the OP was yours, however, the post from @Alexander32558309721z was in my opinion more detailed and more recent than yours.
I have voted on your other "idea" topic.
Vote up folks!


