 Adobe Community
- Home
- Premiere Pro
- Discussions
- Re: Attempting To Use Lemetri After Direct Link/Sp...
- Re: Attempting To Use Lemetri After Direct Link/Sp...
Attempting To Use Lemetri After Direct Link/Speedgrade Has Been Killed Off

Copy link to clipboard
Copied
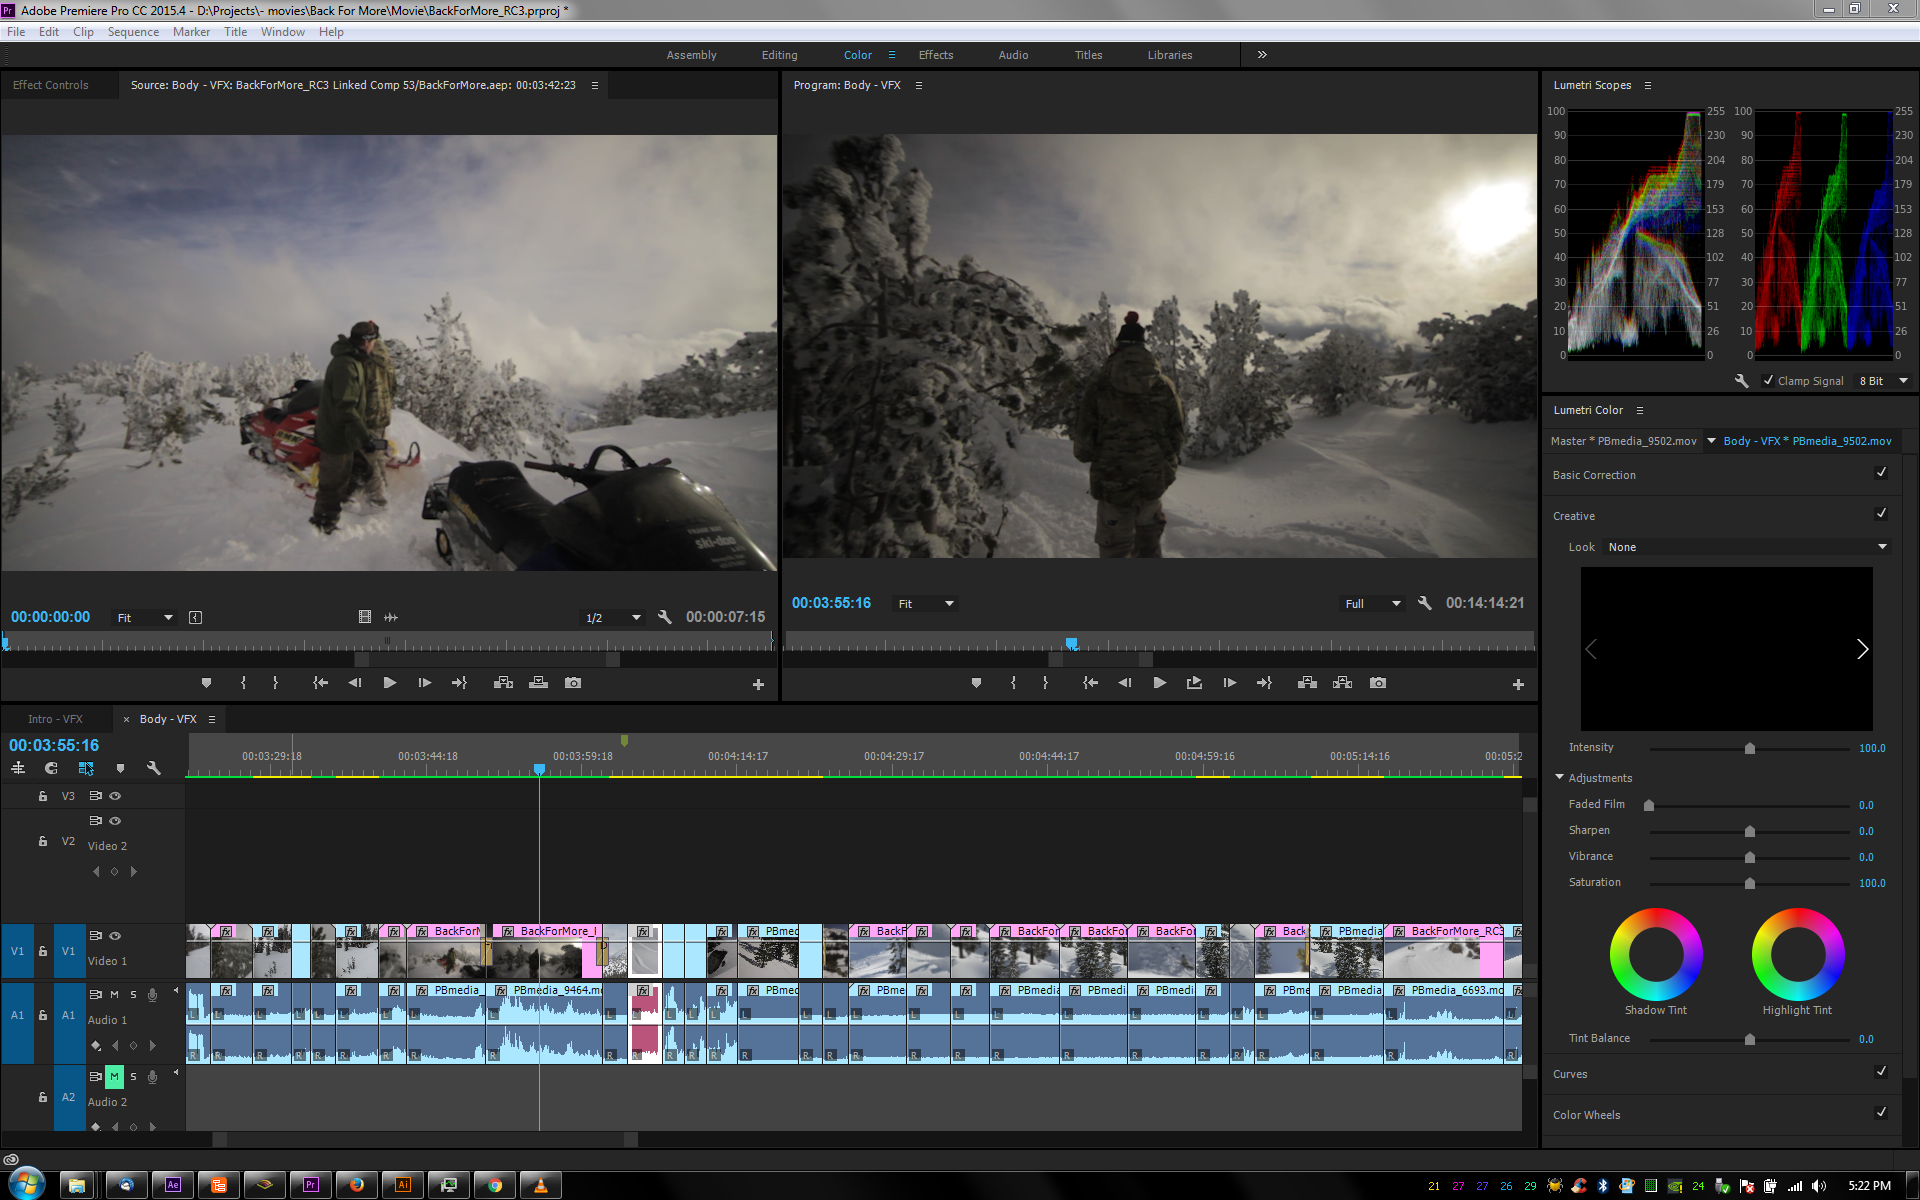
What makes me the most angry about this rude change in my workflow is that there is no 2up/3up views using Lumetri. I thought I found a workaround using the Reference Monitor, but it sucks.
I thought double clicking a clip in the sequence to send it to the source monitor would work, but it shows the original clip w/o effects. When you have the source monitor closed and instead try to use the reference monitor (which actually shows the clip with effects), double clicking a clip opens the original in the source monitor. So you have to do an extra click to change over to the reference monitor.
Is there a way to use the reference monitor only w/o the source monitor showing up?
Edited for content: don't use profanity, even when you only use initials.


 7
Replies
7
7
Replies
7

Copy link to clipboard
Copied
I'm using two monitors, and normally use the second (better) one for Program monitor. Had to create a custom workspace with a new panel that I put on that monitor full-screen, that has Source, Reference, and Program monitors on it. Source I only use for say showing a snapshot type thing, and normally keep very minimal. Reference is the shot I'm matching to, and Program the one being graded.
Have to turn off the second display option in the prefs to run this, but ok, takes a couple seconds.
With a single monitor you can set up both Ref and Program side-by-side and use that for the purpose. Just takes a bit of workspace customization.
No, it ain't great shot-matching, but it kinda sorta works. You can click in the Reference monitor and get the Lumetri scopes on that image, click back in the Program monitor and the scopes show that ....
Neil

Copy link to clipboard
Copied
it gets even better... you can't have scopes for two different things at the same time(to, you know, match things via scopes. I modified a windows capture program to create "virtual windows" in premiere. and to top it all off, lumetri doesn't have master hue rotation to fix skin tones...
Copy link to clipboard
Copied
Yeah, I noticed that...
Copy link to clipboard
Copied
Never used the master hue rotation to work skin tones, but then, I worked the last few years just using Sg for that, and well ... it's pretty easy working the 12-way system in that plus multiple secondaries to really work the skin. Without changing other things.
In Lumetri, I tend to use the Basic panel for neutralization and general contrast/saturation, so that the tools of the Creative, Curves, Color Wheels, and HSL Secondary tabs are available for doing shot-matching, scene balancing, and a secondary. If I don't need a second Lumetri for another Secondary, I typically push things to improve the skin using the Color Wheels and/or HSL.
If I'm going to a second Lumetri instance, I'll typically work the neutralization and shot-matching in the first, maybe use the HSL on skin as/if needed, then use the second for scene-balancing & final 'look' work. And sometimes ... I just need more secondaries.
But if that's happening, I'm using Patrick Zadrobilek's dandy little applet to convert the PrPro project back to one that Sg 2015.1 can use as a "Direct from PrPro" workflow ... or doing the project in 2015.2 to begin with.
Now ... they've already announced there'll be another update or whatever "dropped" sometime after MAX, which I'm down at right now. Hope Patrick's little program still works with whatever they do next ...
Neil
Copy link to clipboard
Copied
Yep, I'm on one monitor. I think I'm going to use reference and program. I found just moving the marker in reference works okay-ish. Of course using ctrl or shift+right arrow only moves the main sequence and the reference doesn't catch up like the second marker in speedgrade...
Copy link to clipboard
Copied
Yea ... you have to use it as two separate "playheads" ... and can't link them ... and navigating that little timeline under the Reference monitor is a pita too. I've gotten mostly used to clicking forth & back between monitors to swap out which is feeding the scopes.
I've found that while a Ripple or Elements panel is vastly superior to getting both better and faster grading in Lumetri in general, the speed, suppleness, and subtleties you can do with that type of control is even more crucial in shot-matching within PrPro than grading in general. Let alone using the HSL key sliders mapped to the dial/ball combinations to create the key. That helps dramatically.
Not to say it makes shot-matching a pleasure, just ... much improved over the rather difficult situation without a control.
Neil
Copy link to clipboard
Copied
I just discovered that you can't add standard LUTs to the dropdown menu... you have to browse each time. According to this - https://mixinglight.com/portfolio/adding-technical-creative-luts-to-the-lumetri-color-panel/ , you can't just add them to the appdata folder because they have to be .look files.

 AdChoices