- Home
- Premiere Pro
- Discussions
- Re: How to create a title box with EACH line sepat...
- Re: How to create a title box with EACH line sepat...
Copy link to clipboard
Copied
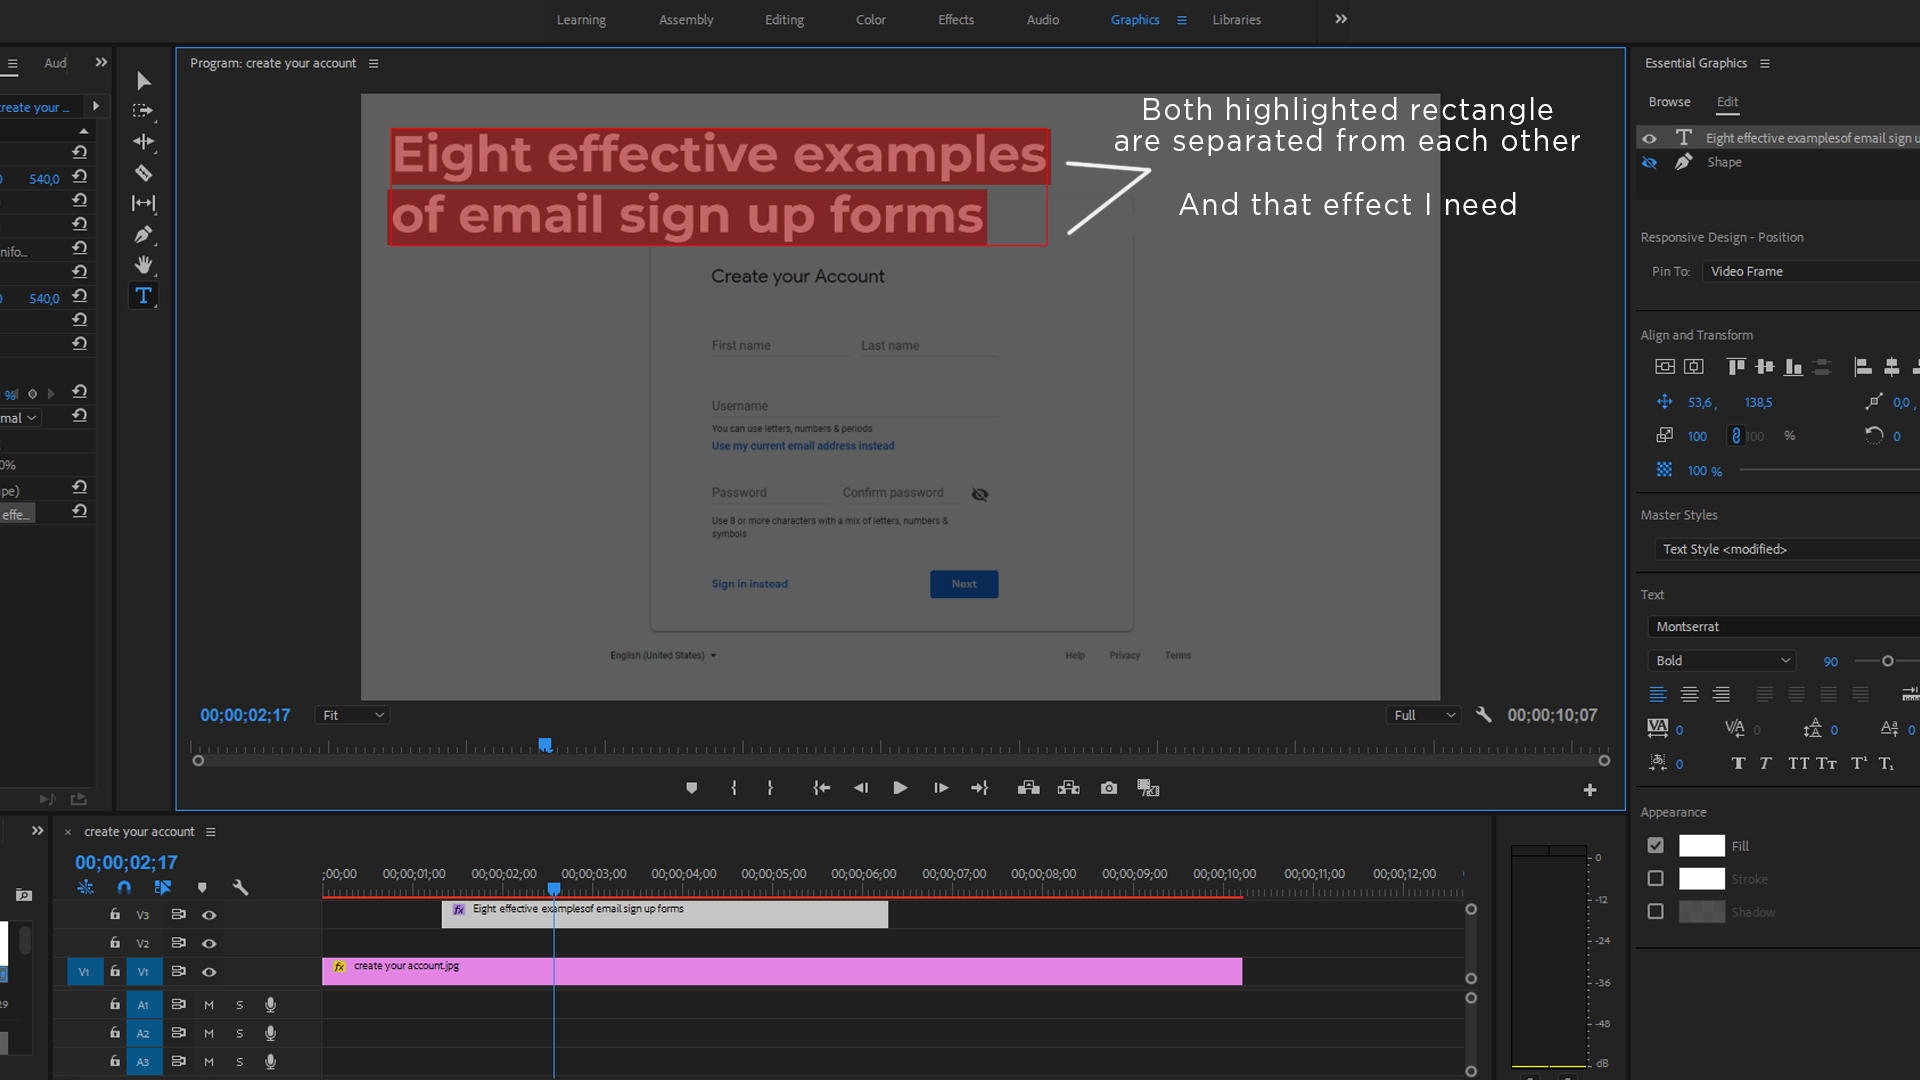
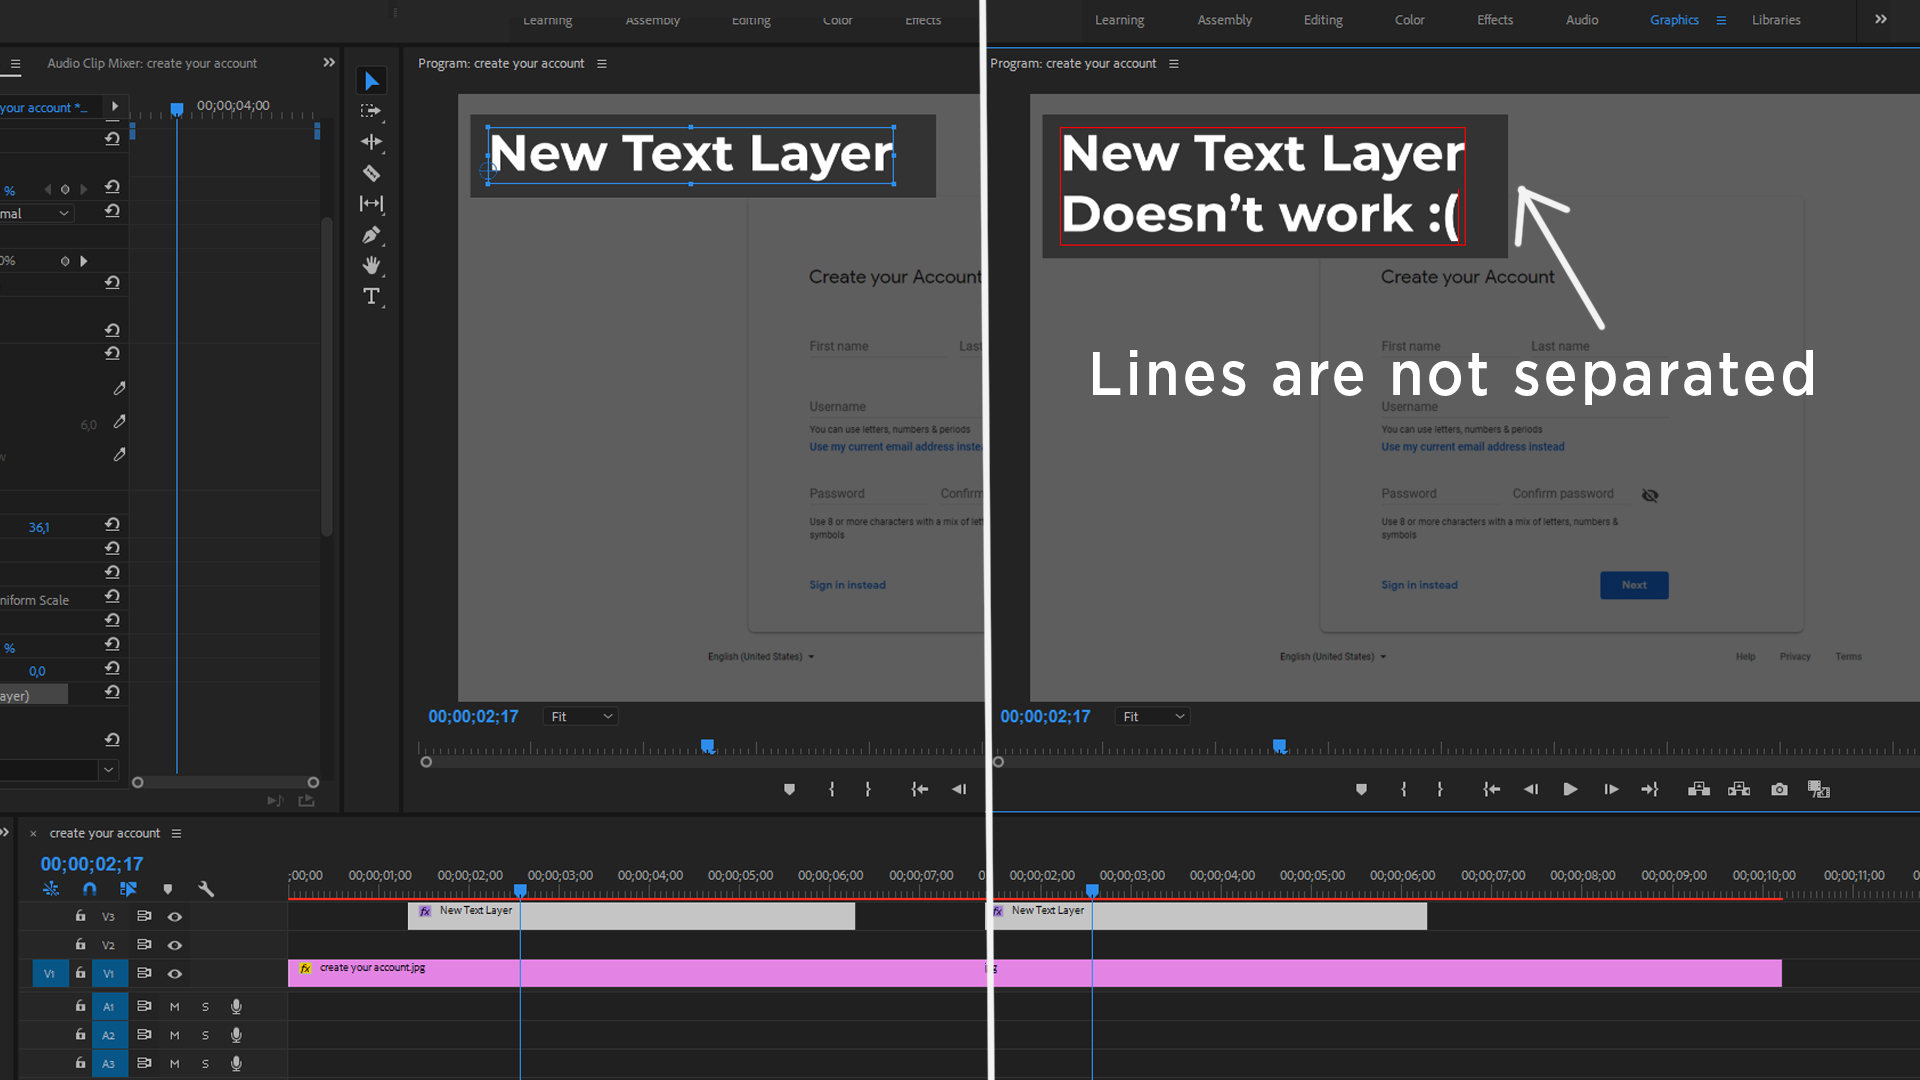
I tried with Open Captures and Essential Graphics but there's no result, I just need that highlight effect for a project but instead I have that bulky unseparated box background which looks too massive.
Can someone explane how to do what I want? I really need help...
Also, if someone knows, is there any effect in Premiere Pro for text appearence?(Not AE but PP) Like Linear Wipe but for EACH line of the text? Hmm, just like Type-On Text effect.
Thanks a lot for your help in advance!


 1 Correct answer
It could easily be I haven't figured out exactly what the problem is you're seeing.
Do you want separate lines each with a graphic box? Or just lines of text separated?
Creating text and creating graphics shapes are different steps.
With the EGP, once you've created a layout you like, you save as a mogrt ... a motion graphics template. Then refuse the template as often as you wish, changing the text for each use as needed.
Neil
Copy link to clipboard
Copied
You create each line by itself. Click in the Program monitor, type one line. With the Text tool still active, click to start the next line.
Or, in the EGP Edit tab, click for a new item (folder icon just to right and below layers section at top). Click in the program monitor for the new line, begin typing.
Neil
Copy link to clipboard
Copied
It sounds really complicated.. I mean I have a lot of text and wanted to create or find template for typing.
But as I understand from your words, I need to formate each sentence for it(put each line separate) and there is no easy way, right?
I hope I'm wrong ![]()
Copy link to clipboard
Copied
It could easily be I haven't figured out exactly what the problem is you're seeing.
Do you want separate lines each with a graphic box? Or just lines of text separated?
Creating text and creating graphics shapes are different steps.
With the EGP, once you've created a layout you like, you save as a mogrt ... a motion graphics template. Then refuse the template as often as you wish, changing the text for each use as needed.
Neil
Copy link to clipboard
Copied
I want to separate each graphic box with each line, like when you highlight any text, background is separated. In EGP I can't separate it, I just have a huge background
Copy link to clipboard
Copied
I think the manual method is just what you now suspect: each text line will have its own graphics box. You might also have all the text as one graphic, and then position separate graphics boxes behind each line. But you are looking for something more automatic?
I think it can be done with a template, but I did not see one right off in the main template library.
Copy link to clipboard
Copied
Exactly, that's what I'm looking for, I just don't understand how to separate a box into few boxes and then, when I add a new line, the box would be already separated
Copy link to clipboard
Copied
Hello,
I think the answers have been posted above. Neil mentioned how you can add a New Line of Text in the "Graphics" Workspace, on the right the Essential Graphics Panel (EGP), there is an "Edit" button. If you click that you will see your text that you created and you can click the little "New Layer" icon to add another line of text.
If you want to create typewriter text you can use a Wipe Transition. Click on the "Effects" workspace at the top of Premiere. Then on the RIGHT you will see the effects panel. In the search bar in that panel next to magnifying glass icon type "Wipe" and you will see it and you can drag it onto your text graphic in the timeline. But it won't look so great.
A better way, not automatic... but pretty fast and easy.
Step 1:
Use the Text Tool and Click to Create a text box or click and drag to draw it out(one click is better, but might be tougher to select)

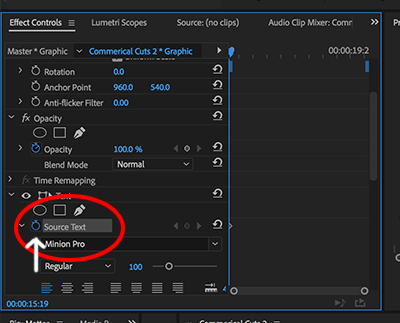
Step 2: Select the "Effects" workspace - which brings up the "Effect Controls" panel.... on the left. Look for your new text, in that panel(probably called "Text" and click the little blue stopwatch icon as shown below. Choose your font at this point, there is one called "American Typewriter" that will work well... but choose your preferred font before starting.

Step 3: Now that you turned on keyframing... everytime you type a new letter, it will record the step and keyframe it.
So type your first letter, and then click the "Frame Forward" button 5 times, to move forward down the timeline 5 frames, then type your second Letter in your word, and then click the Frame Forward button 5 times, then type in your 3rd letter, and repeat.

Very quickly you are setting keyframes for lets say H, then E, then L, then L, then ) to animate in the word "Hello"
hope this helps!
cheers!
mark
Copy link to clipboard
Copied
Spiffy suggestion!
Neil
Copy link to clipboard
Copied
In latest Premiere no need to manually draw boxes behind text. Just click on Background under the text adjustments panel.
Copy link to clipboard
Copied
Well, I think I did it well, eventually it look just like I wanted but without 100% automatization, thanks!
Copy link to clipboard
Copied
Glad you're working.
Neil
Copy link to clipboard
Copied
glad you were able to get it working! Now download a typewriter sound to sync it up!
cheers!
mark
Copy link to clipboard
Copied
No need to do that in latest Premiere release. Click on the monkey wrench next to Appearance in the graphic panel with text selected and in the new popup panel select "per-line"
Copy link to clipboard
Copied
Easy. In the graphics panel, highlight the text "eye" then next to "Appearance" click on the monkey wrench and when that panel opens select "per-line"
Copy link to clipboard
Copied
I mean, highlight the text in the graphics panel, not the "eye"
Copy link to clipboard
Copied
I have wasted COUNTLESS HOURS doing this manually. I can't believe I never even noticed the wrench in the appearance panel. Thank you, @jasong35855892!!!!
Copy link to clipboard
Copied
jself,
This is an old thread, and when it started (2018), that option did not exist!
Stan
Find more inspiration, events, and resources on the new Adobe Community
Explore Now