


Copy link to clipboard
Copied
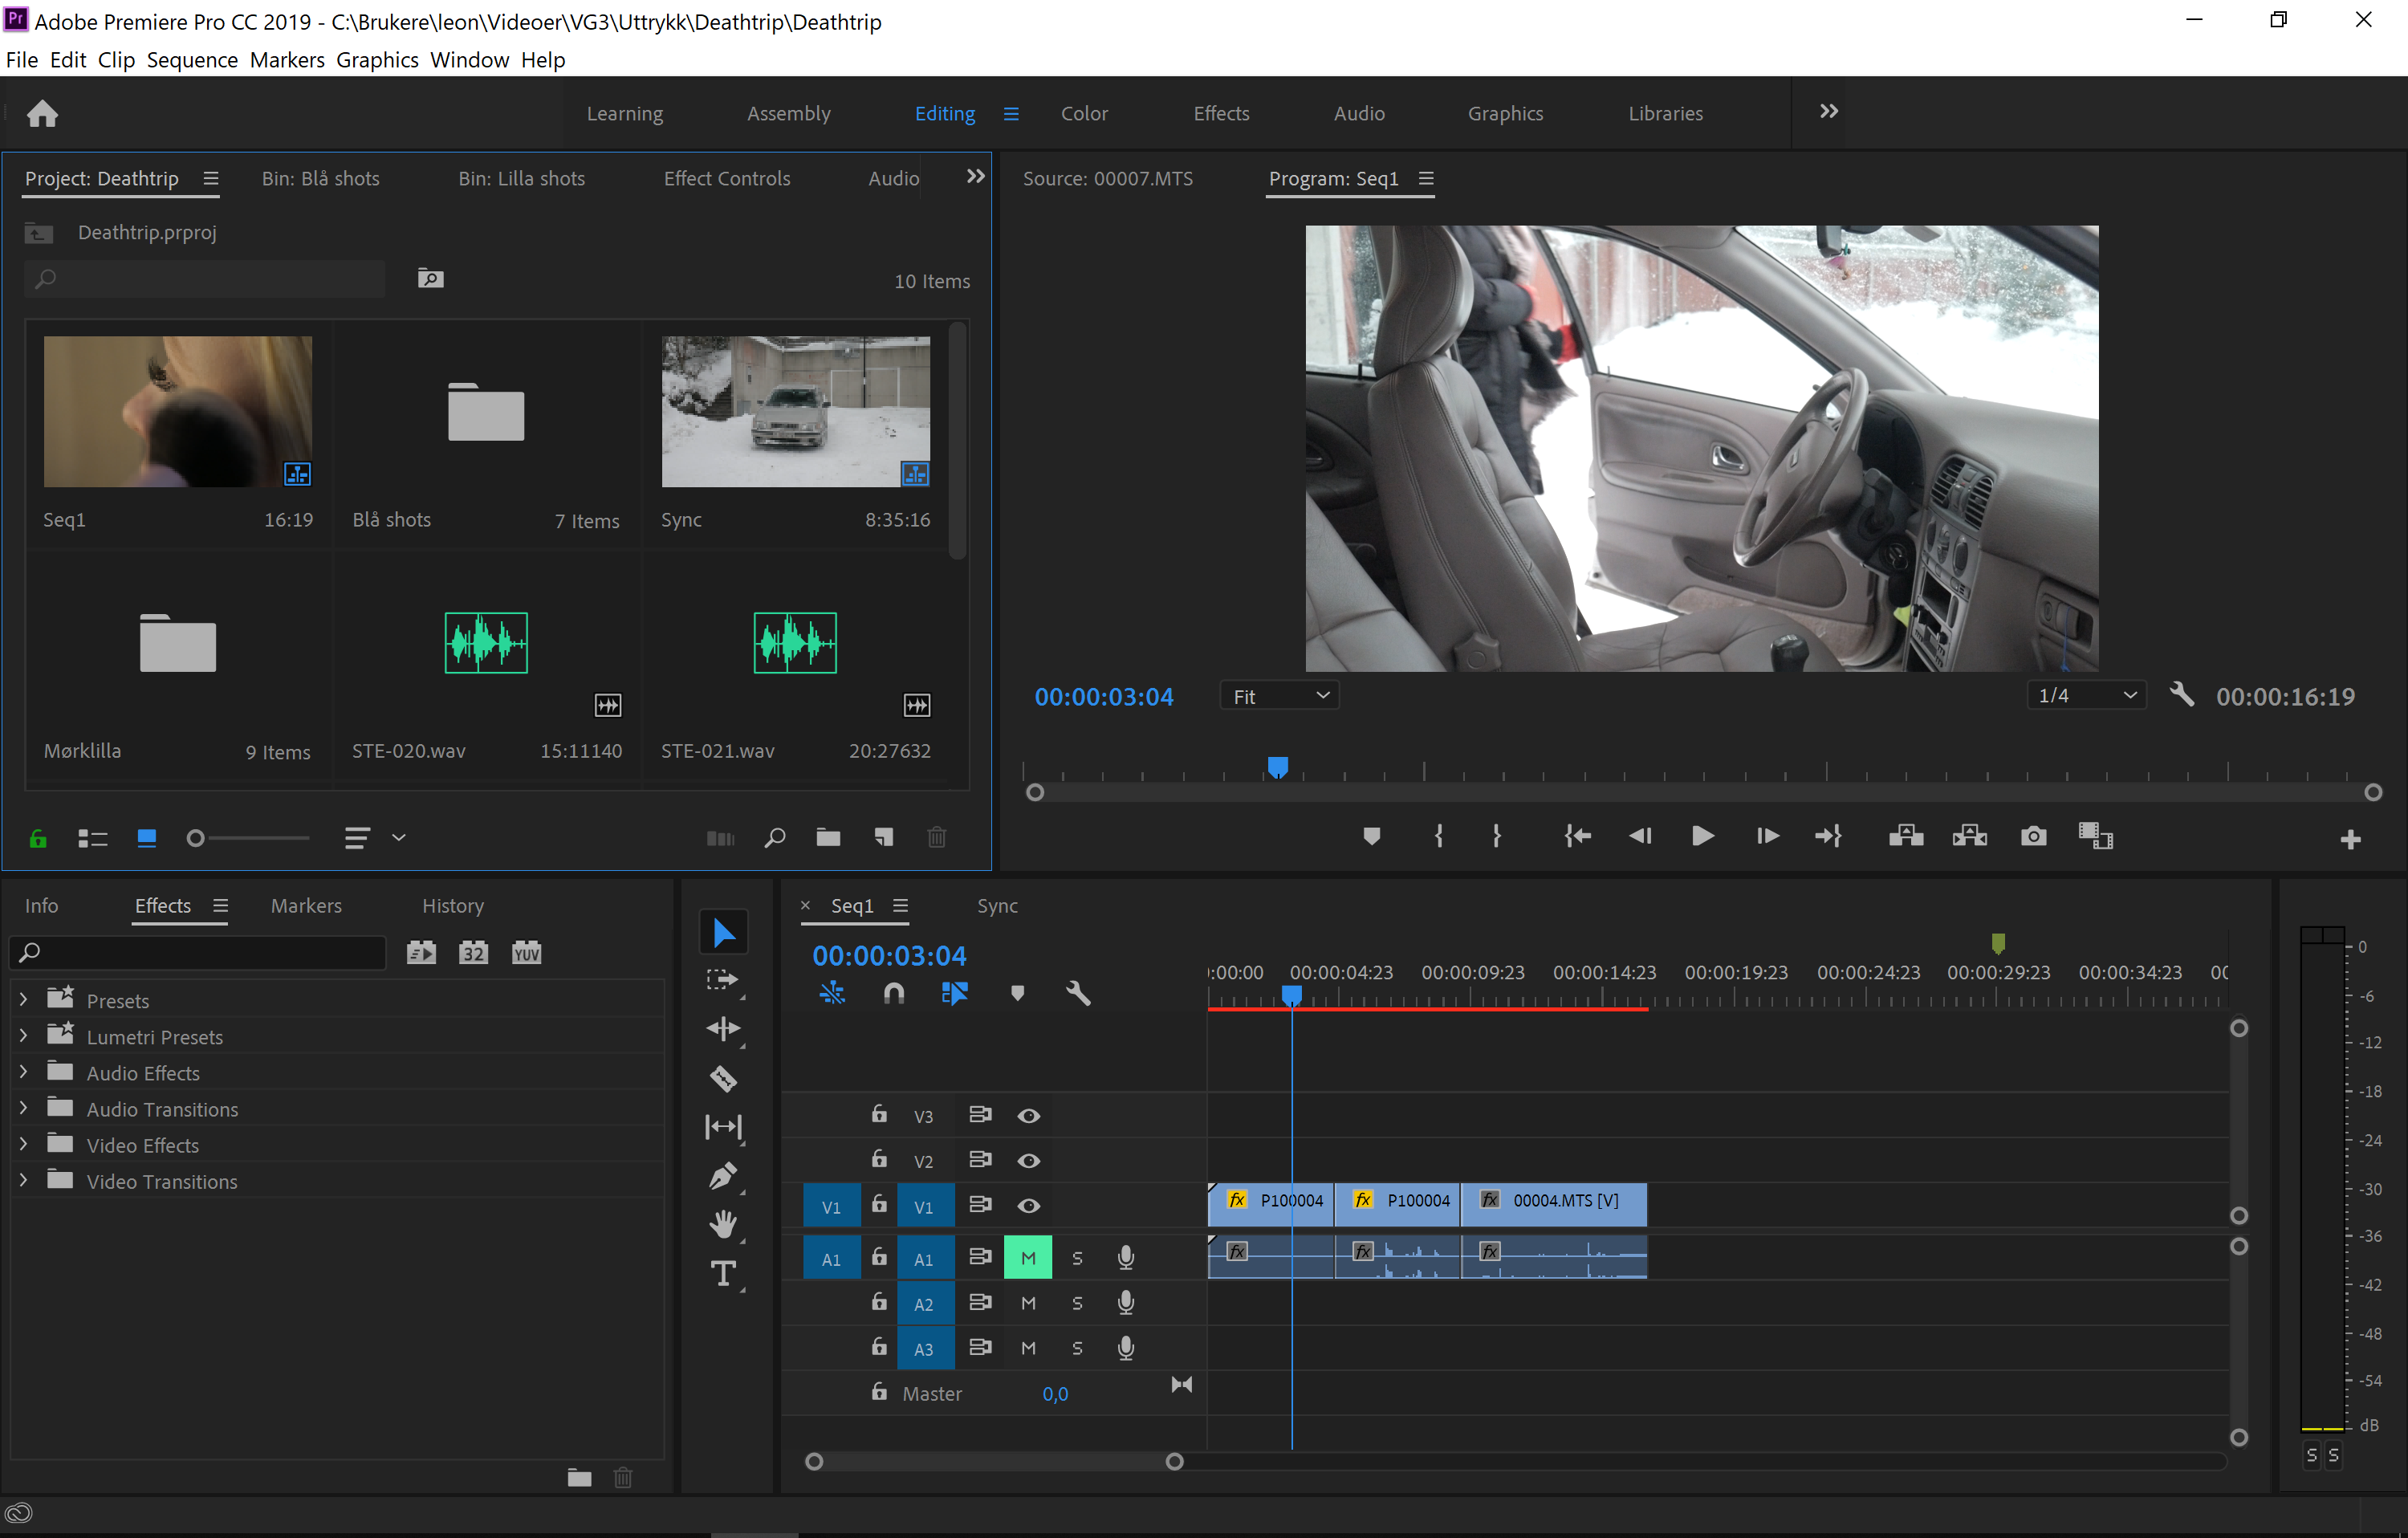
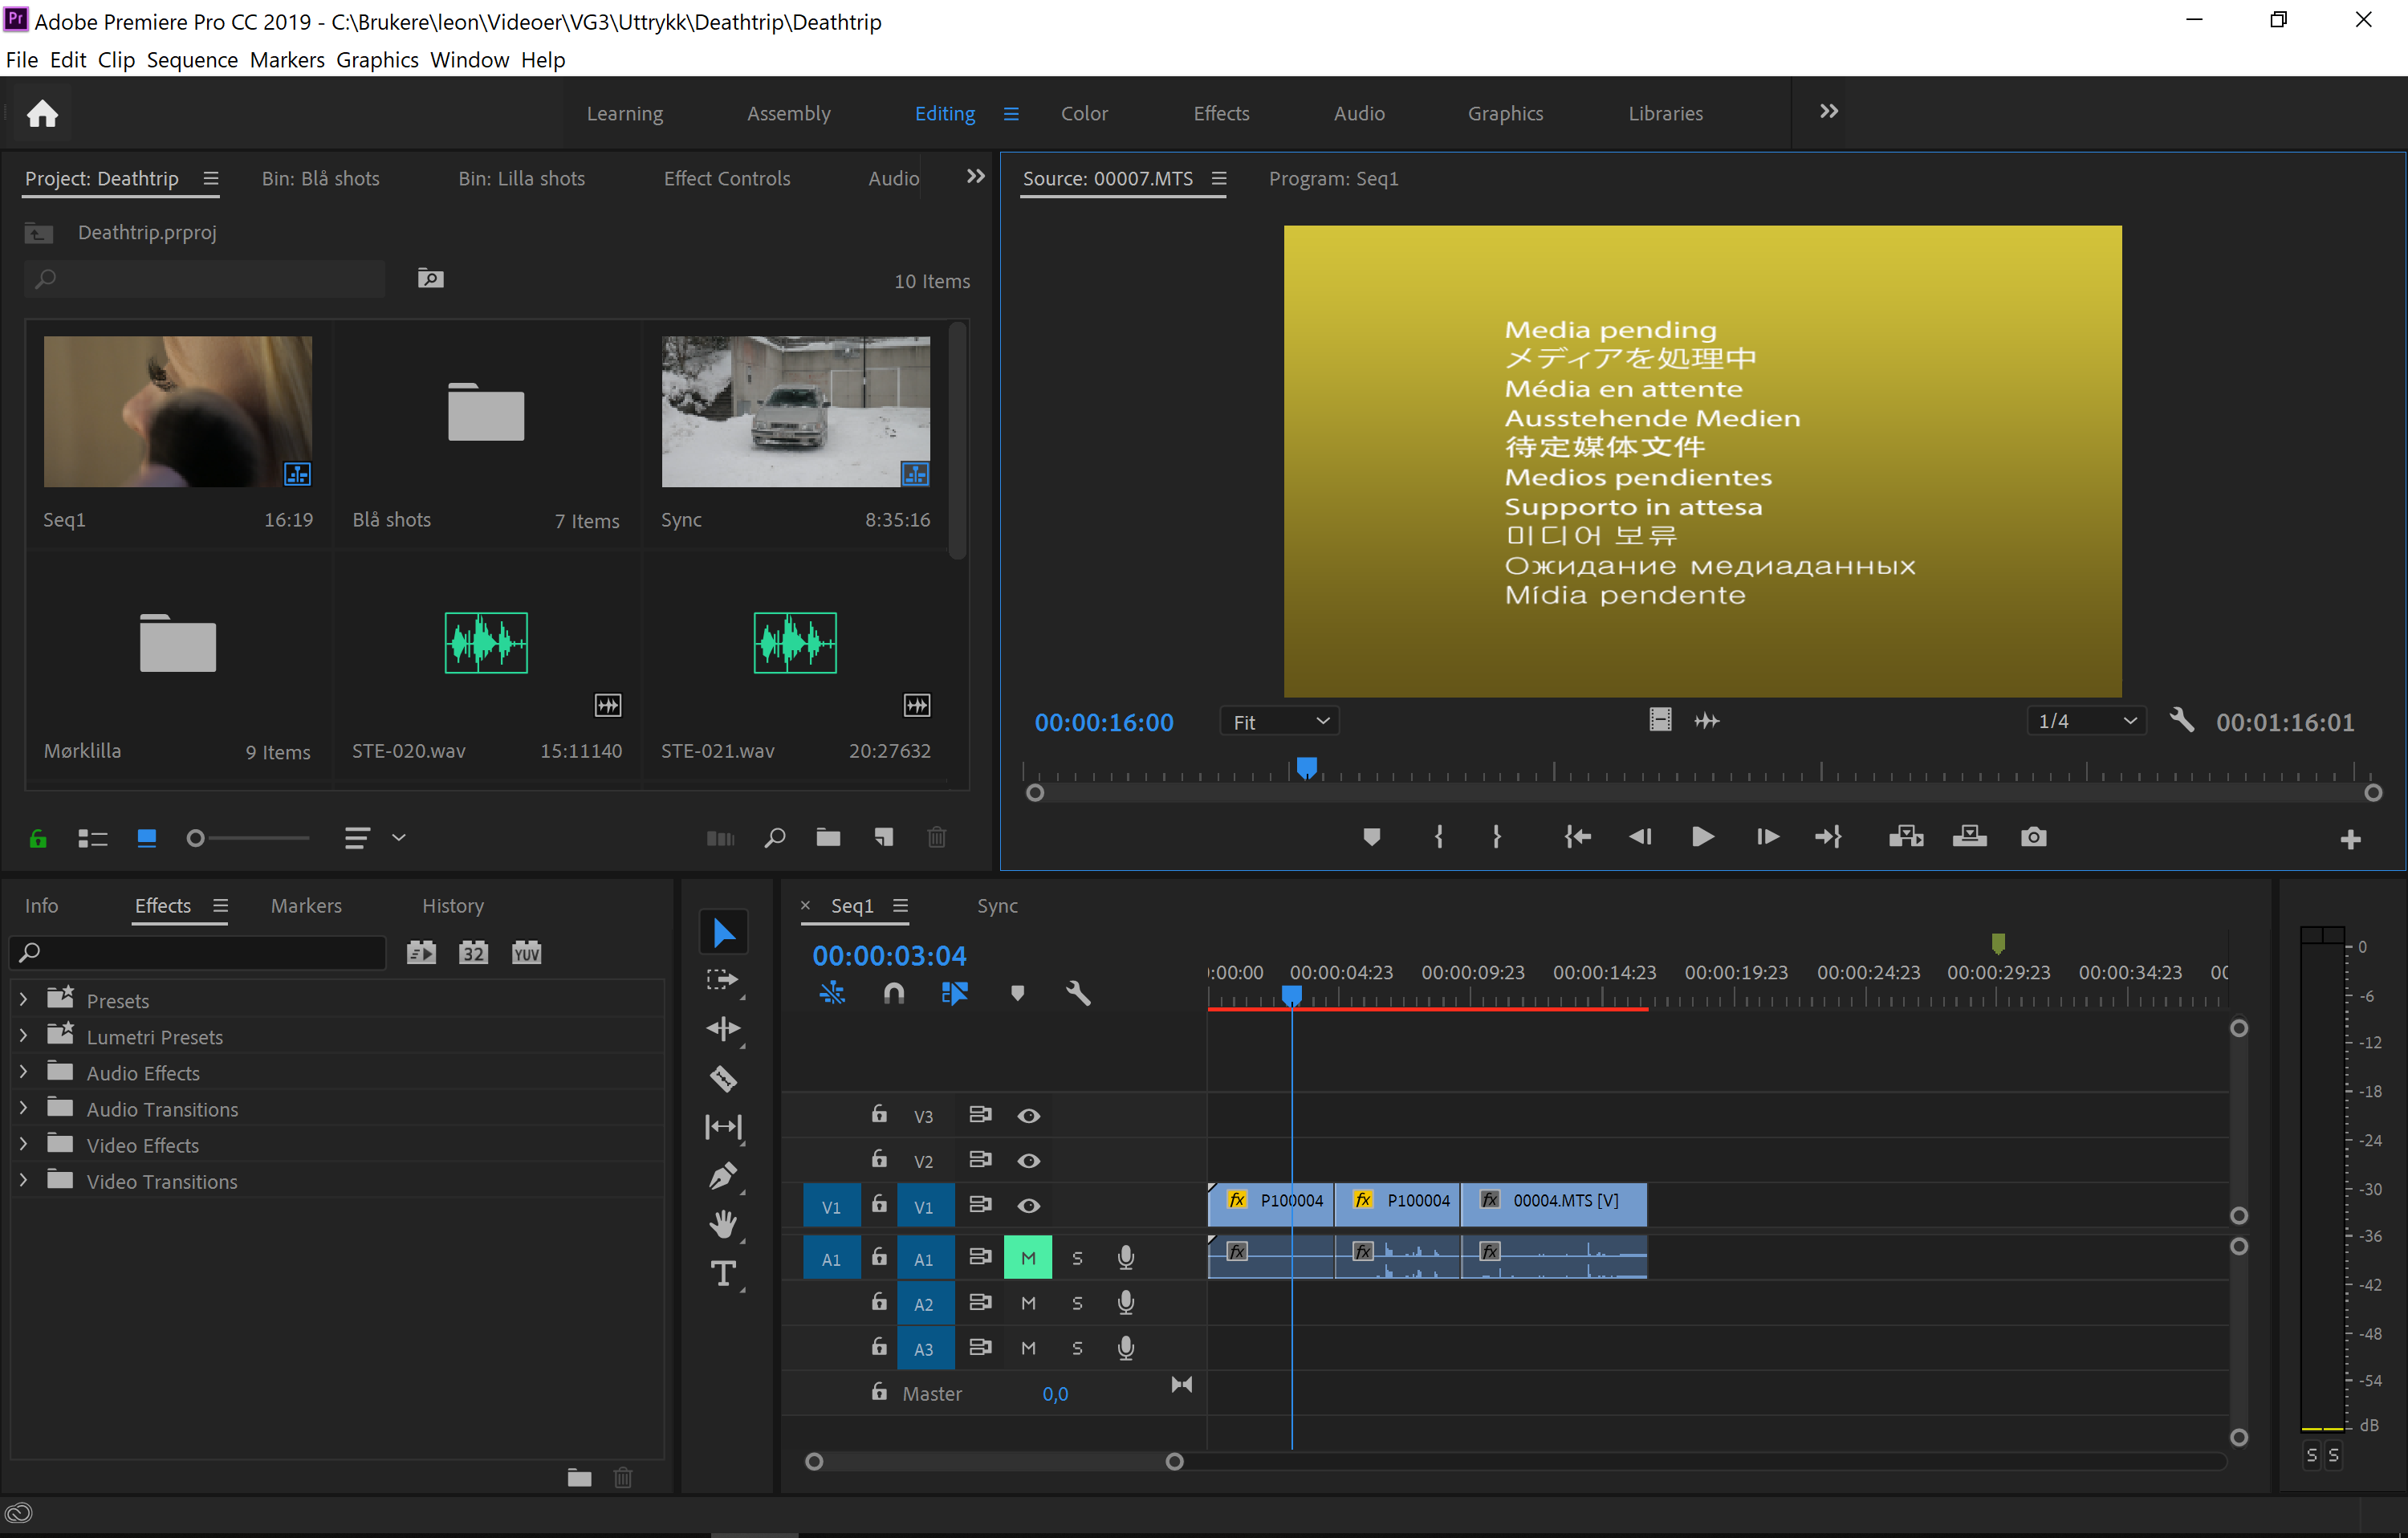
Spooling through and/or playing a video/audio file either in a sequence or from the project folder won't work. It displays either one single frame from the video or the yellow "Media pending" image. I have checked my audio hardware settings, which are in order, and I have also tried restarting the program, then my computer, and then reinstalling Premiere Pro only to find out I still have the same problem. I also tried to pre-render the sequence, which made Premiere crash.
Any ideas what I can to do fix this problem? I have this project due in three days 😕


 3 Correct answers

Try resetting the Workspaces:
Reset a workspace
Reset the current workspace to return to its original, saved layout of panels.
- Do one of the following:
- Click the Workspace menu icon and select Reset to Saved Layout.
- Choose Window > Workspace > Reset to Saved Layout.
from here:
https://helpx.adobe.com/premiere-pro/using/workspaces.html
If that doesn’t work ,try updating or rolling back your graphics driver directly from the video card manufacturer’s site.

Hi there,
Sorry to hear that you are facing this issue. Please try these steps and check if it's working.
- Clean cache (FAQ: How to clean (delete or trash) media cache files? )
- Set the Renderer to Mercury Playback Engine Software Only (FAQ: How to change the Video Renderer in Premiere Pro? )
This is to check if we are facing any issues with the GPU accelerated renderer. - Once the Renderer is set to Mercury Playback Engine Software Only, try to render the sequence (Sequence > Render In to Out)
If you are
...
Inspired by another site to provide this solution. Let me know if it is helpful.
What Causes Adobe Premiere Pro To Have Problems Playing Back Footage Well?
Prior to attempting a fix for the Premiere Pro won’t play video issue, you should know some of the basic reasons as to why footage won't playback.
- Your hardware doesn't meet system requirements.
- Media Files containing a Variable Frame Rate (screen captures, game streams, mobile devices) are not well supported.
- Corrupt media cache files.
- Outd
 33
Replies
33
33
Replies
33

Copy link to clipboard
Copied
Hi Gilkey,
I just want to say a big THANK YOU!!
I have the same problem, and have NDI Tools installed.
Setting the playback option back to Adobe DV fixed the problem.
Best regards.

Copy link to clipboard
Copied
I have tried every single one of these options ans still cant get video to play.
I get a snippet of sound then this is all I see as the timeline plays.


Copy link to clipboard
Copied
I know this is years later - but you are my hero. This is what it was for me. NDI is like a wonderful evil bug. It just takes over everything as defaults even when I remove it as a camera default. Thank. you.

Copy link to clipboard
Copied
I tried everything, I checked youtube i checked adobe support but nothing is working. and also my pc is new

Copy link to clipboard
Copied
I AM FACING A SIMILAR ISSUE: PC specifications:
I have a PC with the following specifications:
Processor Intel(R) Celeron(R) CPU 1005M @ 1.90GHz 1.90 GHz
Installed RAM 4.00 GB (3.88 GB usable)
System type: 64-bit operating system, x64-based processor
Edition: Windows 10 Pro
Version 20H2
And I have tried using all the methods mentioned around this, but Im still facing challenges. My Program Sequence is not Previewing anything, it is just showing a blank black page, I can hear the sound in the video but not the video itself. In the Project > Settings > General , I have only one option on renderer and its blacked out, (Mercury Playback Engine, Software Only). I have tried updating with the PRO 15.2 but still its the same. I wonder what the problem is now, and I have backlogs in work, can you please help?
Copy link to clipboard
Copied
Hi Leon,
Your system is not meeting system requirements. That is likely the source of your issues. Sorry.
Thanks,
Kevin

Copy link to clipboard
Copied
I tried changing the Audio Preference and checked the Renderer and my video still didn't playback. I downloaded videos from Youtube and this is the first time PP was unable to playback a video I downloaded from Youtube.
What I did was since Youtube downloaded videos are MP4 files, I just use a convert software and CONVERTED the video to MP4 HD. IT WORKS!!!!
Just a reminder that my video was 14MB and this convertion turns my video to 140MB. Bigger video files is better than unable to playback and the issue still persist when you export from PP.
I hope this info helps anyone here.
Copy link to clipboard
Copied
Inspired by another site to provide this solution. Let me know if it is helpful.
What Causes Adobe Premiere Pro To Have Problems Playing Back Footage Well?
Prior to attempting a fix for the Premiere Pro won’t play video issue, you should know some of the basic reasons as to why footage won't playback.
- Your hardware doesn't meet system requirements.
- Media Files containing a Variable Frame Rate (screen captures, game streams, mobile devices) are not well supported.
- Corrupt media cache files.
- Outdated GPU drivers.
- Corrupt Preferences.
It could also be a combination of these issues, so work through each one. Restart your computer after each major step, as well. Here are some specific fixes for the above reasons.
How Do I Fix The Adobe Premiere Pro Video Playback Problem?
See if the following steps help.
Reboot Your Computer
Restart your Mac or PC. Sounds common, but many people forget to try this simple step. After restarting, check the performance of your playback. If the issue is not resolved, try the next step.
Play/Edit Video In Alternate Program or a different Computer
Another technique you can try to troubleshoot video playback problems in Premiere Pro is to play the video in a different program or in Premiere Pro on another PC, if available.
Some of the video issues can be solved by testing the video in other programs to see if the problem might be related to Premiere Pro or your media. If it's your media, exporting a new copy of the media from that program.
Try Shutter Encoder for best results for testing playback and to export a new copy of the video that won't play back well in Premiere Pro. Then, import the new file back into Premiere Pro.
Reset or "Trash" Premiere Pro Preferences
Playback problems can be prevented by trashing preferences. But, take note: doing so may delete some of your customizations in the app.
Note: You may want to choose to sync settings before resetting preferences.
How to reset or the preferences:
- Upon opening Premiere Pro, press the Alt key in Windows > or press the Option in a macOS.
- Release the Alt or Option key once the splash appears.
Test playback after restarting Premiere Pro.
Reset the preferences & plug-in cache simultaneously
- Press Shift + Alt (Windows) or Shift + Option(macOS) while the application starts.
- Release the Shift + Alt keys or Shift + Option keys once the splash screen appears.
When this process is finished, restart Premiere Pro.
Switch To A Single Monitor
Sometimes your hardware may not support multiple monitors and Premiere Pro playback with your media type. Set up a single monitor attached to your GPU and attempt playback once more.
Deleting Media Cache Files
Corrupt cache data can cause playback issues. To delete them and have them automatically rebuild, try these steps:
- Choose File > Close All Projects.
- In Preferences, choose > Media Cache
- In the Remove Media Cache Files function, click the Delete button.
- Choose to delete ALL media cache files. Click OK.
You can also do so manually instead:
- Find the media cache in the following directories.
- Move the files to the Recycle Bin or Trash and then delete them.
Path for macOS:
/Users//Library/Application Support/Adobe/Common
Path for Windows:
\Users\\AppData\Roaming\Adobe\Common
Changing The Audio Hardware Preferences
Another troubleshooting step for smoother playback is to change Audio Hardware Preferences. Here are the steps for that:
Windows:
- Launch Premiere Pro
- Choose Edit > Preferences
- Choose Audio Hardware
macOS:
- Launch Premiere Pro.
- Chose Preferences > Audio Hardware
- For Device Class choose > CoreAudio.
Update GPU Drivers
Corrupt or outdated video card driver can lead to poor playback issues. Go to the appropriate (Intel, NVIDIA, or AMD) manufacturers' sites and download the latest drivers.
Mac users need to keep macOS up to date for the latest drivers.
Change The Settings Of The Mercury Playback Engine to Software Only
If your GPU is not very powerful, has no current drivers, is obsolete, or is not working for any reason, consider changing the settings of the Video Renderer (known as the Mercury Playback Engine) in Adobe Premiere Pro to "Software Only." It might help you to playback video more smoothly, especially if the footage is processed or "rendered." To change the settings of the video renderer see the following steps:
Step 1: In the Premiere Pro, choose File > Project then Settings > General.
Step 2: For the Renderer, switch the setting to Mercury Playback Engine GPU Acceleration Software Only.
Step 3: Playback may still be stuttery so you need to render it. Navigate to the sequence. Then, choose Sequence > Render In to Out.
Step 4: After the render bar completes, attempt to playback the video.
Render In to Out
If you have added effects to clips, you may need to render them to play them back smoothly, even if your GPU acceleration is enabled. I like to set In and Out marks around those sections with lots of effects, then choose Sequence > Render In to Out. This will help playback for any clips containing effects or titles over them.
Use a Professional Transcoding Tool
Is your media from OBS? A screen capture with QuickTime? Any non-camera source? You have the dreaded variable frame rate video. You simply must convert it. Once you do, you'll have a smooth editing experience. Try Shutter Encoder. It's free. It allows you to transcode to either .mp4 or a broadcast codec, like ProRes.
Use Fast Media Drives
Make sure storage for media files is fast and not too full. If you choose to use spinning disks, be sure that they are 7200 rpm and connected either internally or via USB 3.0 or better. Ideally, use solid state media. If using a SAN or NAS, ensure that it has the data throughput to carry out smooth playback. Off the shelf units often fail in this regard. It is better to use these devices as backup and keep all media on local machines.
Exceed System Requirements
If you are serious about video editing, don't just meet system requirements, exceed them. That way, you can do more complicated projects, multicamera sequences, heavier graphics, 4K, H.264 source files, etc. In other words, you have more horsepower for smoother playback.
Still having issues? Check the Help Documenation for Suggested Steps in Troubleshooting Playback from Adobe
Here is the Help documentation on the topic.
Hope the advice helps.
Kevin

Copy link to clipboard
Copied
If none of the above worked, watch this video: https://youtu.be/etlV5mQgRNs?si=V-_yfi6begLiJivY
In my case, I had to literally unplug my laptop from everything and have Premiere Pro recognize that my hub wasn't there anymore to change to internal audio.

-
- 1
- 2

 AdChoices