- Home
- Premiere Pro
- Discussions
- Re: waveforms missing in audio tracks
- Re: waveforms missing in audio tracks
Copy link to clipboard
Copied
I have finished editing the audio in my project, and wanted to add some slow motion video from another project, so I imported that sequence and used cmd + r to play around with the speed of the video. However I want to fine tune the audio (an interview consisting of just speech, no music) and I was shown how to adjust the audio waveforms using keyframes (called audio ducking I believe). But when I was shown this technique they just dragged the bottom of the audio track down and the waveforms appeared in the track. This doesn't happen in mine, and I want to know have I accidentally changed some setting, or did I disable something?
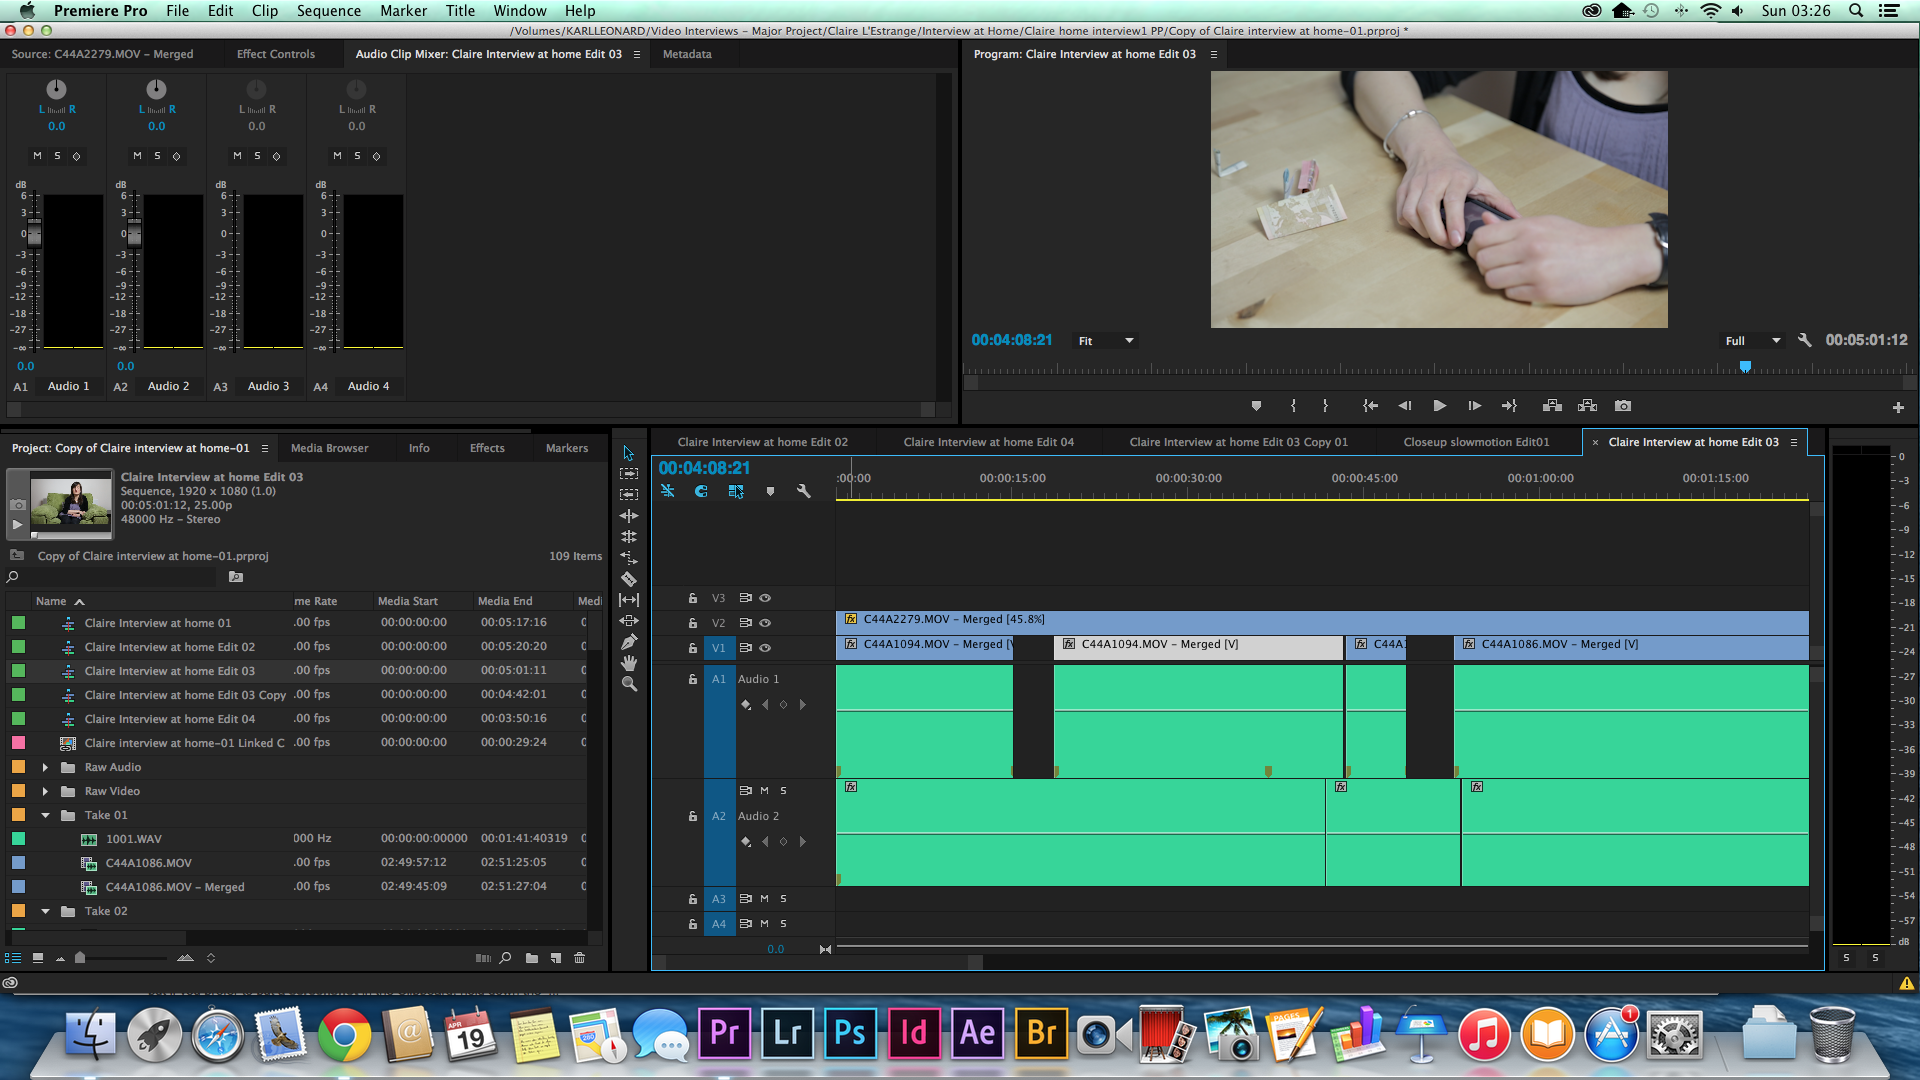
I've searched online and found descriptions in old threads (for CS6 and before) that say there is a speaker icon in the audio track with a triangle that drops down the waveforms. But I can't see any of that in my timeline.
 1 Correct answer
Copy link to clipboard
Copied
Copy link to clipboard
Copied
That's what I was missing. I knew it was something simple that I must have unchecked by accident. Maybe there's a keyboard shortcut that I inadvertently used. Thank you Richard!
Copy link to clipboard
Copied
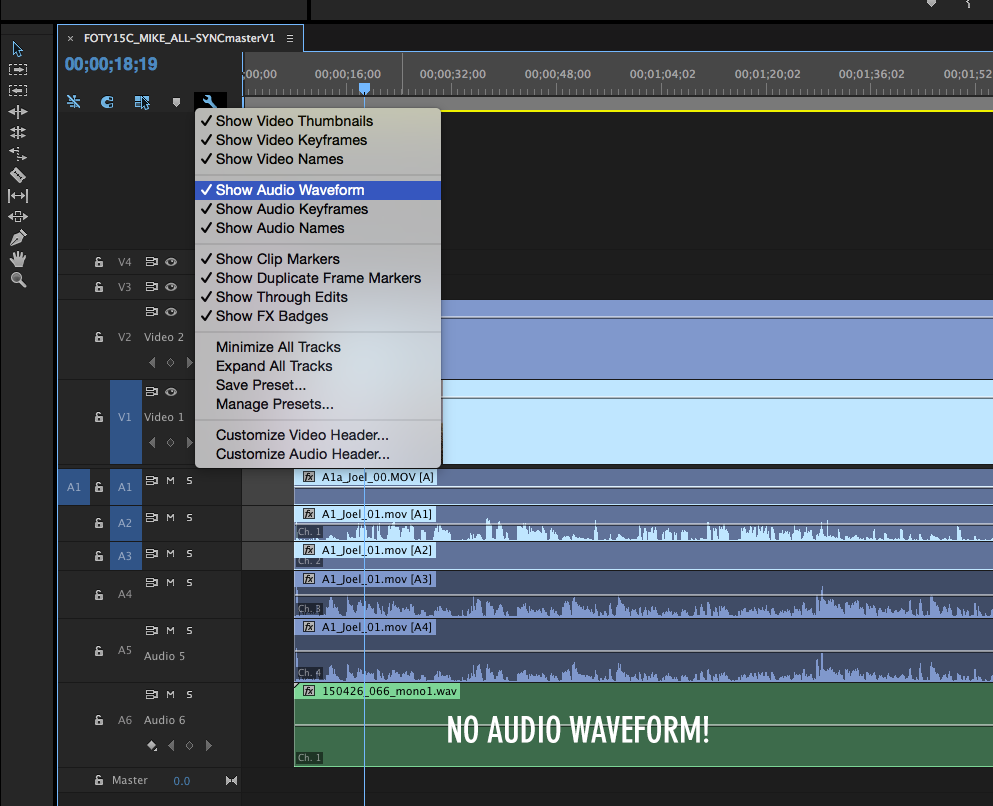
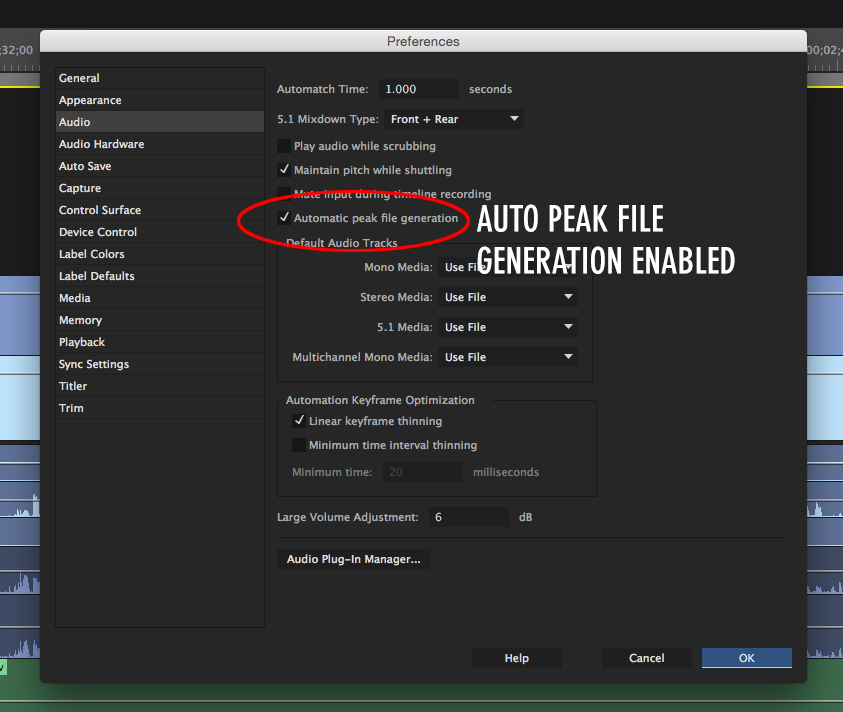
I have the "Show Audio Waveform" option enabled, and the "Automatic Peak File Generation" preference enabled. I can HEAR all my audio files, but the one on the bottom does not show a waveform. This happens a lot (usually to all audio files), and I have to wait for them to be regenerated. Sometimes regeneration starts within minutes...sometimes I can work on a project for a couple days before it gives me waveform previews.
Copy link to clipboard
Copied
Did you find a solution to this glitch?
My colleague and I are experiencing the same thing.
Copy link to clipboard
Copied
It can sometimes be that the cache file for the clip resides elsewhere. Normally I save the project, quit Premiere and re-open it (Premiere and the project) which triggers the conform/caching process again for any clips missing thumbnails, peak data and waveforms.
Copy link to clipboard
Copied
Yea, we read about clearing the cache.
We did find a solution that reveals the audio waveforms again. We're working with multicam clips. If you reveal the multicam clip in a timeline and mute the camera audio track, then bring in the multicam clip into your working sequence/timeline, the audio waveforms will show up for all the tracks.
Very weird and doesn't make logical sense to me, but it works and we can see the audio waveforms again.
Copy link to clipboard
Copied
Oh. This also works if the multicam clip is already in the working timeline. Once the camera audio tracks are muted in the source timeline, the multicam clip in the working sequence/timeline automatically displays the audio waveforms for all the tracks.
Copy link to clipboard
Copied
Muting the cam audio in the group in not revealing the waveforms in the sequence for me. I also have the show audio waveform and automatic peak file generation option checked. This happens all the time and is frustrating. The only solution I have so far is to copy and paste the audio from the group to the sequence. 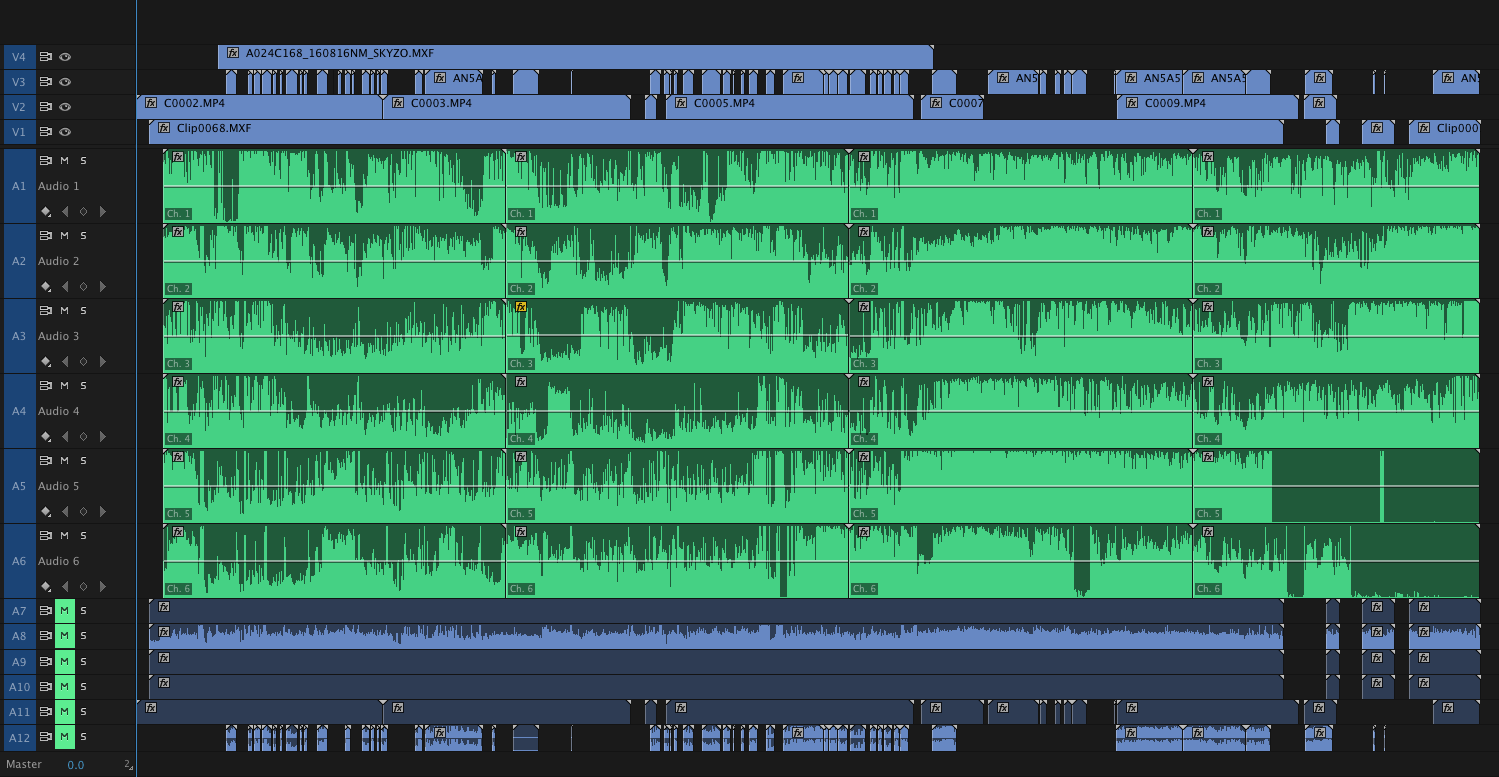
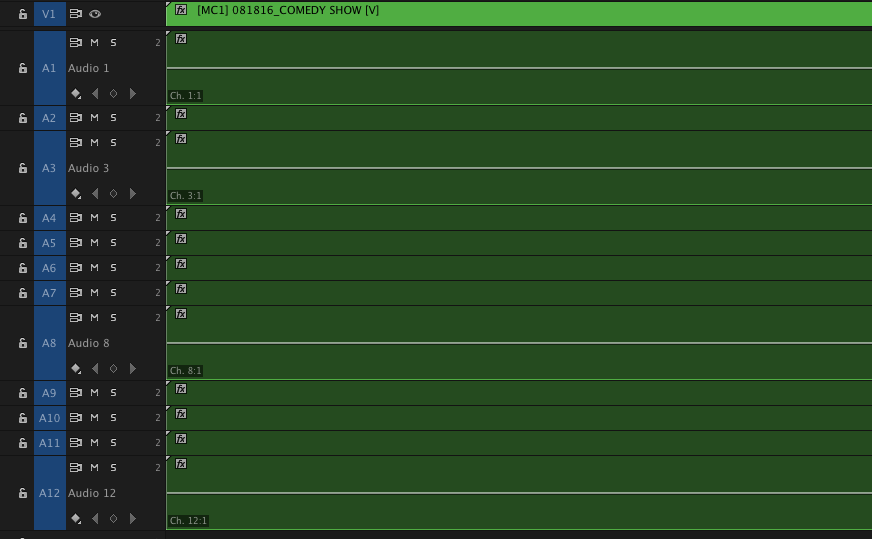
Copy link to clipboard
Copied
It all has to do with keeping the tracks and their waveforms panned to separate channels.
After being thwarted by this missing multicam sequence waveform problem for years, I finally lucked into a solution for this that seems to solve the issue every time.
I was working hard to make sure that all of the audio tracks in my final sequence (which included many multi-cam sequences with 3-5 second system audio tracks -- lav, lav, lav, lav, boom) could be exported as independent channels for a final mix. This led me back to the multicam sequences where I would pan everything left and right to keep them independent and then route each pair to a set of channels, 1&2, 3&4, etc.
Bingo, waveforms reappeared instantly in every sequence that the multicam sequence is in. It makes sense when you think about it. The waveforms are created on import for each mono or stereo channel. And then if you have them panned center in your multiclip sequence when you nest that into another sequence you are mixing the channels on each track and Premiere would need to create a new waveform to show the two mixed together (which is why you get a waveform when you render the audio into a new placeholder file), but if you keep the files panned to separate channels in the track mixer in your multicam sequence, then when you edit that into a new sequence it can just inherit the waveforms because they haven't been melded together.
This also explains why muting some tracks would bring waveforms back. If everything was panned center and mixing together, then no inherited waveforms will appear, but if only one track is unmuted/solo'ed and is still panned center that's fine because the waveform is not changed by any other channels, so the new sequence can inherit it without Premiere needing to render new waveforms. Basically, Premiere won't create new waveforms for the mixed channels unless you tell it to render a new placeholder audio file, so we need to keep the channels mixed to left and right in each channel pair to maintain waveform integrity.
Hope this works for some other people. It sure took away one of my major gripes with Premiere when I figured this out, and also highlighted the power of their track and clip audio settings (which are far more vast than this little tidbit). Now, if only they could sort out the match frame to master clip for subclips.
Copy link to clipboard
Copied
YES! For Multicam Tracks that do not sow Audio waveforms inside your track (when other tracks, like music, do show waveforms) - this is the answer!
Find more inspiration, events, and resources on the new Adobe Community
Explore Now