 Adobe Community
Color Grade Transition.
Copy link to clipboard
Copied
Hello.
Working in Premiere, I’m color grading all my clips using the Lumetri Color effect. I need a visual effect in which a particular shot changes its color as the viewer is watching it. But the change is not to look like a simple cut, but a gradual dissolve. One color grade is to gradually dissolves into the other color grade.
What’s the best way to achieve that effect? Right now, I’m taking two copies of the same clip; aligning them in the timeline, one atop the other; applying a different color grade to each; then setting the opacity of the top clip change over time.
I could continue to do that, but the workflow seems rather clunky. Is there a more streamlined way to achieve the same visual effect using Lumetri Colors?
Copy link to clipboard
Copied
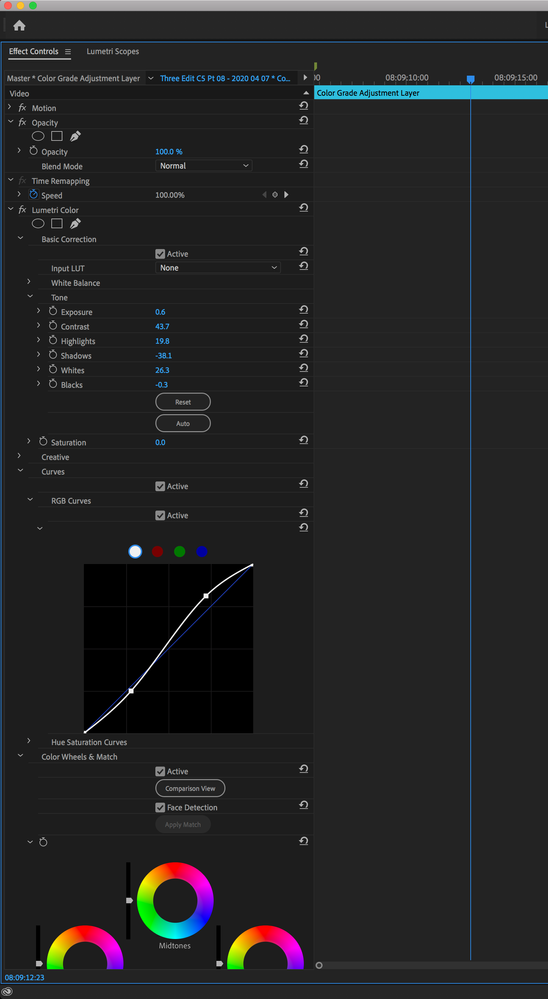
You can use keyframes for the effects if you want a more 'elegent' way (aka build the clip/adjustment layer exactly how you want it to look, key frame that in as a start and also the end point. Then add to more keyframes between those two points that are the the target state of the effect and how long to hold that target state for the effect before returning to the normal state you key framed in as the start and end points. I just created this screen grab for another post I made earlier tonight for an HLS color effect, but the key markers would look the same, the difference would be the effect you use.
But depending on what you else you have going on it may just add complexity to keyframe it all. The approuch you described I belive is how almost everyone does it, its also very easy to see on the time whats going on. I dont bother with setting / keying opacity, I just drop a fade in and out at the start and end of the clip on top, and it typicaly reveals what I want in the track below properly. I only use key frames when I want to do ease in/out/more control.
Maybe someone has a better idea for you, I'd be eager to know if there is for myself also.
Copy link to clipboard
Copied
Thanks for the response. It’s good to have another approach to have in my arsenal.
I may be wrong, but, in the case of Lumetri Color, it may be more complex to keyframe in that way. This is because (at least as far as I can see) in Premiere, many (though not all) of the individual settings within the Lumetri Color effect panel can be keyframed, like Exposure; Shadows; Saturation and the Color Wheels. But, apparently, the individual Lumetri Color components cannot be keyframed together as a complete set.
On the other hand, for some reason, I recall being able to control the Lumetri Colors as a complete set using keyframes in After Effects. But, doing the grading and color transitions in AE would definitely slow my workflow down to a crawl...
Copy link to clipboard
Copied
My aplogies, I was not aware until just now that there appears to be no keyframes in Lum Color.... (I was surpised).
I'm going to stick with original comment that basicaly your current approach seems like the best (or at least a very effcient) workflow already, but I am open to seeing if someone has something more optimal...
I will say the advantage of putting the adjusted clip on top of another and using the cross dissolve to fade into the new clip is handy if you need to adjust it, you can just move the in and out with no extra work and its very percise also. If I wanted to 'lock down' I will often group them so they dont move and get out of alignment for where I wanted them.
Copy link to clipboard
Copied
Add an Adjustment Layer over the clip, and apply Lumetri on that. In that Lumetri instance, grade to the total change you want to apply.
In the Effects Control Panel (ECP), use the Opacity "intrinsic" effect to animate (keyframe) the effect of that Lumetri instance on the total image.
Neil

