The approach here is to take advantage of two of Lab Color's features
a. Provides a suitable mask based on the b channel
b. Because of its unique color gamut, it provides appropriate tone where none exists in RGB.
First, make the mask
1. Open file
2. Add a duplicate layer
3. Image > Mode > Lab Color
4. Channels. Make a copy the b channel [then select that new channel]
5. Image > Adjustments > Curves …Auto. Done. No brushwork at all.
Now add the color
1. Return to RGB mode
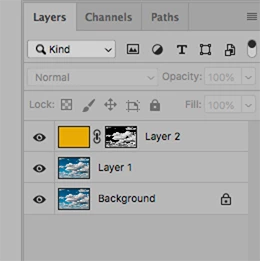
2. Add a blank layer
3. Edit > Fill the blank layer with a chosen Foreground color
4. Set the Blending Mode to Color in the Layers panel
5. Go to Channels, choose the b copy (the mask) and click on Load Channel as Selection
6. Choose RGB (in Channels) and return to the Layers panel
7. Click on the Mask symbol at the bottom of the Layers panel
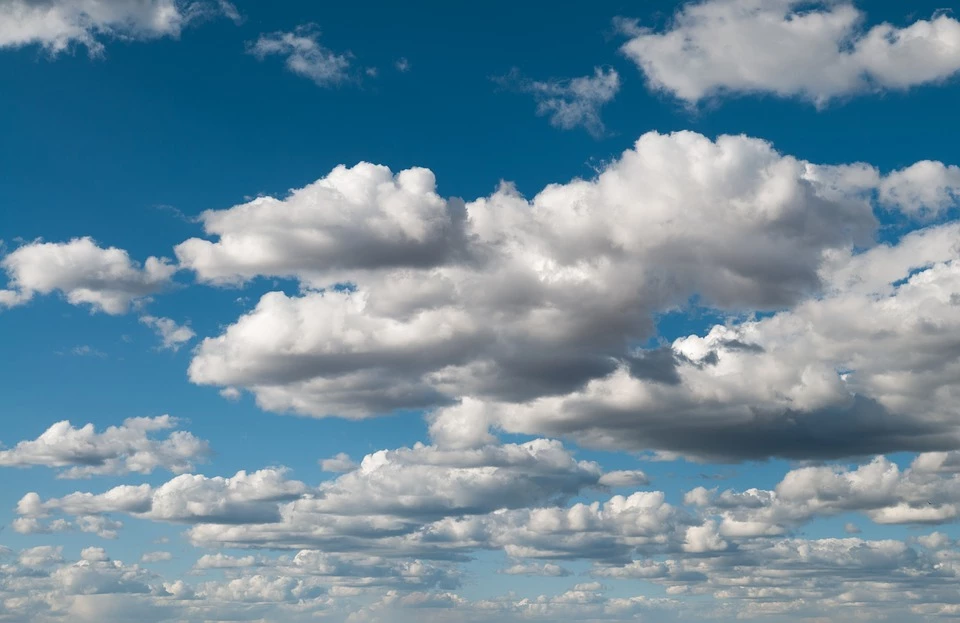
(Note the burned out highlights)
8. Image > Mode > Lab Color
9. Burned out area now carries tone, near neutral shadow values of the original are maintained, and the proper modeling has returned.
10. Layer > Flatten image. (A must.) Then, return to RGB.
No brushwork, sliders or Curve manipulation.
EDIT: In retrospect, I think a lighter orange would haVe been a better choice.