Hi,
I would use an adaptation of Frequency Separation which is often used in retouching to separate high frequency detail from low frequency brightness and shadows.
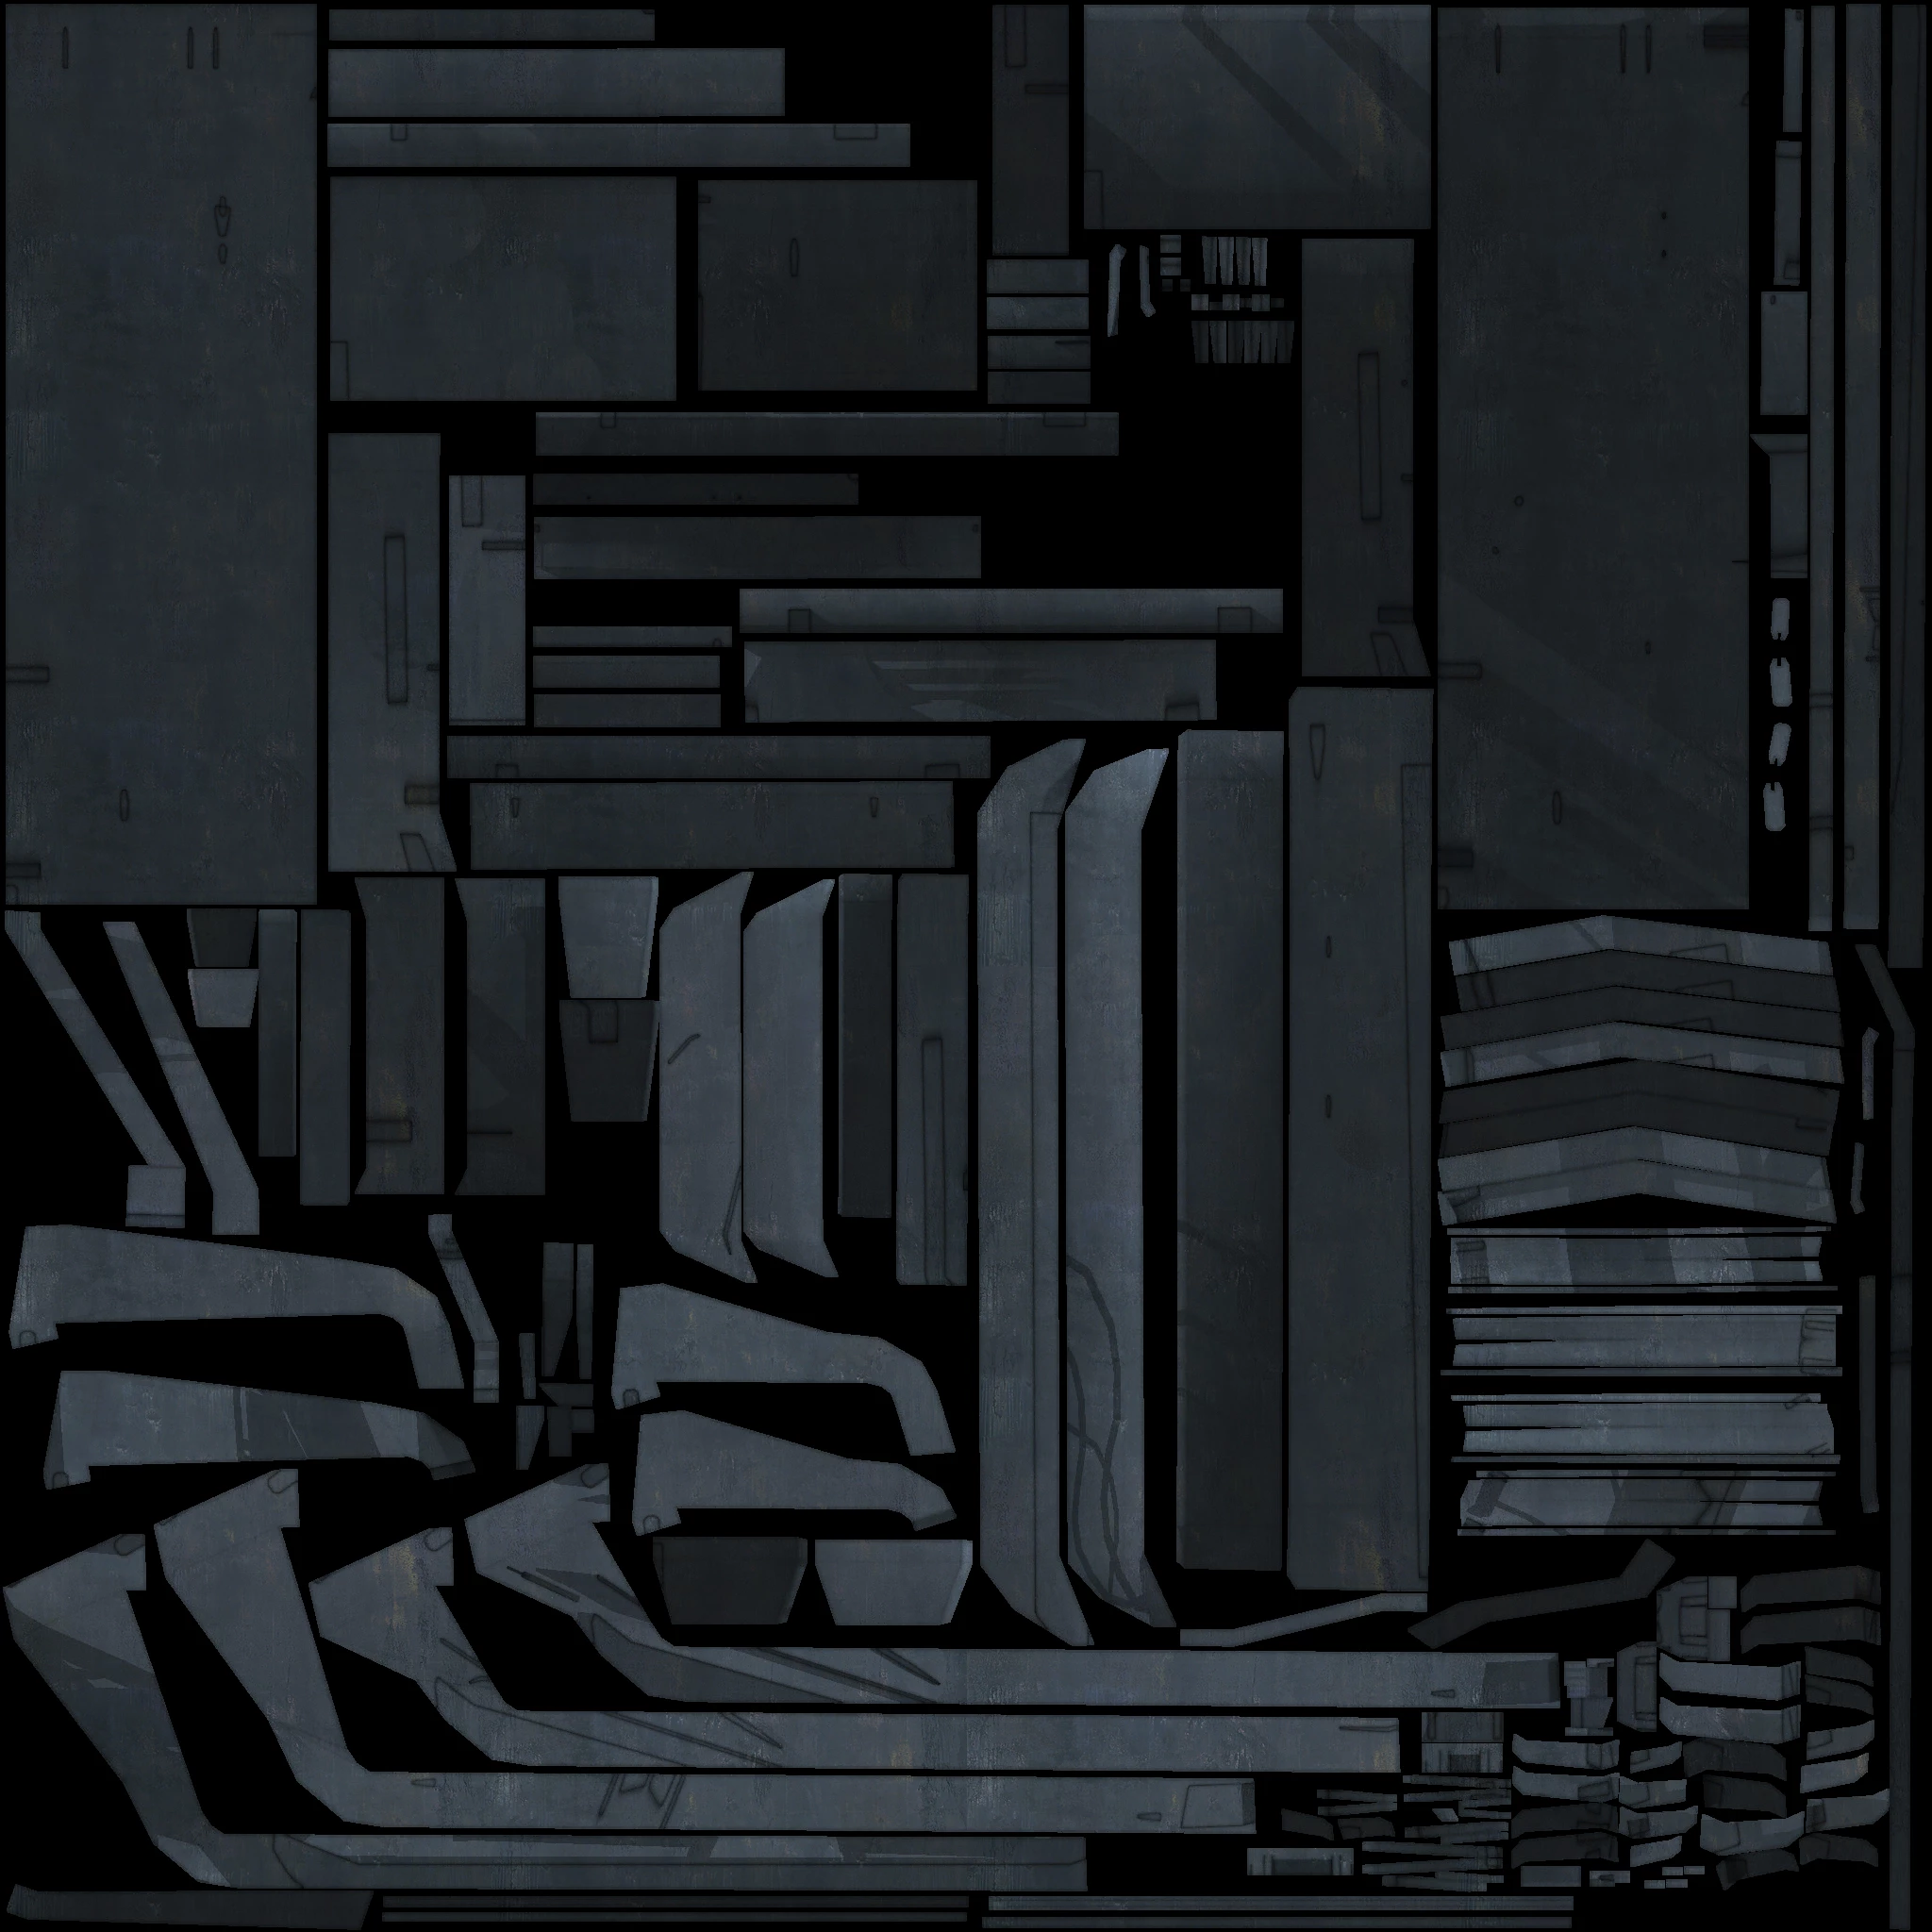
1. Start out with the high detailed version (your 2048 x 2048 pixel image) and make two copies of the image layer. Name the first (lower copy) 'Low Frequency' and the second (upper copy) 'High Frequency'
2. Select the Low layer and use filter Gaussian Blur with a radius of 6px
3. Select the High layer and use menu Image > Apply image
4 Set source layer to 'Low Frequency'
Channel RGB
Blending Subtract
Scale 2
Offset 128
Press OK
5. Set the blending mode of that High Frequency Layer to Linear Light
Those steps so far are standard for 8 bit Frequency separation and if you have done them correctly the image should look as it did when you started.
Now the extra steps for your issue
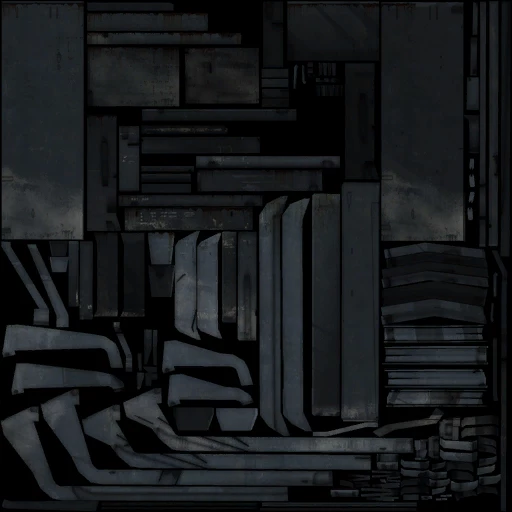
6. Open the second image (your 512 x 512 pixel image) and use Image size 400% to make it 2048 x 2048 px
7. Use Gaussian Blur with Radius 6px
8. Drag the blurred layer onto the other image (hold down shift so that it aligns)
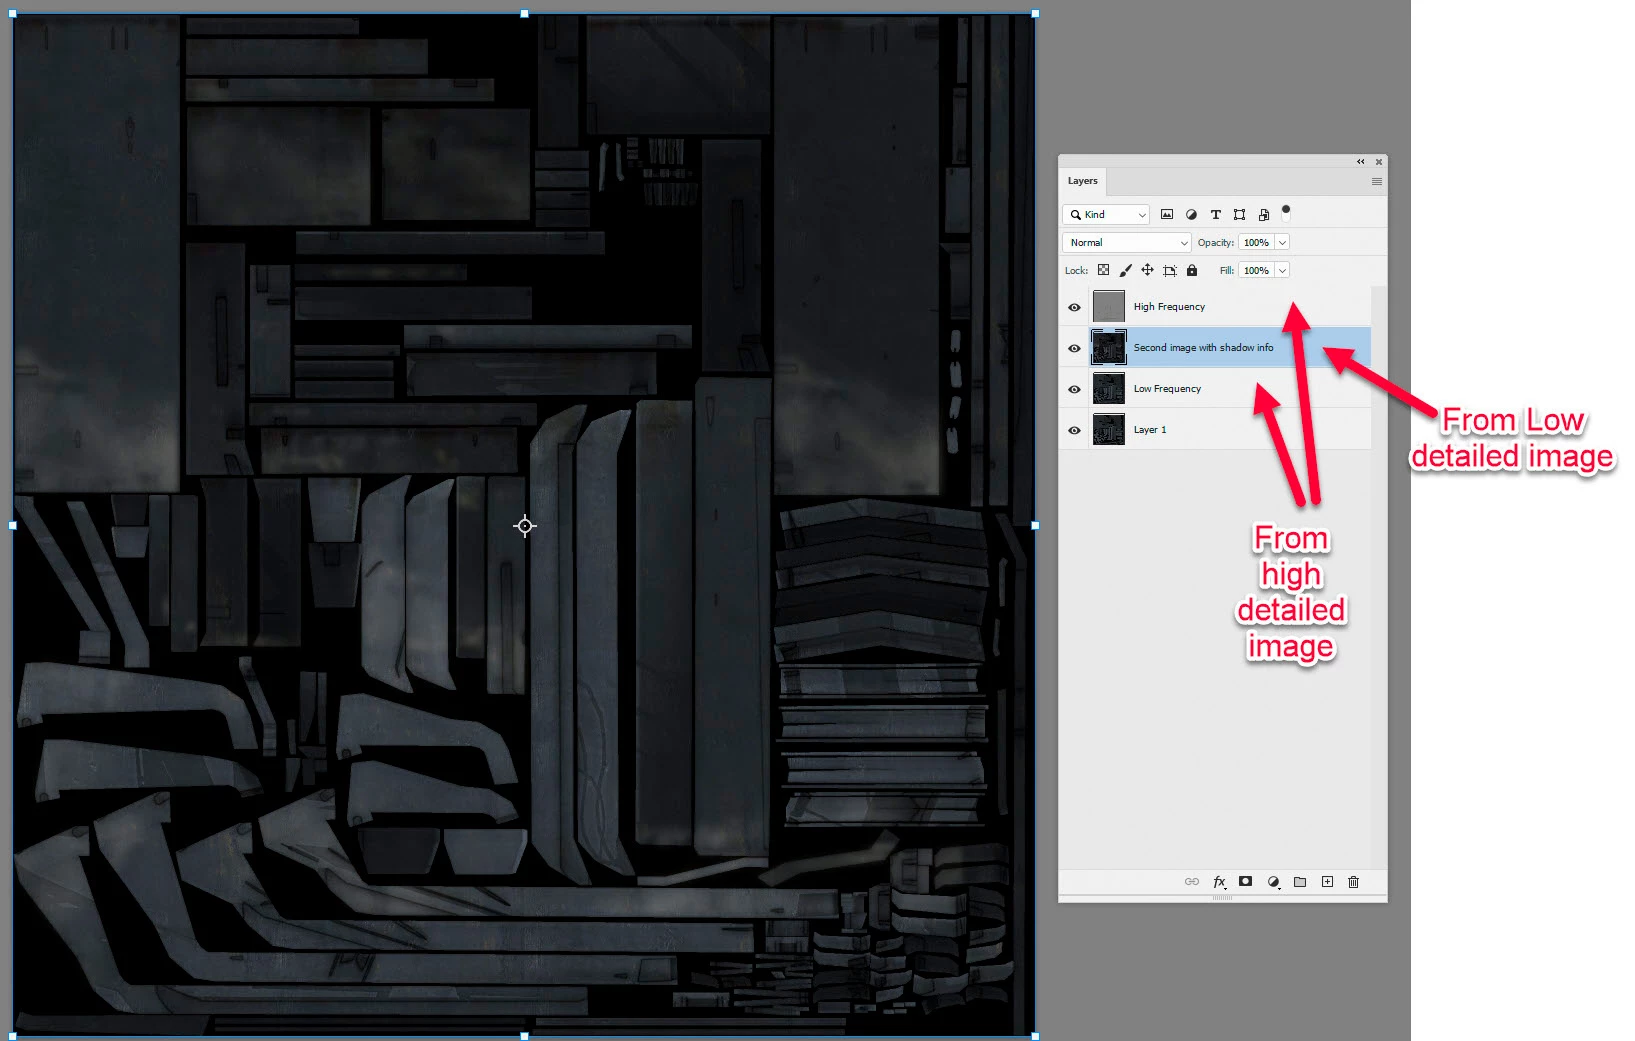
9. Move the layer in the layers panel so that is directly under the High Frequency layer
Now you have the high frequency detail from your first image with the lightness and shadows and low frequency information from your second image
Note : If you try this with 16 bit/channel images then use the following settings in Apply Image
Blending Add
Scale 2
Offset 0
Dave