Exit
  • Global community
    • Language:
      • Deutsch
      • English
      • Español
      • Français
      • Português
  • 日本語コミュニティ
  • 한국 커뮤니티
0

After Effects Root-Brush Help

Contributor ,
Oct 04, 2025 Oct 04, 2025

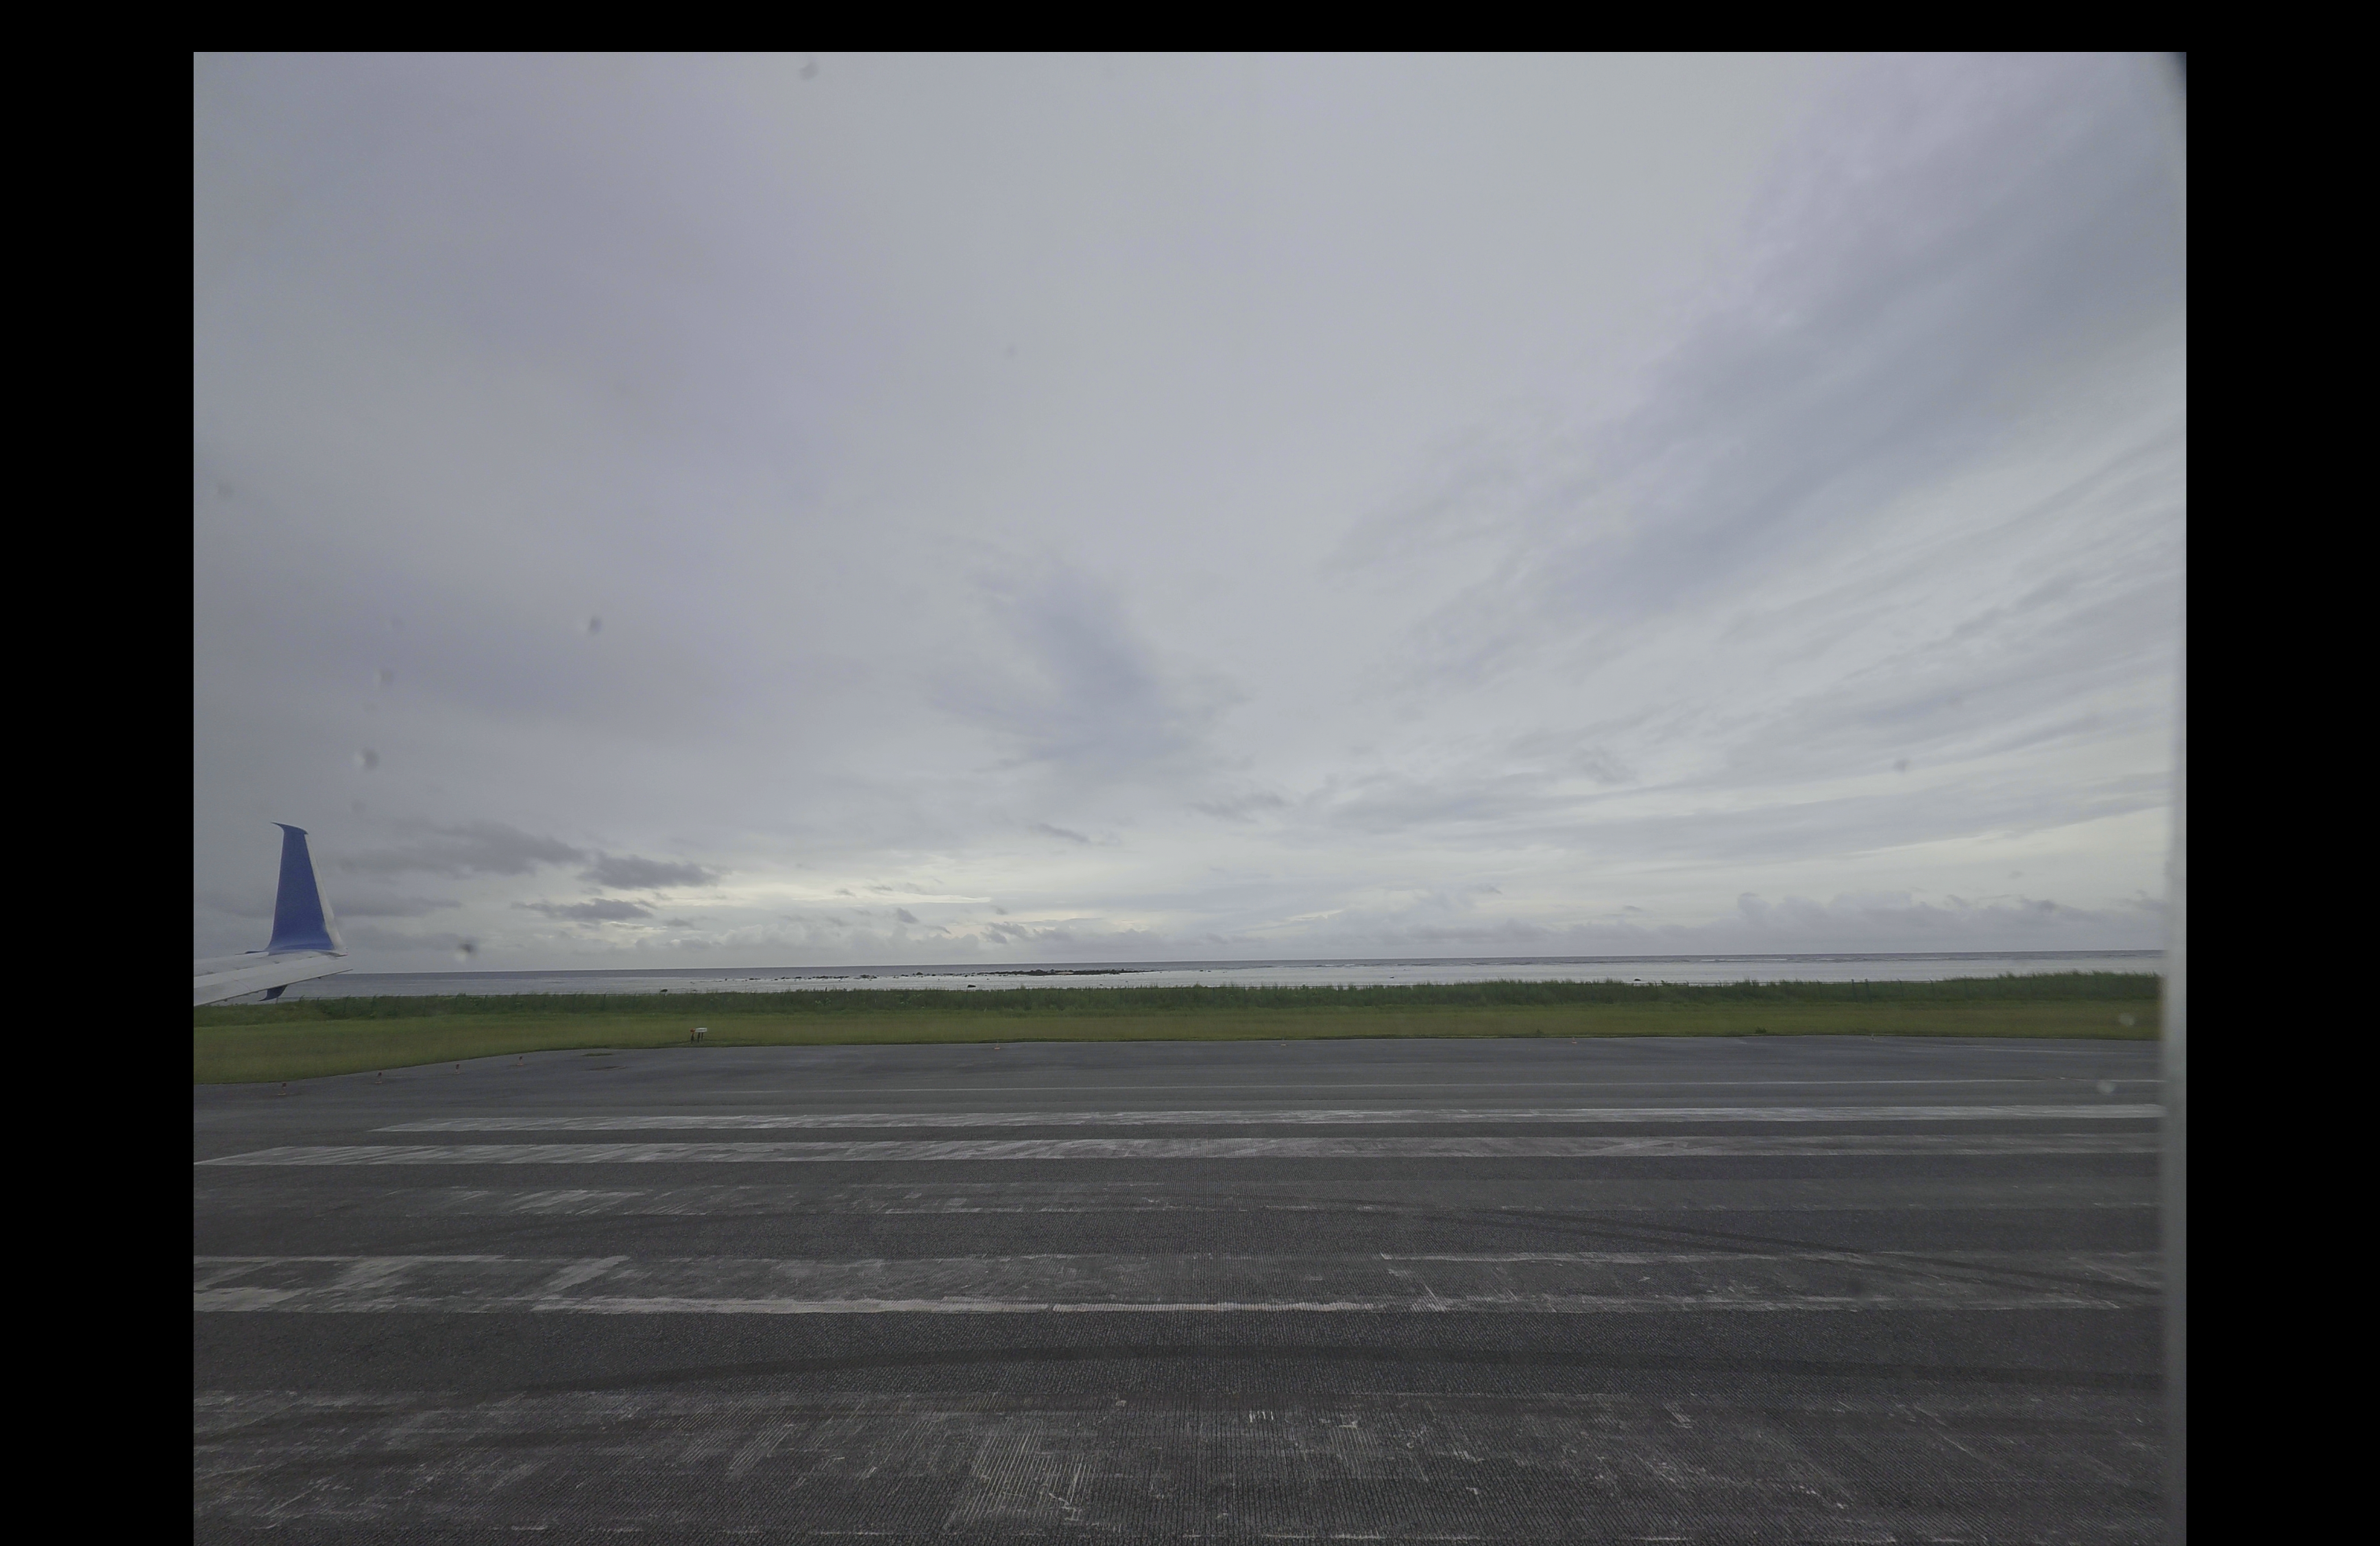
Hi all:  I'm still trying to learn the roto-brush tool but I'm having some growing pains that I can't find answers to online.  The video I'm working with is a plane taking off and flying out over the ocean.  Attached is a picture of the scene I'm working with.  It's a 20 second clip.  I'm trying to mask the grass, the water, and the sky, all separately.


1. I'm having trouble keeping the mask from moving or breaking up when rendering it.  I'm constantly adjusting it and having to train it.  While the roto-brush sees the lines perfectly when I do it frame by frame, once I playback it starts to shift slightly.  I understand that the line between the sky and the water is faint, but again, it sees it perfectly when I do it manually frame by frame.  Also, the line between the water and the grass seems to brake up and move as well.


2. I don't understand the concept of the Refine Edge tool.  I get that it's supposed to be used for jaged ends like hair or in my case, the grass line, but it only works when used on top of the roto-tool, not in place of.  My issue there is when the roto tool shifts or brakes up, I need to undo the Refine Edge Tool, then switch to the rotobrush and repair that, then go back to the refine edge tool and re-apply that.  I would have expected it to work in lieu of the roto-brush.


3. My third issue is when I freeze the layer after rendering it.  After spending much time refining the brush, looking at every couple of frames, and making sure it's just right, when I go to freeze it it still goes haywire and doesn't hold all of the changes that I made while in render mode.


I think I'm looking to learn more about how the tools work then how to apply them to this specific video.  I have a few more videos I'd like to use the toolset on.  Any help is appreciated.


Thanks

TOPICS
How to
50
Translate
Report
Community guidelines
Be kind and respectful, give credit to the original source of content, and search for duplicates before posting. Learn more
community guidelines
Community Expert ,
Oct 04, 2025 Oct 04, 2025

There's a lot going with kind of video. My work flow is to advance frame by frame in the layer panel and correct the errors as they come up (if they do) It is time consuming but the results turn out well.

Translate
Report
Community guidelines
Be kind and respectful, give credit to the original source of content, and search for duplicates before posting. Learn more
community guidelines
Contributor ,
Oct 04, 2025 Oct 04, 2025

Thanks Rob.  I'll consider that.  It does make sense.

should I redraw the mask in every frame, or only inspect and redraw errors only?


Any answers to my specific questions?  I'd still like to have a better understanding of what I"m doing.


Translate
Report
Community guidelines
Be kind and respectful, give credit to the original source of content, and search for duplicates before posting. Learn more
community guidelines
Community Expert ,
Oct 05, 2025 Oct 05, 2025
LATEST

The trick to making Rotobrush work is to simplify as much as you can before you start by adding garbage mattes, then increasing the contrast and detail in the shot before you begin running Rotobrush. Here's my workflow.


  1. Duplicate the footage layer
  2. Rename the top duplicate Roto
  3. Add a. shape layer above the Roto layer named Garbage Matte
  4. Apply effects to the Roto layer to increase the contrast, color differences, and edge detail in the shot
  5. Select the Garbage Matte and Roto layers, pre-compose, and name it Roto Matte
  6. Open the Roto Matte layer (the Pre-comp) in the Layer Panel
  7. Run, then freeze Rotobrush

If you spend more than about 15 minutes working on the Roto Matte layer or animating masks, consider pre-composing the layer again. Accept the name "Roto Matte Comp", move all attributes to the new comp, and then open the "Roto Matte Comp" and choose "Pre-render" from the Composition menu. That will open the Render Queue and allow you to render the timeline, replacing it in your main comp, thereby saving you from slowdowns or other problems caused by the huge amount of resources required to keep Rotobrush running when rendering your main comp.


I've been considering making a tutorial on this workflow for years. Prepping a shot for Roto, keying, or any matte work, especially one that was not shot and lit with separating elements in mind, is what professionals always do. Once you have a good matte generated, you can then produce a seamless and believable composite.


If you check your shot in the Color workspace and examine the scopes, you'll see that a lot of information is missing. Doing the best you can to improve that detail will help you create a decent matte. That is always the first step you should take before starting to work on the shot. 

RickGerard_2-1759678318984.gif

You'll now have a better chance of isolating elements in the shot and creating a matte.

Translate
Report
Community guidelines
Be kind and respectful, give credit to the original source of content, and search for duplicates before posting. Learn more
community guidelines