

- Home
- After Effects
- Discussions
- clipping mask problem in After Effects?
- clipping mask problem in After Effects?
clipping mask problem in After Effects?

Copy link to clipboard
Copied
I have a ball and I want to apply an inner shade to the ball but i'm having a problem
How can I hide anything that's outside the red ball
I want the blue circle to only appear inside of the red ball
(also I want to keep the colors the same)


 7
Replies
7
7
Replies
7

Copy link to clipboard
Copied
Depending on how you're attempting to apply the shading, you could use track mattes (How to use Track Mattes in Adobe After Effects - Tutorial - YouTube) or if these are built with shape layers, you could use Merge Paths to isolate the portion of the shapes you want visible. Let me know if you need further direction on this.
Copy link to clipboard
Copied
Regarding the Mattes: In the video tutorial the color of the text goes away and is replaced entirely by the other layer. I want to keep the red circle the same and show the portion of the blue circle that's inside the red circle.
I'm using shape layers. how could i isolate the portion of the blue circle that's inside the red circle and cut out the rest? I'm unfamiliar with Merge Paths.
Copy link to clipboard
Copied
You can have multiple shapes within a single shape layer, and all will continue to have their own internal Transform controls, if you need to animate them.
The red circle will be in its own shape group, then you can duplicate that, add another ellipse & scoot it over, and use Merge Paths (you get this from the little Add flyout menu) (set to intersect) to trim this new circle to display only where they overlap. Set the fill to blue, and voila.
If you need additional direction on that, I'd suggest looking up some tutorials on shape layers and/or merge paths.
Shape layers are the easier way to approach this in my opinion - doing this with mattes means you'll need an extra copy of the red circle to get the look you're after.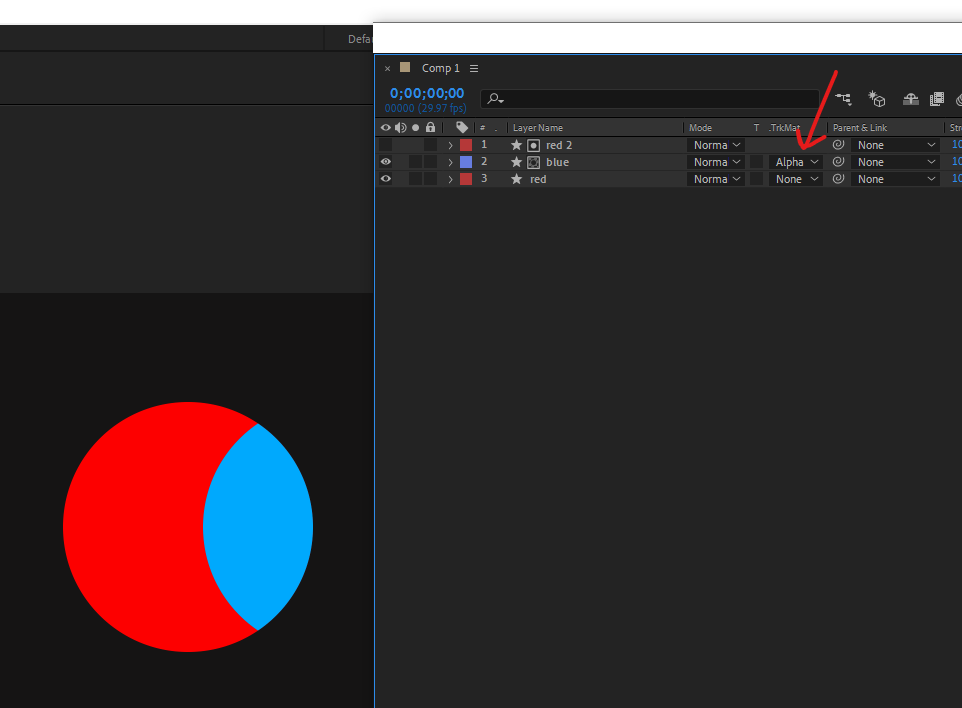

Copy link to clipboard
Copied
Kyle Hamrick's explanation left out a few things. Here's the workflow I would use.
- Use the Ellipse tool to draw two ellipses and create a new shape layer
- Press the U key twice to reveal all of the modified properties in the new shape layer
- Use the Add button to add Merge Paths
if no shapes are selected Merge Paths will be added to the bottom of the stack and you will get a new fill and stroke color based on the fill color of the top ellipse (shape) - Duplicate the top Ellipse and drag it below the Merge Paths fill and stroke then change the Ellipse 3's color
- The Fill and Stroke for Ellipse 1 and Ellipse 2 are now meaningless so you can delete them, the color comes from the Merge Path's Stroke and Fill color (if you don't need a stroke in the design you can also delete the Stroke from Merge Paths
- Set Merge Paths 1 Mode to Subtract
- Press the U key twice again to reveal all modified properties
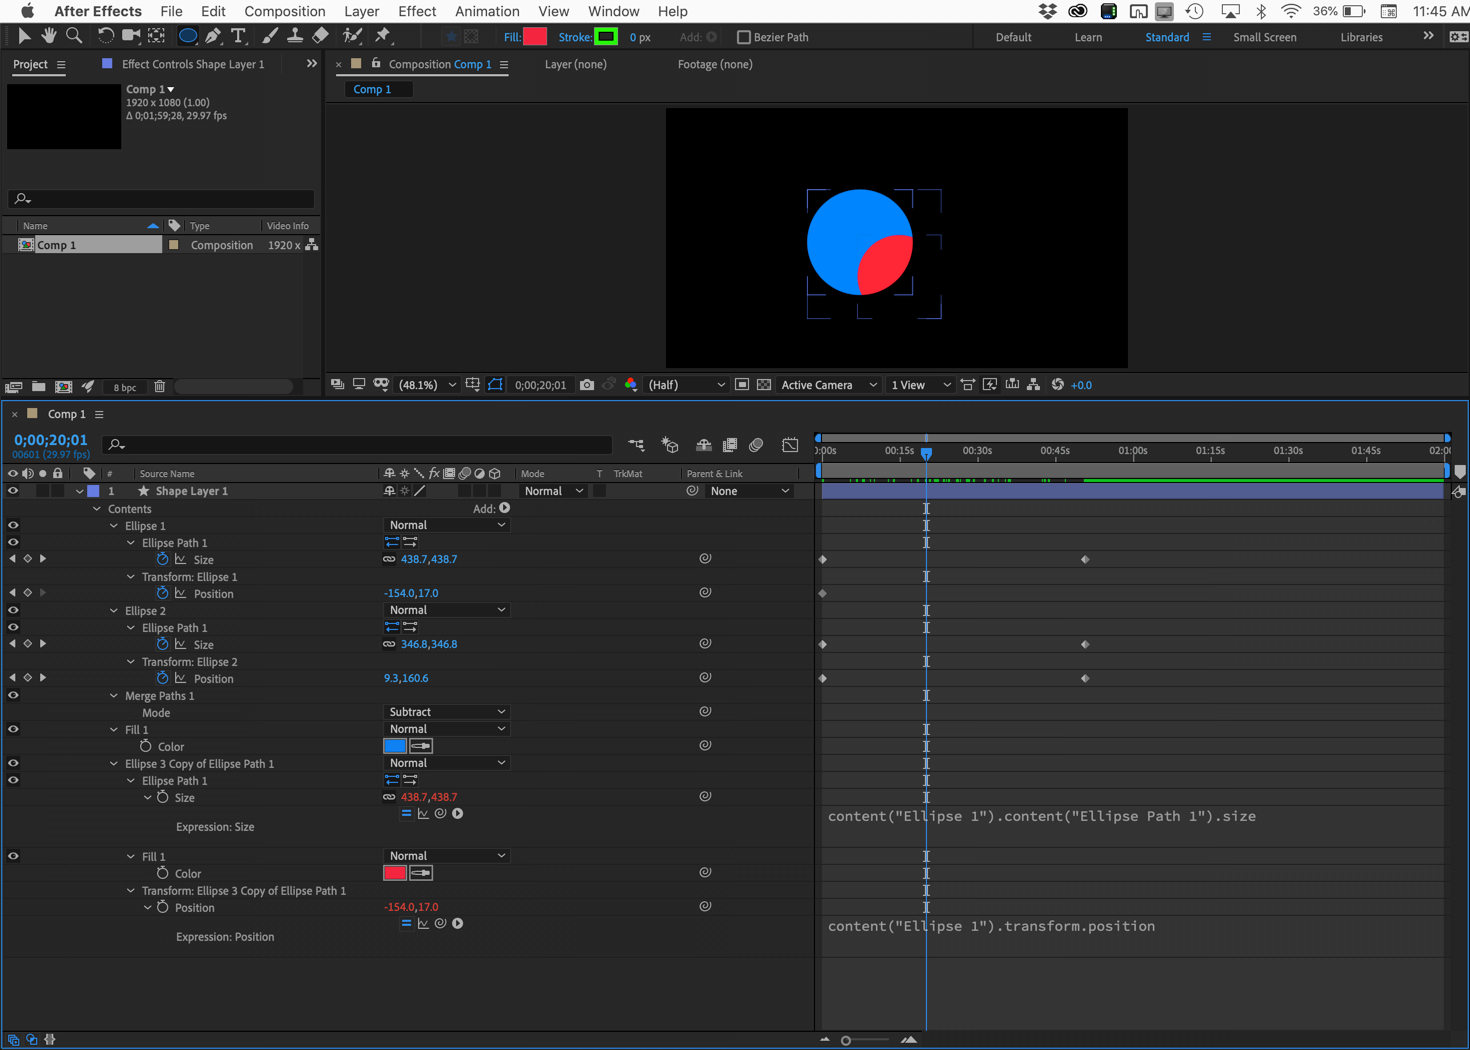
you should see two fill colors and the shape transform and size properties - So you can animate the position and size of the ellipses add an expression to both the Size and the Transform Ellipse 3 Position property that ties them to the Top Ellipse Size and Transform Position property
Just Alt/Option + click on the stopwatch and drag the expression Pickwhip to the matching property - Animate the position and or size of the two top Ellipse shapes to complete your animation.
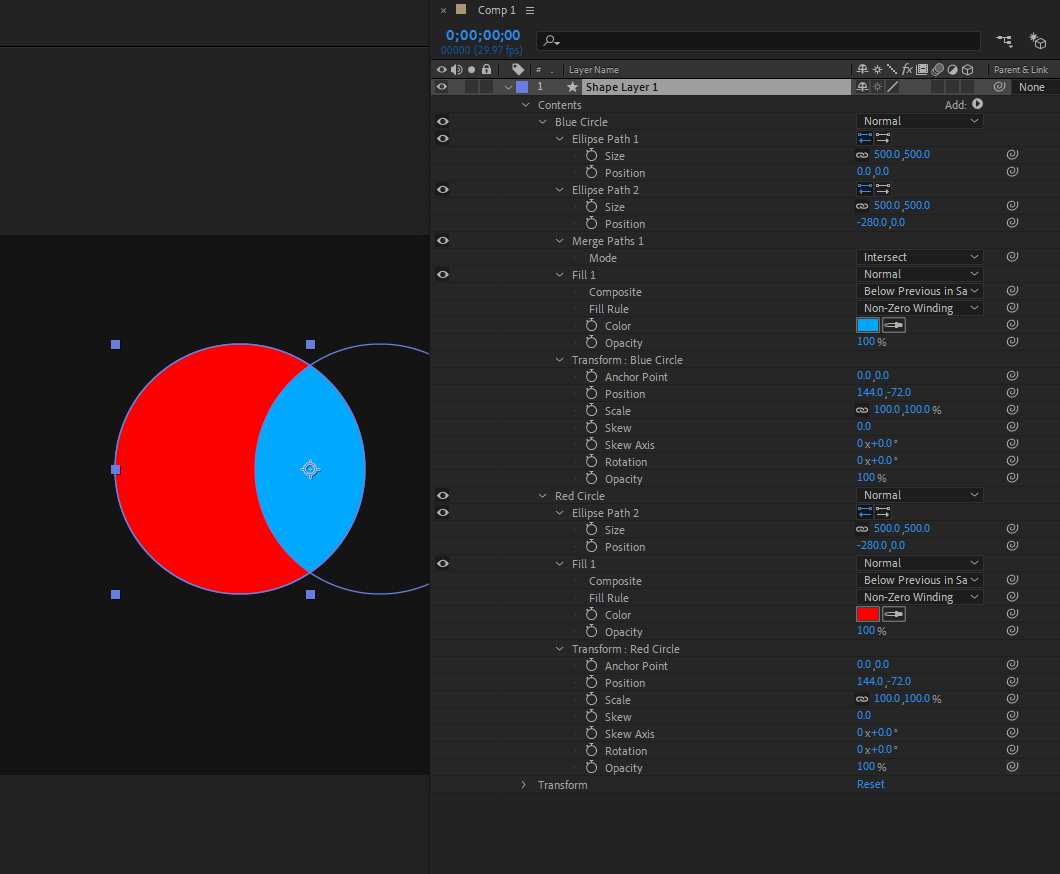
I think I have included all the steps. Here's what the shape layer will look like. I'm showing you everything that I did so you can duplicate it.
When working with Shape layers things can get awfully messy very quickly. It is a good idea to delete anything you don't need. That's why I deleted the unused Fill and Stroke above the Merge Paths operator.
Copy link to clipboard
Copied
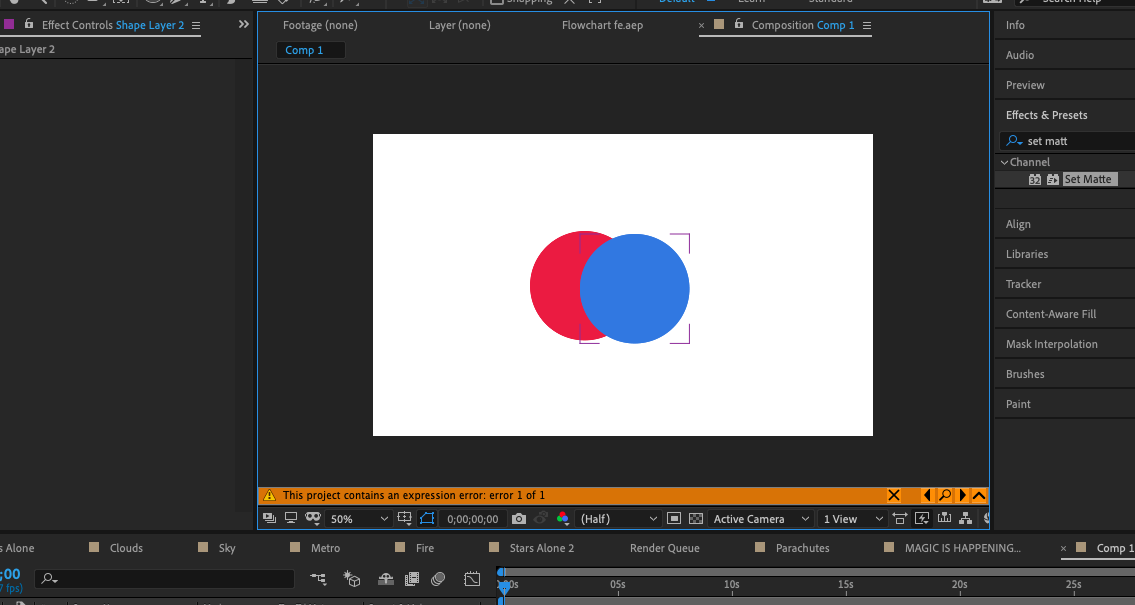
Thank you both so much!!
I just followed your instructions and It worked wonderfully however i ran onto a small problem
the edges of the white circle that is below the overlapping eye lid are visible (i'm making a cat animation  )
)
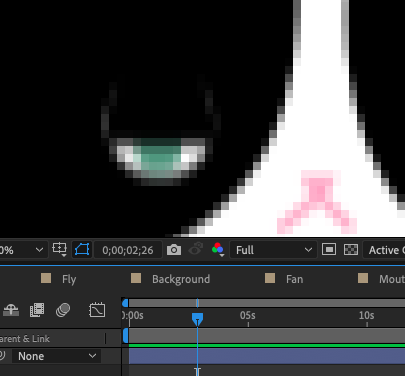
Is there a way to fix this?
Copy link to clipboard
Copied
Looks like a size and position issue. Cropped screenshots are nearly useless in diagnosing the problem. We need to see the modified properties of the layers involved.
I think you are making this task a lot harder than it needs to be. A little more information would be helpful. If you are working on an animation of a cat I think you would be a lot better off if you took a look at these sets of tutorials. I posted these links earlier this month:
Dan Gies has a pretty extensive set of tutorials on the Puppet Pin tool. Here is his Series Overview:
A few hours digesting this series will save you weeks of fiddling around animating shapes.
Copy link to clipboard
Copied
You were right! it was the size. Thank you so much. I will look into that.

Find more inspiration, events, and resources on the new Adobe Community
Explore Now
 AdChoices