Xterkater
Participant
October 1, 2018
Question

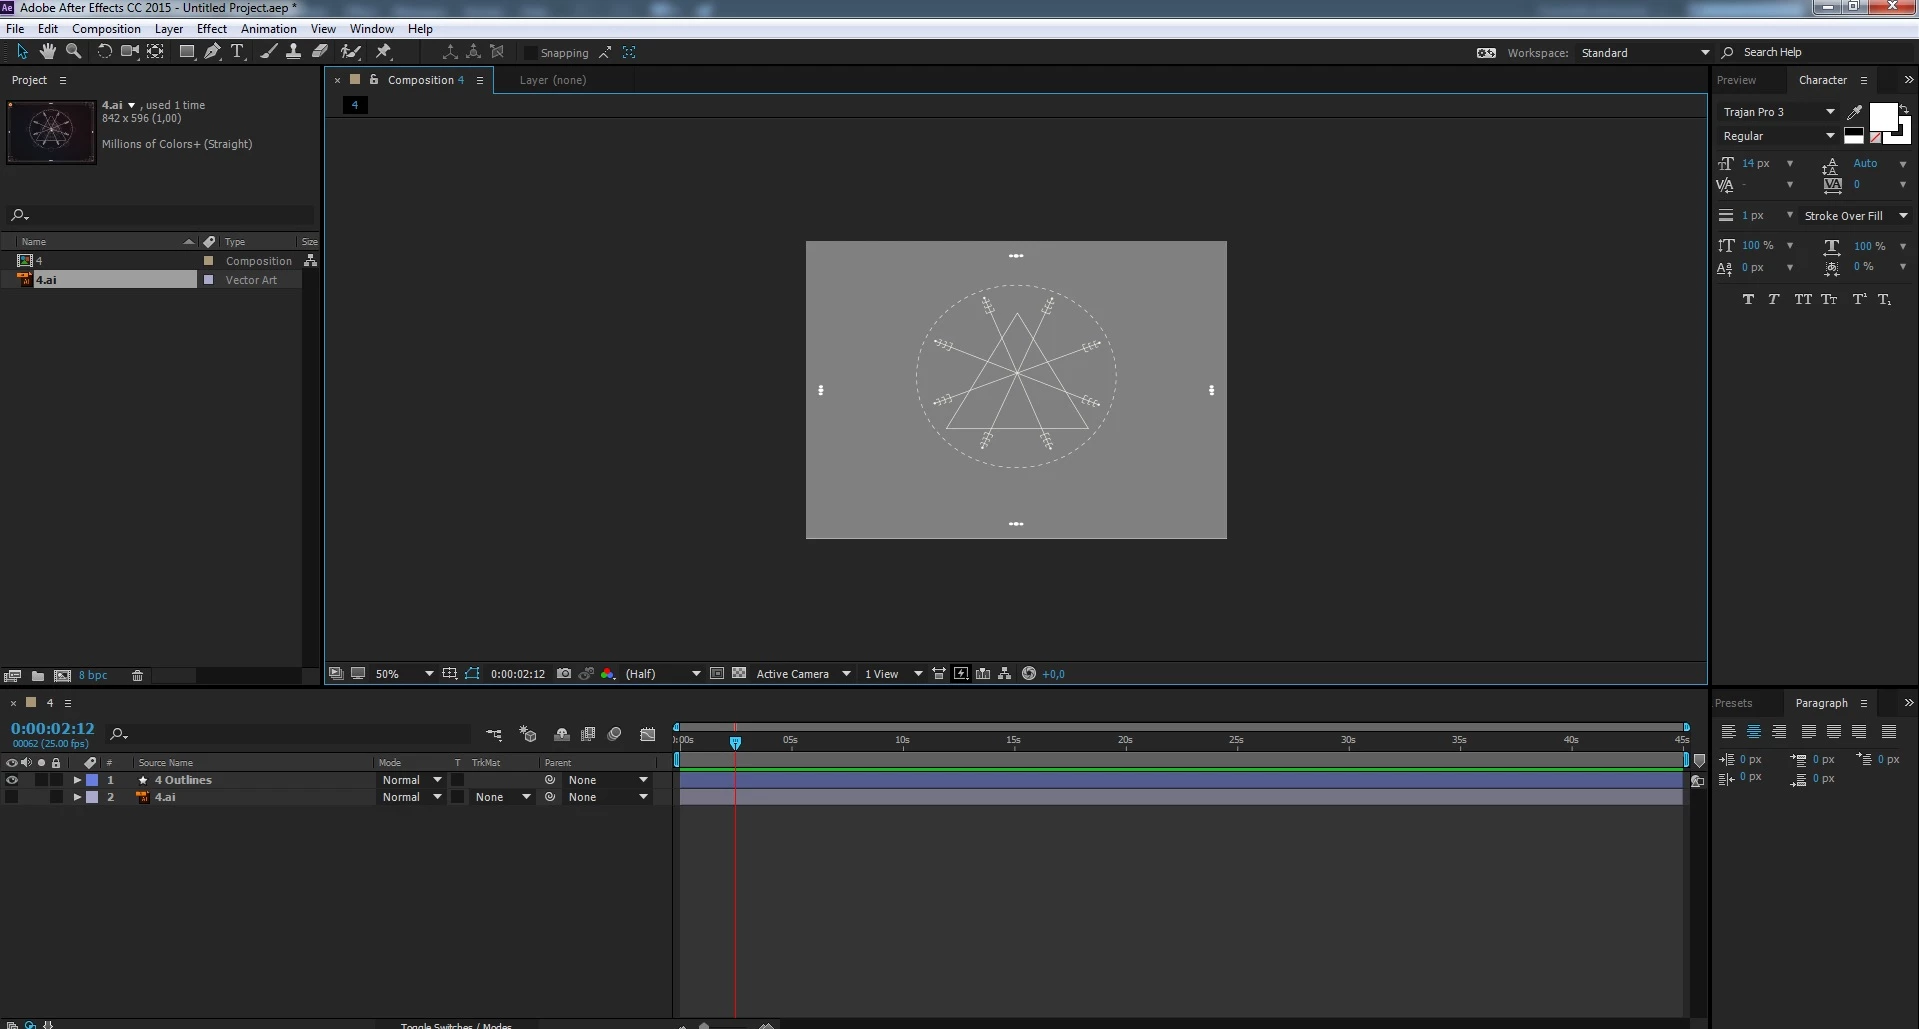
Grey background appears after 'create shape from vector layer''

  • October 1, 2018
  • 9 replies
  • 28589 views

Hey all,

I'm busy with a schoolproject and I want to make a teaser for something. In the artwork there are some things I want to animate really simple in After Effects. I'm only talking about rotating 5 á 6 things.

So in the first image you can see I've grouped everything in Illustrator. Laag 1 (layer 1) is the background and Laag 2 (layer 2) contains the things I want to animate. After that I just saved it as an Illustrator file and imported it in After Effects.

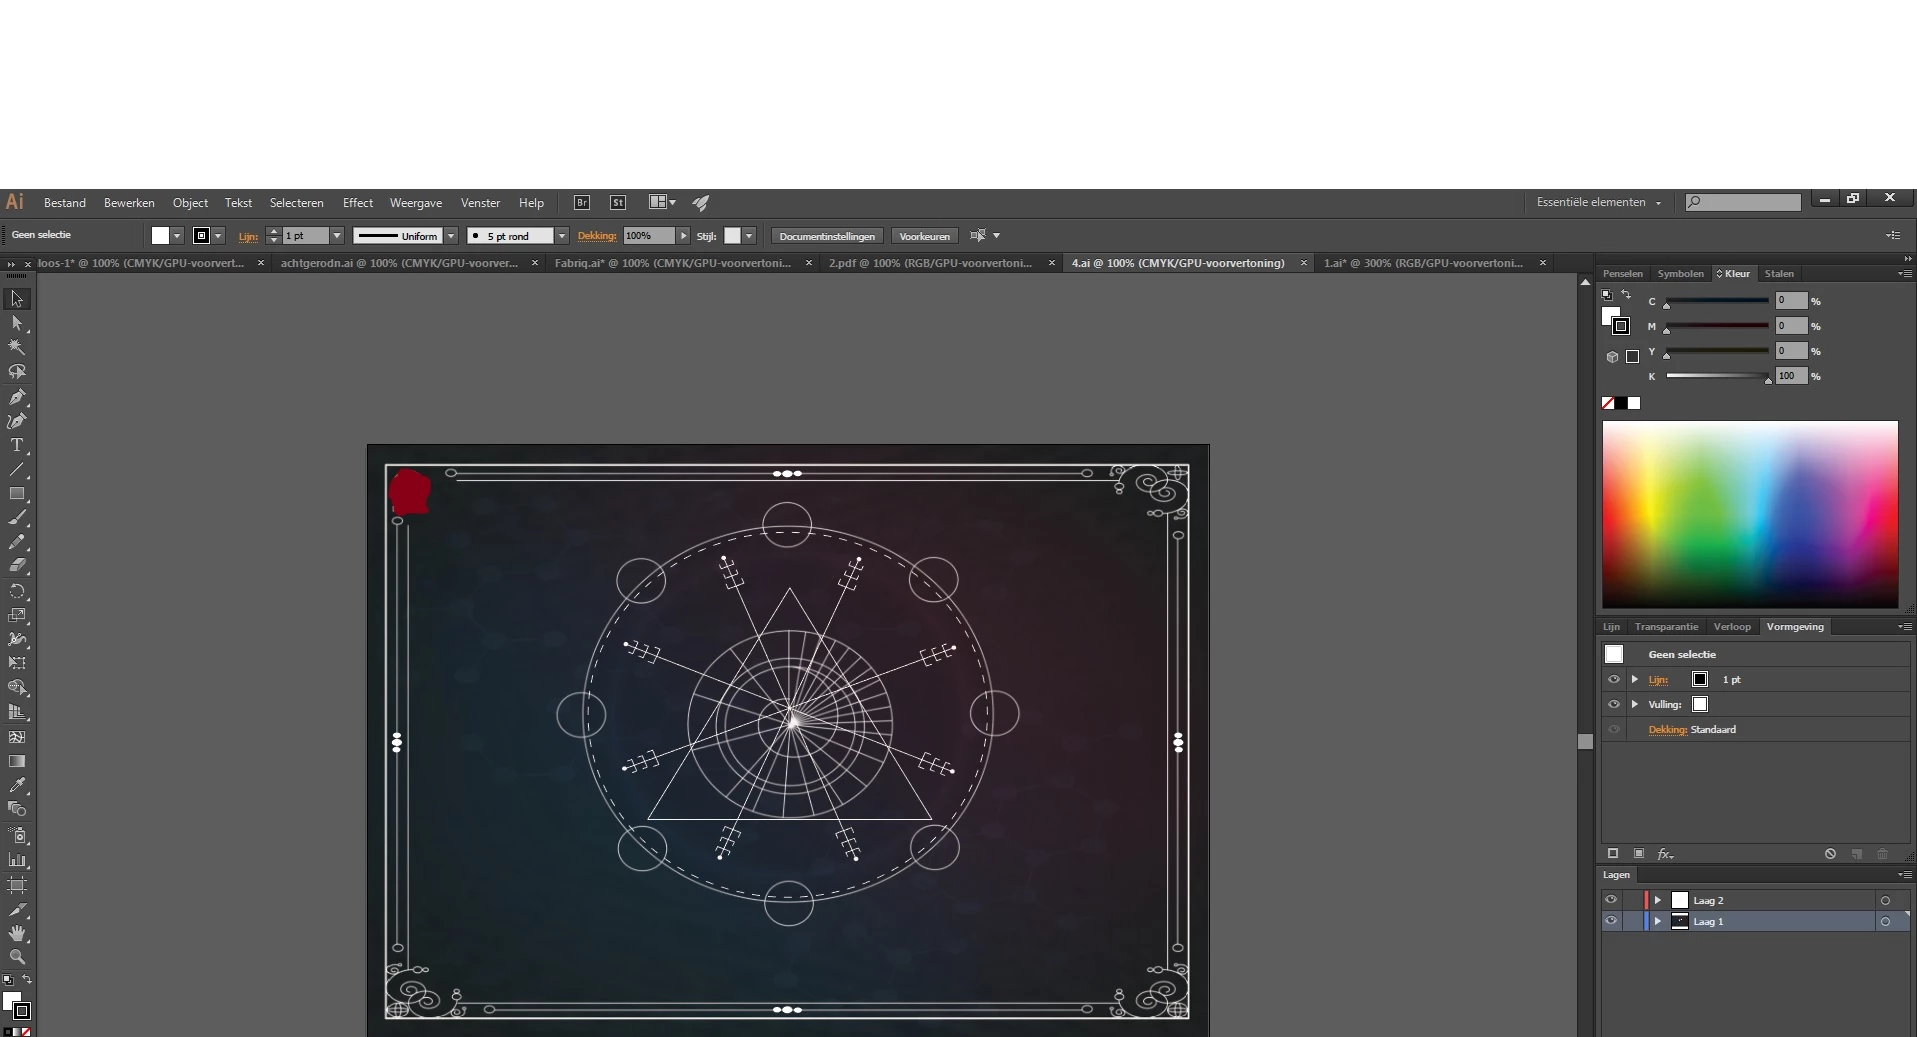
After I import it, I click on 'create shape from vector layer'. After Effects does let me animate the things, but also he gives the whole a gray background. But ofcourse I want to maintain the original background.

Anyone who can help me? I just want to maintain the original background and only animate the things that you are seeing in the second image.

    9 replies

    Mariel.013
    Participant
    April 3, 2023

    So for future generations who may come across this problem: just draw a different shape in Illustrator and re-import it into AE until something sticks.


    I had two different shapes in two different layers in AI, both compound paths, both filled with gradients, and one of them I could create a vector shape with, while the other one became a grey rectangle the size of the entire background.

    MAYBE something I did so made the problematic shape a ‘shape expanded’, so maybe look into that: redraw your shape making sure you never modify the anchor points. But I can’t ascertain what goes wrong: just keep re-importing until it accepts the path and don’t take it personally.

    Klassic Adventures
    Participant
    November 9, 2021

    I am a new AE user so this might not be the cleanest solution, but it is definitely effective.


    I was running into the issue when applying the Vegas effect to my logo. When I converted the logo to a vector layer, it grayed everything out and I lost all the colors I had used when designing the logo in AI. 


    After trying a bunch of techniques, I decided to re-import my logo (keeping the original logo I had initially imported and the Vegas effect layer too) and place it on top of the existing one. I made sure to copy over the effects and key frames from the original, now grayed-out logo, and then hide the original so I was left with the new logo, all the effects from that first logo, and the Vegas effect layer. 


    While this is not the most "professional" method, this discussion clearly shows that there isn't a simple solution that allows you to either save the color from the imported work or keep you from having to re-color within AE. I have finished the full logo animation and can't even tell I made the secondary import. Everything looks amazing.


    Don't know if this will work for everyones' case since I only was running into the issue with the Vegas effect, but hope it can help some people. Cheers!


    p.s. Yes, the logo I imported did have some gradient color schemes.

    Participant
    September 28, 2021

    Delete your .html file to force Animate to create a new one. This solved it for me.

    Participant
    February 13, 2021

    hey Xterkater

    i have same issue in this type of vector

    please guide me if you find any solution.


    Participant
    September 12, 2020

    i have the same problem and the solutions provides don't seem to work please help


    Participant
    September 14, 2020

    For me, the problem was that AE didn't like certain objects imported from Illustrator. Two types (for me):

    - objects with an "Outer Glow" effect applied

    - objects with a gradient as a fill


    Once I removed the Outer Glow effects and changed the gradients to normal fills, everything imported fine

    Community Expert
    September 14, 2020

    Outer Glow is a raster effect so the Vector layer becomes pixels. Gradient fills in AI are created and coded completely differently than gradient fills for shape layers so they always turn into a gray solid.


    There are only 3 reasons to convert a vector layer to a shape layer. You need to animate the path, you need to use shape layer animators like Repeater, or you want to make the layer 3D and use C4D Rendering or C4D export to Cineware to extrude the shape layer. If you are not using one of those workflows converting a vector layer is a waste of time and will most likely make previews and rendering take longer.

    lambiloon
    Community Expert
    Community Expert
    October 2, 2018

    Hi yes its simple just remove old layer create new fill layer....Thanks.

    Ali Sajjad / Graphic Design Trainer / Freelancer / Adobe Certified Professional
    default7ylmdy9n60ho
    Participant
    February 5, 2021

    isso não resolve o problema de converter e ficar cinza

    OussK
    Community Expert
    Community Expert
    October 1, 2018

    Try to convert your Illustrator file to RGB than import it to After effects.

    to convert it to RGB on illustrator go to File/document color mode/RGB

    Community Expert
    October 1, 2018

    Converting a vector file to a shape layer will only retain the fill color of the shape if there are no gradients or effects applied to the layer. 99% of the time converting is unnecessary. The only reason to convert a vector layer to a shape is to add shape animators, animate the path, generate a path that you can copy and paste to a motion path, or creating an extruded layer using C4D rendering engine or Ray-Traced rendering if you dare. I've never seen any other reason to go through the conversion.

    Participant
    May 17, 2019

    Rick, one reason would be to have a purely vector output from the Bodymovin plugin. AI layers will be output as image files otherwise.

    Dave_LaRonde
    Inspiring
    October 1, 2018

    Why are you making a shape layer?  Can you not just animate the Illustrator Layer 2?

    Mohammad.Harb
    Community Expert
    Community Expert
    October 1, 2018

    type  Fill in the search field in the timeline panel, then Delete that fill