Exit
  • Global community
    • Language:
      • Deutsch
      • English
      • Español
      • Français
      • Português
  • 日本語コミュニティ
  • 한국 커뮤니티
0

Help with 3D and Camera - how to position the camera, and point of interest not behaving.

Community Beginner ,
Jul 11, 2024 Jul 11, 2024

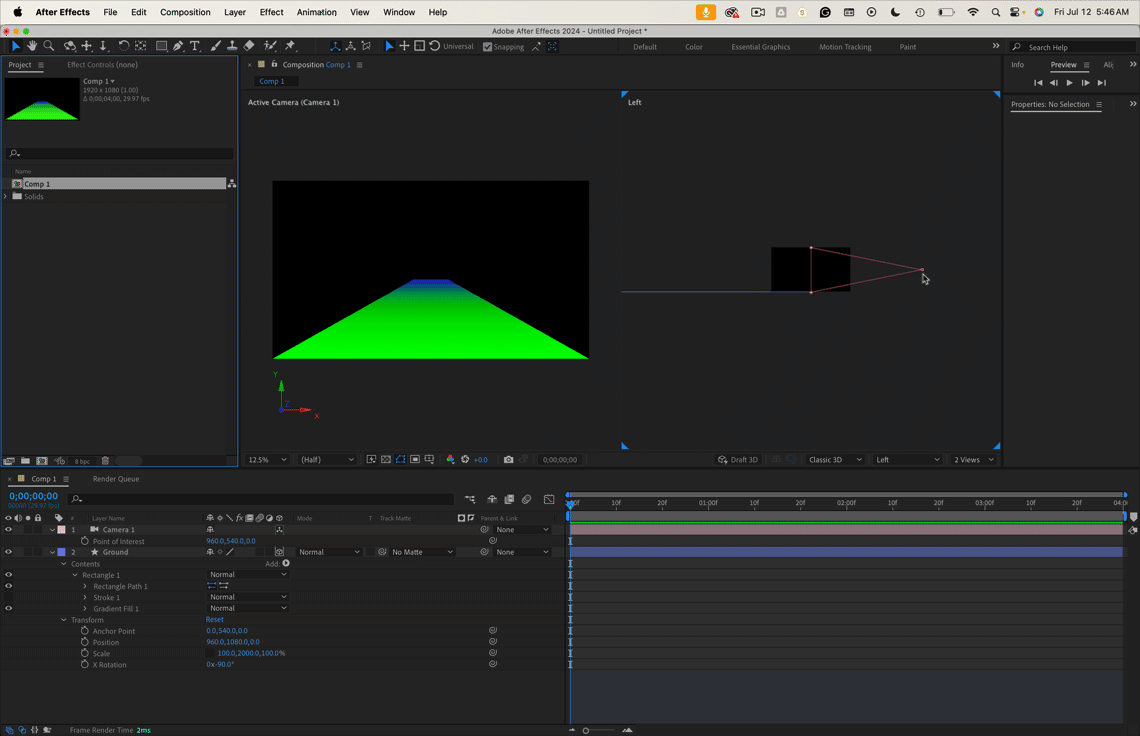
i am having trouble positioning the camera through my scene. i have set up a 3d maP with a bunch of landmarks on it (all in 3d) and I want to fly though the scene.

I am having a huge amount of trouble with using the camera controls and I can’t find any good video tutorials on specifically how to use the camera control tools.

Also, my two-node camera is not rotating around the point of interest like it should. I have checked all my settings and restarted it but it still won’t stick the point of interest in place like it should. I have tried one-node camera and it’s not that wither.

Any helpful links would be gratefully received

Thanks

TOPICS
Error or problem , How to
2.2K
Translate
Report
Community guidelines
Be kind and respectful, give credit to the original source of content, and search for duplicates before posting. Learn more
community guidelines

correct answers 2 Correct answers

Advocate , Jul 12, 2024 Jul 12, 2024

Try this:

  1. Add a null layer and enable 3D for this layer.
  2. Position the null layer at your desired POI.
  3. Add a camera and position the POI at the null layer's position.
  4. Parent the camera to the null layer.
  5. Now you can rotate the null layer and move the camera position.
    The POI will always remain fixed to the null layer.
Translate
Community Expert , Jul 12, 2024 Jul 12, 2024

If the Camera is selected in a second view, moving the camera moves both the Camera and the Point of Interest. After Effects has always worked this way. 


If the Camera is not selected, you will notice a different cursor when you click and drag on the camera body. There is a little white square around the Camera body, and you can now move the camera around without moving the Point of Interest.

RickGerard_0-1720785065813.gif

When working on a project like yours, I almost always add a 3D POI null to the stage (Comp) and use a

...
Translate
Community Expert ,
Jul 11, 2024 Jul 11, 2024

Does this help?

The most efficient workflow depends on your scene layout and design goals. It's hard to recommend the most efficient workflow without knowing exactly what you are trying to accomplish. Post some screenshots showing a couple of comp views so we can see how you have laid out the layers.

Translate
Report
Community guidelines
Be kind and respectful, give credit to the original source of content, and search for duplicates before posting. Learn more
community guidelines
Community Beginner ,
Jul 11, 2024 Jul 11, 2024

Hi Rick

Thanks for your reply. I had seen that clip in anpther thread - thank you for digging it out for me. It helps - I am doing much better with camera control, so that's a plus!

The immediate problem I am having is that the point of interest in the 2-node camera isn't locking onto the POI like it should. I can't understand why, but it must be my error - I have access to 2 separate computers with AE and i have the same issue with both.  I'll take a screen capture and post it if I can. 


Translate
Report
Community guidelines
Be kind and respectful, give credit to the original source of content, and search for duplicates before posting. Learn more
community guidelines
Community Beginner ,
Jul 11, 2024 Jul 11, 2024
Translate
Report
Community guidelines
Be kind and respectful, give credit to the original source of content, and search for duplicates before posting. Learn more
community guidelines
Advocate ,
Jul 12, 2024 Jul 12, 2024

Try this:

  1. Add a null layer and enable 3D for this layer.
  2. Position the null layer at your desired POI.
  3. Add a camera and position the POI at the null layer's position.
  4. Parent the camera to the null layer.
  5. Now you can rotate the null layer and move the camera position.
    The POI will always remain fixed to the null layer.
Translate
Report
Community guidelines
Be kind and respectful, give credit to the original source of content, and search for duplicates before posting. Learn more
community guidelines
Community Beginner ,
Jul 14, 2024 Jul 14, 2024

This is fabulous - thank you so much for the effort you went to - it's exactly what I needed! Thank you!!

bec

Translate
Report
Community guidelines
Be kind and respectful, give credit to the original source of content, and search for duplicates before posting. Learn more
community guidelines
Community Expert ,
Jul 12, 2024 Jul 12, 2024

If the Camera is selected in a second view, moving the camera moves both the Camera and the Point of Interest. After Effects has always worked this way. 


If the Camera is not selected, you will notice a different cursor when you click and drag on the camera body. There is a little white square around the Camera body, and you can now move the camera around without moving the Point of Interest.

RickGerard_0-1720785065813.gif

When working on a project like yours, I almost always add a 3D POI null to the stage (Comp) and use a simple PickWhip expression to tie the Camera's point of interest to the Null. 

temp = thisComp.layer("POI Null").transform.position;
[temp[0], temp[1], temp[1]]

This allows me to see the path that the Point of Interest will follow in the Composition Panel, which makes fine-tuning that path much easier. That is the only way to visually check the path of the point of interest. It makes moving the camera and adjusting the framing much easier and more accurate.

Translate
Report
Community guidelines
Be kind and respectful, give credit to the original source of content, and search for duplicates before posting. Learn more
community guidelines
Community Beginner ,
Jul 14, 2024 Jul 14, 2024

yesssssss!! omg thank you so so much!! the camera controls :

If the Camera is not selected, you will notice a different cursor when you click and drag on the camera body. There is a little white square around the Camera body, and you can now move the camera around without moving the Point of Interest.

This was exactly the info i needed. I knew it must have been my error - something I don't understand about the UI, but I just could not get to the bottom of it. It's one of those things that only experience (or asking the right question) can fix. i just couldn't get to the bottom of it.

I'll also use a null to control the camera. great advice.
thanks so much (again)!

Cheers

Bec

Translate
Report
Community guidelines
Be kind and respectful, give credit to the original source of content, and search for duplicates before posting. Learn more
community guidelines
Community Expert ,
Jul 14, 2024 Jul 14, 2024

Directional and Spotlights have the same behavior. If the light is selected before you click and drag, the light and the point of interest move. If you click on an unselected light and drag it around, you will get the little square icon indicating that the point of interest will not move. 

Translate
Report
Community guidelines
Be kind and respectful, give credit to the original source of content, and search for duplicates before posting. Learn more
community guidelines
Community Beginner ,
Jul 22, 2024 Jul 22, 2024

Just wanted to pop back in here and show where I landed with this - thanks for your help here! I'm not 100 happy with the lighting. I am still very new to it all. I found it hard to use only one light source (to mimic the sun) without it lowing out the highlights on the features. 

Translate
Report
Community guidelines
Be kind and respectful, give credit to the original source of content, and search for duplicates before posting. Learn more
community guidelines
Community Expert ,
Jul 22, 2024 Jul 22, 2024
LATEST

It is a misconception that the sun can be reproduced with a single light source. The entire sky provides some soft fill light, and so do all of the other things in your view that are not dark colors.


In After Effects, if you want to simulate the sun and have soft shadows, use a Point Light (or a Spotlight with a wide cone angle that is at least three comp widths (about 5 of 6K pixels in an HD comp) from your subject so the shadows have the proper perspective and add 10 to 20% ambient light. If AE had true ray tracing and you set up a comp filled with things that could bounce some fill light into the scene, you could get close without using a little ambient light, but the scene would take much longer to render.


Unfortunately, Parallel lights do not have the option to create feathered shadows, so you are stuck with Spot or Point lights. 

Translate
Report
Community guidelines
Be kind and respectful, give credit to the original source of content, and search for duplicates before posting. Learn more
community guidelines