• Global community
    • Language:
      • Deutsch
      • English
      • Español
      • Français
      • Português
  • 日本語コミュニティ
    Dedicated community for Japanese speakers
  • 한국 커뮤니티
    Dedicated community for Korean speakers
Exit
0

How to create a transparent background for an effect and object at the same time?

New Here ,
Aug 09, 2019 Aug 09, 2019

Copy link to clipboard

Copied

Hey everyone,

I am a meteorologist attempting to create a new starry night weather icon for my tv station in After Effects, but I am having some difficulties.

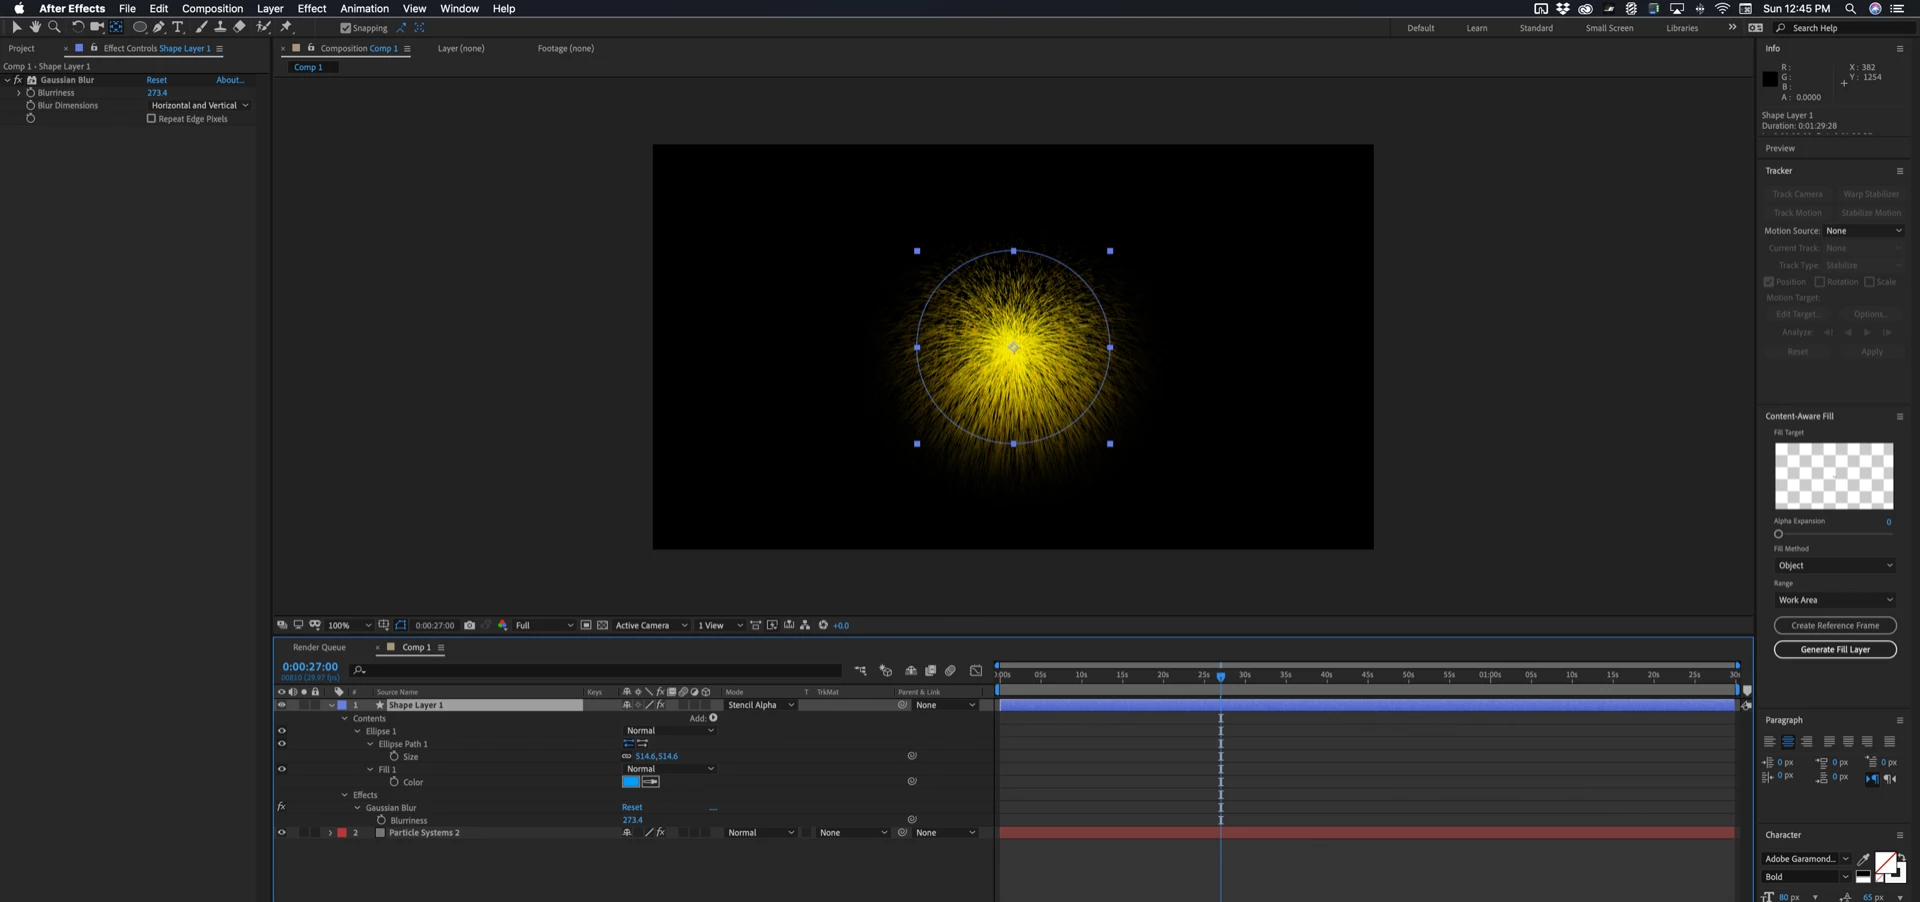
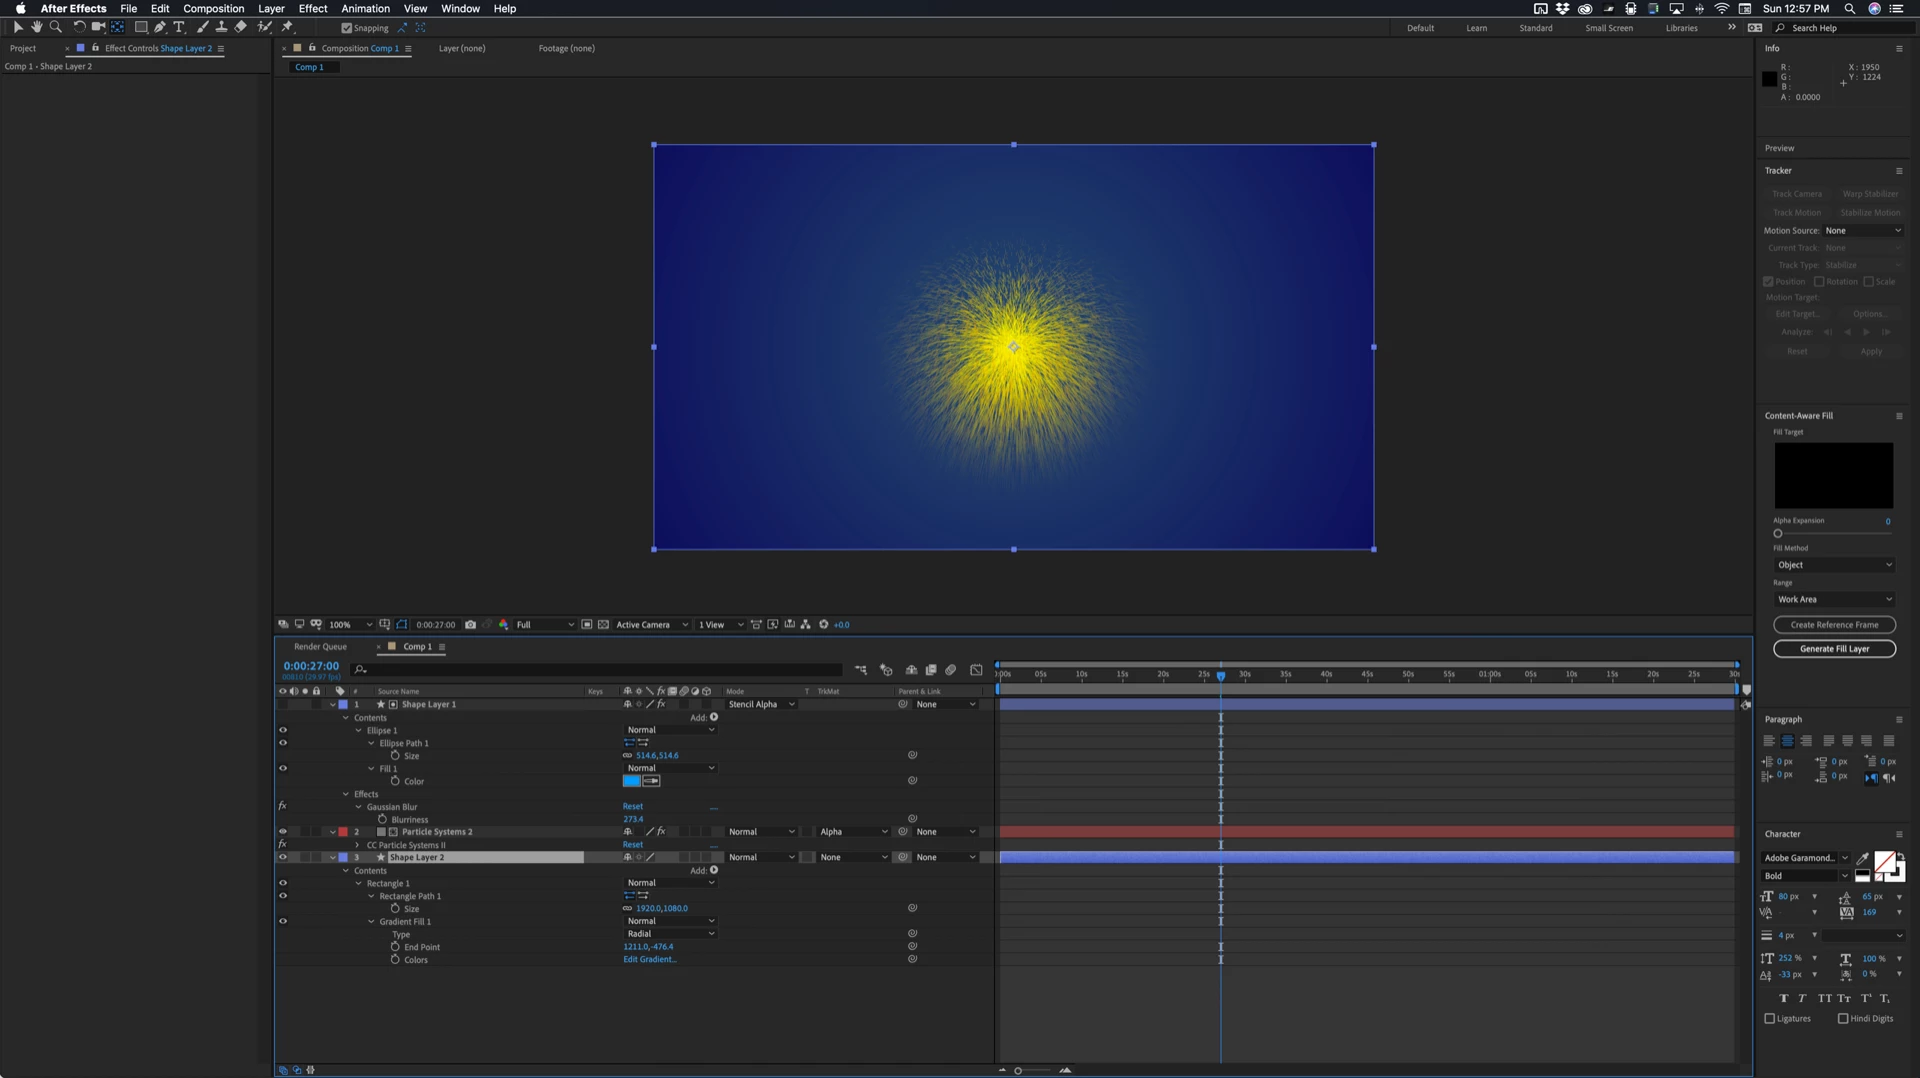
I was able to create the desired effect with ease using Particle Systems 2. But I need to overlay the effect onto a circle with feathered (or blurred) edges. Then have the background be transparent.

I have no problem creating a transparent background for the circle and for the animation, but how can I do it for both at the same time?

Attached is an example of our old icon we are trying to re-create. It would look similar to this.

I appreciate any advice y'all can provide!Night Icon.PNG

Views

3.3K

Translate

Translate

Report

Report
Community guidelines
Be kind and respectful, give credit to the original source of content, and search for duplicates before posting. Learn more
community guidelines

correct answers 1 Correct answer

Community Expert , Aug 11, 2019 Aug 11, 2019
  1. Create your Particle Systems II effect on a comp sized solid
  2. Select the Ellipse Tool and create a new Shape layer by deselecting the Particle Systems II layer and clicking and dragging while holding down the shift key
  3. Change the blend mode of the Shape layer to Stencil Alpha
  4. Add Gaussian Blur (or any fast rendering blur) to the Shape layer and adjust the blur to get the feathered edge you desire
  5. Adjust the Size and Position of the Shape layer (easiest to do if you press the U key twice) to position
...

Votes

Translate

Translate
Community Expert ,
Aug 10, 2019 Aug 10, 2019

Copy link to clipboard

Copied

really there may ways to do this, and it's very basic you can simply apply same mask for both layer or pre-comp both layers then add the circular mask or alpha matte mask

check this quick demo

https://www.dropbox.com/s/dlrni1q399j8pj4/stars-.aep?dl=0

Votes

Translate

Translate

Report

Report
Community guidelines
Be kind and respectful, give credit to the original source of content, and search for duplicates before posting. Learn more
community guidelines
New Here ,
Aug 10, 2019 Aug 10, 2019

Copy link to clipboard

Copied

Thanks!

I think I have figured out how to do it. But I am having issues with my mask. it appears as a square even though it is a circle. I will make a separate post for this different issue.bad.PNG

Votes

Translate

Translate

Report

Report
Community guidelines
Be kind and respectful, give credit to the original source of content, and search for duplicates before posting. Learn more
community guidelines
Community Expert ,
Aug 10, 2019 Aug 10, 2019

Copy link to clipboard

Copied

be sure your mask exception set to zero

Screen Shot 2019-08-10 at 11.55.18 PM.png

also you don't need to scale the particles layer, so it's better to keep it in full screen size and set the mask to part you want

Votes

Translate

Translate

Report

Report
Community guidelines
Be kind and respectful, give credit to the original source of content, and search for duplicates before posting. Learn more
community guidelines
New Here ,
Aug 11, 2019 Aug 11, 2019

Copy link to clipboard

Copied

Thank you! My mask expansion is zero. But it still masks as if it were a square and not a circle. I made a separate post about this issue but I'm new to After Effects and did not understand the guys explanation.

Votes

Translate

Translate

Report

Report
Community guidelines
Be kind and respectful, give credit to the original source of content, and search for duplicates before posting. Learn more
community guidelines
Community Expert ,
Aug 11, 2019 Aug 11, 2019

Copy link to clipboard

Copied

  1. Create your Particle Systems II effect on a comp sized solid
  2. Select the Ellipse Tool and create a new Shape layer by deselecting the Particle Systems II layer and clicking and dragging while holding down the shift key
  3. Change the blend mode of the Shape layer to Stencil Alpha
  4. Add Gaussian Blur (or any fast rendering blur) to the Shape layer and adjust the blur to get the feathered edge you desire
  5. Adjust the Size and Position of the Shape layer (easiest to do if you press the U key twice) to position it over your particle effect layer

Screenshot_2019-08-11 12.45.23_himXVG.png

That's everything I did to all layers. The Particle Systems II layer just has the default effect applied

If you want to add another layer below this composite the Stencil Alpha blend mode will also cut a hole in that layer. Fix that by simply using the Shape layer as a Track Matte.

Screenshot_2019-08-11 12.57.19_o1jd2B.png

Both screenshots show everything you need to do to the layers to get this to work.

This is a lot easier and a lot less work than monkeying around with masks and effects compositing options. If you try and put the mask on the particle layer and you enable compositing options the color of the solid you used for the effect will show up so you'll then have to throw some other effects at the layer to create an alpha channel. You have painted yourself into a corner by trying to do this all on one layer.

Votes

Translate

Translate

Report

Report
Community guidelines
Be kind and respectful, give credit to the original source of content, and search for duplicates before posting. Learn more
community guidelines
New Here ,
Aug 12, 2019 Aug 12, 2019

Copy link to clipboard

Copied

LATEST

With a little improvising, following your instructions worked. Thank you so much Rick!

Votes

Translate

Translate

Report

Report
Community guidelines
Be kind and respectful, give credit to the original source of content, and search for duplicates before posting. Learn more
community guidelines