Legend
September 21, 2020
解決済み

How to keep points from moving after you finish a mask and want to make corrections?

  • September 21, 2020
  • 返信数 2.
  • 1514 ビュー

Hello...

Using the pen tool, going point to point, I made a detailed mask around a person's face and body.

As I made it, I cleaned the lines up best as possible.

Now, I'd like to go back and re adust a few areas, but when I do, (making new key frames as I go)...

the original mask will start to move around a bit, forcing me to re do all the old corrections with the new ones.


Very agravating.


Isn't there a way to 'lock down' the points so they don't move on their own... so I can re adjust a few that I want to?


Thanks,

Letty

このトピックへの返信は締め切られました。
解決に役立った回答 Rick Gerard

If you move one point (vertex) on a mask it will create a new keyframe but the other points will not move. The motion between keyframe may appear to change but the individual vertices will still be in the same place. You'll want to start with keyframes only where the motion changes direction, then check the timing and make as few adjustments as possible. You will also always want to have the mask you are editing selected in the timeline so points are easier to select and manipulate. For masking the human form it is almost always preferable to use Rotobezier paths than Bezier paths. 


Rotoscoping an entire human form with a single mask is not ever a good idea. That is an incredibly inefficient way to manually rotoscope. You want to isolate various parts of the subject, one mask for the torso, a mask for one leg, another mask for the other leg. In some cases, the most efficient technique for isolating a person in a scene from the background may require 10 or 20 masks. It sounds like more work, but it is by far easier. It is also often easier to temporarily motion stabilize a shot or use Mocha AE to do some planer tracking to help you with the masking. 


You should spend some time looking at these two articles from my friend Scott Squires: Effects Corner: Rotoscoping - Part 1 and Effects Corner: Rotoscoping - Part 2. He is using a program called Commotion that is no longer available, but the technique is the same. Simplify the masking as much as you can by breaking it into pieces. 


Here's a quick tutorial I did a long time ago showing how to set up and roto a very simple shot. Maybe this will help. 

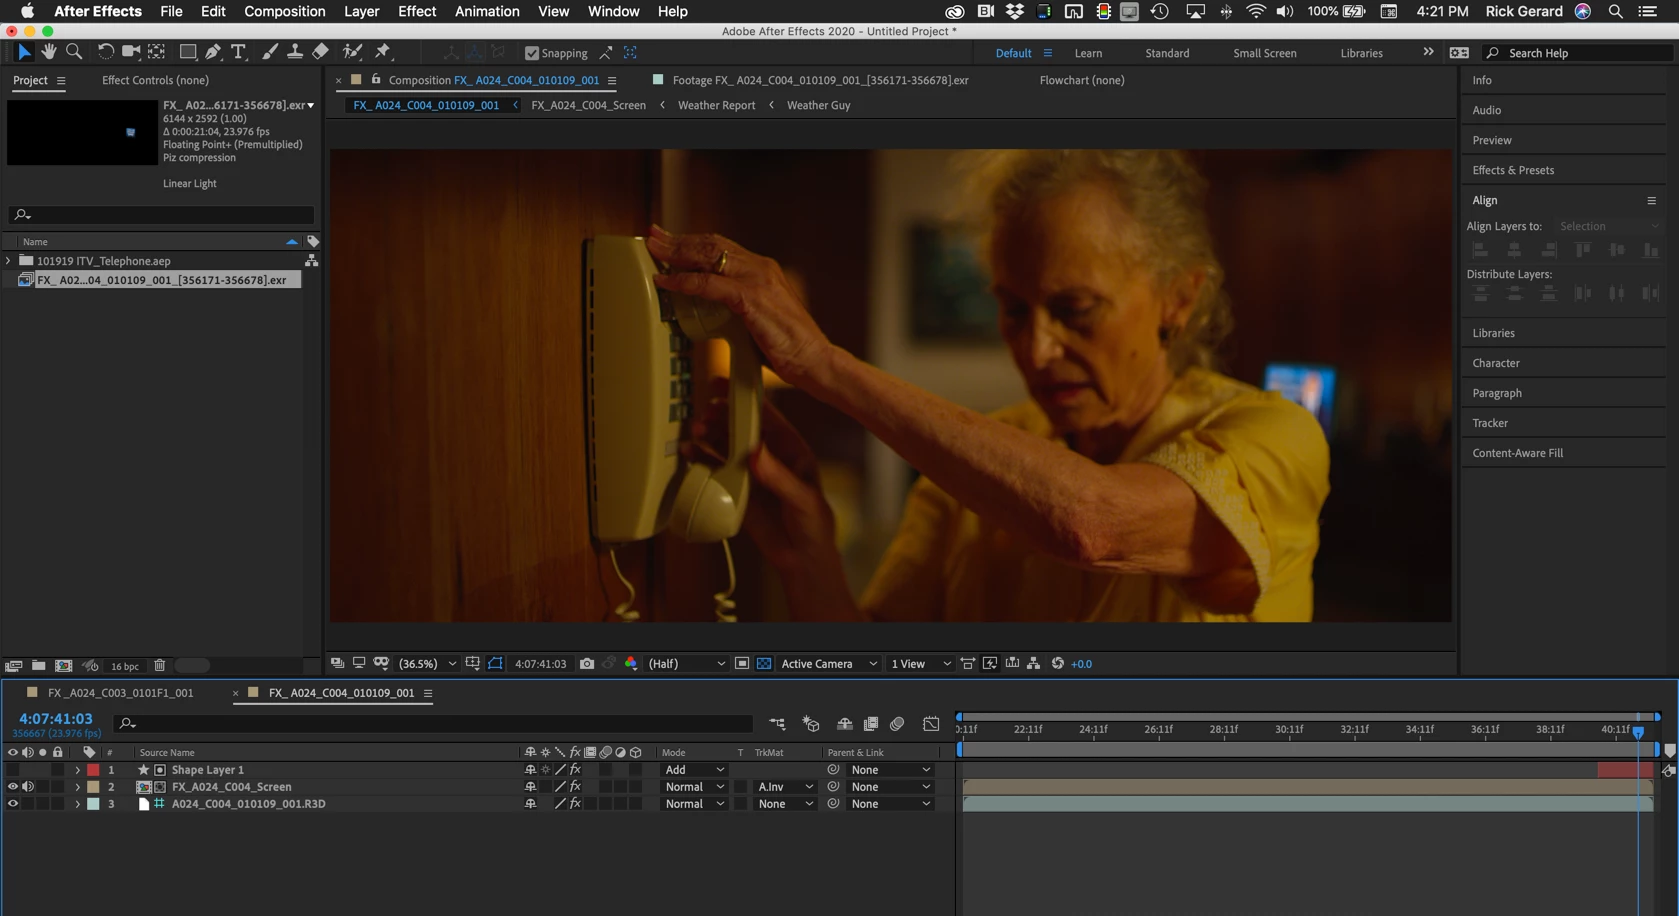
I should also point out that Rotoscoping can also usually be simplified if you use a combination of masking, procedural mattes, keying, and Rotobrush. If you show us a screenshot or point us to your video we can offer meaningful suggestions for removing the background in a more efficient and less time-consuming way. The last full body manual roto job I worked on required motion stabilizing, about 6 masks, rotobrush, and a procedural matte on three copies of the footage to be combined into a single pre-comp that could be used as a track matte to isolate separate the actor from the background. This shot required only four or five keyframes on a single shape layer right at the end of the shot to fix the part of the shot where the actor's shoulder passed in front of the replacement TV screen.
返信数 2

Rick GerardCommunity Expert解決!
Community Expert
September 21, 2020

If you move one point (vertex) on a mask it will create a new keyframe but the other points will not move. The motion between keyframe may appear to change but the individual vertices will still be in the same place. You'll want to start with keyframes only where the motion changes direction, then check the timing and make as few adjustments as possible. You will also always want to have the mask you are editing selected in the timeline so points are easier to select and manipulate. For masking the human form it is almost always preferable to use Rotobezier paths than Bezier paths. 


Rotoscoping an entire human form with a single mask is not ever a good idea. That is an incredibly inefficient way to manually rotoscope. You want to isolate various parts of the subject, one mask for the torso, a mask for one leg, another mask for the other leg. In some cases, the most efficient technique for isolating a person in a scene from the background may require 10 or 20 masks. It sounds like more work, but it is by far easier. It is also often easier to temporarily motion stabilize a shot or use Mocha AE to do some planer tracking to help you with the masking. 


You should spend some time looking at these two articles from my friend Scott Squires: Effects Corner: Rotoscoping - Part 1 and Effects Corner: Rotoscoping - Part 2. He is using a program called Commotion that is no longer available, but the technique is the same. Simplify the masking as much as you can by breaking it into pieces. 


Here's a quick tutorial I did a long time ago showing how to set up and roto a very simple shot. Maybe this will help. 

I should also point out that Rotoscoping can also usually be simplified if you use a combination of masking, procedural mattes, keying, and Rotobrush. If you show us a screenshot or point us to your video we can offer meaningful suggestions for removing the background in a more efficient and less time-consuming way. The last full body manual roto job I worked on required motion stabilizing, about 6 masks, rotobrush, and a procedural matte on three copies of the footage to be combined into a single pre-comp that could be used as a track matte to isolate separate the actor from the background. This shot required only four or five keyframes on a single shape layer right at the end of the shot to fix the part of the shot where the actor's shoulder passed in front of the replacement TV screen.

Letty2019作成者
Legend
September 22, 2020

Thanks Rick.  Boy, that video sure makes it look easy.  A fluffy dog. lol   How about the profiles of a man's face while talking? 😞   I did break it down in about 6 different masks (just for the face) and it's coming along. 


I guess there is no easy way to do it.  When I mask using the pen tool, if I don't do it perfectly the first time, going back for small changes is a nightmare.   Those pesky points don't stay where I originally left them if I make new key frames moving forward using the tracking arrow button. 


The post above yours says to un select " Preserve constant vertex and ..." in the AE Preferences, but that is for deleting points in my mask and didn't solve my problem. 

I'll study your video and text again.


I have a feeling that I have to mask it perfectly the first time as I make key frames, and if I want to make corrections, I can only correct one frame at a time and don't create a second keyframe from the newly corrected frame by clicking on the tracking arrow.   Sound about right?

Community Expert
September 22, 2020

Just make sure that you don't set too many keyframes. It is nearly impossible to make a rotoscope work if you try and make adjustments in every frame. Start with just setting keyframes where motion changes direction. Motion blur and feathering can help a lot. You'll want as few points as possible. Take a close look at Scott Squires's instructions on his site Effects Corner. Notice how few points he has on the masks.


If you post a screenshot I can give you some more pointers. A link to the video would be even better. I've done a lot of roto that was a combination of several techniques. Even a lot of greenscreen shots require a few frames of manual roto.

Vishu_Aggarwal
Participating Frequently
September 21, 2020

Anchor's points don't move until you move them at the new keyframe or older keyframe. Incase your adding or removing anchors points as go head then make sure to deselect the option of "Preserve constant vertex and ..." in the General preferences of after-effects.

refer screenshot - 


Vishu AggarwalAdobe Certified Instructor, Professional and Expert
Letty2019作成者
Legend
September 22, 2020

I'm not sure I explained my question correctly, but thanks for your reply.  When masking out a moving talking face, the points do tend to move around without me moving them, everytime I go back to make changes.  When the face moves, or doesn't move, the points move slightly around.    But I'll keep your tip. Thanks.