S_ A
Inspiring
December 22, 2022
解決済み

how to start animating trim path from the exact point I want

  • December 22, 2022
  • 返信数 1.
  • 1876 ビュー

Hello,

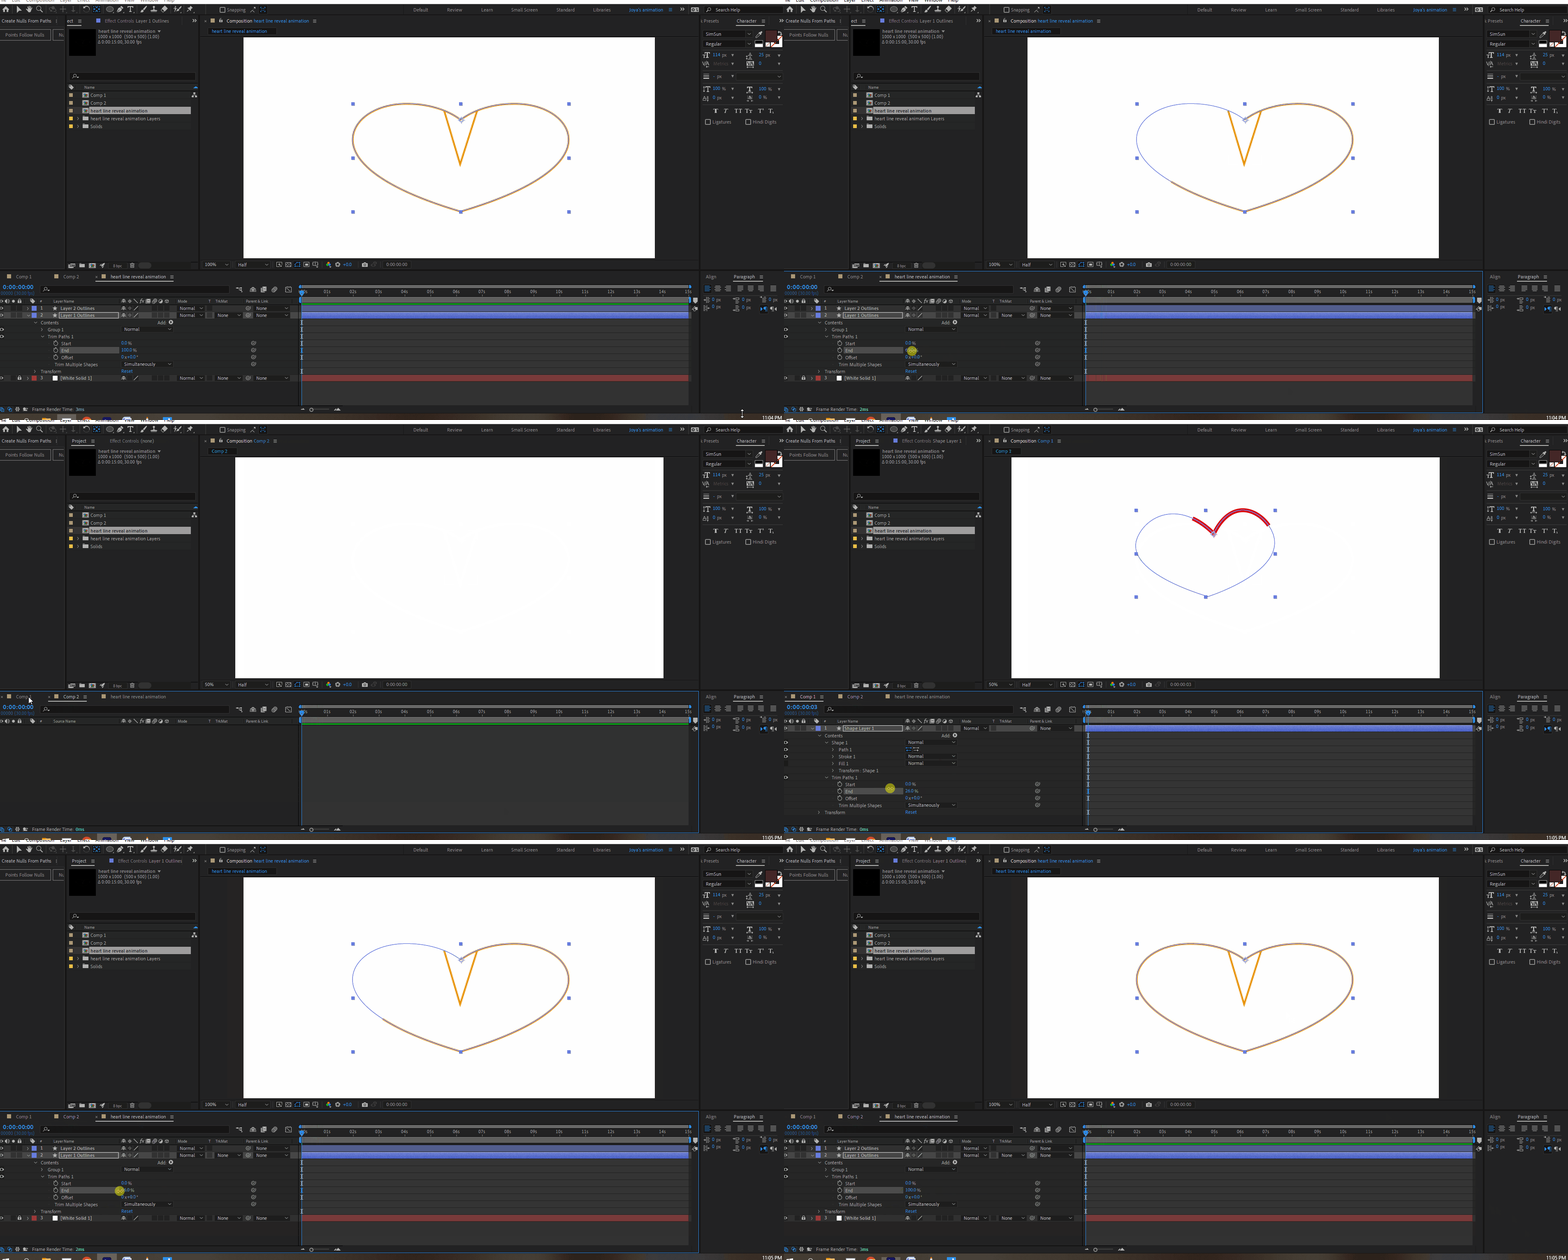
I want to animate one heart shape from the middle. I went to AI. drew one and brought that into AE. there I created shapes from an AI file. I put the anchor point of the heart in the middle and applied  trim path.  The trim path started exactly from where I put the anchor point of the heart. Exactly what I wanted.


Now, to experiment further, I drew one heart in AE. and similarly I put the anchor point of this very heart in the middle and applied trim path. But now the trim path starts animation point whimsically. I want the animation to start from the anchor point like the previous heart.


To make matter worse more I drew 10 more hearts and  put anchor point in middle and guess what AE dsnt listen to the anchor point and start trimming at its own sweet will (from some weird point). 


I want the heart, which I draw in AE, using pentool, to start trimming from middle where I set the anchor point. How to do it? 😣


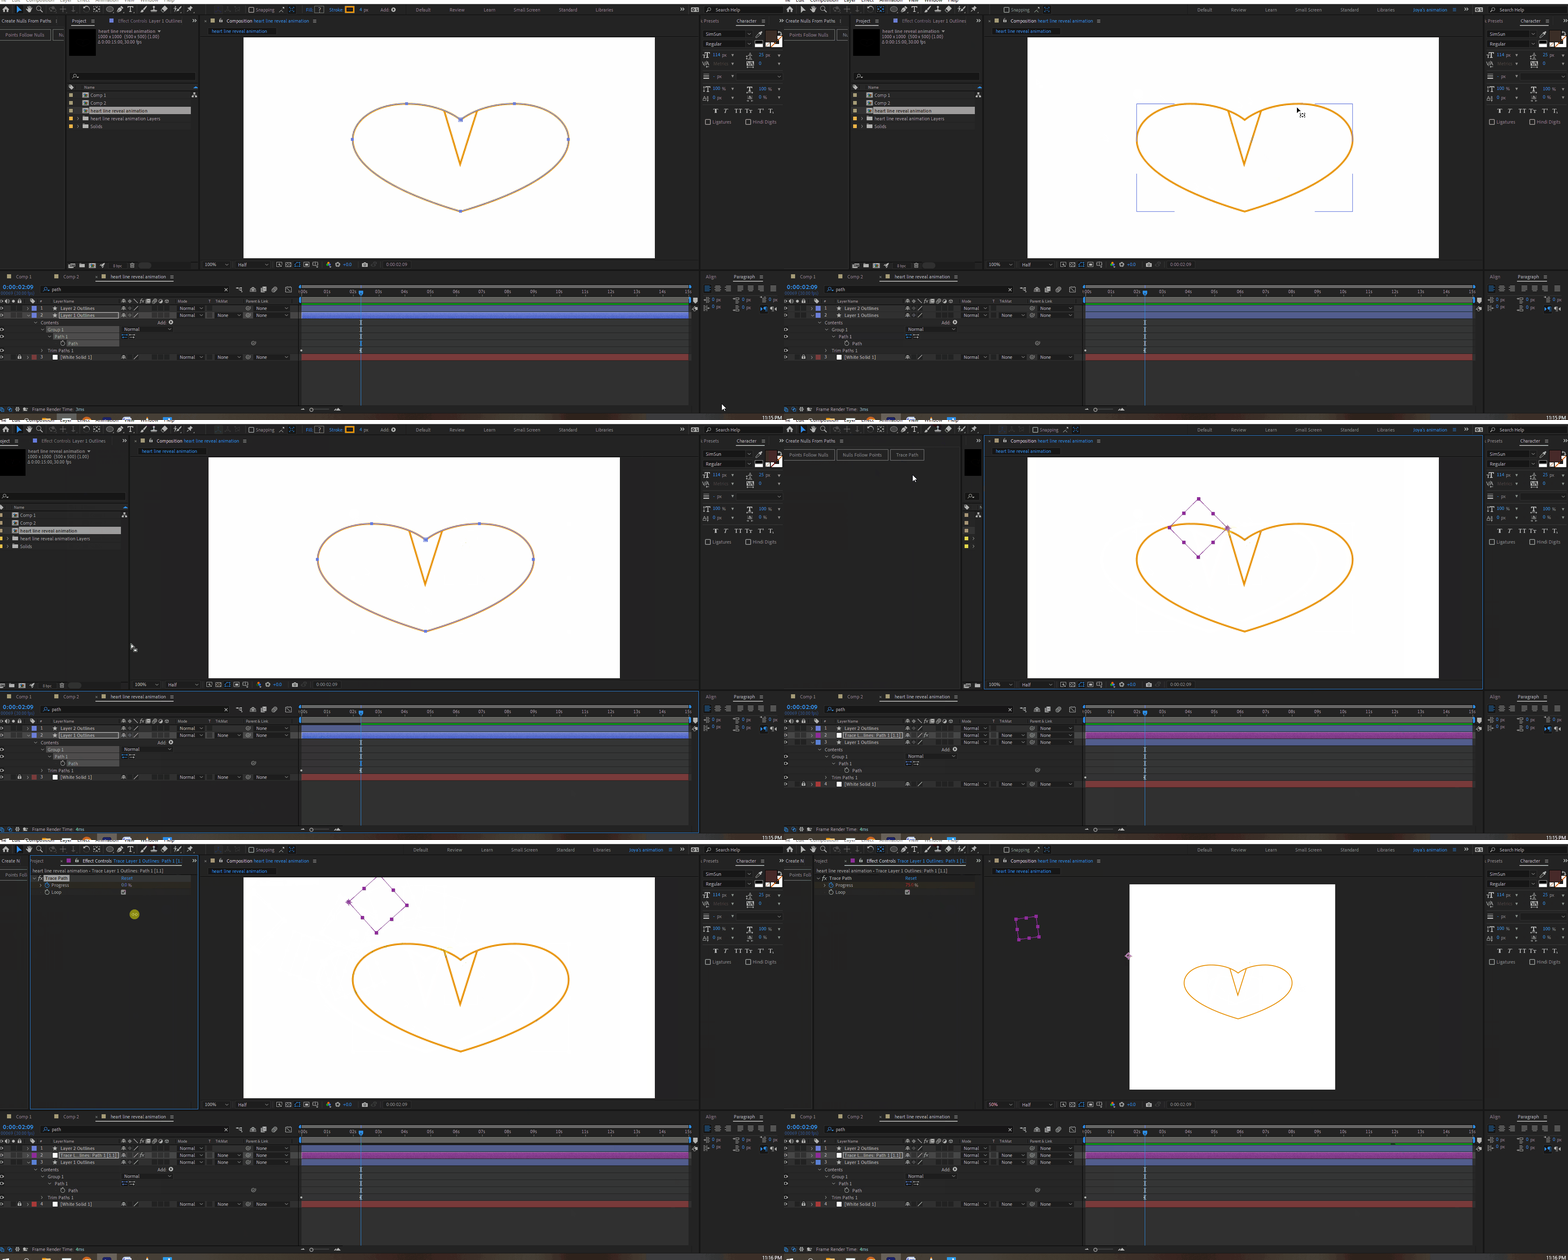
2- another thing. No way I can put the null in the middle of the heart. I selected the path of the heart and created nulls from paths - trace path. it goes miles away. I want that in the middle also. How can I do that?

😥


Thank you.


このトピックへの返信は締め切られました。
解決に役立った回答 Rick Gerard

Properly prepared artwork is now and has always been an essential part of video production. The basics of preparing an Illustrator file are as follows. 


Create your canvas the same size in points or pixels as the frame size of your video.

Turn on Snap to Pixel in the View menu

Do not use any strokes that are less than 2 points or pixels wide

Put your objects in their hero position - the place you want them to be when they are the center of attention.

Put every element or group of elements you want to animate on a separate layer

Do Not add any gradients or brushes to any shape you make in Illustrator that must be converted to a Shape Layer in After Effects

Only convert the AI layers that need shape layer animators or animated paths. If you need to use something like Trim Paths to reveal a path with a brush stroke you need a duplicate that has no brush stroke on a separate layer that you can convert and use as a Track Matte for the layer with the brush stroke.

Pay attention to colors and make sure everything is set to RGB and not CMYK

Do not let any shape you need to animate extend beyond the artboard

Use only one artboard for your AI file. If you use a video template there will be two that overlap but only place your artwork on the top one. Using a Video Template (Or recreating one using exactly the same structure) is the only way you can prevent objects that extend beyond the comp sized artboard from being cropped. 


Follow those rules, just like the rules that existed when we were making graphics for television or film by painting on acetate or artboard, and you'll be fine. Don't follow the rules and you are just making yourself a lot of extra work and setting the project up for failure.

返信数 1

Mylenium
Legend
December 22, 2022

You imported the artwork larger than the composition size and since effects, including custom expression controls work in layer coordinates by default you get the discrepancy. For the mask issue there unfortunately is no real fix. It's one of those issues/ bugs that must have slipped in somewhere along the versions and hasn't really been fixed. Setting the first point of a path produces unexpected results. This has been raised a number of times and I think there is work being done to improve it. For the time being stick with your AI based workflow for such cases.


Mylenium 

S_ A
S_ A作成者
Inspiring
December 22, 2022

Thank you. I am so sad. Wish AE does not have these issues.

Rick GerardCommunity Expert解決!
Community Expert
December 22, 2022

Properly prepared artwork is now and has always been an essential part of video production. The basics of preparing an Illustrator file are as follows. 


Create your canvas the same size in points or pixels as the frame size of your video.

Turn on Snap to Pixel in the View menu

Do not use any strokes that are less than 2 points or pixels wide

Put your objects in their hero position - the place you want them to be when they are the center of attention.

Put every element or group of elements you want to animate on a separate layer

Do Not add any gradients or brushes to any shape you make in Illustrator that must be converted to a Shape Layer in After Effects

Only convert the AI layers that need shape layer animators or animated paths. If you need to use something like Trim Paths to reveal a path with a brush stroke you need a duplicate that has no brush stroke on a separate layer that you can convert and use as a Track Matte for the layer with the brush stroke.

Pay attention to colors and make sure everything is set to RGB and not CMYK

Do not let any shape you need to animate extend beyond the artboard

Use only one artboard for your AI file. If you use a video template there will be two that overlap but only place your artwork on the top one. Using a Video Template (Or recreating one using exactly the same structure) is the only way you can prevent objects that extend beyond the comp sized artboard from being cropped. 


Follow those rules, just like the rules that existed when we were making graphics for television or film by painting on acetate or artboard, and you'll be fine. Don't follow the rules and you are just making yourself a lot of extra work and setting the project up for failure.