Copy link to clipboard
Copied
So my issue here is that when i attempt to make a speed ramp in After Effects random additional keyframes/ramps appear in my timeline.
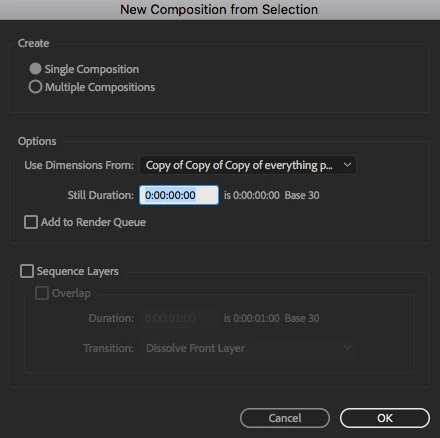
I don't recall this screen in the past when i had made speed ramps prior to this.
Is there anything here that may be contributing to my issue posted below?
I bring the clip into AE. Right click the clip to "create new composition from selection".^^
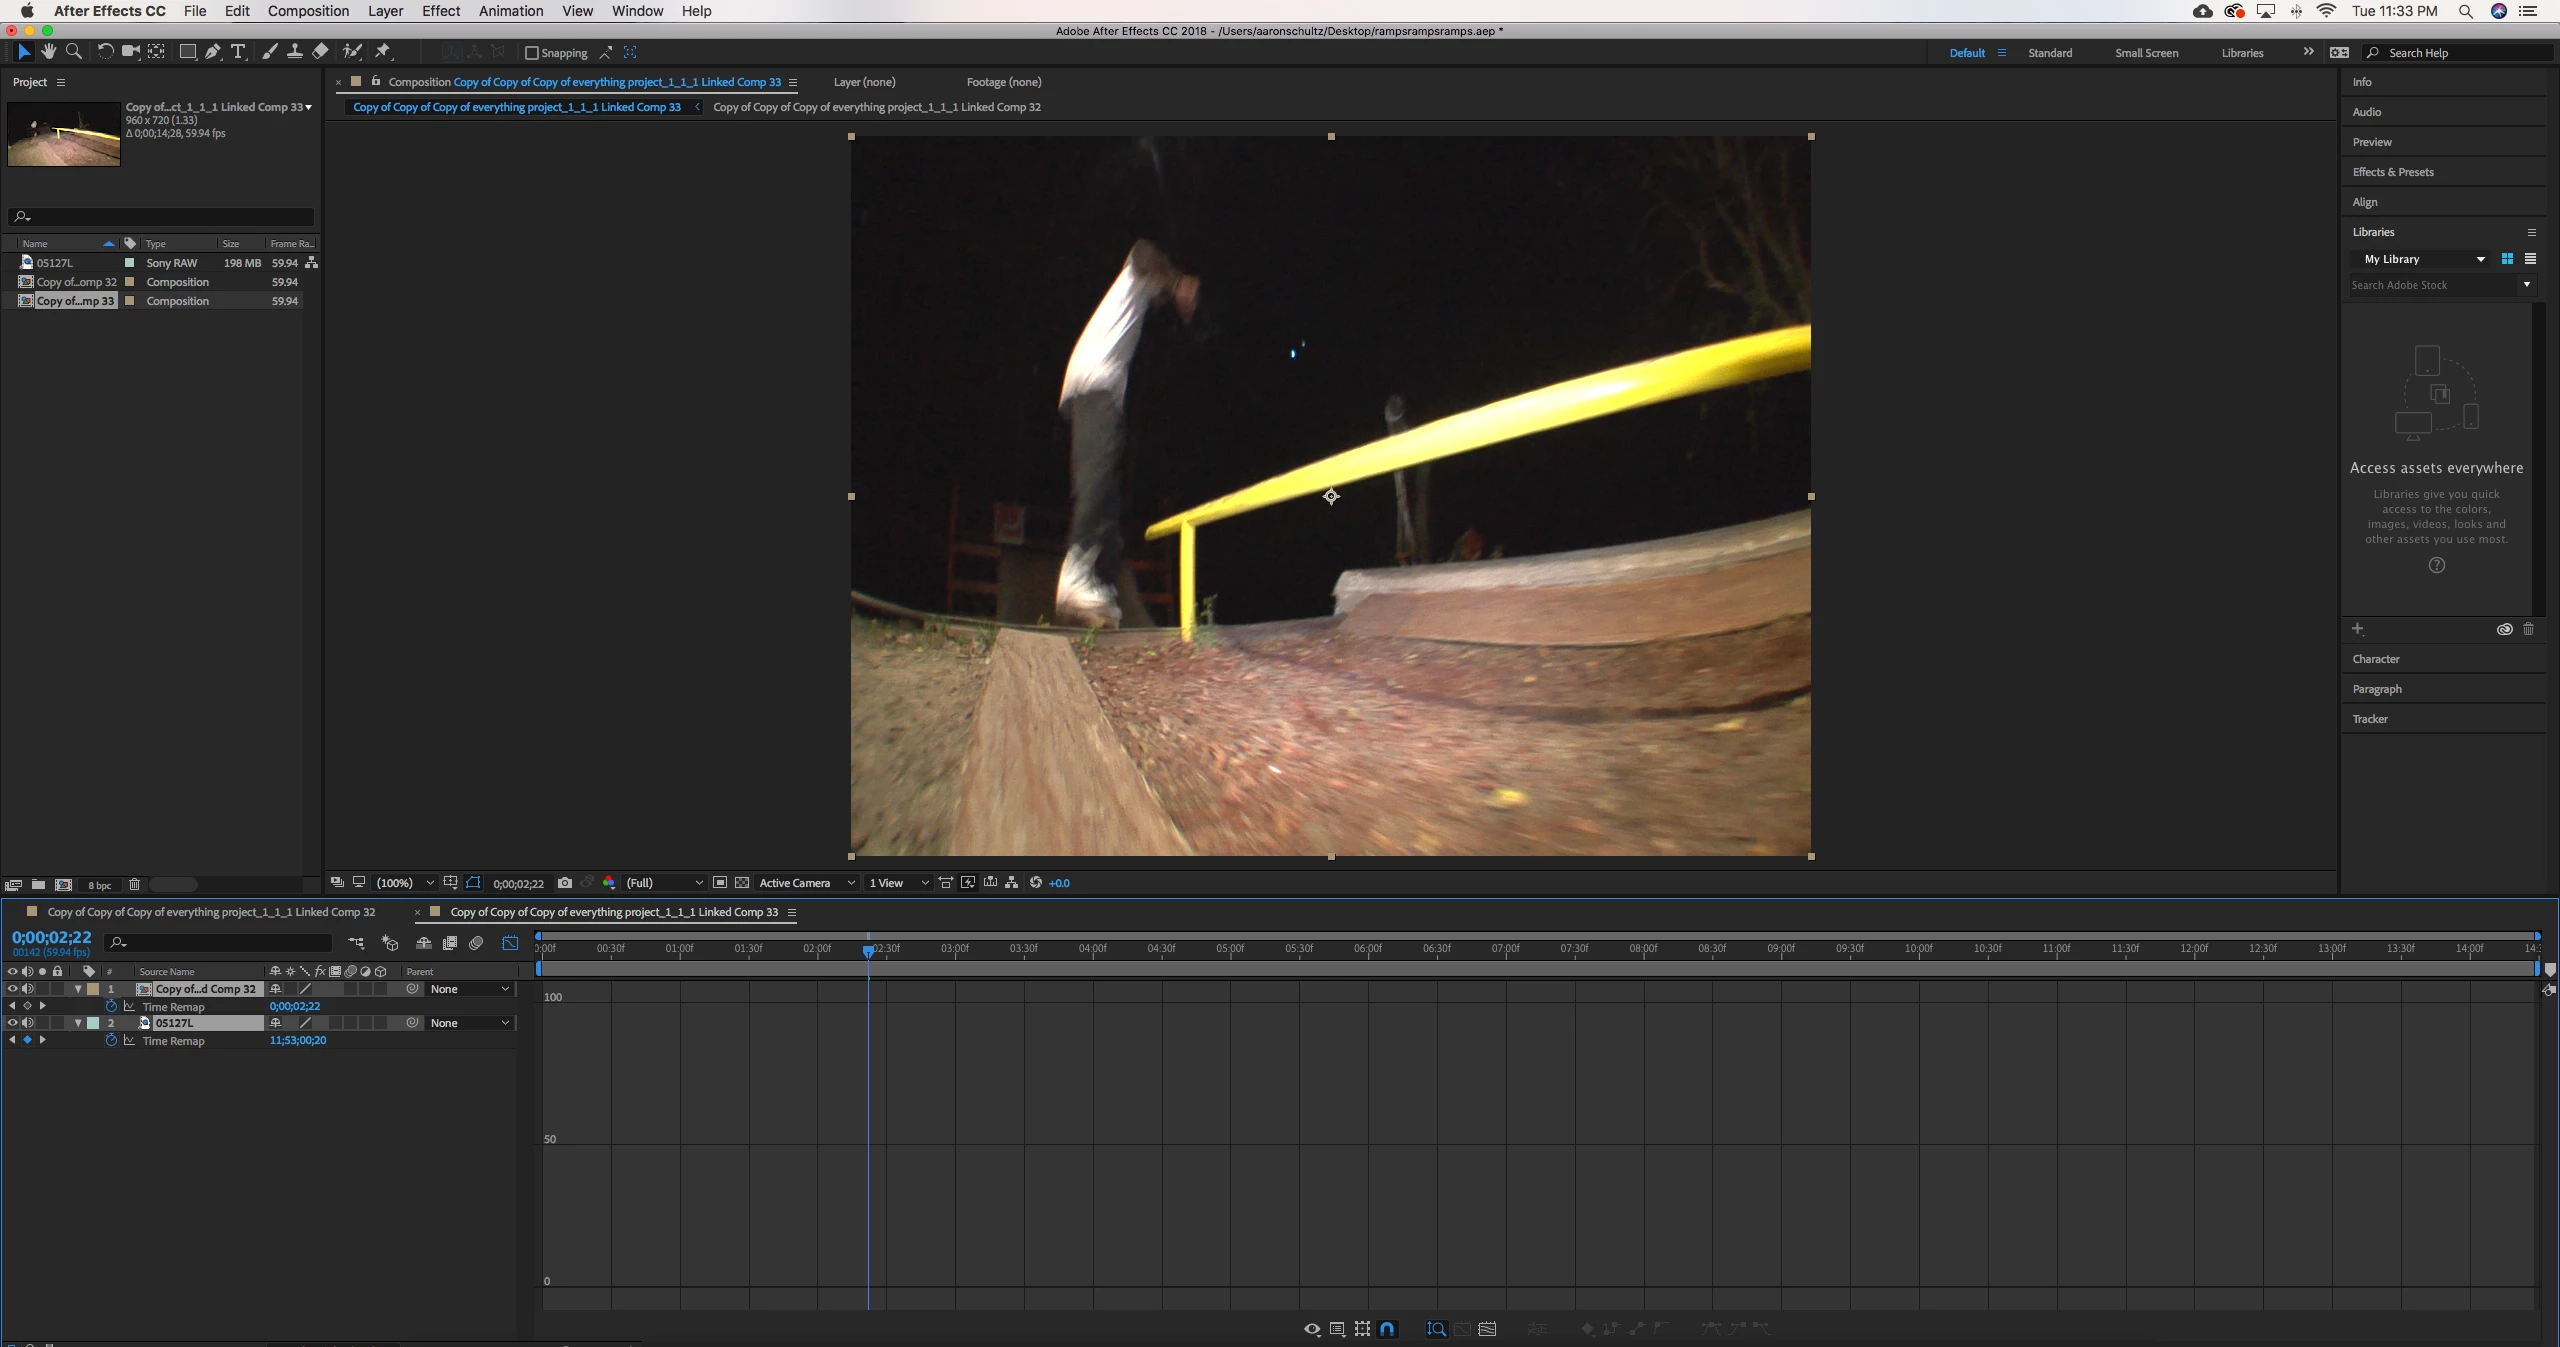
Then I click Graph Editor.
Next i right click the clip in the timeline and click Time - Enable Time Remapping.
Everything appears ok so far
Then i go to add a keyframe using the diamond in the lower left hand corner of this screen.
But the i add a keyframe, it brings in additional keyframes/ramps that i don't want.
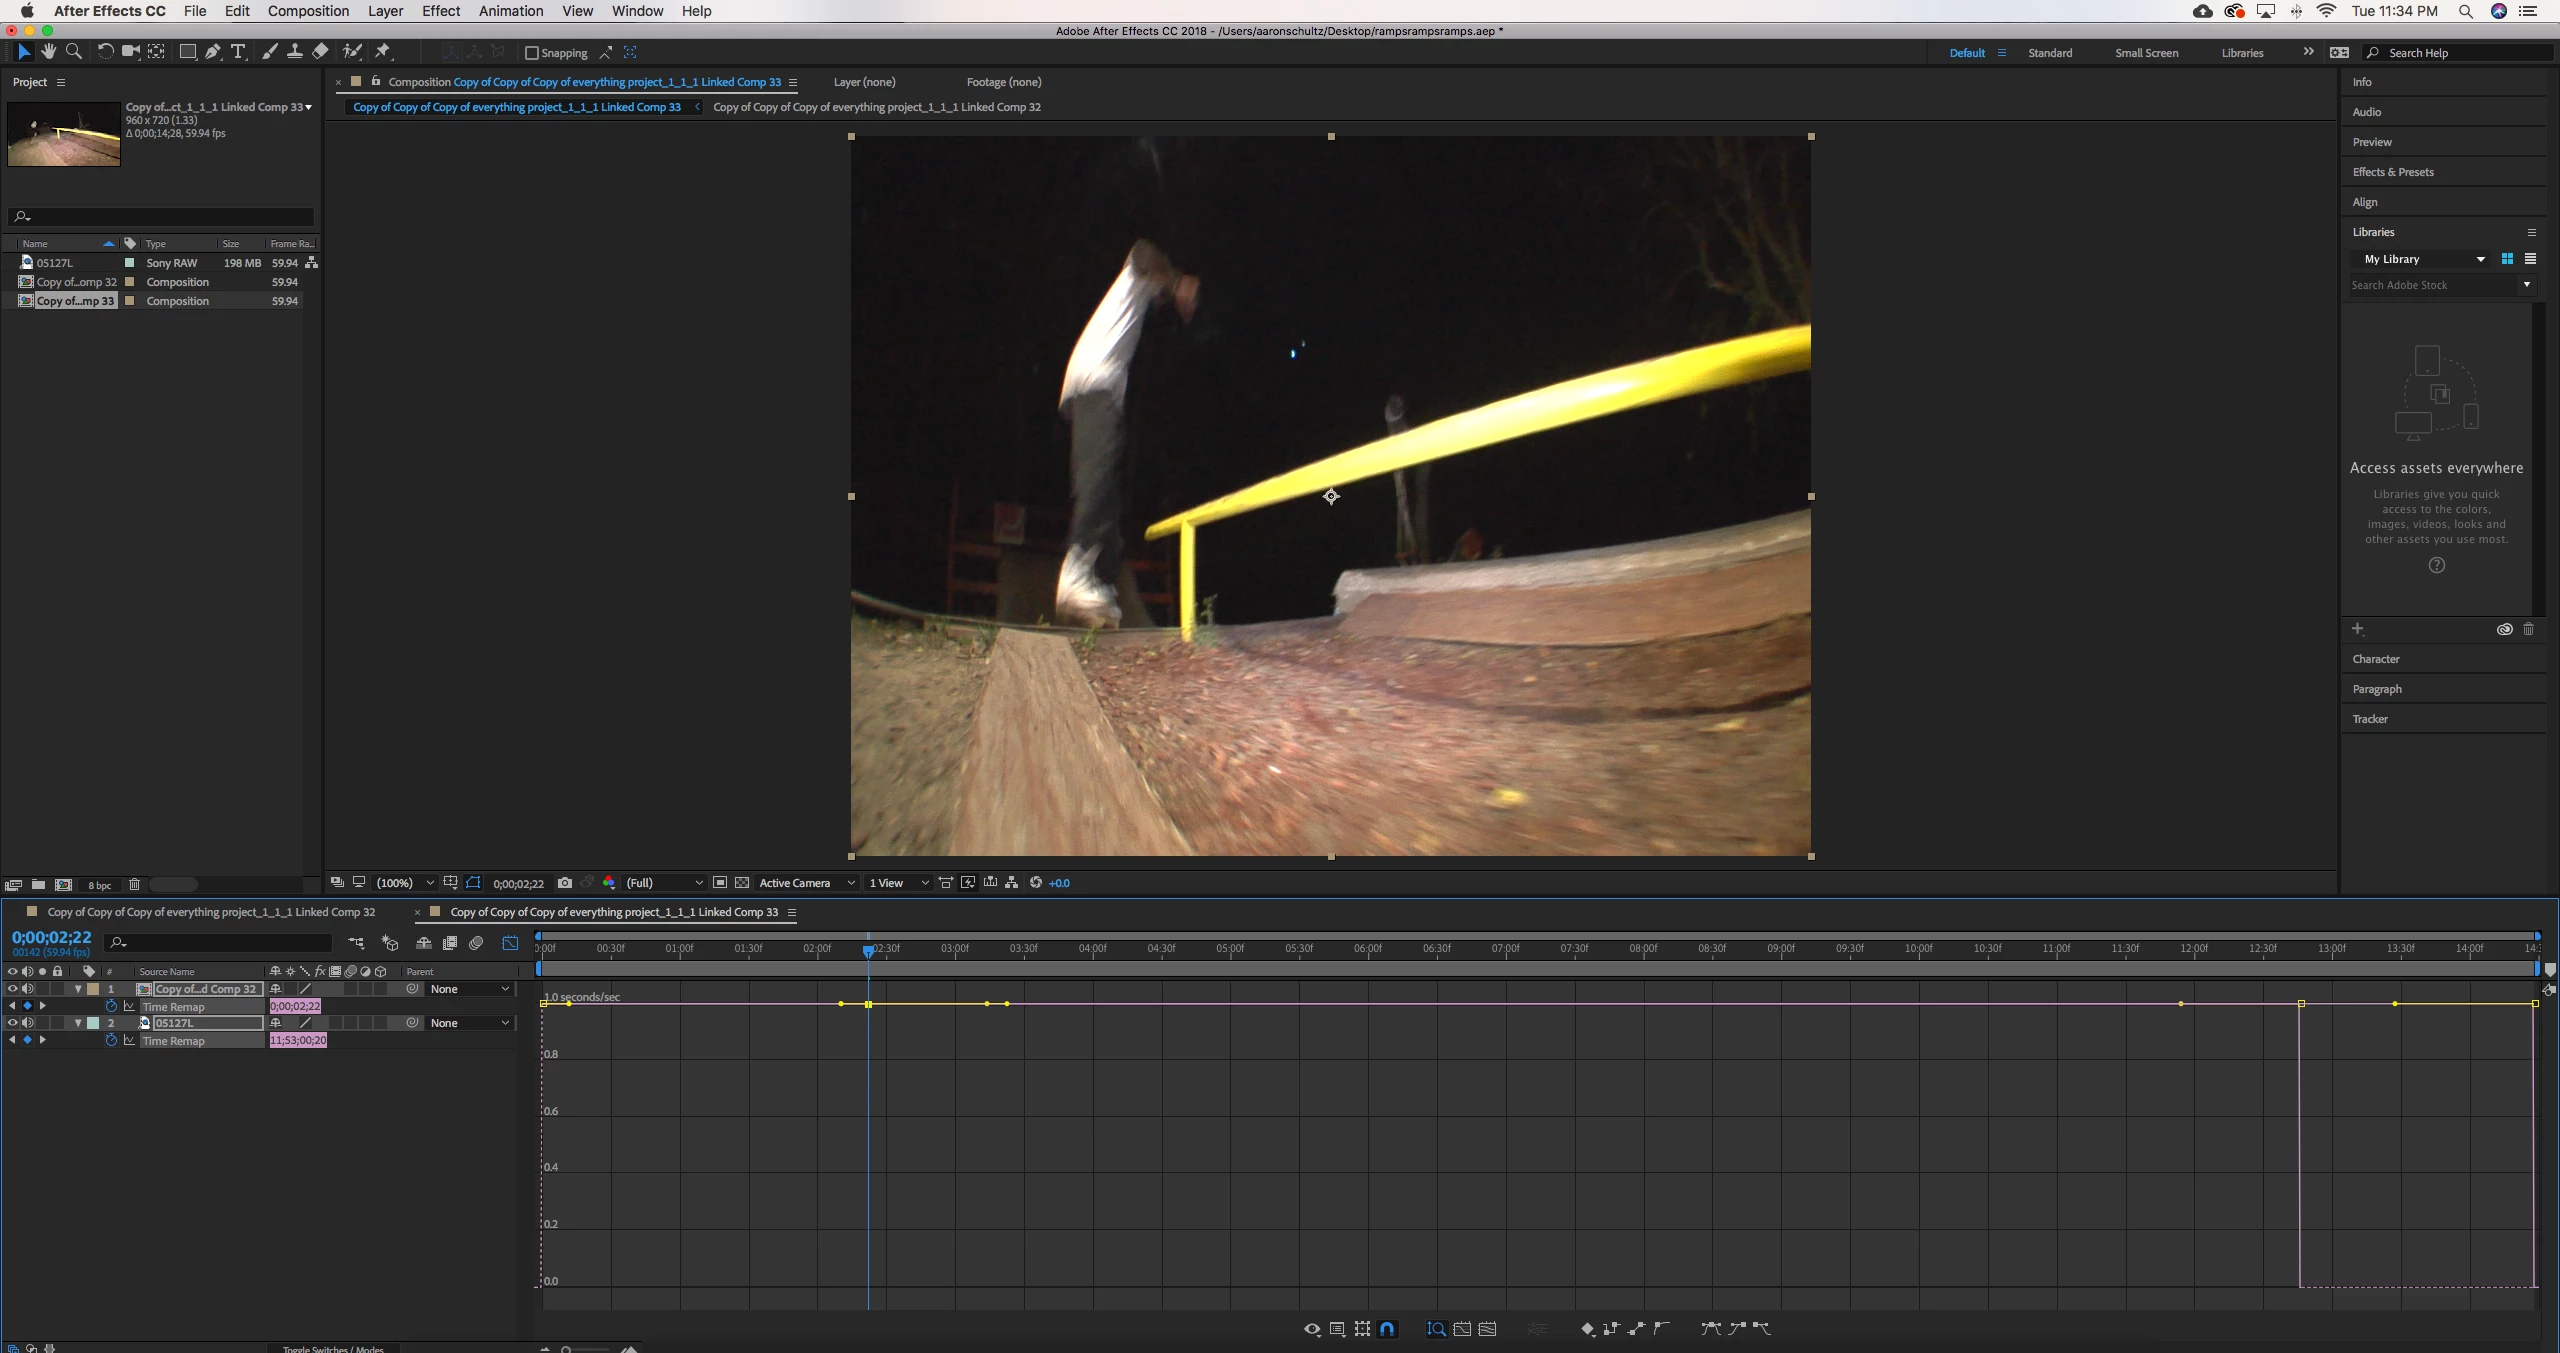
I tried hovering over the keyframes on the right that i don't want in order to either delete them or click the diamond again hoping that would undo the keyframe but if i do that it deletes the keyframe i actually want.
Any idea what i did to cause this issue or what i could do to fix it?
Any and all help is appreciated?
Thanks,
Aaron
I second Kyle's suggestion. in Premiere the time remapping is based on speed and not time, so you can add keyframes at the segment you want to manipulate and intuitively drag the graph down while the rest of the footage will automatically push forward. it makes making speed ramps very easy and intuitive, contrary to Ae TR which can be much more advanced and specific (confusing).
this is how it looks in Premiere:
in Ae there's also the Timewarp effect which will let you affect speed. simply add it
...Copy link to clipboard
Copied
There is no issue. It's just your inexperience with time-remapping and understanding how it works. Uisng it will always add an additional keyframe at the start and end to "pin" down the original start and end timing of the source clip and naturalyl this figures into the rest of the keyframes by ways of the keyframes' interpolation behaviors. Again, nothing wrong. I would suggest before making an even deeper mess you study tutorials on keyframing in general (re: that interpolation stuff) and some more specialized ones that tackle time-remapping.
Mylenium
Copy link to clipboard
Copied
I've made speed ramps before but have not experienced this issue in the past.
Normally i just got into the timeline and create a keyframe where i want to ramp to start and another where i want the ramp to end.
Pull one frame to the side so the bar drops down to around 50% speed then shift click both keyframes and drag up to create the curve.
Now when i create the first keyframe it automatically adds keyframes further down the timeline and when i go to delete the extra keyframe it also deletes the one i want to keep.
I'm basically copying what he does in this video which has worked in the past.
How to ramp slow mo in Adobe After Effects CC 2016 - YouTube
Notice how when he creates the first keyframe it doesn't automatically add others further down the timeline.
Copy link to clipboard
Copied
Galenskater,
Did you ever get this issue solved? Let us know.
Thanks,
Kevin
Copy link to clipboard
Copied
Kevin,
I still have not had this issue resolved. Any chance another tech could
take a look at it?
https://www.youtube.com/watch?v=G-LuEiXVEX4
I used to follow the instructions in this video to create a speed ramp. Now
After Effects is adding extra keyframes which are throwing the clip off.
Is there a good time for me to call back?
Love your products, just a little flustered right now haha.
Thanks,
Aaron
On Tue, Apr 24, 2018 at 4:37 PM, Kevin-Monahan <forums_noreply@adobe.com>
Copy link to clipboard
Copied
if you can, show us a full screen recording of your process so we can pin point where the issue is. In my system, TR has not changed and works the same as it always did.
generally speaking, when enabling TR, Ae creates 2 keyframes at the start and end of your footage. If you want to create a slowdown you can create a keyframe at the start (now you have 3 kf) and anothe at the end (now you have 4 kf) and now you can take keyframe 4 (the end of the slow down) and keyframe 5 (the end of the footage) and push them both forward. You have now stretched a segment in time of your video, while leaving the other parts intact.
Copy link to clipboard
Copied
While this is not directly an answer to your question, I would recommend you look at the Time Remapping options/workflow in Premiere. If that's the only thing you're coming to After Effects for, you might find the way it works in Premiere to be more intuitive, and would likely be a more convenient workflow if this is primarily an edit piece.
Copy link to clipboard
Copied
I second Kyle's suggestion. in Premiere the time remapping is based on speed and not time, so you can add keyframes at the segment you want to manipulate and intuitively drag the graph down while the rest of the footage will automatically push forward. it makes making speed ramps very easy and intuitive, contrary to Ae TR which can be much more advanced and specific (confusing).
this is how it looks in Premiere:
in Ae there's also the Timewarp effect which will let you affect speed. simply add it to your footage, change the speed to 100%, go to the start of the section where you want to slow down, add a keyframe for 100% speed, go a little forward, add another (say 50%), go to almost the end of the segment, add another 50%, go to the end of the segemnt and add another 100% to be back to normal. set the easing for gradual slowing down/back to normal speed.
if you do this a lot and need faster/more accurate result, you might want to invest in this plugin: Twixtor - RE:Vision Effects
Find more inspiration, events, and resources on the new Adobe Community
Explore Now