• Global community
    • Language:
      • Deutsch
      • English
      • Español
      • Français
      • Português
  • 日本語コミュニティ
    Dedicated community for Japanese speakers
  • 한국 커뮤니티
    Dedicated community for Korean speakers
Exit
0

Why is After Effects only rendering the most recent que?

Explorer ,
Feb 08, 2023 Feb 08, 2023

Copy link to clipboard

Copied

Good day Adobe,


To set the stage,  I have a composition the creates title cards, with animated main titles in the center and name and rank in the lower third. This composition allows us to change out the names easily by making visible (or hiding) any layer.


So what we are doing here is, rendering out a total of 12 title cards, each with the same main title, but each with a different person's name. Each instance was setup and qued, with settings, module output and file name, all specifically set, for each. As in, each of the 12 cards is different, and qued up.


So this is where AE gets crazy, unless we are missing some simple check box. Instead of AE rendering 12 distinct cards, it only renders the settings for the most recent set qued item. To say another way, instead of getting 12 distinct cards with 12 different lower 3rd names, we are getting the exact same card 12 times over (with 12 custom output file names of course, as specifically set) but the lower 3rd name is the same, based off the last qued item settings (and AE 'ignores' the previous 11 settings).


This basically makes multiple qued up items pointless. There is a work around, only que one render at a time and hitting the render button 12 times over, rather then once.


What in the world are we missing here!? Thank you for any help.

TOPICS
Error or problem , How to , Import and export

Views

177

Translate

Translate

Report

Report
Community guidelines
Be kind and respectful, give credit to the original source of content, and search for duplicates before posting. Learn more
community guidelines

correct answers 1 Correct answer

Community Expert , Feb 08, 2023 Feb 08, 2023

Media Encoder makes a copy of the current comp in a temporary folder. If you change the comp, the changes will not be seen unless you add the changed comp to the queue.


The Render Queue renders the current comp. If you send a comp to the render queue, no background comp is created. Change the comp again and add it to the render queue, then render both comps and you get the same video because only the active comp renders. 


The most efficient workflow if you have to render the final movie in A

...

Votes

Translate

Translate
LEGEND ,
Feb 08, 2023 Feb 08, 2023

Copy link to clipboard

Copied

Some screenshots along with system info and details about exact file names/ comp names, output locations and so on would probably shed some light on this mystery...


Mylenium

Votes

Translate

Translate

Report

Report
Community guidelines
Be kind and respectful, give credit to the original source of content, and search for duplicates before posting. Learn more
community guidelines
Community Expert ,
Feb 08, 2023 Feb 08, 2023

Copy link to clipboard

Copied

Media Encoder makes a copy of the current comp in a temporary folder. If you change the comp, the changes will not be seen unless you add the changed comp to the queue.


The Render Queue renders the current comp. If you send a comp to the render queue, no background comp is created. Change the comp again and add it to the render queue, then render both comps and you get the same video because only the active comp renders. 


The most efficient workflow if you have to render the final movie in After Effects is to make changes to the comp, use the Keyboard Shortcut to add the changed comp to the Media Encoder, then make more changes.


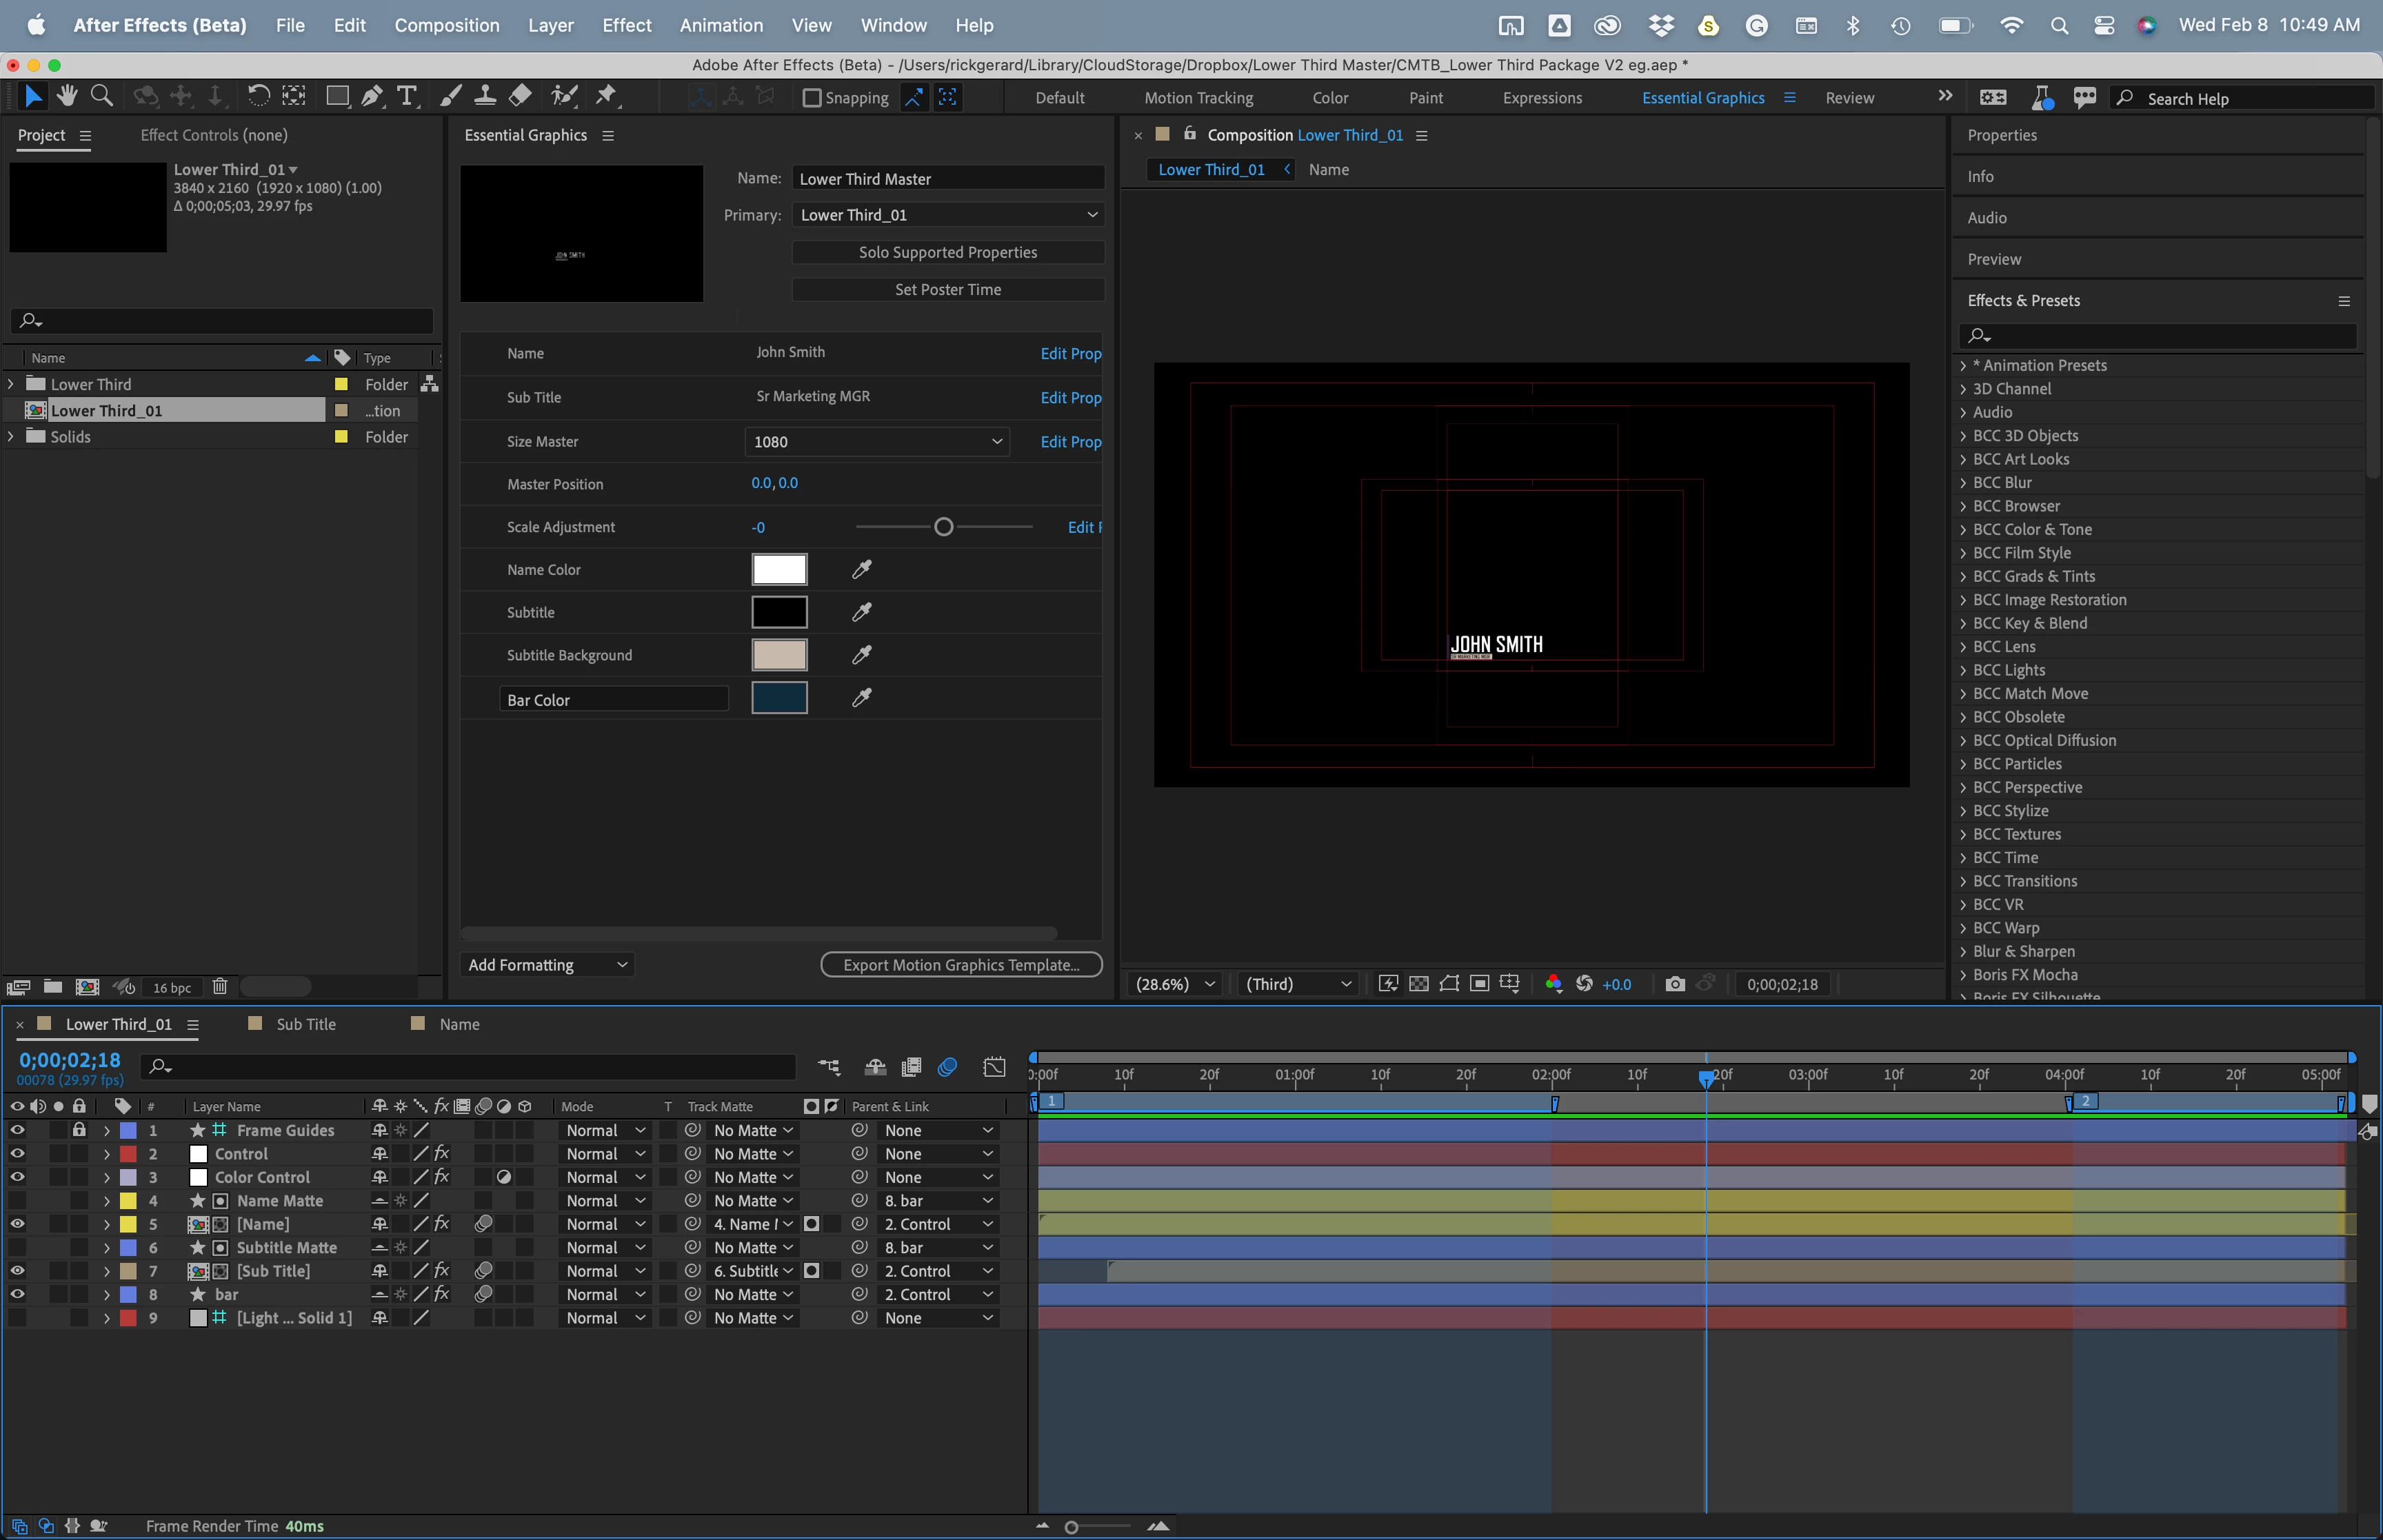
By far the most efficient workflow would be to open the Essential Graphics workspace, Create a MOGRT, Add the Mogrt to Premiere Pro, then Edit your movie In Premiere and use the MOGRT you just added to the Graphics and Titles workspace to change the text directly in Premiere Pro. 


That's what I do. I even have a resizing Dropdown so that I can Save a 4K MOGRE with protected in and out points so it can be any length in Premiere, then use the dropdown to pick the Frame size. I have everything from 1080 SQ to HD, to 4K, and even Left, Right, and Center justification for some of them. That will save you the most time and you only have to create one After Effects comp with placeholders.

mogrt.png

Votes

Translate

Translate

Report

Report
Community guidelines
Be kind and respectful, give credit to the original source of content, and search for duplicates before posting. Learn more
community guidelines
Explorer ,
Feb 09, 2023 Feb 09, 2023

Copy link to clipboard

Copied

LATEST

Thank you very much for the response.


I was able to chain up different layers from the same comp in Media Encoder and still use QuickTime Animation (for 100% transcode compatiblity for Tricaster systems). Thank you for mentioning the MOGART option, that provides another way to pull in the graphics with Premiere. Not quite ready for that, but really useful to know.

Votes

Translate

Translate

Report

Report
Community guidelines
Be kind and respectful, give credit to the original source of content, and search for duplicates before posting. Learn more
community guidelines