You can do this in PS by creating an Action and then using the PS Image Processor to automatically process ALL of your image files. This will work properly regardless of the image aspect ratio or orientation. It took way longer to write this out than it will for you to implement and use it. If you have any questions or issues please let me know.
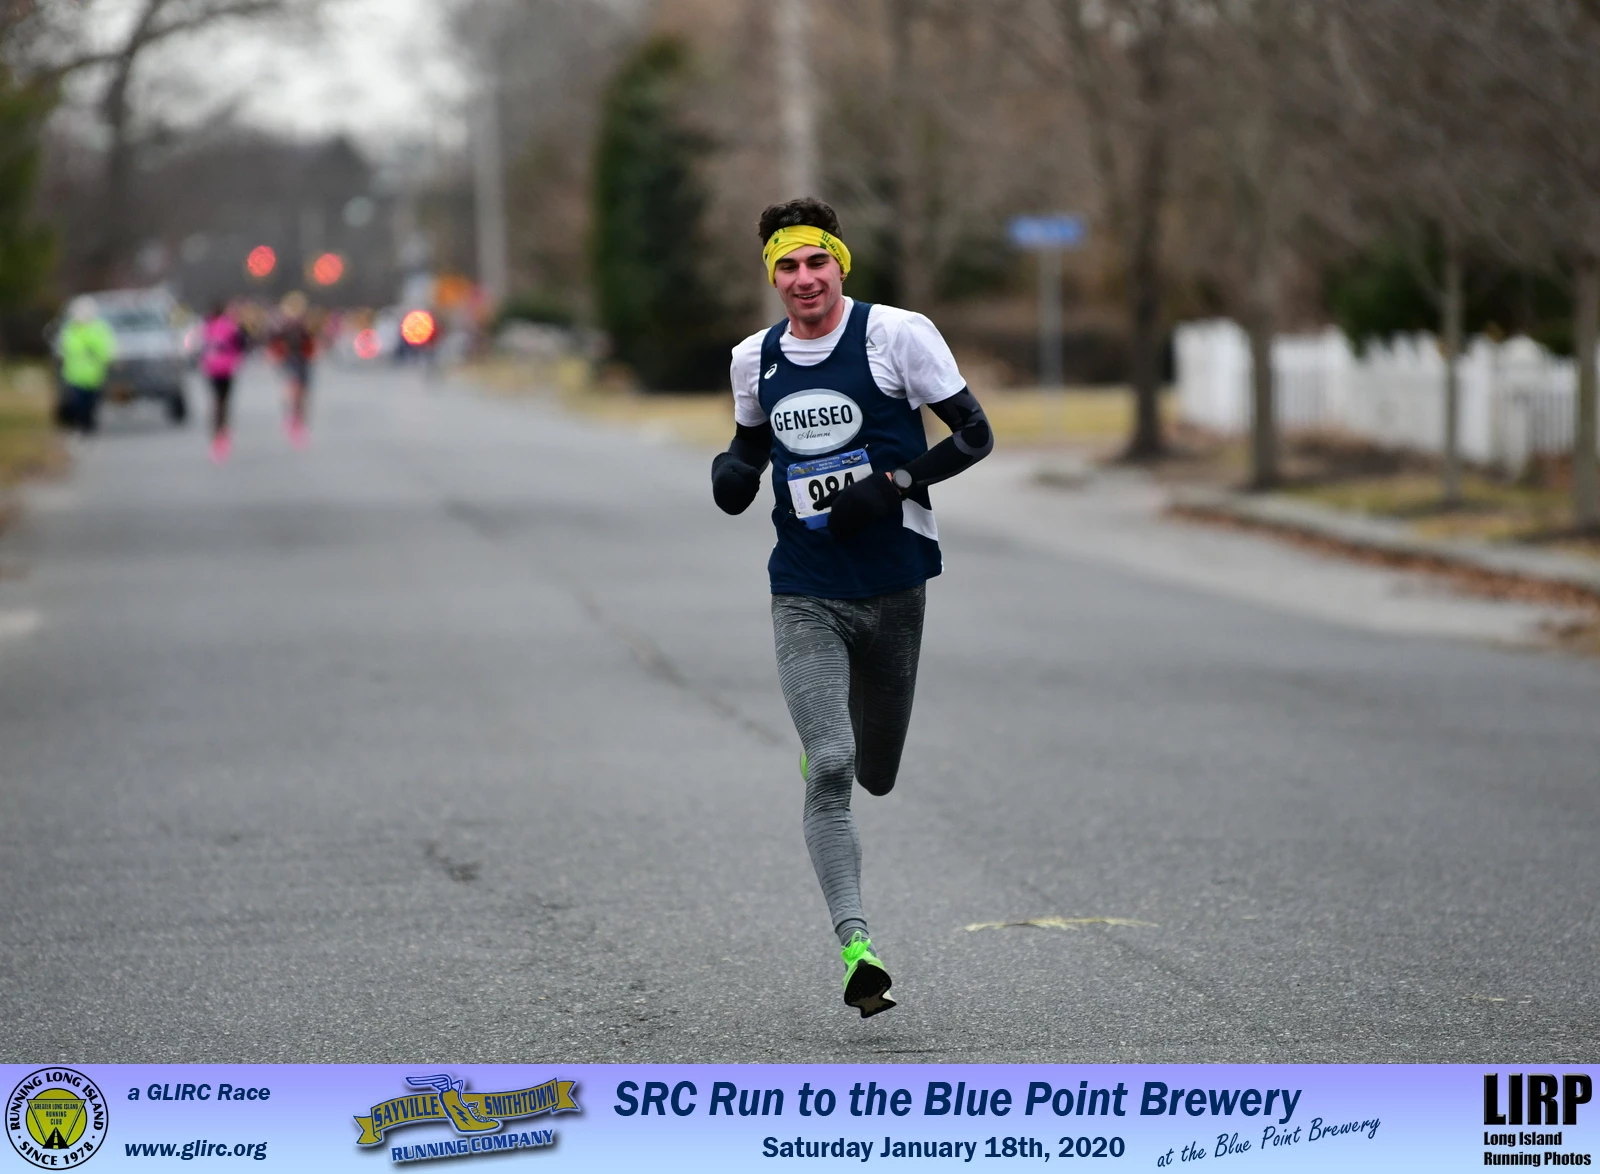
The first step is to export all of your image files to a subfolder as 16 bit sRGB TIFF files using Long Edge = 1600 px, Resolution = 300 ppi, and Output Sharpening for the target usage (screen or print). Make sure your banner image is also 300 ppi Resolution.
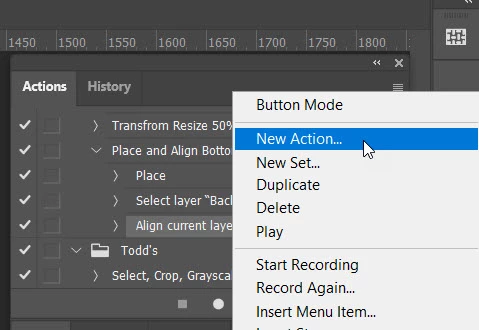
Next in PS create a New Action by first opening any one of the TIFF files and start recording the action. If you've never used PS Actions this should be helpful:https://helpx.adobe.com/photoshop/using/creating-actions.html
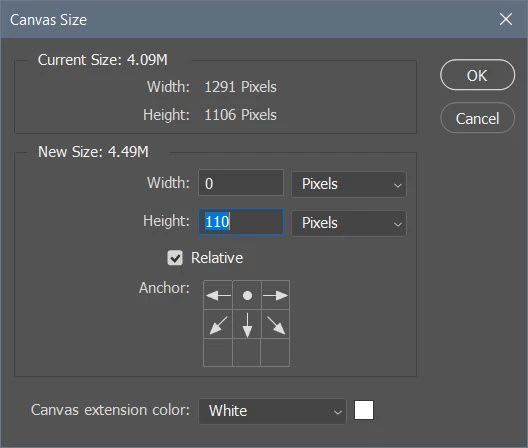
1) In the upper toolbar go to Image> Canvas Size' and enter width 0 px, Height 110 px, Relative checked, and Anchor top center box checked.
2) Go to File> Place Embedded and select your 1600 x 110 px width banner file. The file will be placed to fit the right and left edges of the image file. If not Stop the action recording and delete it. Go to Edit Preferences> General and check 1) 'Resize Image During Place' and 2) 'Always Create Smart Objects When Placing.' You'll need to start at the beginning with a new action recording after making these settings changes.
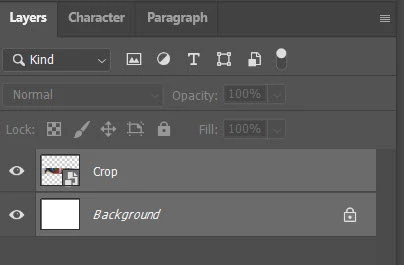
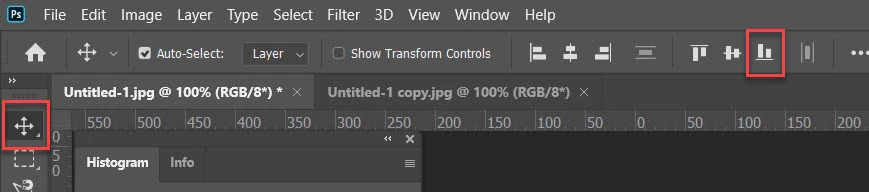
3) The placed banner should now appear in the center fit to the right and left edges. Hit the Enter key to place the banner, select both layers in the Layers panel, and click on the Move tool in the top right toolbar. Next just below the menu bar click on the double-column icon for 'Align Bottom Edges.' The banner should now be at the bottom in the extended canvas area.
4) Stop the action recording by clicking on the stop button in the Actions panel.
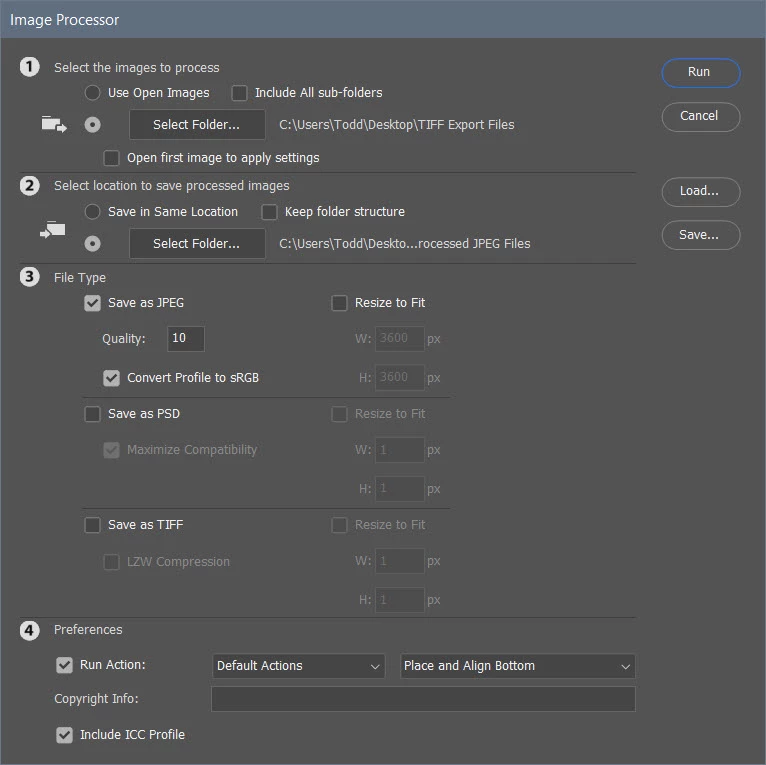
5) Next go to File> Scripts> Image Processor and use the settings as shown below. Images to Process should be your LR TIFF Export folder. For Location To Save Processed Images create a new folder, which will contain the finished JPEG files. You can delete the TIFF folder once completed.