Participant
December 14, 2019
解決済み

Deleting "silvering" particles from scans of antique photo prints

  • December 14, 2019
  • 返信数 2.
  • 7868 ビュー

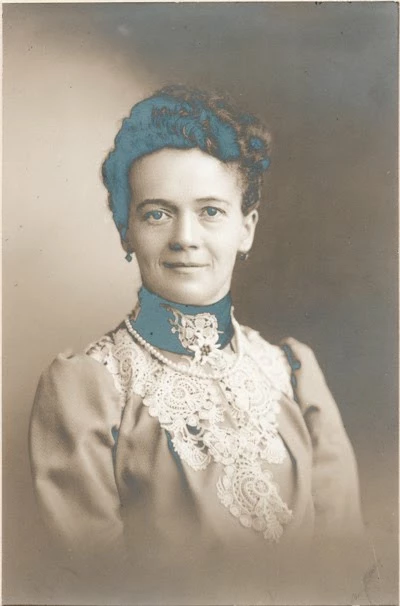
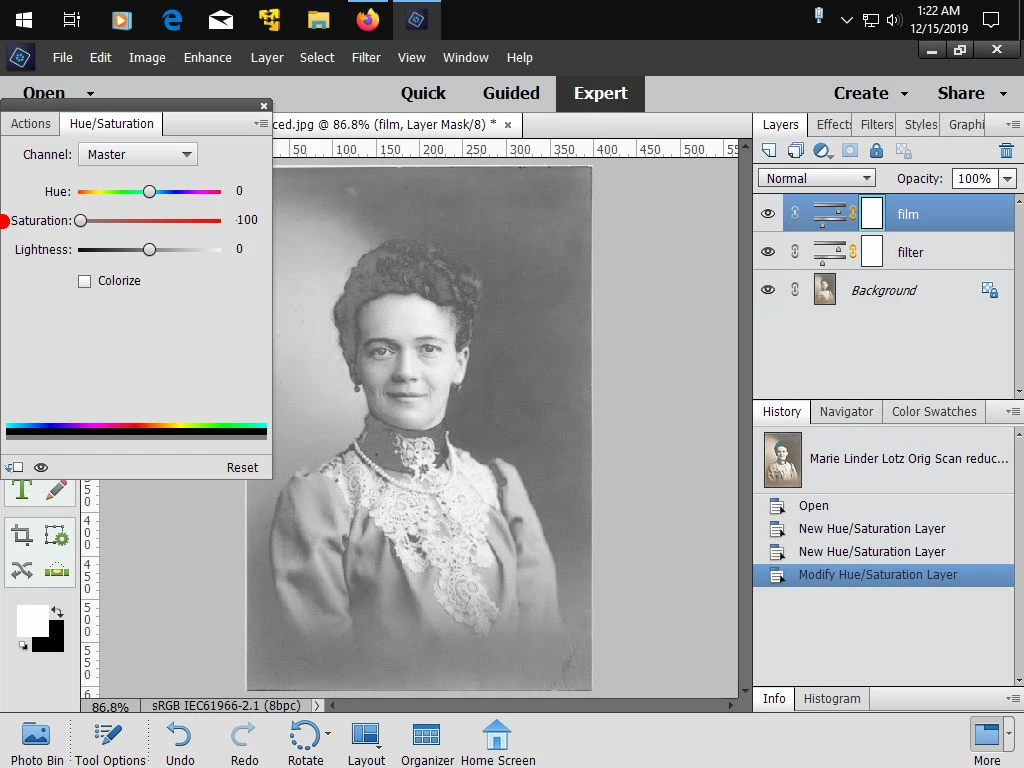
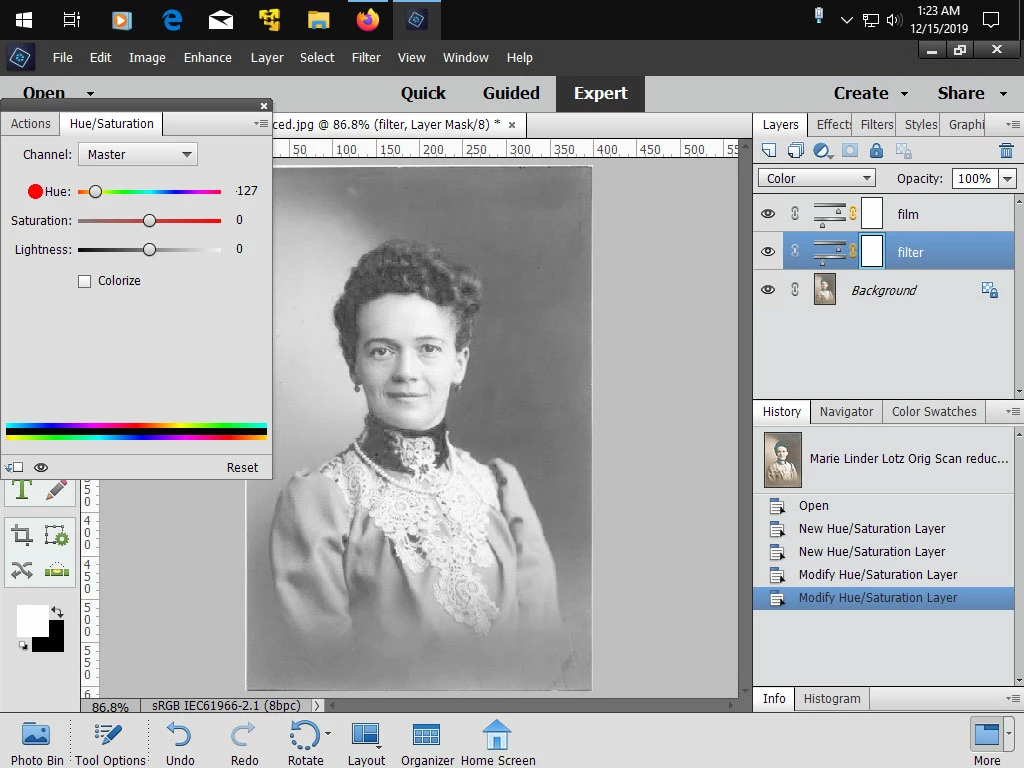
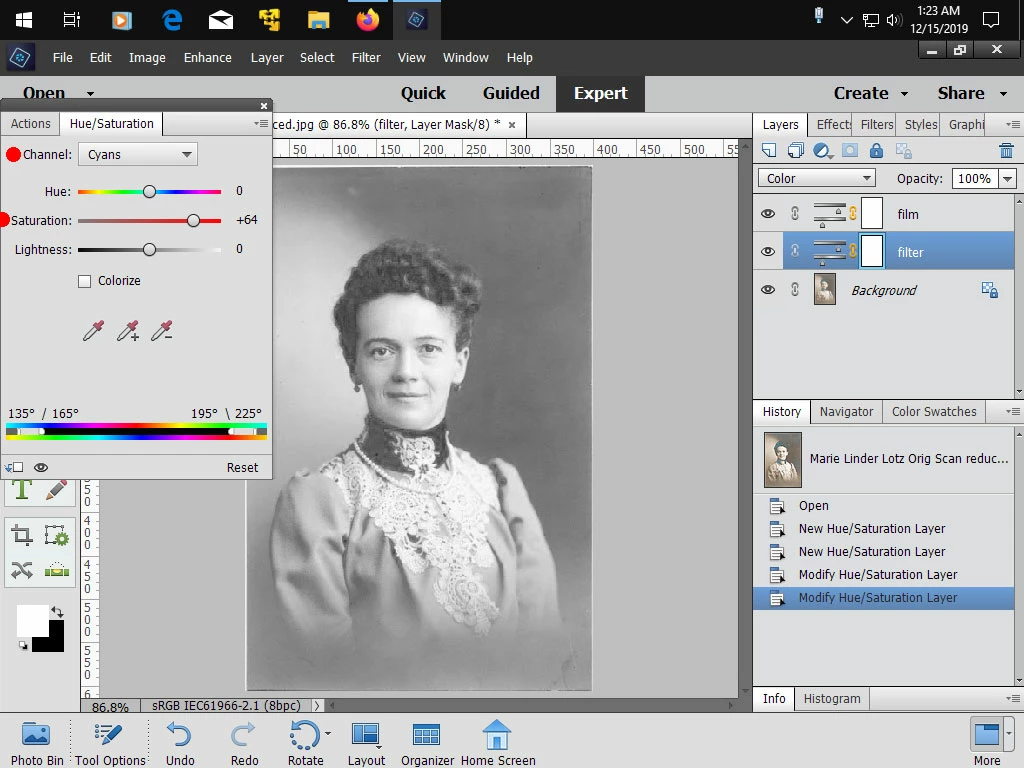
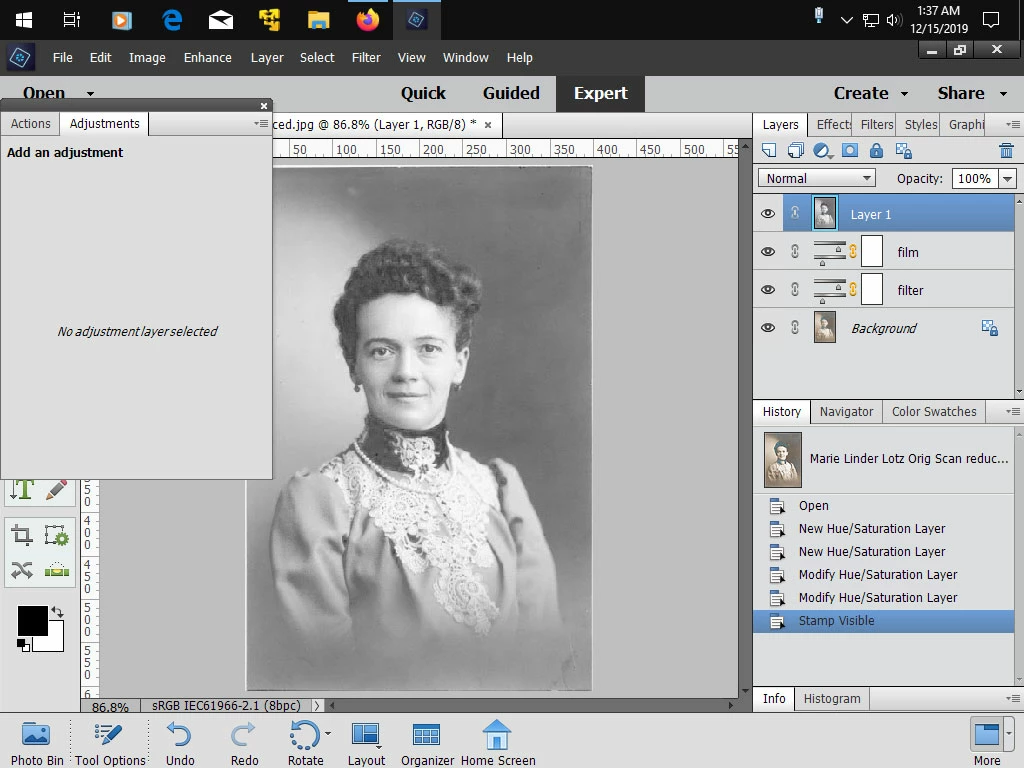
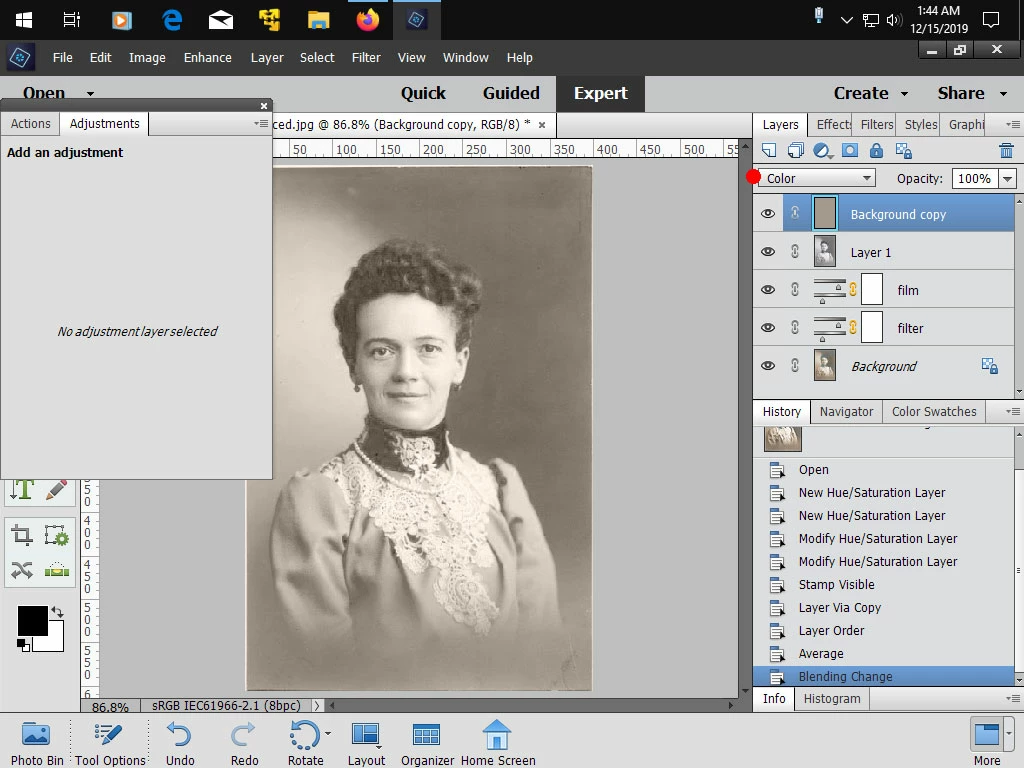
I have scanned many old photos from the early 20th century. At that time, they used silver oxide or something like that in priting black and white. The sheen from the silver in the print shows up as "silvering"/tarnish in the scan, i.e. bright blue particles all over the image. Is there a way to select only these bright blue particles and either delete them, mask them or replace them with what is around them? This is something that can be done using the full Photoshop or a program called Picture Window Pro, but the last time I checked (PSE 12?) it could not be done with PSE. I'd like to stick with PSE so I'm hoping that by now this kind of selection and restoration can be handled by PSE. Can anyone tell me if it's possible and, if so, how? Many thanks!

このトピックへの返信は締め切られました。
解決に役立った回答 Jeff Arola

Here's something you might try using two Hue/Saturation adjustments layers.


The goal is to desaturate the image to remove the cast caused by the silvering and then bring

back the detail that was covered by the silvering


The before image that i got from here:

http://bigdustup.blogspot.com/2010/02/fixing-silvering-in-old-family.html


1. Go to Layer>New Adjustment Layer>Hue/Saturation ans set the name to filter and Mode to Color


2. Make a second Hue/Saturation adj layer and name it film and in the Hue/Sat adj dialog move the

    Saturation slider all the way to the left to remove all color from the photo


3 .In this step the idea is to bring out the lost detail in the areas where the silvering particles are (bluish area)


    Click on the filter hue/sat layer and move the Hue slider to get the best image.

    In this example i moved the slider to the left.

    Change the Channel to Cyans and move the Hue slider to the right to get the most detail

    Change the Channel to Blues and move the Hue slider to the right to get the most detail


4. Click on the film hue/sat layer then press Shift+Ctrl+Alt+E to make a merged copy of your layers

    In this example the result is Layer 1


5. Click on Background layer and press Ctrl+J to make a copy of the Background layer. Then drag that copy to

    the top of the  layer stack. Background copy in this example.


6. Go to Filter>Blur>Average, then change the Layer Blend mode to Color


After


All the screenshots are attached below if you want bigger views than forum offers.


返信数 2

Jeff Arola
Community Expert
Jeff ArolaCommunity Expert解決!
Community Expert
December 15, 2019

Here's something you might try using two Hue/Saturation adjustments layers.


The goal is to desaturate the image to remove the cast caused by the silvering and then bring

back the detail that was covered by the silvering


The before image that i got from here:

http://bigdustup.blogspot.com/2010/02/fixing-silvering-in-old-family.html


1. Go to Layer>New Adjustment Layer>Hue/Saturation ans set the name to filter and Mode to Color


2. Make a second Hue/Saturation adj layer and name it film and in the Hue/Sat adj dialog move the

    Saturation slider all the way to the left to remove all color from the photo


3 .In this step the idea is to bring out the lost detail in the areas where the silvering particles are (bluish area)


    Click on the filter hue/sat layer and move the Hue slider to get the best image.

    In this example i moved the slider to the left.

    Change the Channel to Cyans and move the Hue slider to the right to get the most detail

    Change the Channel to Blues and move the Hue slider to the right to get the most detail


4. Click on the film hue/sat layer then press Shift+Ctrl+Alt+E to make a merged copy of your layers

    In this example the result is Layer 1


5. Click on Background layer and press Ctrl+J to make a copy of the Background layer. Then drag that copy to

    the top of the  layer stack. Background copy in this example.


6. Go to Filter>Blur>Average, then change the Layer Blend mode to Color


After


All the screenshots are attached below if you want bigger views than forum offers.


paulm22970209作成者
Participant
December 19, 2019

This process worked perfectly! Thanks again, Jeff_Arola!

Participant
November 15, 2020

Hi Paulm,

At the end of the steps Jeff described, how do you combine all the layers into one layer to save? Merge down did not work for me.

Thanks in advance,

Judy

Phinny
Legend
December 14, 2019

This 3 minute video demonstrates the ease with which the silver might be eliminated from your scan(s) using full blown Photoshop.  I'm not suggesting it can't be done in PSE, just that it may involve different steps and the use of a plugin (as an example).  I hope you'll find this info useful.