

Dealing with "Halo" using the select and mask (but not that kind of halo)
Hi there! I am a total PS beginner here. That being said, I have searched and found many ways to correct the haloing effect one typically encounters using the select and mask tool. However I am still left with something that I cannot seem to solve.
I shot some headshots using a plain white backdrop. After the shoot, I was informed that the client needed a specific backdrop color (lesson learned there ...ask first).
I need to swap my white background for a chocolate painted backdrop (not sure what to call it).
Here is what I have done; feel free to critique or suggest other ways to do things as we go.
1) Original image. Notice the perimeter of the hair and that there is nothing special going on here.

2) I open in PS and use the Select and Mask tool:
2a) Using the quick select tool I get the following mask.
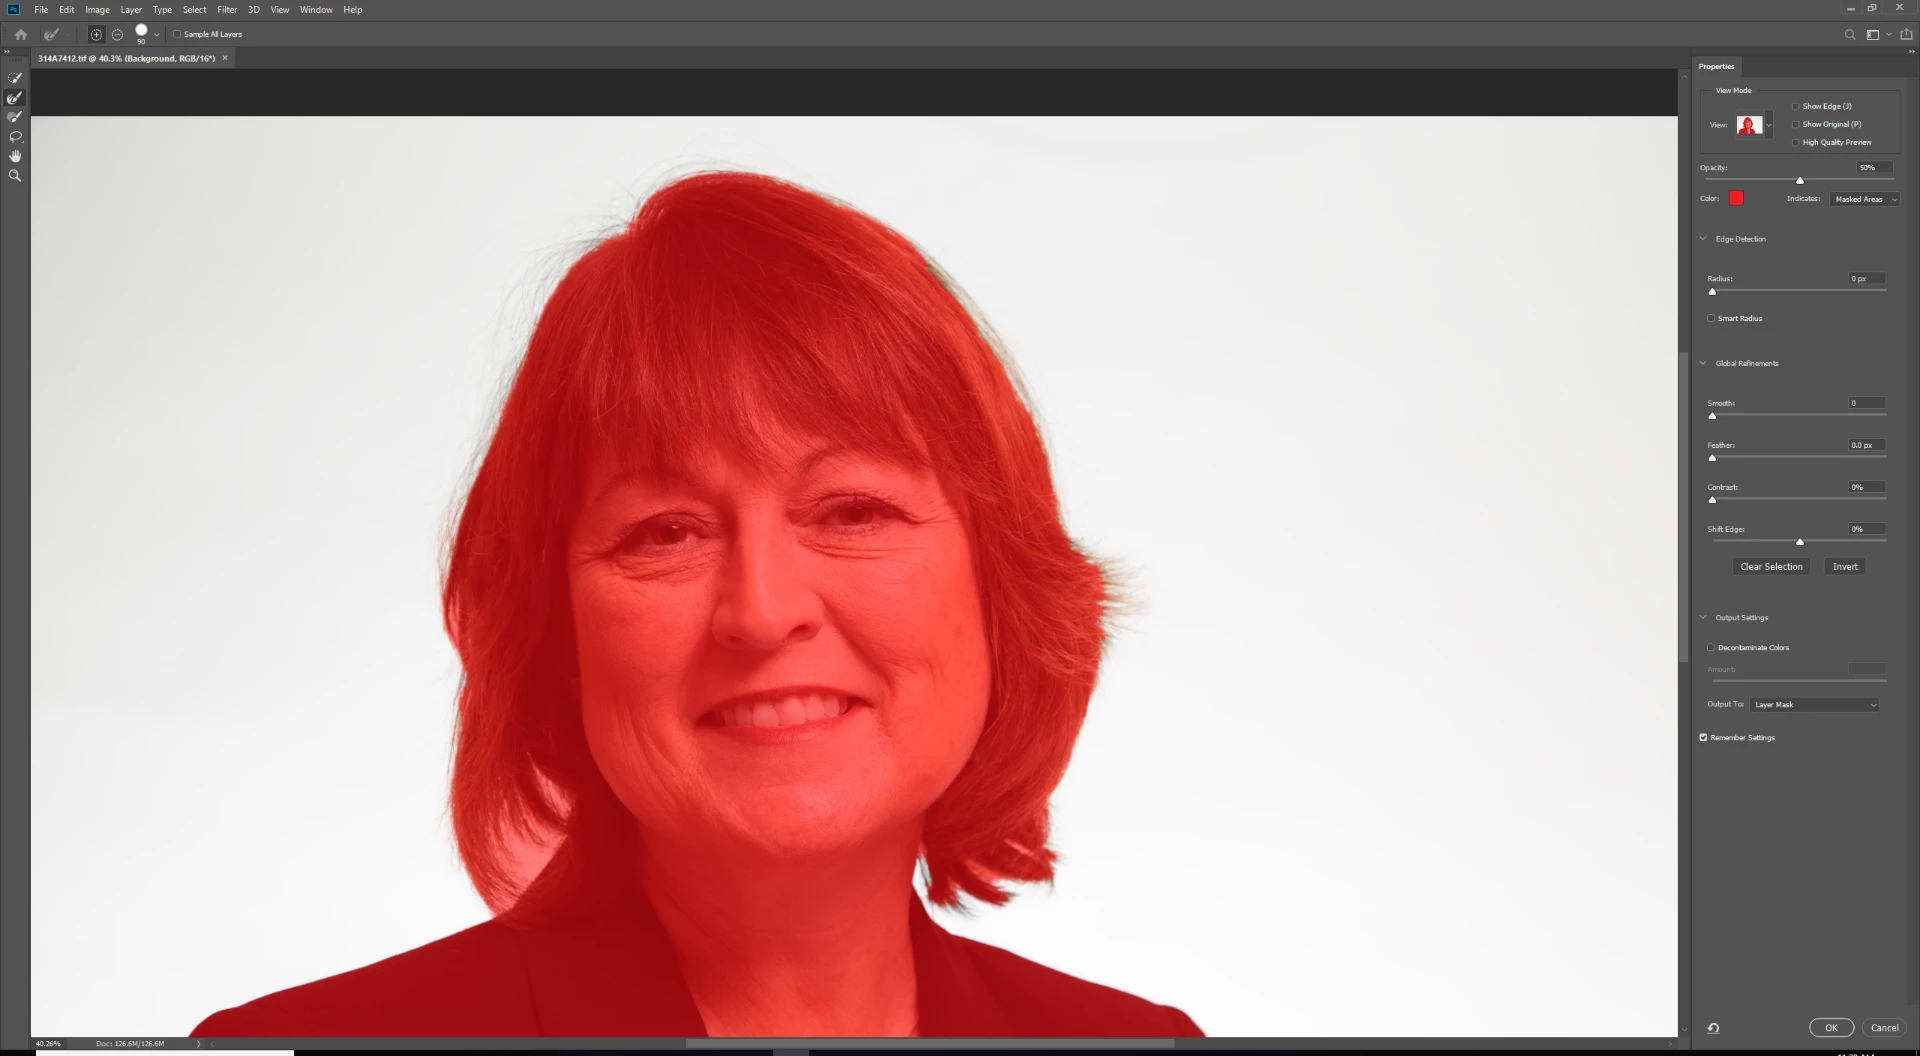
2b) I can see that some hair was missed, so I go in with the Refine Edge Brush tool and a stylus to try and get it:
I am pretty sure this is where I am going wrong. The mas that is being generated by the Refine Edge Brush tool is not as "red" as the mask that was generated by the quick select tool. I think this is indicating the level of opacity of the refine edge selection, but I am not sure how to change it or if I should be using a separate tool altogether.

2c) I then invert the selection and send to layer mask. I create a new layer underneath this one and fill it with black (just to see how I did):
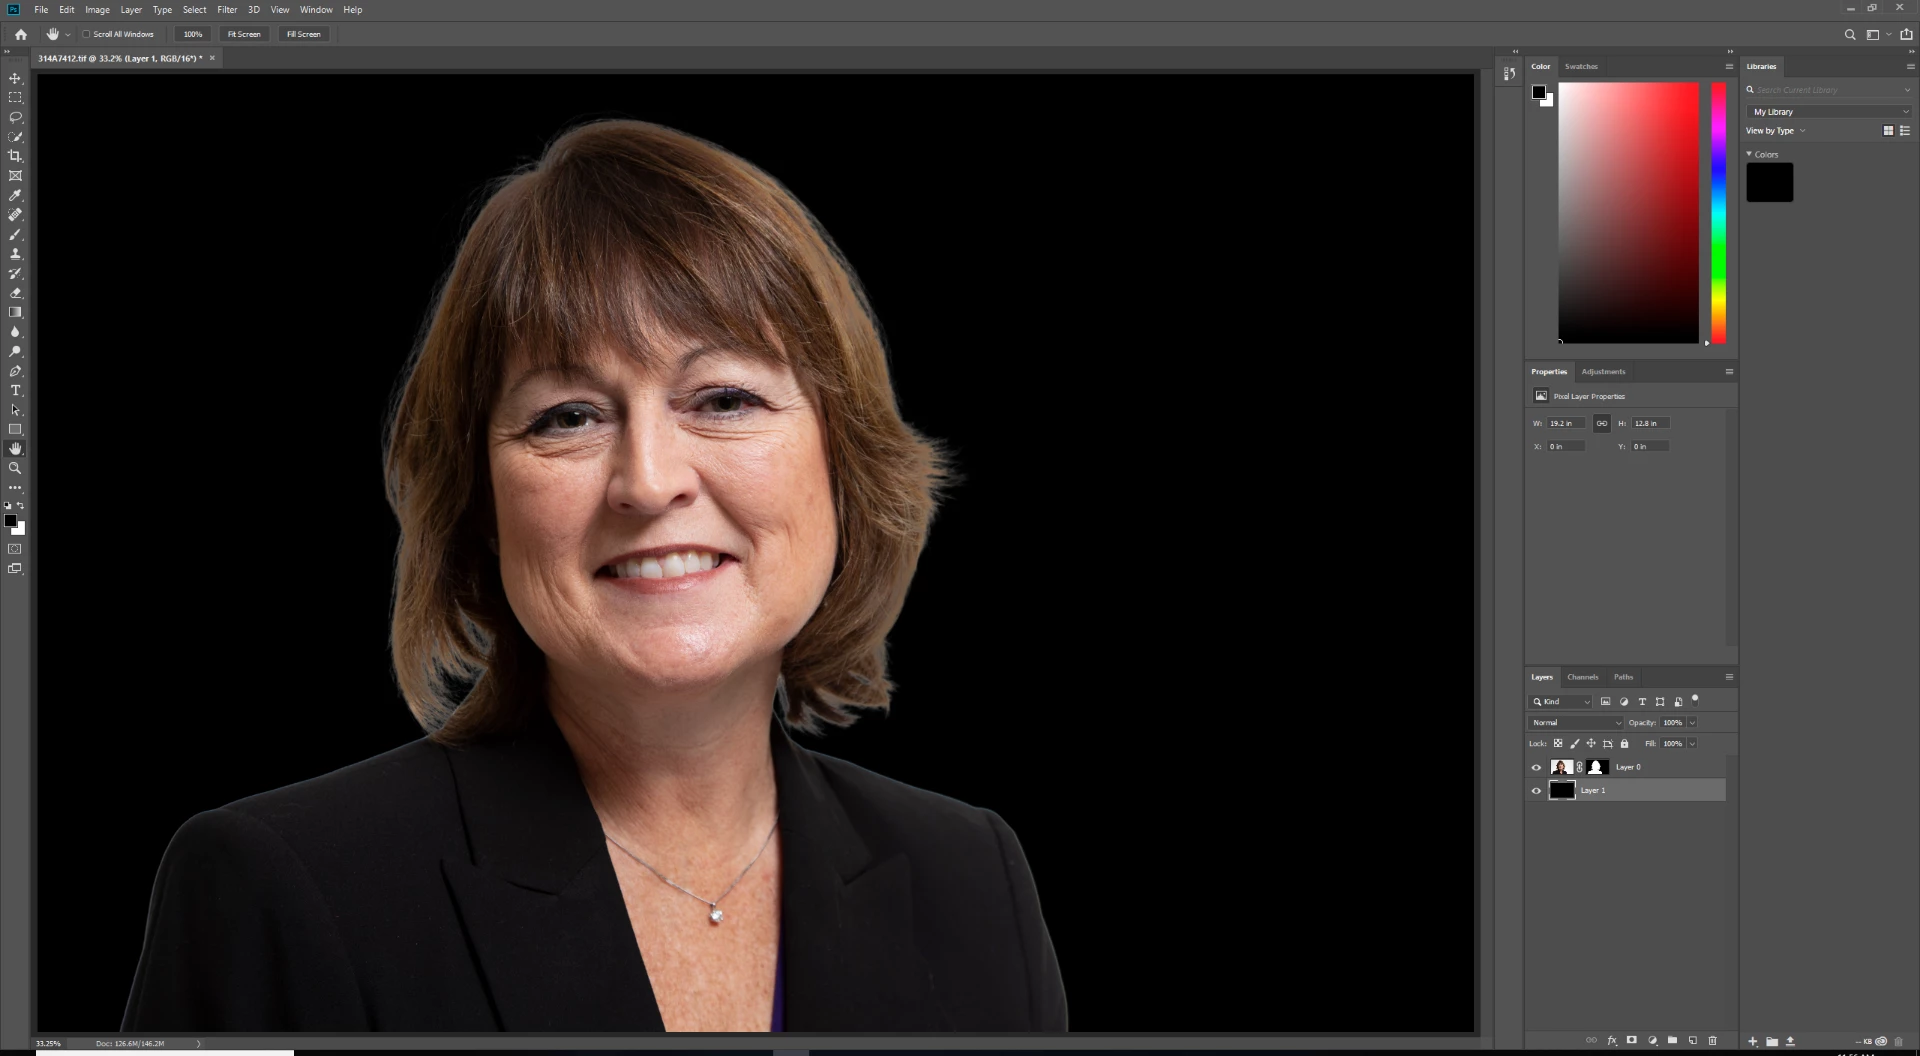
I hope you can see that the hair near the perimeter, especially the right hand side, has quite a bit of "glow" to it and looks quite unnatural.
Thanks so much if you read this far! Any advice would be appreciated.