

Couple in a field of flowers
I can't seem to grasp layer and adjustment masks, and how to use them effectively. I am working on a project. It calls for putting an image of a person in a field of flowers (I have both photos - the field of flowers and the person). I want the person to be partially obscured by the flowers. My thought was to open the field of flowers (image 1), then copy the person to it (image 2), then add a layer mask of the first image (the field) and "paint away" the portion of that image that obscures the person. But I obviously am doing lots of things wrong.
I'm using PSE 15.
I've watched videos, read my user guide, even bought a book on PSE, but I just can't seem to do this.
Any help greatly appreciated. I hope I've explained what I'm trying to do clearly enough that someone can tell me how to do it.
Here's the effect I want:
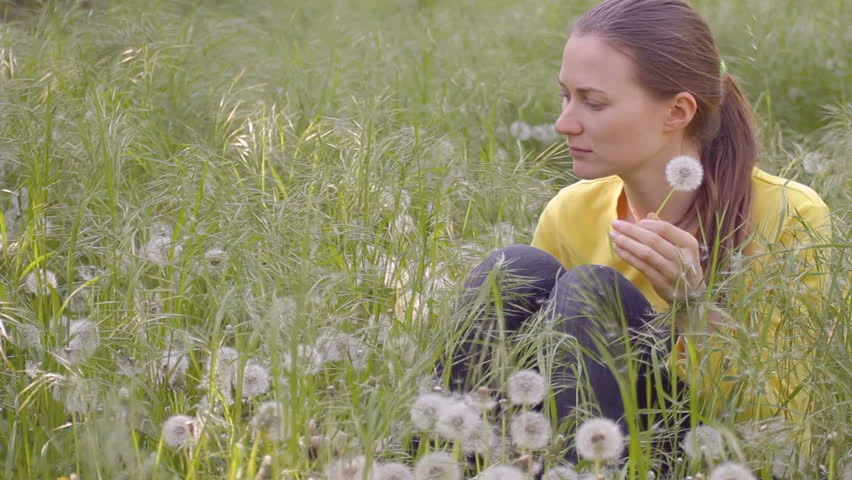
I have the photo of the grass and dandelions, and the photo of a person. Is it possible to drop her into the photo of the field, as shown?