

- Home
- After Effects
- Discussions
- Re: After Effects - Creating Shapes from Vector La...
- Re: After Effects - Creating Shapes from Vector La...
After Effects - Creating Shapes from Vector Layer, not all parts are made into shapes!

Copy link to clipboard
Copied
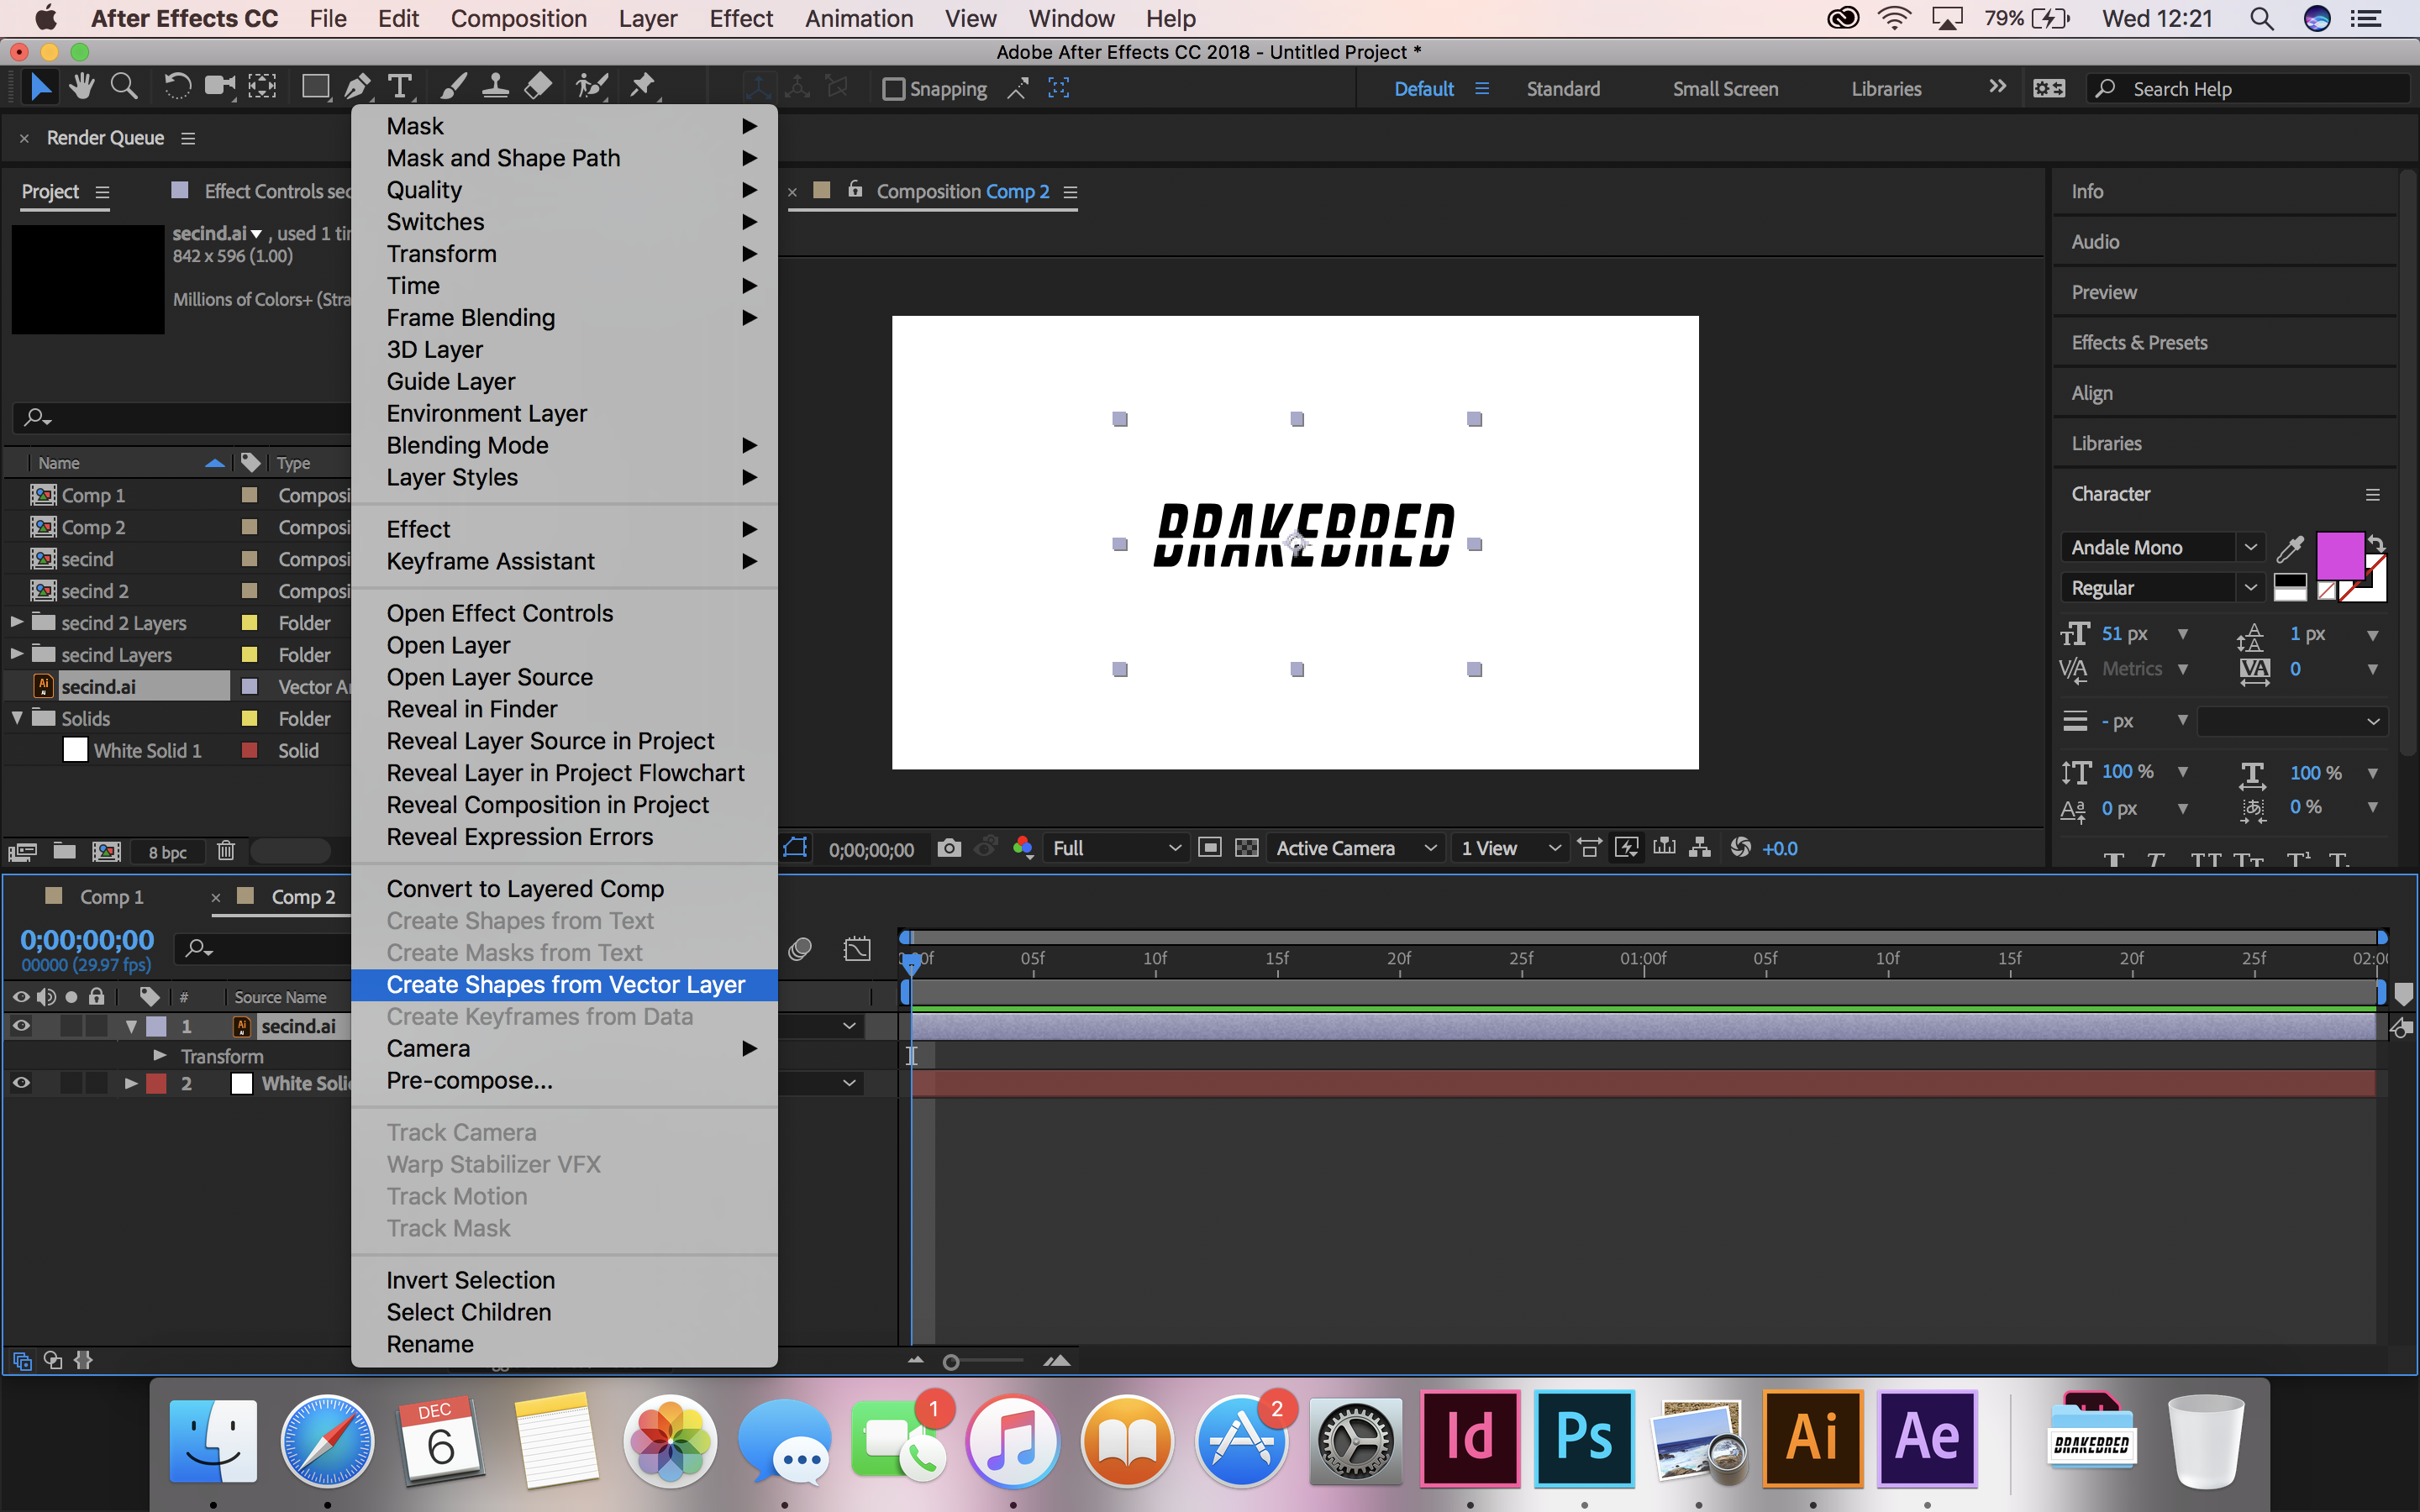
I am trying to make a logo 3D, from an Illustrator file (or I could try from png). The logo is cut up text, so it is made of many parts, like so ..

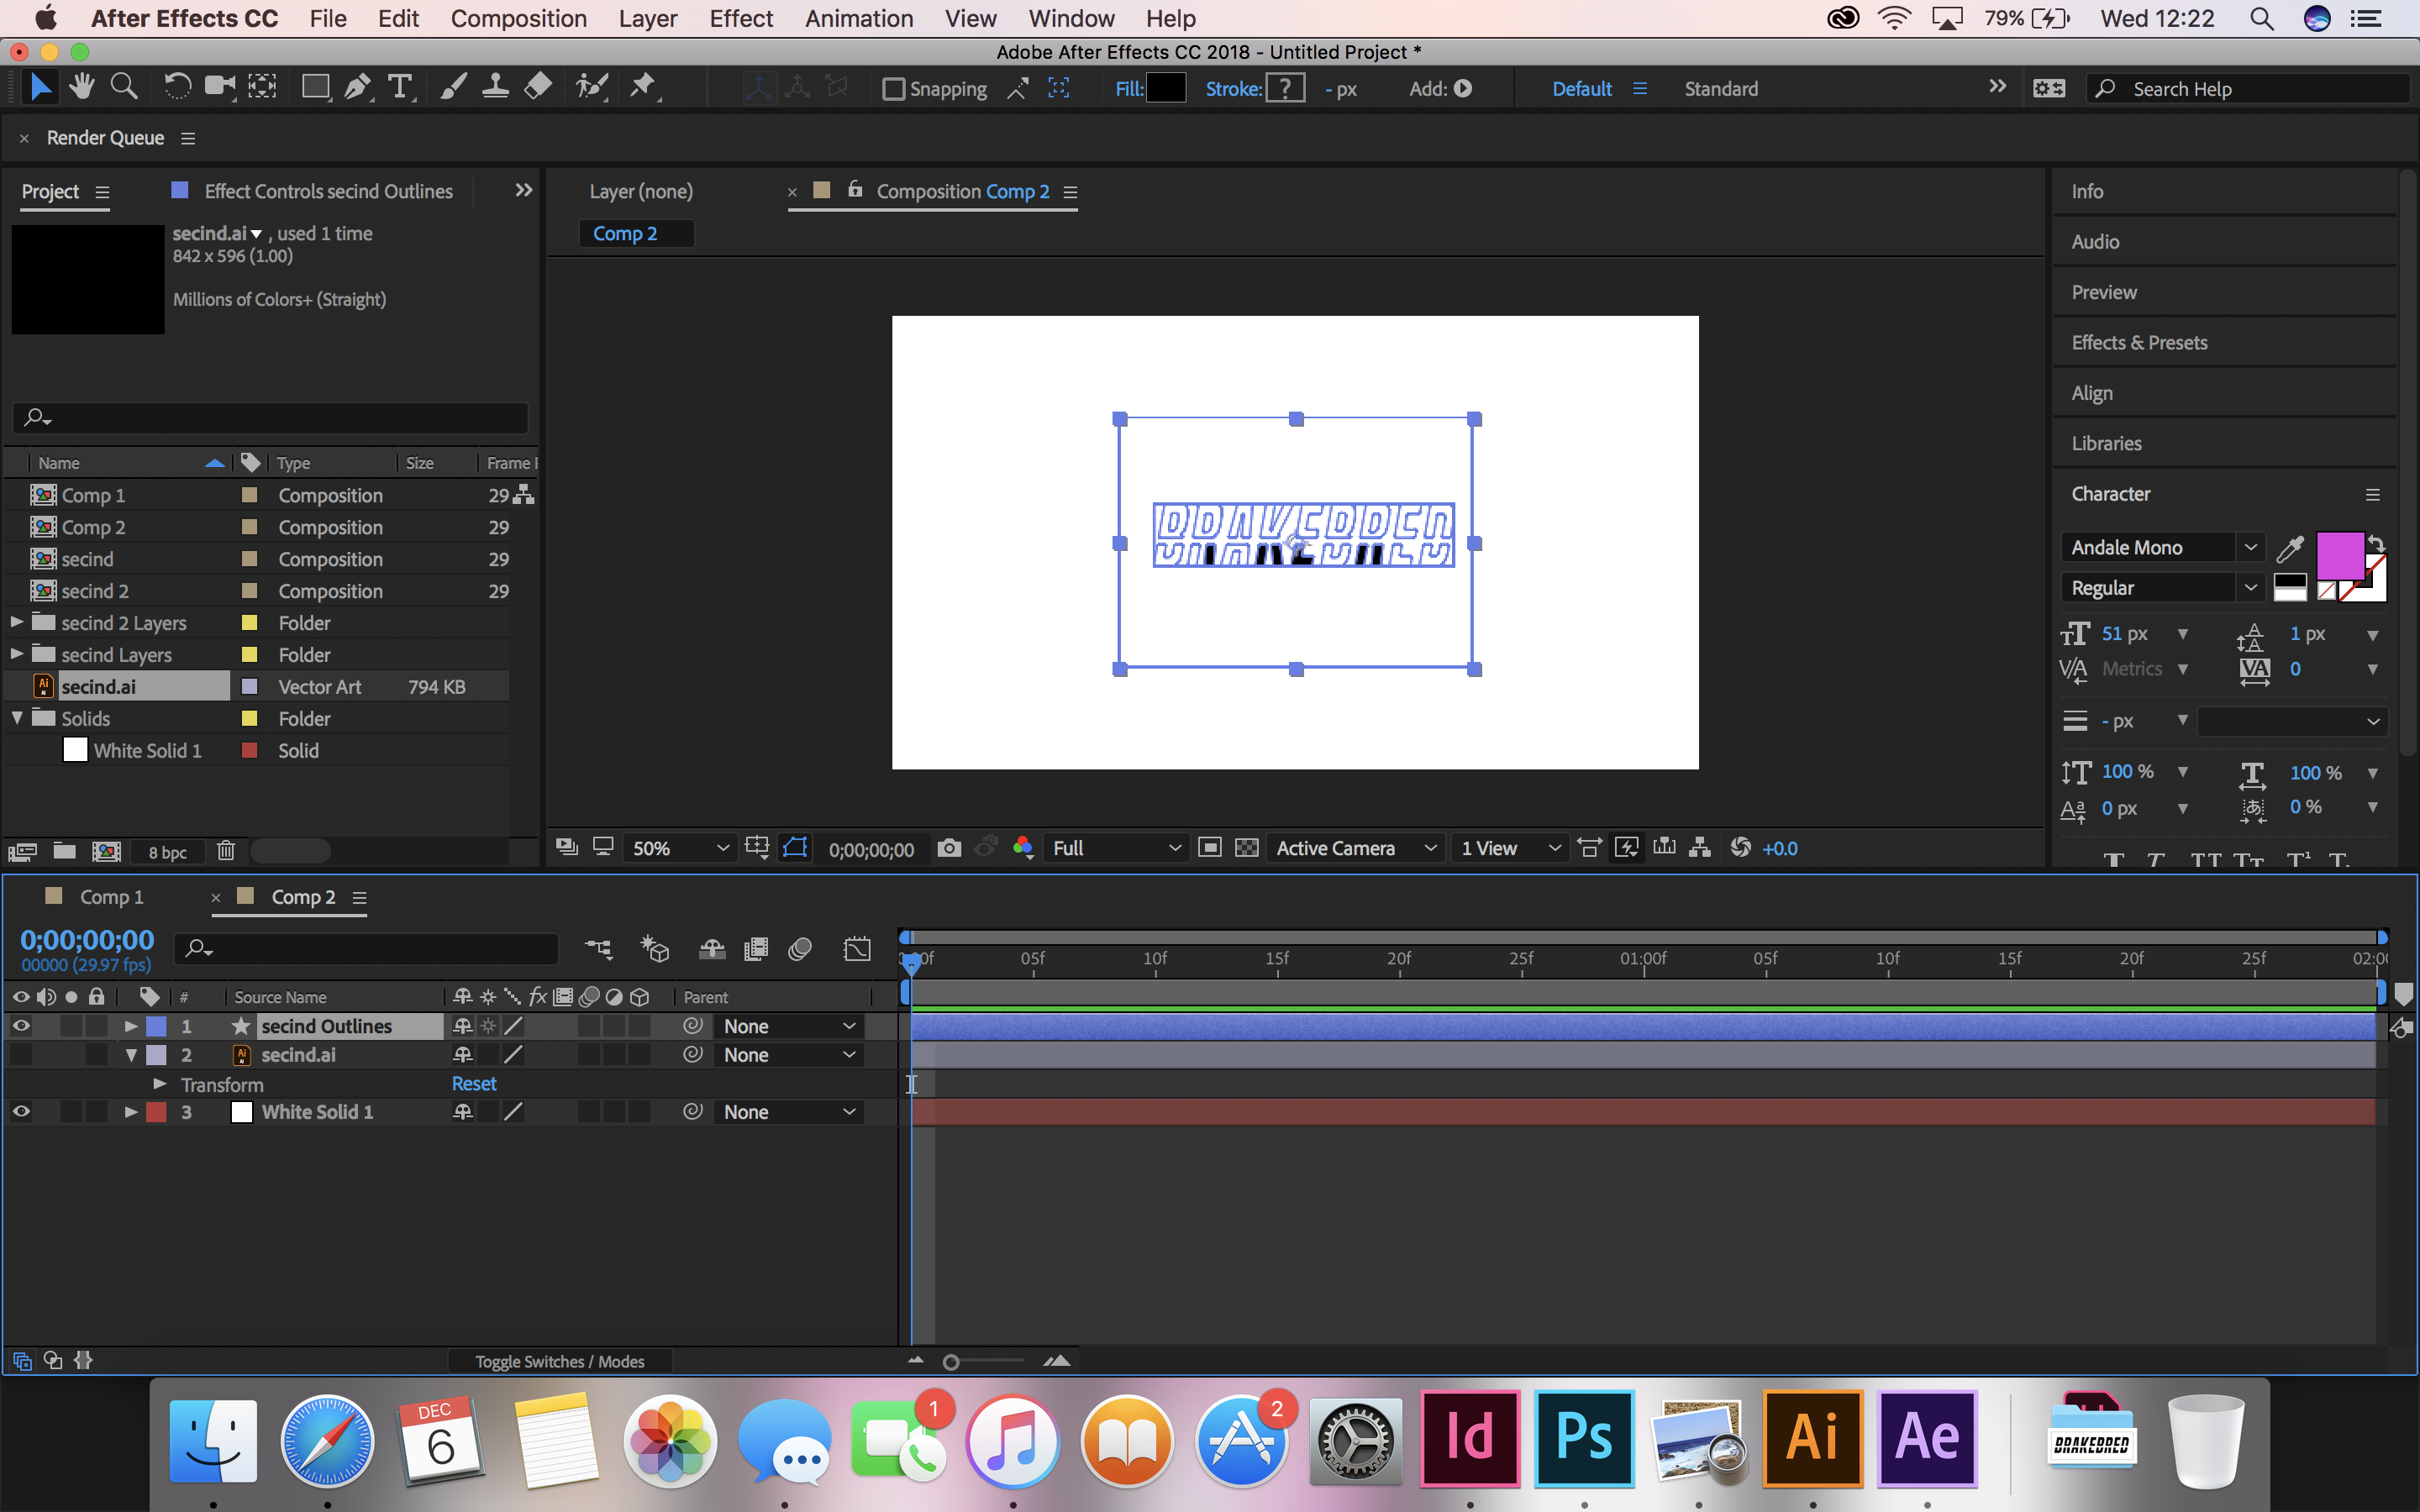
I place this into AE and when I select 'Create Shapes from Vector layer' most of the logo stays white/is not even selected.
How do I fix this?
Images below...


 10
Replies
10
10
Replies
10

Copy link to clipboard
Copied
First, fix your Illustrator file by making sure that all of the paths you want to use are on a separate layer and import as a comp. 40 paths on a single layer converted to shape layers will result in a mess of shape layer paths on the same layer which will be difficult if not impossible to animate, group or manage.
Second, determine if converting to shape layers is necessary. There are only two reasons to convert vector layers to shape layers and there are a bunch of reasons not to do it. A vector layer converted to a shape will lose custom gradient fills, styles, effects, some, clipping paths, compound paths, gradient masks, blends and a bunch of other things you can use in Illustrator to class up your illustration. There are only two things to gain by converting a vector image to a shape layer. The first is the ability to animate the vector path vertices, the second is the ability to add shape layer animators like trim paths and repeaters.
Fix you Illustrator artwork first, import as a composition and if you cannot figure out what to do next, get back to us.
Copy link to clipboard
Copied
Okay, thank you very much for your reply! Sorry I'm still a bit stuck - how can I make sure that all the paths I want to use on Illustrator are on a separate layer? The logo was a png file which I imported into Illustrator.
The reason I want to convert to shape layers is because I'd like to animate this 3D logo 

Copy link to clipboard
Copied
In addition to what Rick said also check the paths themselves. Slicing up stuff in AI using PAthfinders etc. regualrly produces "bad" paths with stray anchor points that need to be cleaned up. This can have a huge impact on the conversion.
Mylenium

Copy link to clipboard
Copied
I can see from your screenshots that the shapes are all being converted, but you're running into issues with how they're grouped. As mentioned above, the issue is the way they're built in Ai, which is giving you unpredictable results when converting to shape layers (which I'm not entirely convinced you need to do.)
Confirm if you do indeed need the letters to be separate pieces.
Confirm if you do indeed need those pieces to have full editability in Ae (i.e. whether they need to be shape layers). If not, just import them as separate layers from the Ai file.
There are a lot of tutorials about the Ai to Ae workflow - I'd check some of those out, which will help you with the particulars, but also help you determine how far down this path you actually need to go. This might be a good one to start with.
Copy link to clipboard
Copied
You start with expanding appearance in AI so you end up with simple paths. If they are in a group select the group in the Layer Panel, use Release To Layers (Sequence) by clicking on the Layer Panel menu at the top right corner. It's 3 little horizontal lines. Then you select all of the layers created and drag them above the first layer.
If you want to keep everything on one layer then you have to explore the Layer Panel in AI and make sure there are no groups, compound paths or trim paths applied. Those will cause problems converting to shapes in AE. Expand appearance and the elimination of strokes on all of the objects will help a lot.
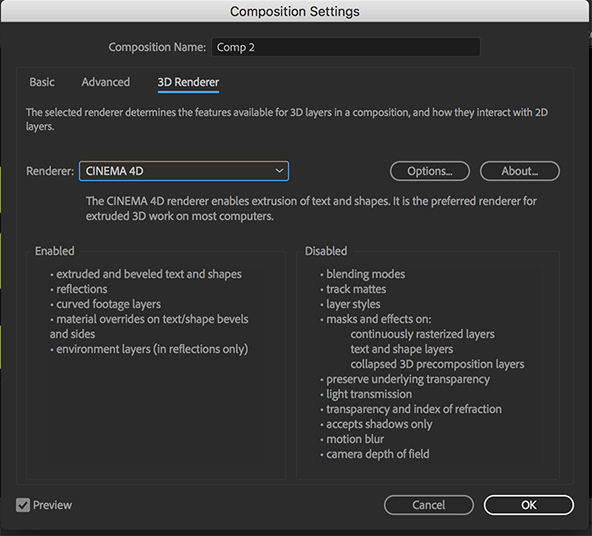
If you are intending to extrude the layers using the C4D renderer it's going to be slow and you will lose the ability to add a lot of effects. I would use C4D lite to do the extrusion. You'll get a better result with a lot less work and render time.
Copy link to clipboard
Copied
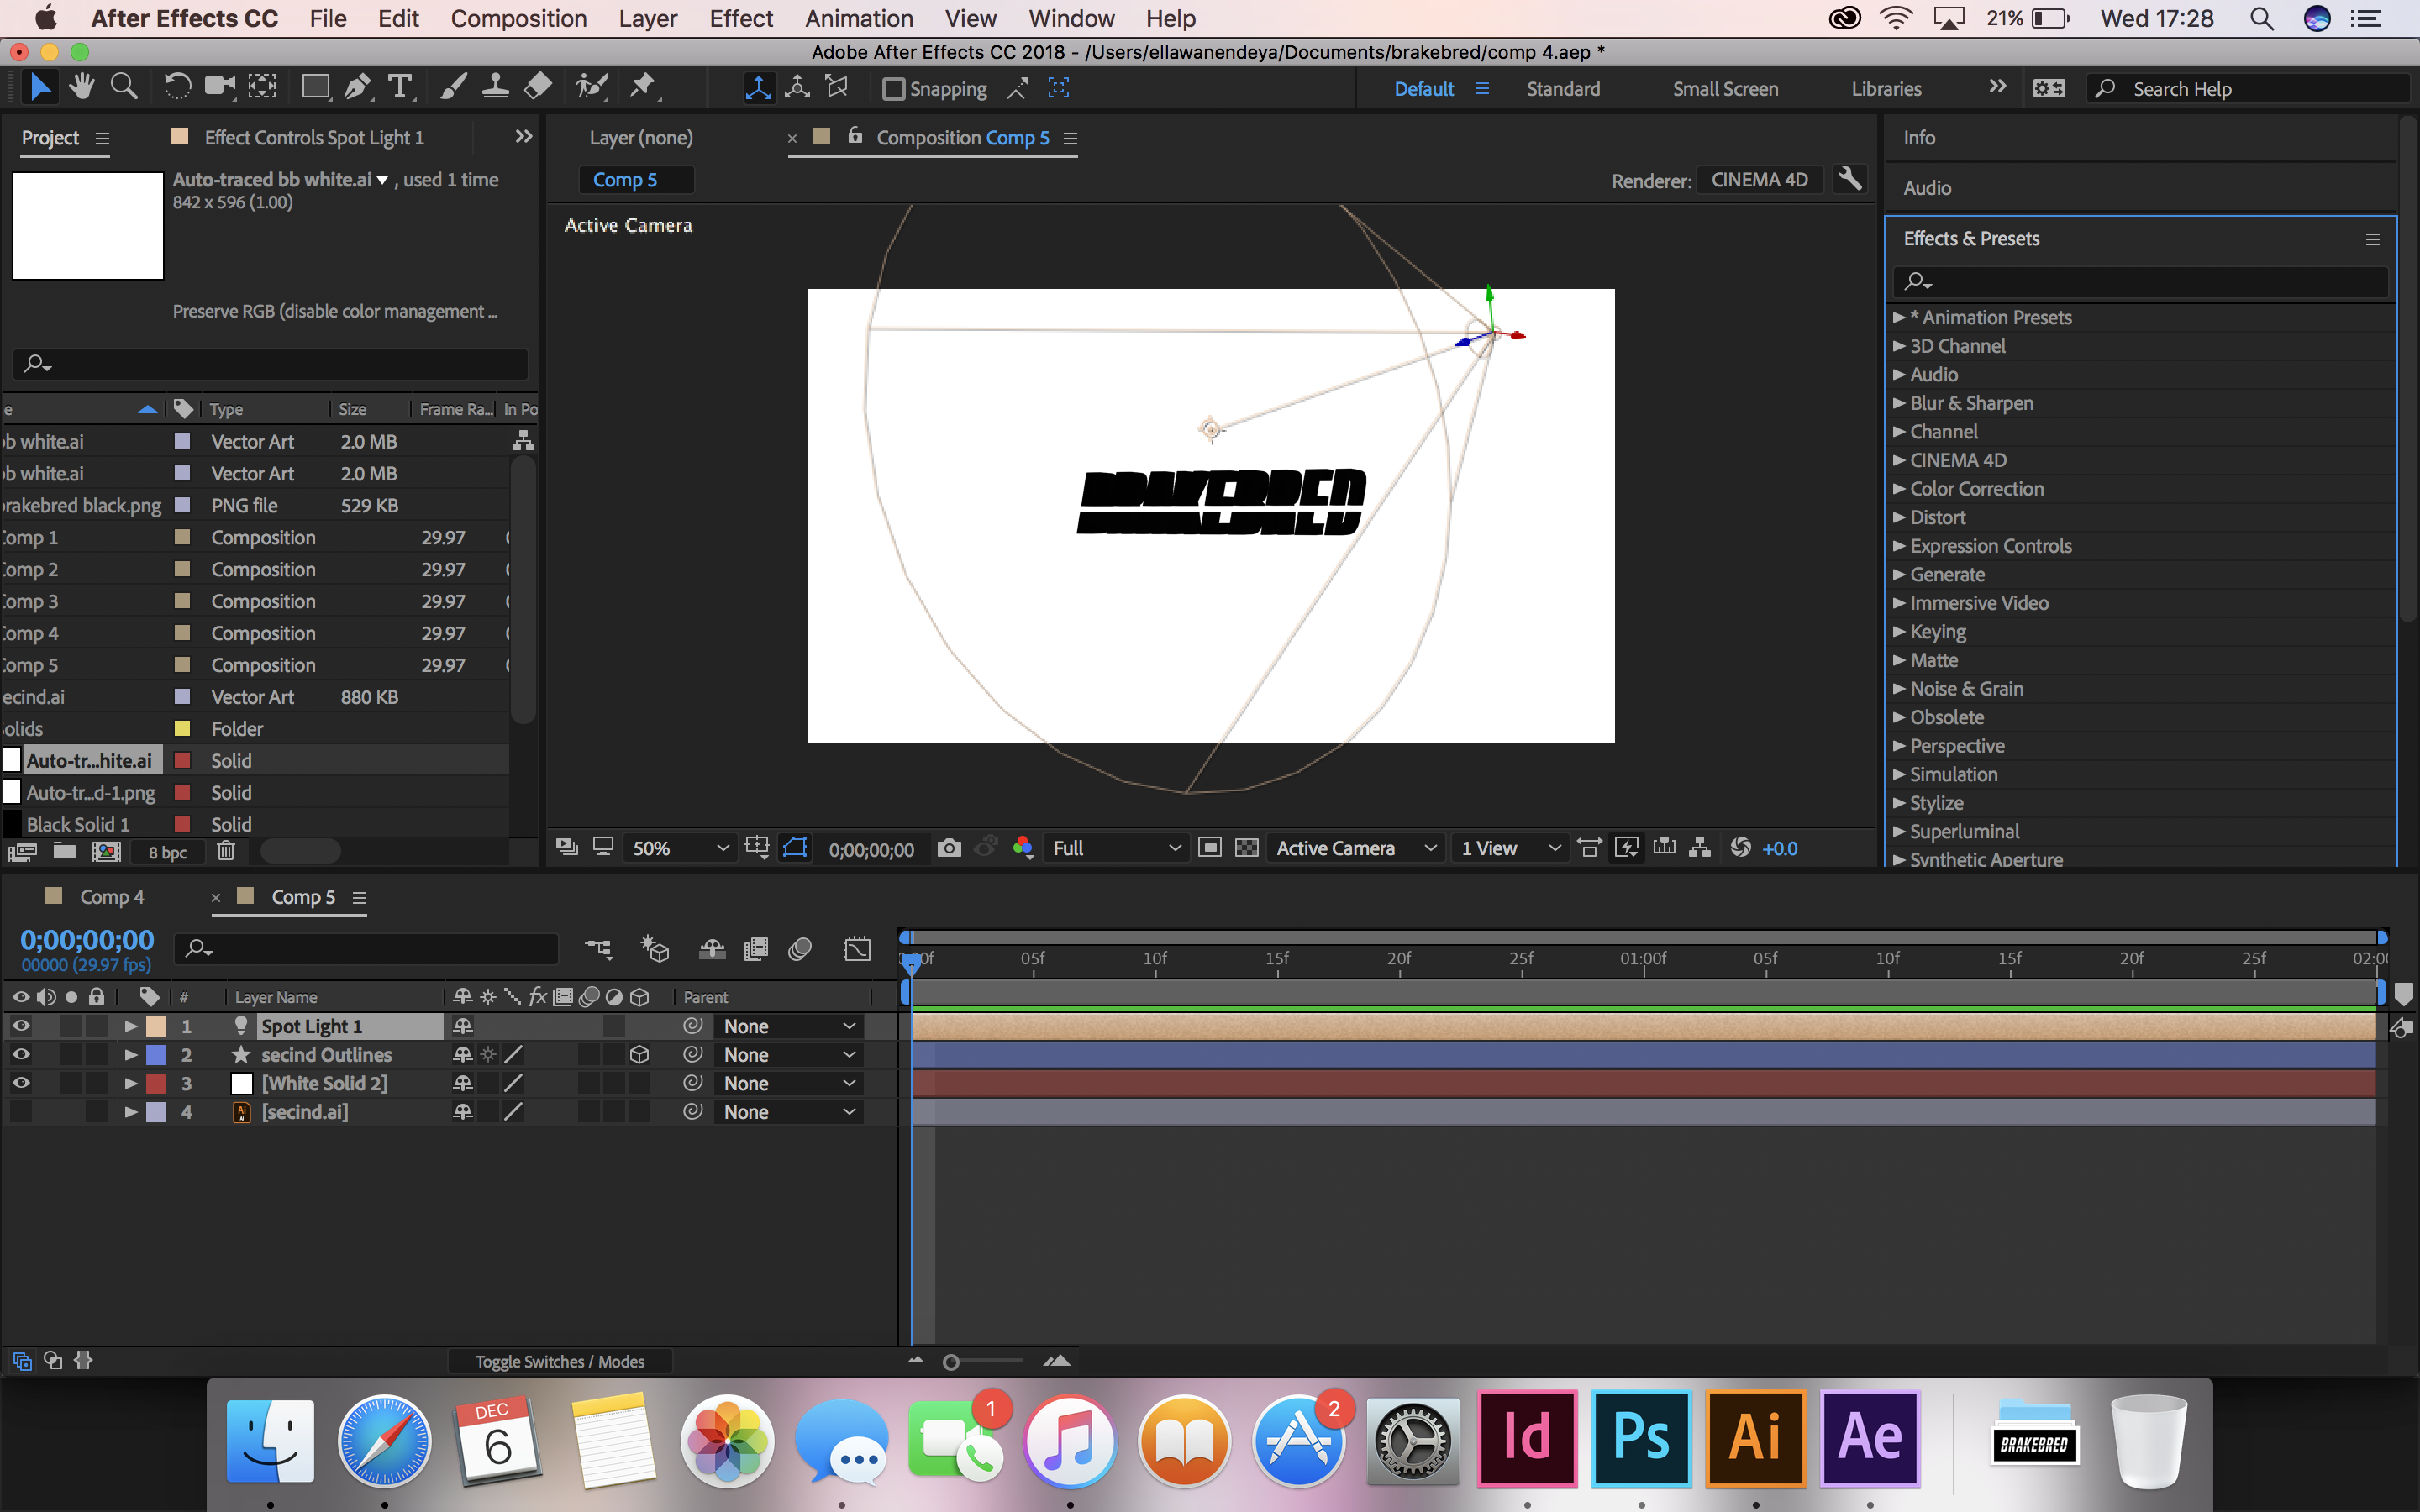
Great thank you! I did just that and was able to make the logo 3D very easily afterwards! I'm now just having difficulty putting shadows on the object? The light is white and I've turned on 'cast shadow'... if you could spot what is wrong, I would be extremely grateful!
Copy link to clipboard
Copied
You need something to catch/receive the shadow. Try creating a "floor" layer, rotated 90º at the bottom of the logo, with "Accept Shadows" set to on. Now you get to fiddle with 20 other settings until it looks right.
Copy link to clipboard
Copied
There are warnings when you enable the C4D renderer. You should take the time to read them and make adjustments for things you have to work around. If you need any of the Disabled features there are workarounds that employ nested comps (pre-comps) and different Rendering modes.
To diagnose the shadow problem you start by setting up the scene like you would set up a stage. Arrange everything you want in the scene in 3D space. Then reveal the modified properties of all layers by pressing the U key twice and making sure that all layers have the right properties selected. Your light has to be in the right position, have cast shadows turned on, the layer that is going to cast shadows must have cast shadows turned on, The layer catching the shadow must have receives shadows turned on. The default for Casts shadows is off so you'll have to press the A key twice to show that property and turn it on. Same for The Pannels have been arranged so you can see the modified properties of all the layers in this comp.
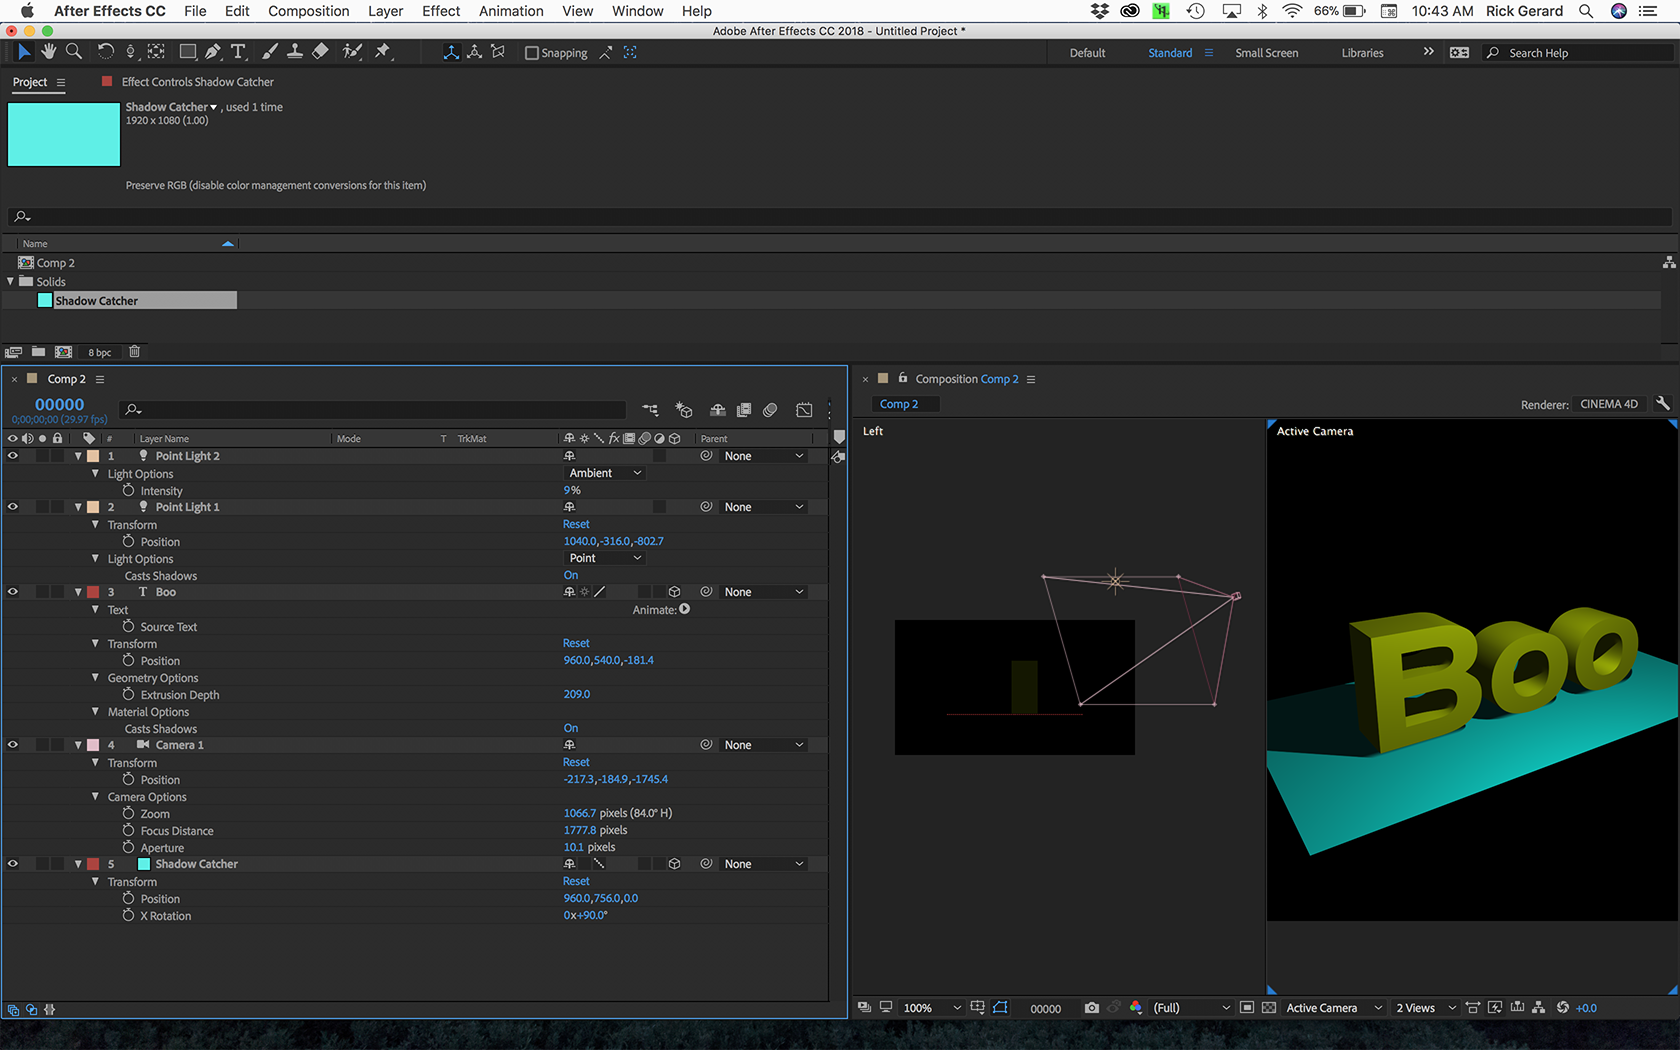
In addition to those basics, black solids cannot receive shadows because 0 + 0 is still zero. Dark layers are also not good at receiving shadows for the same reason. Ambient light helps you light your scene. Light fall off and shadow diffusion are also important settings.
I suggest that you spend some time in the help files and find some good tutorials on working in AE's 3D space. You can start here: Basic AE. The problems you are having are a result of not spending the time to do some study.
Copy link to clipboard
Copied
Thank you very much for your help! I'm going to read and learn some things first and try doing this again

Copy link to clipboard
Copied
Why is this getting so stinkin' complicated? You could do this in AE Version 4! No kidding!
- Import the text from illustrator
- Scale it to the desired size
- Precompose it
- Mask the precomp where the split should occur
- Duplicate the precomp
- Invert the mask on the precomp
- Adjust the vertical position on the precomp
You're done! This isn't brain surgery!

Find more inspiration, events, and resources on the new Adobe Community
Explore Now
 AdChoices