- Home
- After Effects
- Discussions
- Re: Help remove color cast with GH5 V-Log L footag...
- Re: Help remove color cast with GH5 V-Log L footag...
Help remove color cast with GH5 V-Log L footage
Copy link to clipboard
Copied
I am working with correcting footage I have taken with my Panasonic GH5 in V-Log L 4K 10-bit 4:2:2. All the videos start of with the RGB levels being level on Lumetri scopes (RGB Parade) in AE.
I have created a custom LUT in Davinci Resolve using a Color Checker Passport to get more accurate colours in my videos. In AE I used Lumetri Color to import the LUT and I put it in Basic Correction Input LUT. That works fine and I am close to getting the colors and brightness levels how I want them. I just have to adjust the contrast, highlights, shadows, saturation and sharpness.
The issue I am having is that I use a SLR Magic Variable ND II when shooting my videos and that creates a slight warmish cast to the videos wwhich is what I am seeing after applying the LUT. Here is what I mean.
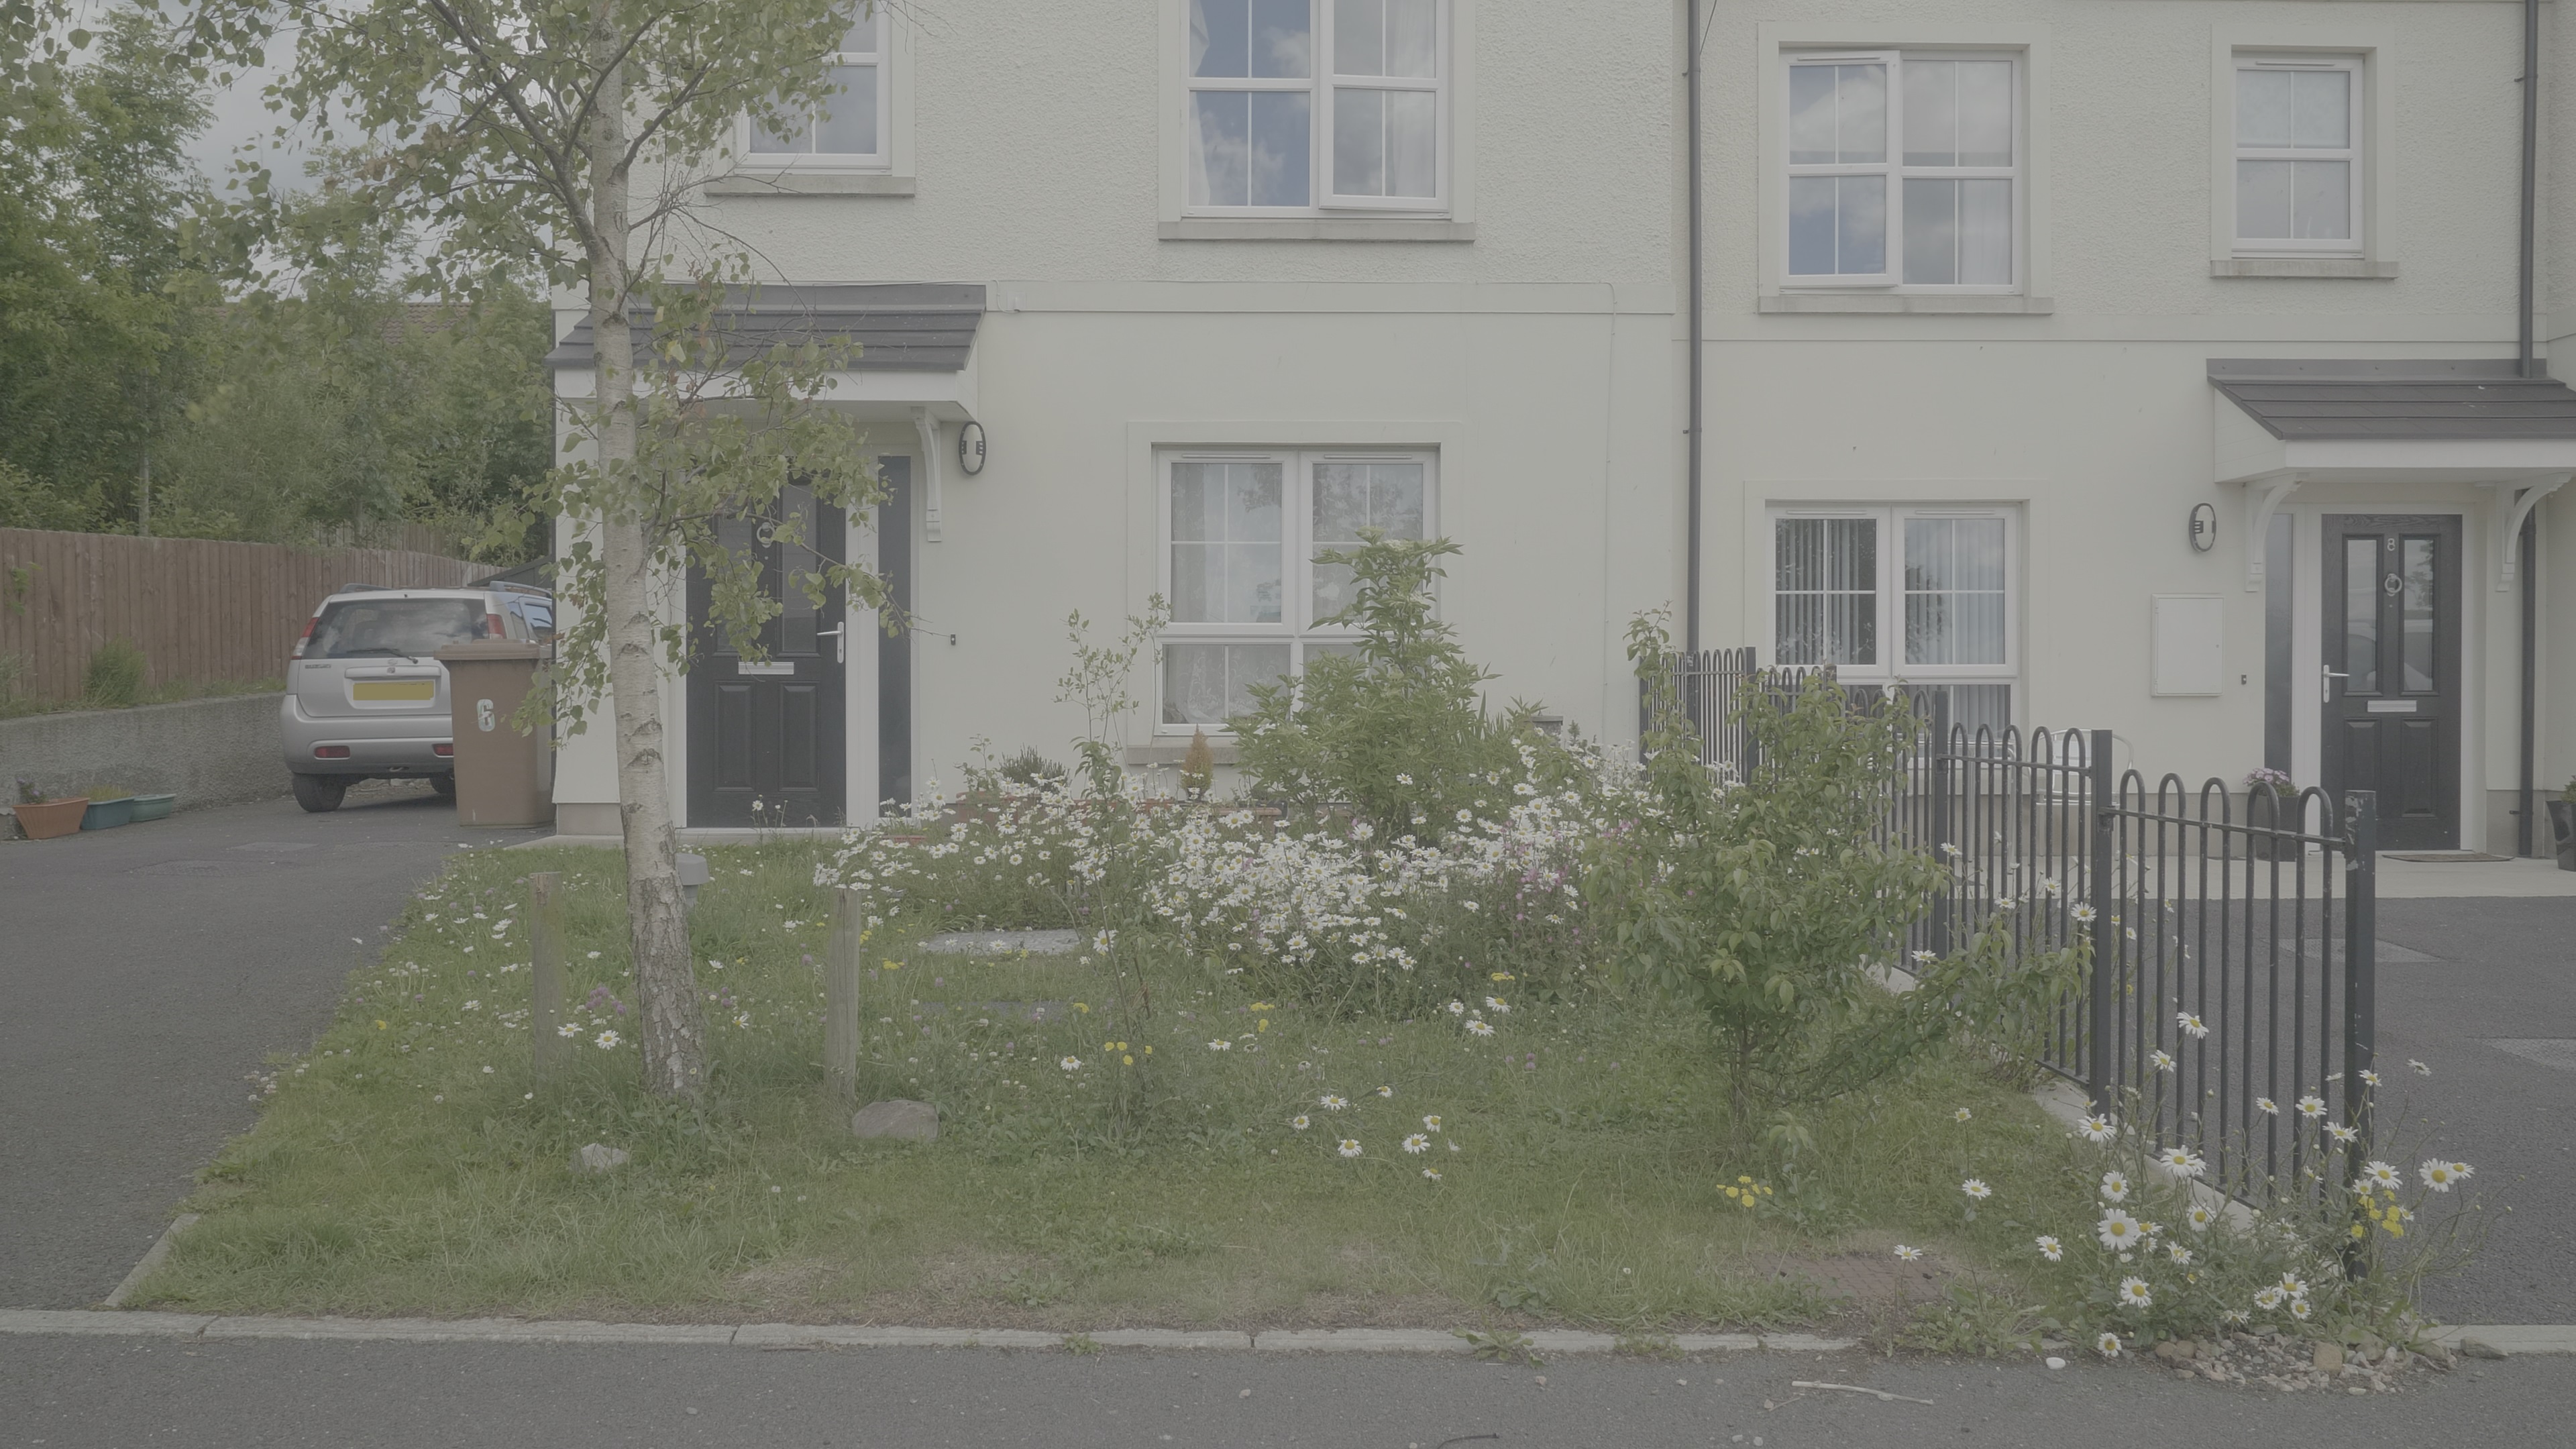
Ungraded footage in AE:

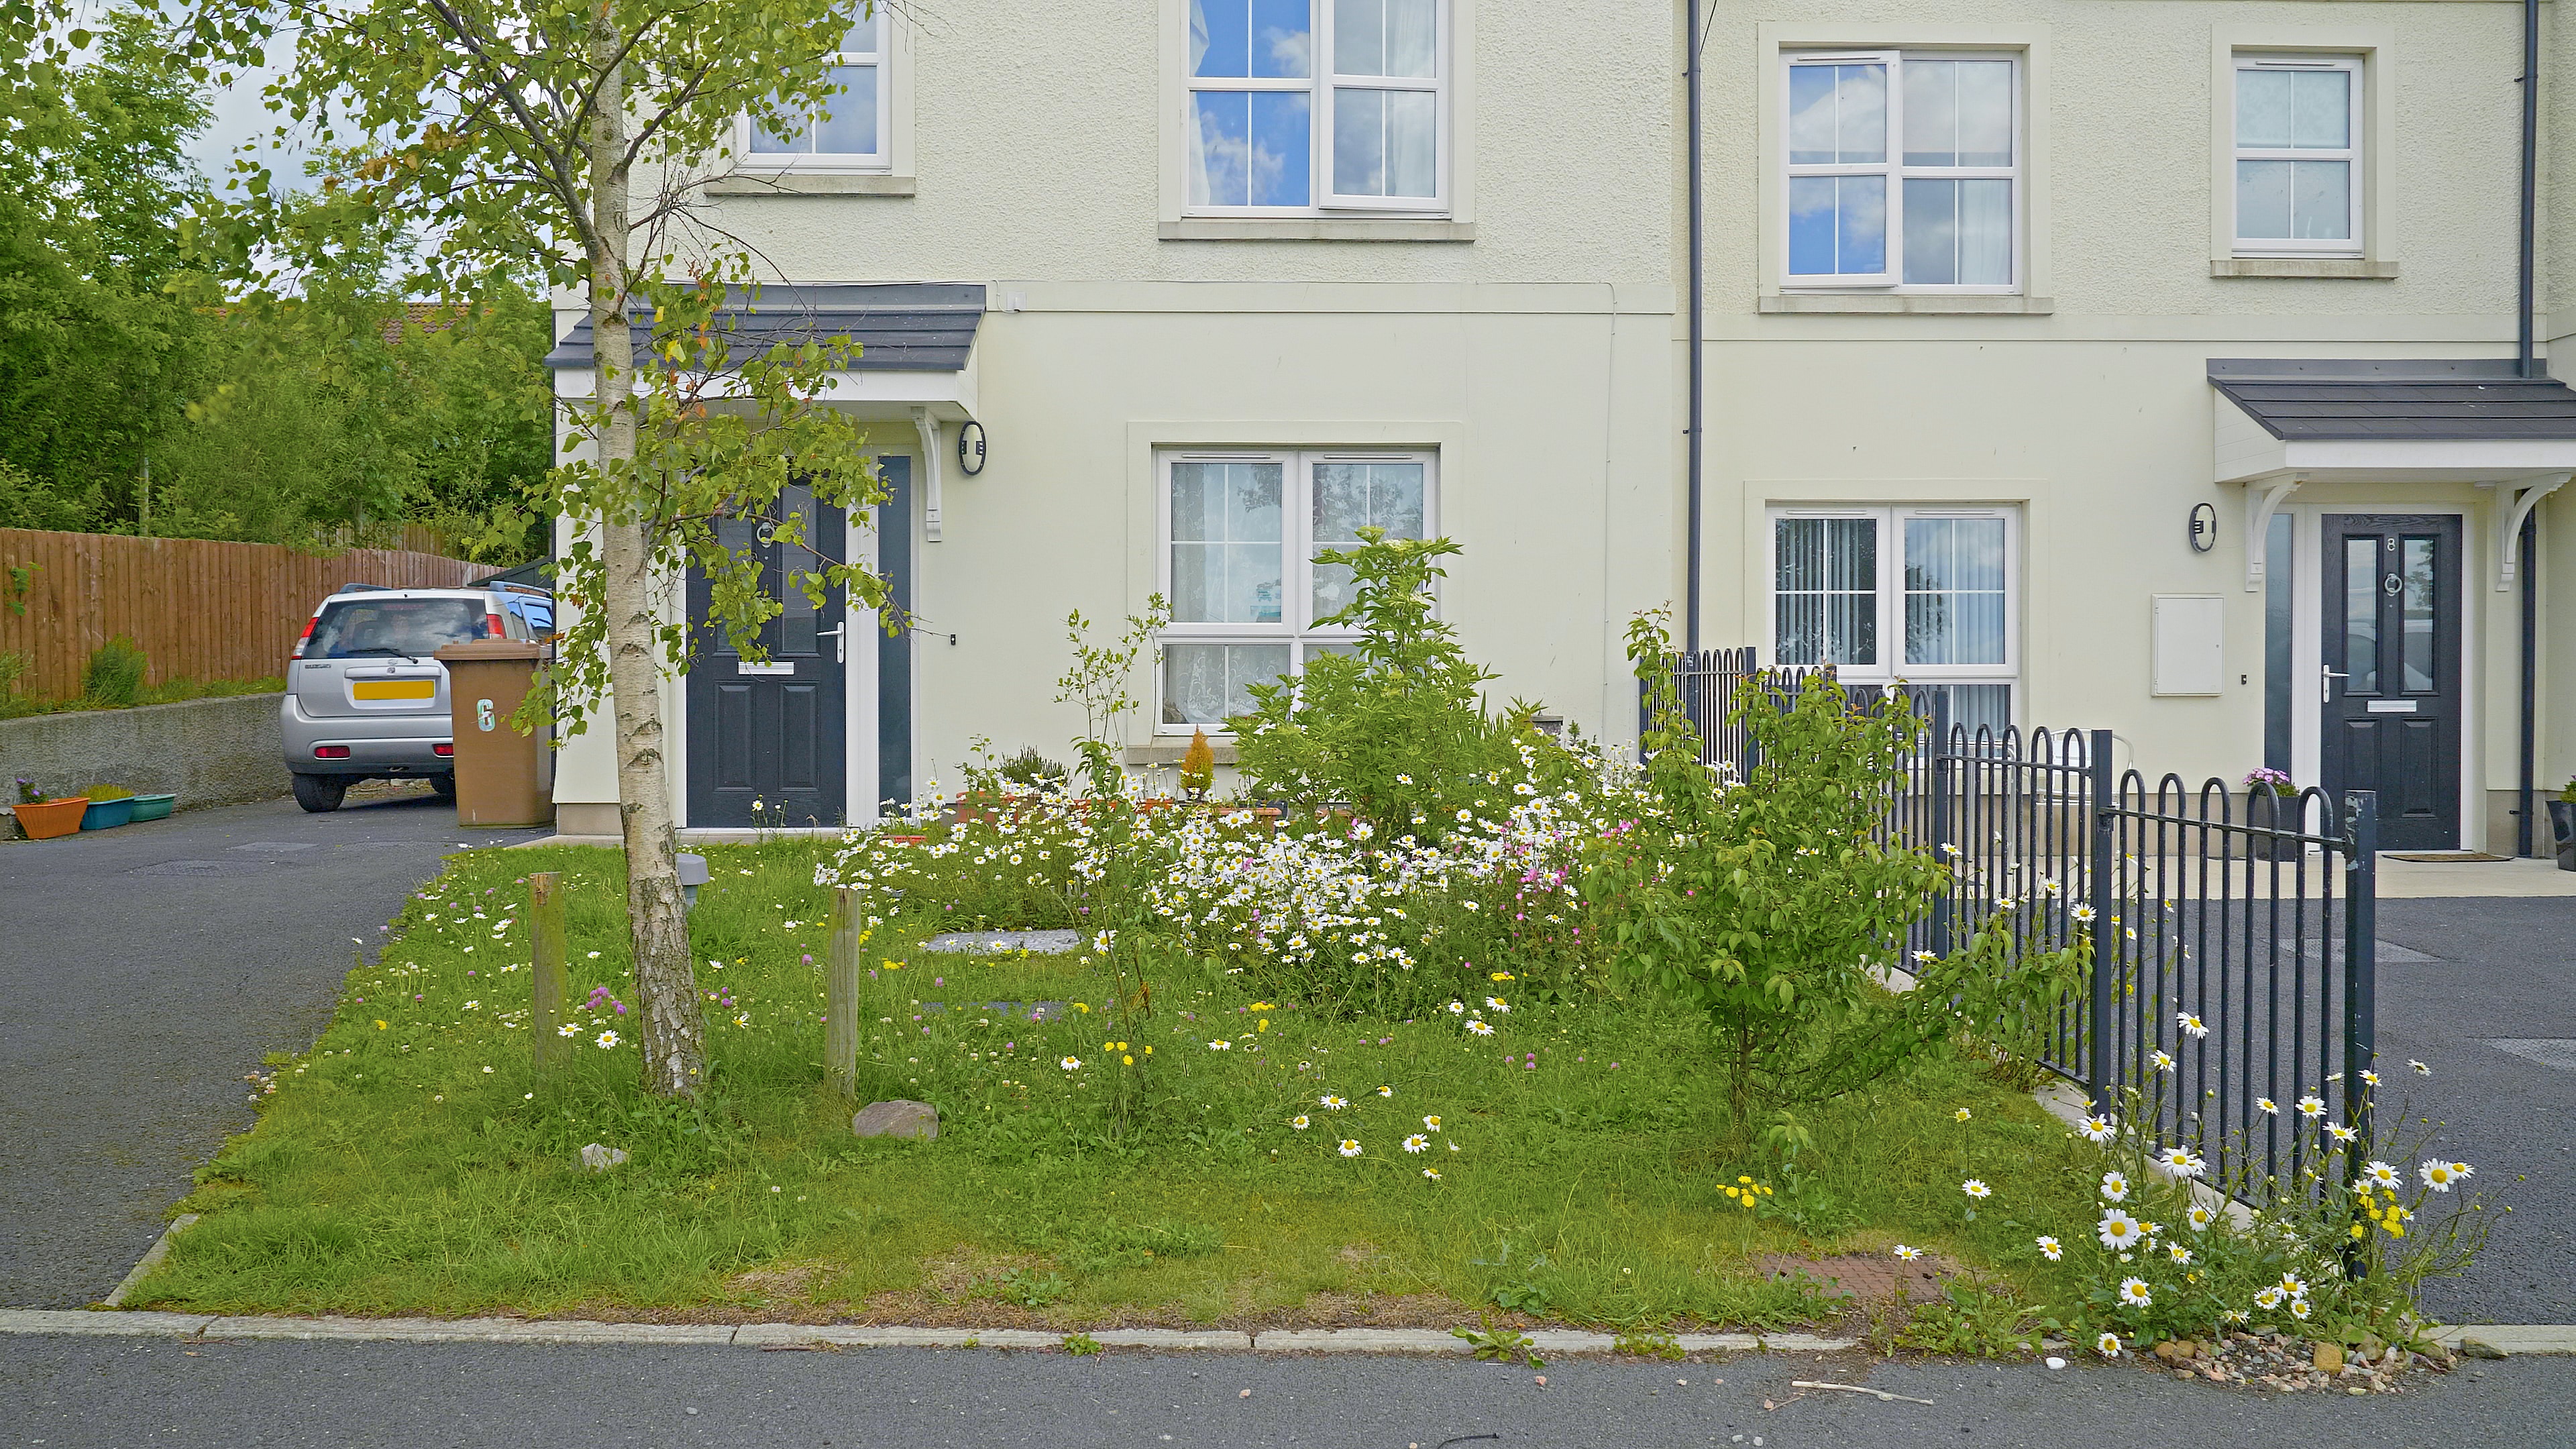
Edited footage looking slightly on the reddish/yellow side

The cast may not look that obvious here, I tried adjusting the curves in Lumetri and got the video more to how it should look to give you an idea of how the footage is supposed to look (maybe be slightly on the blue side):

Is there an accurate way of getting rid of the color cast? using Lumetri curves, I am not sure if I am adding too much blue or too less red etc... to the image and need a better way of correcting the color cast. I can't use the White Balance WB Selector in Lumetri Color since many of my videos don't have any noticeable areas of white in them so can't select an area of white, so is there another way of correcting it?
Copy link to clipboard
Copied
The first place to start is color temperature. This applies to all grading. If you do not have a gray card in a test shot then you need to pick something in the scene to set as a standard. This color temp needs to be consistent for all shots that have the same light and camera setup. Color temperature is incredibly difficult to set unless you have first bought a little contrast to log footage with what I call a get started LUT. If your camera was set to Auto White Balance you are basically stuck with matching every shot by eye and that is a tremendously long and tedious process.
When you have the color temperature nailed down and basic curves established it is time to set the tone for the scene. Where do you want skin tones to fall, where do you want the shadows? Curves, which can be used to do some basic color correction are not subtle enough for tuning out a slight color cast. You need to delve into the other tools that are available. One of my favorite tools for correcting color cast is the Hue Saturation Curve right below curves.

Color grading is difficult and tedious. Final color grading usually involves a lot more than just curves and hue saturation curves. You should also be carefully watching the vectorscope. I hope this helps. Without a shot of a color chart for reference, you have to rely on your eye and the scopes.
It takes a long time and a lot of practice to learn how to interpret what you are seeing and reach for the most efficient tool. If we have the budget I prefer to bring my color grading ideas to the party when we sit with a professional colorist to do the final color grade. I have never had them throw everything I did out and start over, but I am always amazed at how quickly and easily they can really improve on what I have done. That's why it is a specialty.
One last point. In my workflow, I never do final color correcting in AE. First, it is way too tedious. Most of my AE compositing work is looked at with an adjustment layer on the top with the LUT we are using for the scene in Premiere Pro (also an adjustment layer) then the adjustment layer is turned off for rendering to the DI and the final color correcting is done in Premiere Pro or Davinci Resolve. I never bake in color in AE because it bakes in color in the final edit that is nearly impossible to match with other shots. You might have also guessed that I do not cut sequences in AE, I just do shots.
If you are cutting sequences and doing the final color grade in AE and then putting that sequence in a longer piece in your NLE I would strongly suggest that you include some frames with a gray card or color test chart at the head and tail of your sequence so you can compare it with the same corrections you do in the NLE. If you have not reference footage then at least throw in a few frames at the head and tail of the shot that has no correction so you have a starting match point to look at in the NLE.
Copy link to clipboard
Copied
Hi Rick,
At the moment I am trying to color correct my videos to get a natural look as I am mostly making nature videos and having a natural look is important for that, then once done, I can export each clip separately so I'll have the corrected clips ready when I am ready to make the final videos I can just import them and add other effects, lower thirds, text, audio etc...
I don't use a grey card as I shoot nature videos and its often not easy to use one, especially with telephoto lenses. I never set my camera to auto WB as I know how that can screw up the WB easily. When I am shooting outside, I normally set the GH5 to daylight WB, and when shooting indoors with studio lights, I set the WB to the kelvin of the lights and will use my color checker chart then.
I found out by importing the video first, then adding levels effect and adjusting the highlights by moving the right triangle on the red, green and blue levels to the left until it touches where the color information ends in the highlights, that looks like it gives me correct white balance to start from (mostly as I noticed if I don't use my variable ND and have daylight WB set in the camera and shooting an outdoor scene, it can look a little too blue when corrected), basically the same as what is mentioned in this video: After Effects Tutorial: White Balance - YouTube but I don't touch the shadows.
Using Lumetri, I have played around with the hue/saturation curve and I have been able to get the colors more or less how I am them now with my LUT and removed the slight warm tint. I just have to figure how to get the correct contrast as it seems AE is importing the wrong levels and crushing the blacks instead of displaying full levels like I can get when importing the video into Davinci Resolve and setting it to full levels, but I don't have the studio version of DI so can't directly import my GH5 10-bit videos without converting them.
I am using AE as its the only editor I have right now besides Sony Vegas Pro 14, but Vegas I find is too limited in what it can do and I wanted to add some effects to the videos I can only do in AE and can't afford another editor right now.
"If you are cutting sequences and doing the final color grade in AE and then putting that sequence in a longer piece in your NLE I would strongly suggest that you include some frames with a gray card or color test chart at the head and tail of your sequence so you can compare it with the same corrections you do in the NLE. If you have not reference footage then at least throw in a few frames at the head and tail of the shot that has no correction so you have a starting match point to look at in the NLE."
Thanks, I'll try that.
Find more inspiration, events, and resources on the new Adobe Community
Explore Now