

- Home
- After Effects
- Discussions
- Re: Help to stabilize / center my subject
- Re: Help to stabilize / center my subject

Copy link to clipboard
Copied
Hi,
I'm learning to use After Effects, and i need help cause i can't find the way to stabilize / center / lock my subject at the video's center.
Here's the link to my test video : Need to stabilize / center subject - YouTube
As u can see, the burger is moving horizontally, from left to right, but i want he stay static in the middle. When i tried to use the "tracking movement" tool, he didnt worked (I click "Analyze forward" and nothing happens).
Thanks for help in advance.


 1 Correct answer

- Open the Motion Tracking Workspace
- Select the layer then click Stabilize Motion
- Pick out a fairly substantial part of the image that does not change shape like the bottom left corner of the bun
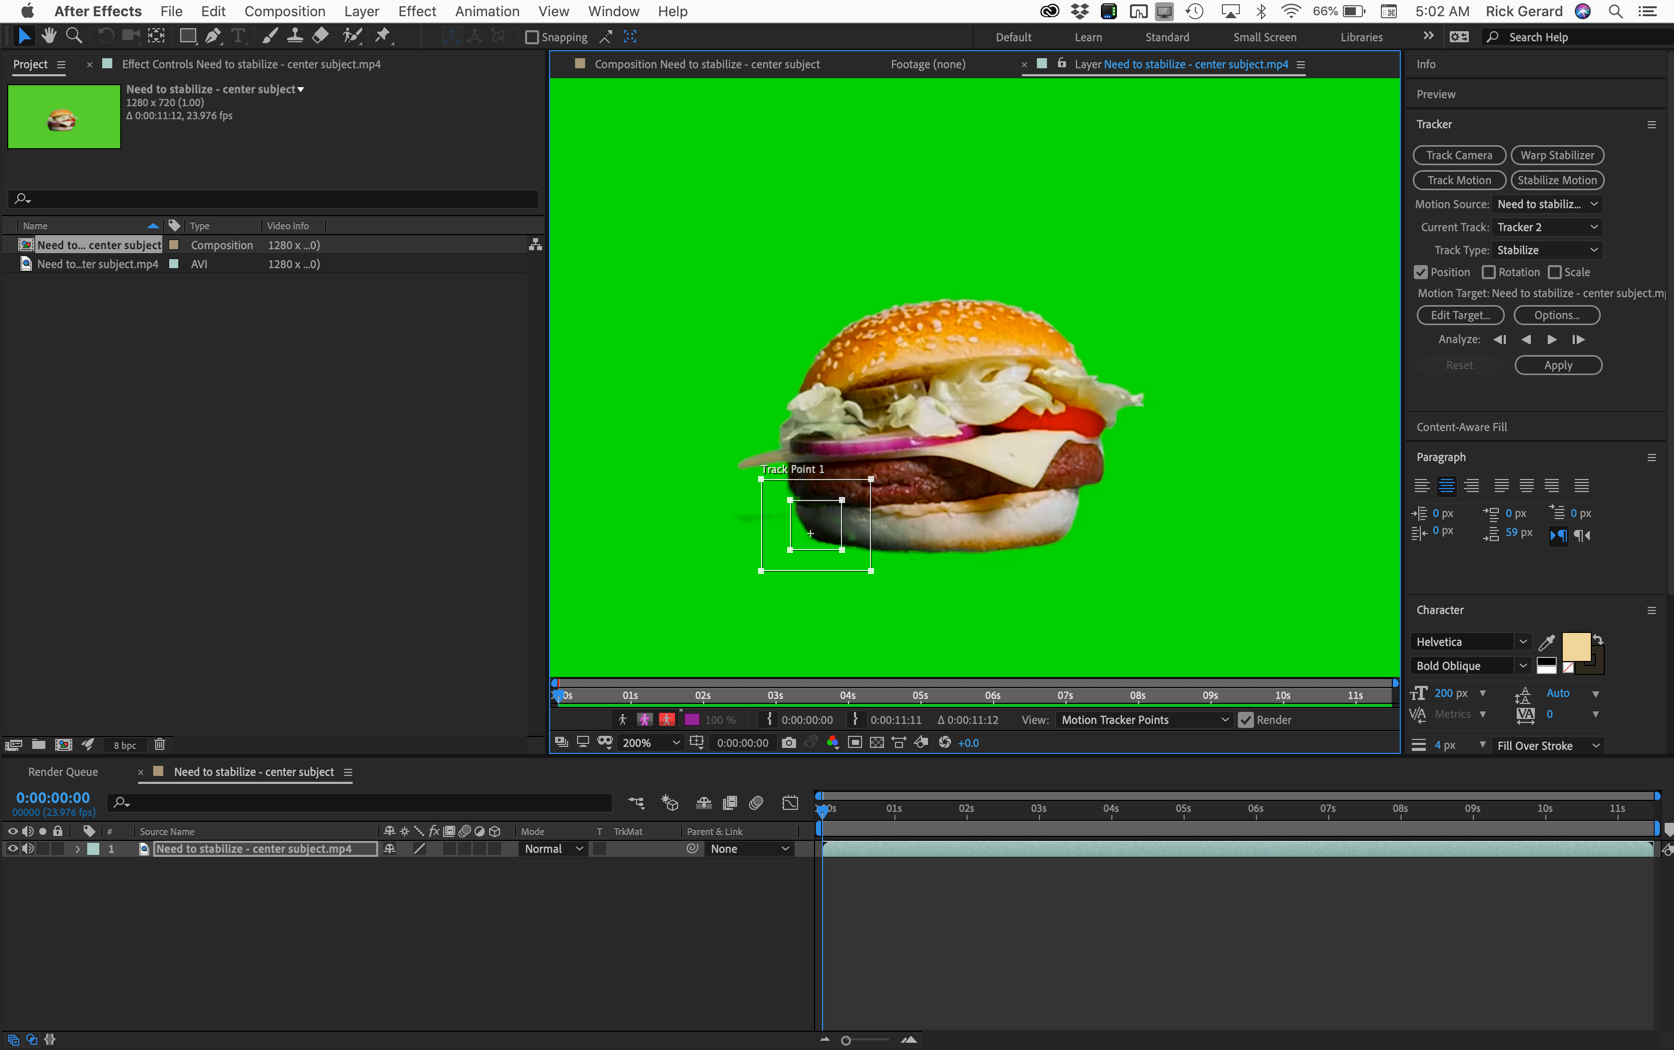
- Analyze Forward then apply.
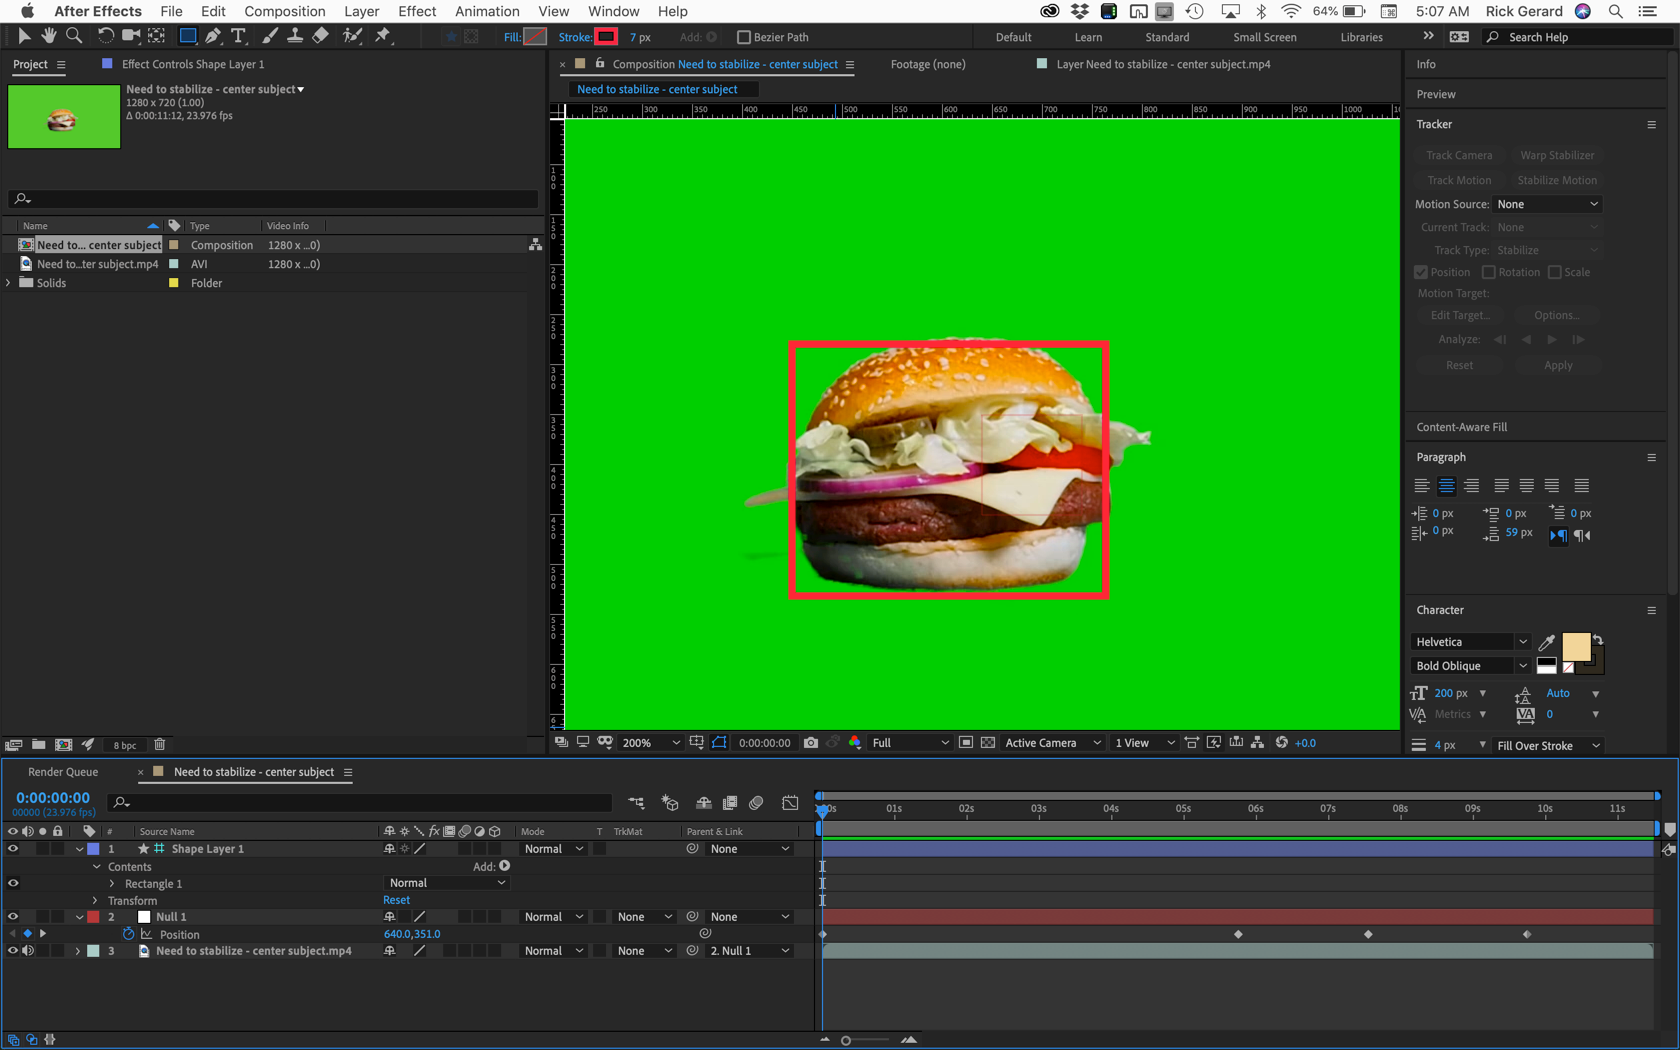
- Back in the main comp add a null and a rectangle shape layer to help you visualize the center of the comp
- Set the shape layer as a Guide Layer
- Parent the footage to the null
- With the null selected press Alt/Option + p to set a Position keyframe for the null at the first frame of the c
 6
Replies
6
6
Replies
6
Copy link to clipboard
Copied
- Open the Motion Tracking Workspace
- Select the layer then click Stabilize Motion
- Pick out a fairly substantial part of the image that does not change shape like the bottom left corner of the bun
- Analyze Forward then apply.
- Back in the main comp add a null and a rectangle shape layer to help you visualize the center of the comp
- Set the shape layer as a Guide Layer
- Parent the footage to the null
- With the null selected press Alt/Option + p to set a Position keyframe for the null at the first frame of the comp
- Scrub through the timeline and adjust the position of the null to keep the burger centered, it took me 4 keyframes to do it:
- If you need to then center the whole thing add a second null, parent Null 1 to Null 2 and move Null 2 to put the burger exactly where you want it
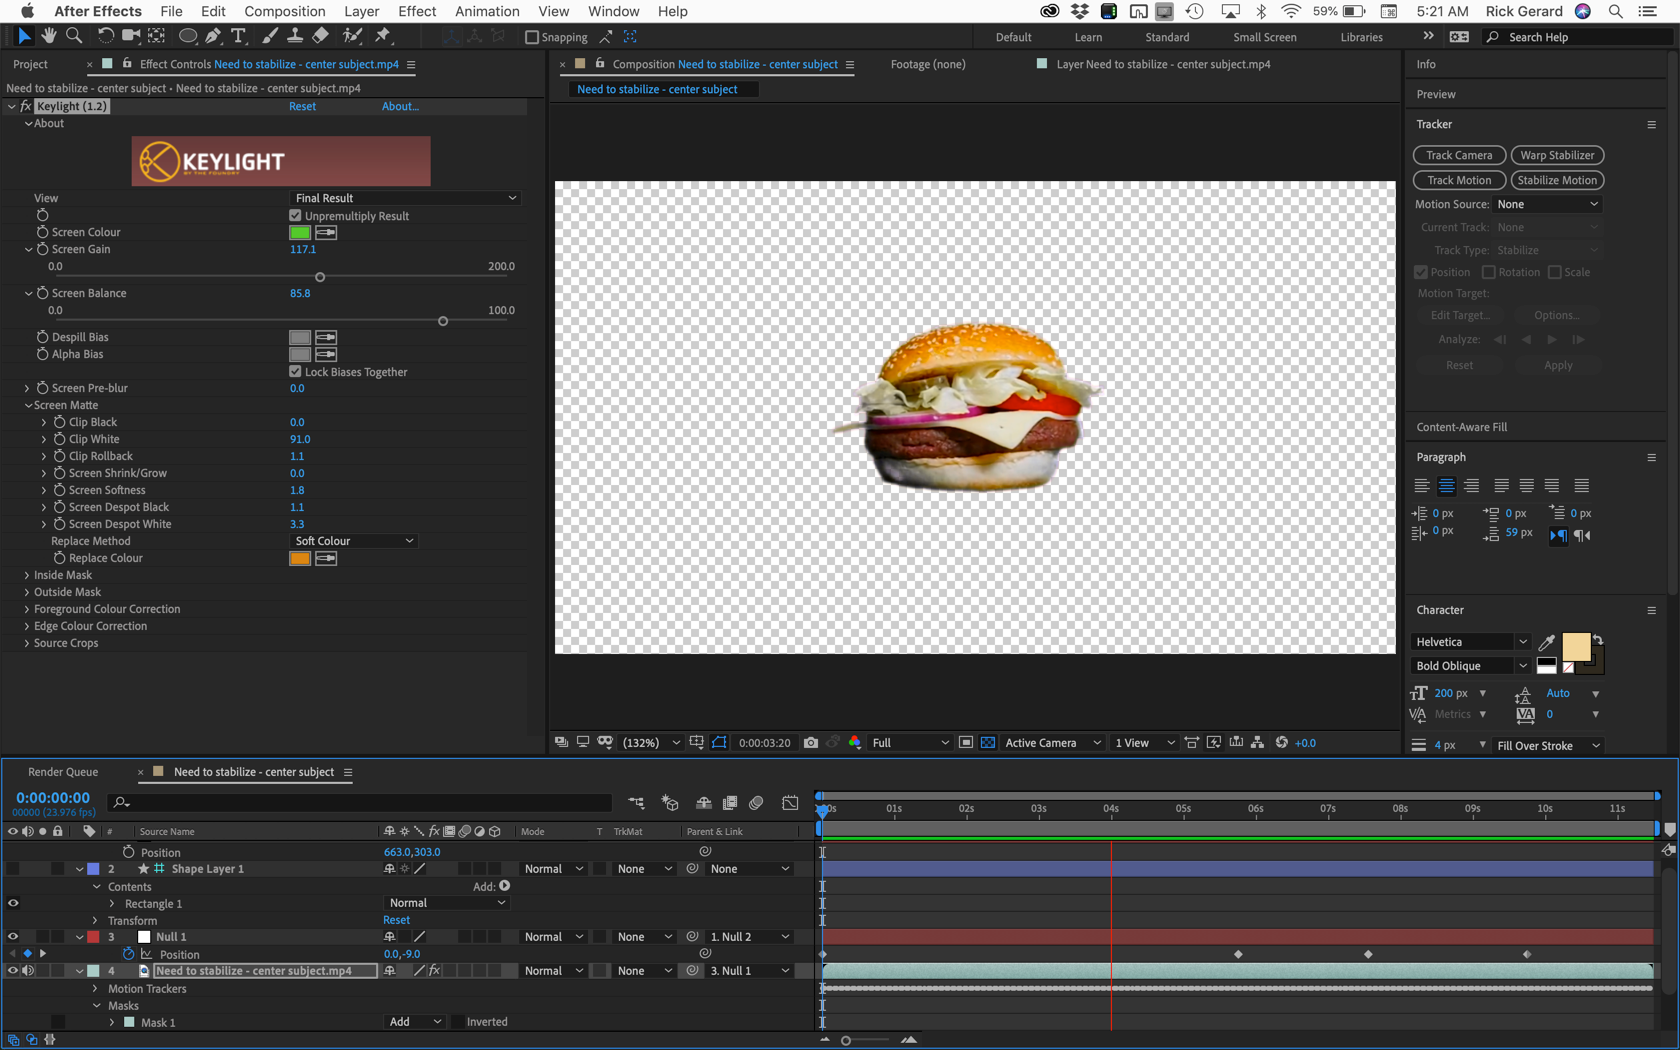
- Turn off the Shape Layer (guide layer)
- Use Keylight to remove the background
There you go.
Copy link to clipboard
Copied
Thanks a lot for the answer.
I tried to follow your instructions many times (i experimented some things), but the final result i have is always little bit shaky, I dont know if i did great.
The tracking step working great, it's centered all the time, but shaking a little.
If i correctly understood, the "null" is for modifiying manually the position, it is ? But i cant understand what i can correct manually.
Here's my result : Need to stabilize / center subject - Test Result 1 - YouTube
Is there a way to remove the shaking effect ?
Thanks again for your help.
Copy link to clipboard
Copied
Make sure your tracking is accurate by making sure that the Composition Panel is set to Full resolution and the Layer window where you do the tracking is at least 100% magnification factor. If you include enough data the corner of the bun should not move at all.
When you parent Null 1 to the Motion Stabilized footage layer and set keyframes for Position, check the bottom left corner of the bun and concentrate there. I didn't have to make any Y adjustments. This is easiest to do in the timeline by clicking and dragging the X position. Holding down the Ctrl/Cmnd key while you drag will give you finer adjustments. Set your first keyframe when the bottom left corner of the bun just starts to move. Then move down the timeline until the direction of movement changes and make another adjustment. I only had to set 4 keyframes to get a very smooth result.
When everything is stable add Null 2 and make it the parent of Null 1, then drag Null 2 to position the burger on the screen. Even with your highly compressed YouTube download at 720P, I got a perfectly acceptable result the first time in about 5 minutes.
Copy link to clipboard
Copied
Thanks, now it works perfectly !
I tried many tracking points, and the hole on cheese did a perfect work for me, very smooth.
Then I adjusted with Null objects, like you said, and the result is exactly what i wanted.
Thanks again for the time u spent for me, u amazing.
Copy link to clipboard
Copied
Glad it worked out. The key to AE's internal tracker is making sure the Feature Region, the inner square, contains enough detail that is not going to change shape. The default Feature Region is too small for about 90% of the tracking jobs. People often call AE's Motion Tracker a point tracker, but it is not. It is a feature tracker that has an Attach Point that you can stick to a single pixel. If you are going to do a lot of motion tracking I suggest that you spend some time in the user guide so you understand exactly how it works. Tracking and stabilization motion workflows in After Effects

Copy link to clipboard
Copied
Another approach is to apply Warp Stabilizer and then set the Objective to Reversible Stabilization (under Advanced) after it finishes.

The main advantage of this is speed and that with footage like this (the hamburger) you'll still have friction. That is, the point at which the object makes contact with the surface plane will be maintained.

-Warren

Find more inspiration, events, and resources on the new Adobe Community
Explore Now
 AdChoices