

- Home
- After Effects
- Discussions
- Re: How to rotate a 2D Diamond and give a 3D'ish f...
- Re: How to rotate a 2D Diamond and give a 3D'ish f...

Copy link to clipboard
Copied
Hi
a client asked me to make a diamond animation pretty much as the one shown in the below link where the diamond rotates
How would I achieve that 3dish look in After Effects?
Right now I'm thinking to have a base diamond layer which is the background. On top of that I would need the inner faces of the diamond. Then I could move positon over time from left to right.
But how does the shape of the inner faces of the diamond changes? So look at it from the very left to the very right. The best thing I can think of is to draw this shape within After Effects and change the vector nodes over time. But is this the best approach? How would you go on on that?
Hope my question was understandable.
Thanks everyone


 1 Correct answer

I would animate one vector shape layer for the inset diamonds and have it complete one cycle. Then I would duplicate that layer and offset it in time to fill in the holes. Duplicate it again, then when you have one complete cycle trim the layers, pre-compose, and add time remapping. When you add time remapping to the pre-composed layer you will see two keyframes. Go to the end keyframe and you should not see anything. Move back one frame and set a new keyframe, then delete the last keyframe and
... 5
Replies
5
5
Replies
5
Copy link to clipboard
Copied
If you wanted to do something in true 3D there are plenty of free models around, for example:
Diamond Free 3D Models download - Free3D
However, you can model this look using 2D faces in After Effects. It will be rather tedious - you'll need to get the maths right so all the angles work out. Your reference has 10 faces around the pointy end, so you'll need to work out the correct edge angles and degree of rotation. The entire pointy end can be built using one shape (multiplied ten times). Anchor at the point and use rotation to build the entire bottom end. The upper faces will need to be positioned based on the lower layers.
An experienced designer could knock this up fairly quickly. If you're fairly new to this type of design, I'd set aside an hour or two.
Copy link to clipboard
Copied
Hey Andrew - thank you very much for your response.
You showed me I was heading in the right direction and the problem was solved.
Thanks again!
Copy link to clipboard
Copied
I would animate one vector shape layer for the inset diamonds and have it complete one cycle. Then I would duplicate that layer and offset it in time to fill in the holes. Duplicate it again, then when you have one complete cycle trim the layers, pre-compose, and add time remapping. When you add time remapping to the pre-composed layer you will see two keyframes. Go to the end keyframe and you should not see anything. Move back one frame and set a new keyframe, then delete the last keyframe and add this expression to Time Remapping: loopOut();
Then you can extend the out point of the pre-comp (nested composition) and let the diamond loop as long as you want it to.
Just for fun I took about 10 minutes and made this project: Dropbox - Fake Diamond.aep
Note: your browser may add a .txt extension to the AEP file when it is downloaded. Just delete it)
I started with a diamond shape layer created with a few straight lines, then I added a new shape layer that contained only a single animated line that looked like this:

I offset each line until I had the complete diamond and all the facets created:
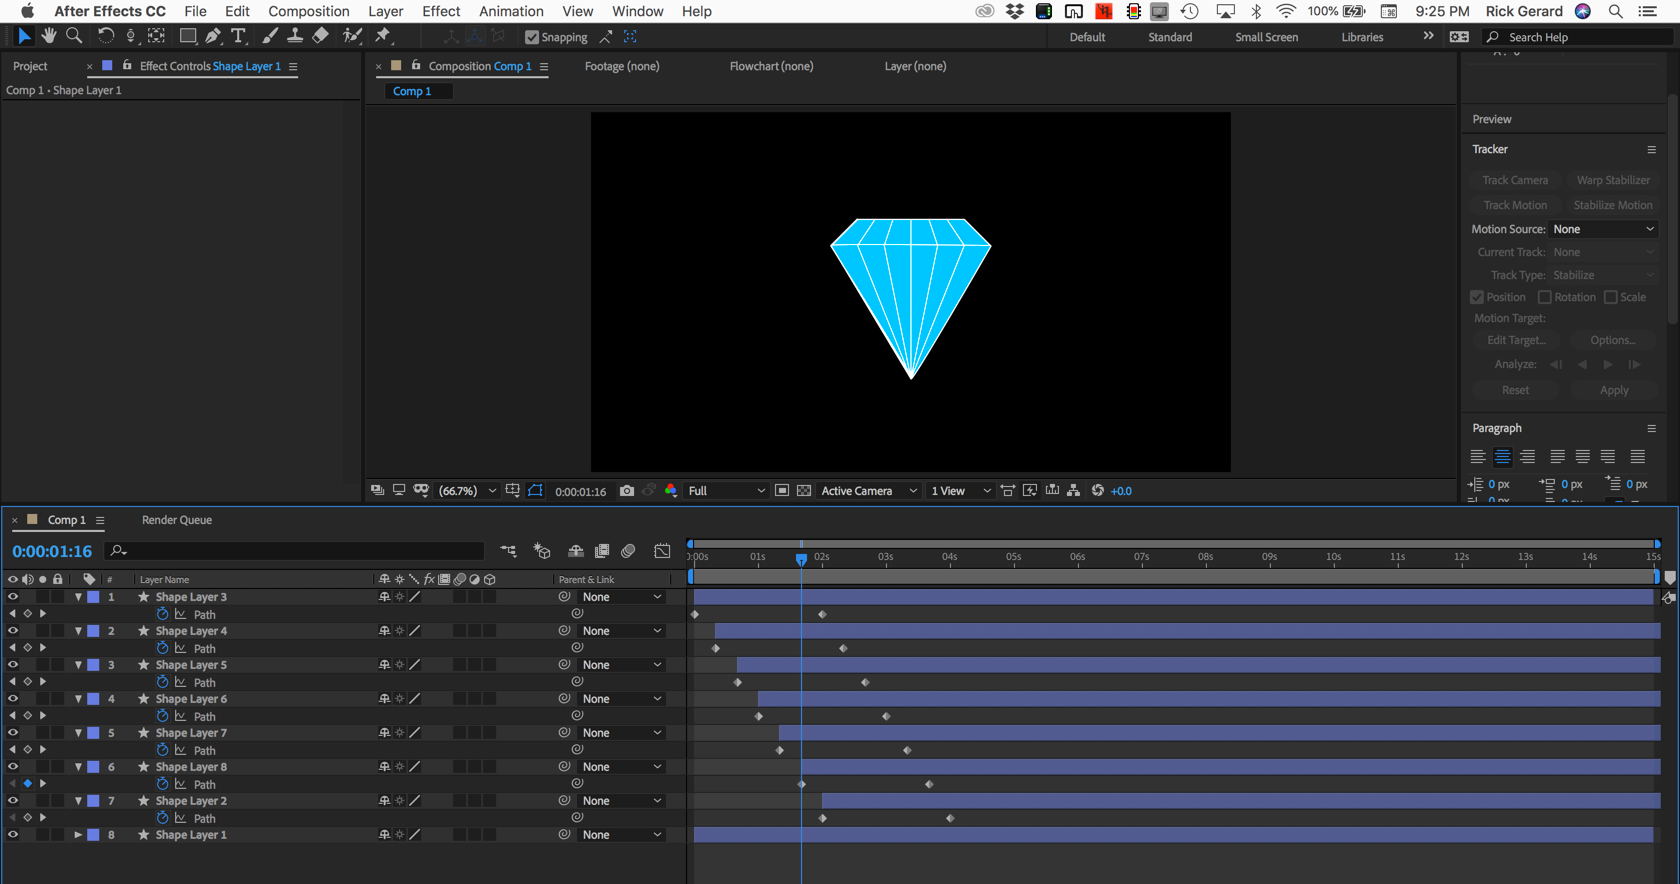
The next step was to trim the layers and create a pre-comp. I only needed to include the frames required for the line to move from the edge to the first position. Setting up the pre-comp looks like this:

The next step is to move the pre-comp to the first frame and add time remapping:
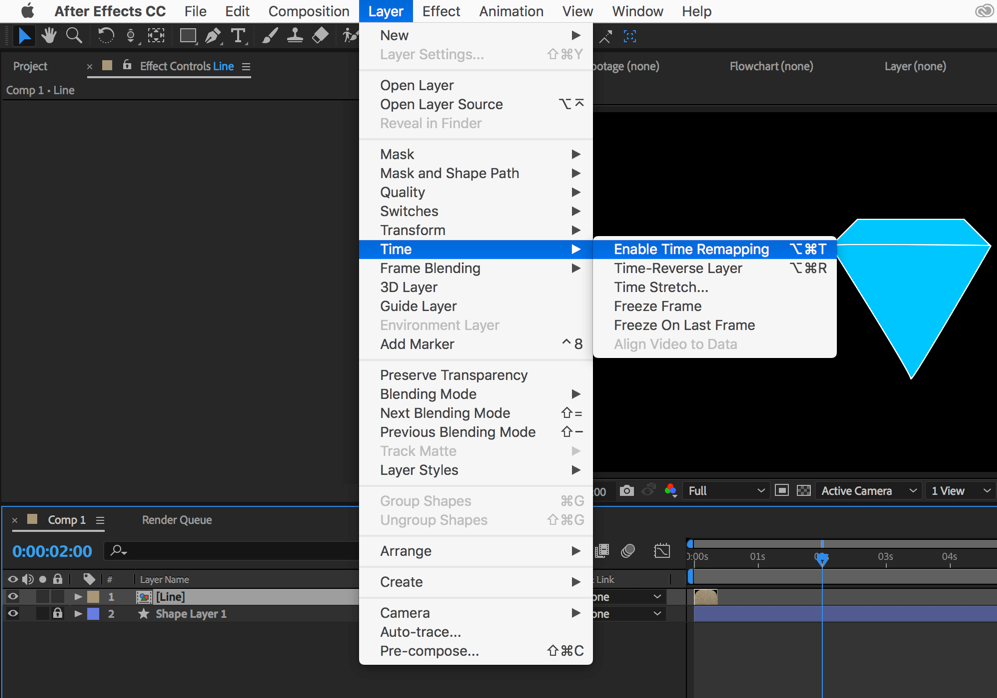
You move in on the timeline and use the K key to move to the last TR keyframe, use Ctrl/Cmnd + left arrow to move back one frame, add a new keyframe, then delete the last keyframe:

The last step is to add the loopOut(); expression:

All done:
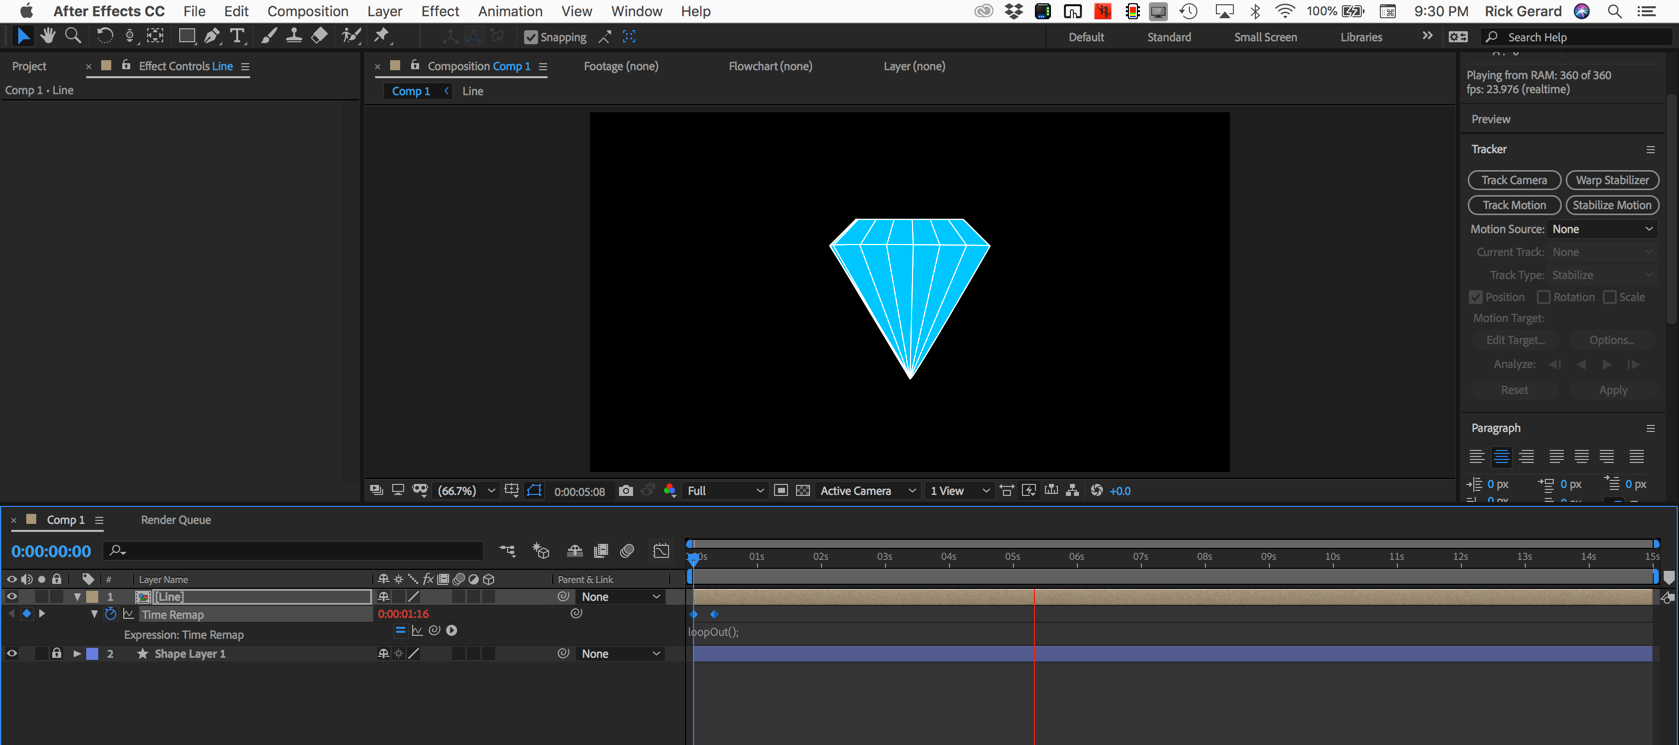
This is how you take a very simple animated line layered on an illustration and make it look like the object is rotating using a loop. This is a good principal of animation for you to use in all kinds of situations. Adding a little curve to the equator line and putting a little crown on the top of the jewel would improve the artwork and only take a few more minutes.
I hope this helps. The trick to becoming an efficient animator is to learn to look at a problem and break it down into the simplest components. The only thing that really needed to move was the vertical line and it only needed to move far enough to line up with the next longitudinal line.
Copy link to clipboard
Copied
Hey Rick..
It's the second time you helped me out here.
I loved the simplistic approach you had and even more amazing that you did it just for fun in 10 minutes (like Andrew above said : An experienced designer could knock this up fairly quickly )
I appretiate the long and detailed explanation. I actually tried it before downloading your example.
"The trick to becoming an efficient animator is to learn to look at a problem and break it down into the simplest components. "
This is maybe the most valuable thing said on this post apart from how to animate the diamond. I'll try to implement this in future when I look at animation problems.
Thank you..
Copy link to clipboard
Copied
For those reading this post and are interested. I finally managed to rotate the diamond the way I wanted.

After finding the solution it's pretty easy now ;D
Might not be the best solution though.. You may want to do it as Rick explained it above (and in fact my steps are not that different) or as Andrew explained.
Here is how I did it finally
- Draw diamond base shape
- Draw a highlight shape for the upper part of the diamond. This should be white color and semi transparent. The facelets will be placed in between the base diamond shape and the highlight shape.
- Draw 1 facelet with the path tool along the far edge of the base diamond shape. So the initial facelet state should be hidden.
- Go to different time in the timelie. I found out 15 frames is good for my needs. So each of the facelets have 15 frames screen time.
- Now as time passes go from the very far left to the very far right and change the path of the facelet shape (drawn in the previous step) accordingly
- You should have 1 facelet with a full loop now.
- When you reach the end of the diamond (on the right side) make it so that the facelet is hidden. I simply overlapped the path which is hiding the facelet. So in above gif when the facelet disappears it's actually fake. It's still there but the path has become so small it's not seen anymore (probably not best solution)
- Copy the facelet until you have filled in the diamond.
- Shift each copied facelet by 15 frames.
- Now the problem will be the initial diamond is empty and when the loop finished 1 time the diamond will be empty. So we have 1 loop but not a continous one.
- Select all facelets and copy paste. Find the position when the first loop finishes. And shift all copied facelets to that position
- Select all facelets again and copy paste. Find the position when the SECOND loop finishes (the ones we copied from step before) and shift this NEW facelets to that position.
- So you will have 1 original facelet group and 2x copied facelet group in your composition now. Our middle facelet group has now a beginning and an end. The diamond on the middle facelet group is still filled with facelets whereas when you go the first and last this is not the case. So the very final step is to trim the comp to this middle facelet loop only and we are done.
Congratulations. Hope that helps.

Find more inspiration, events, and resources on the new Adobe Community
Explore Now
 AdChoices